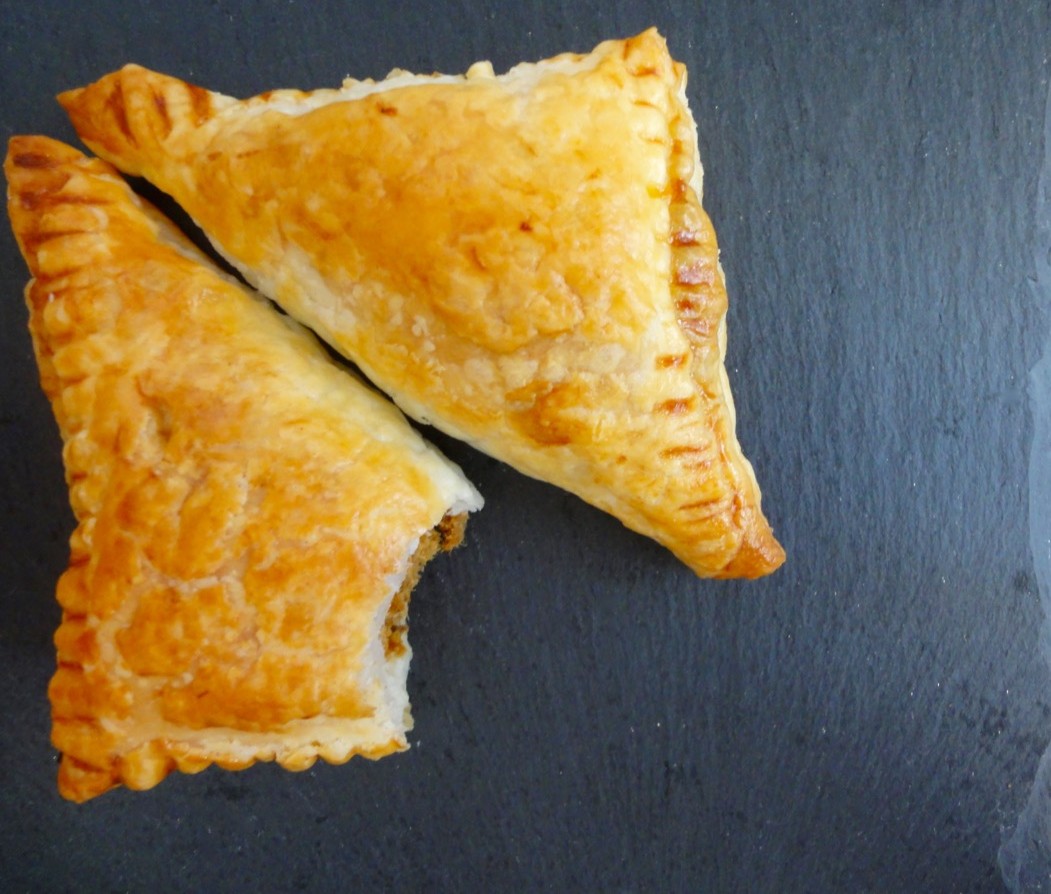
Easy Sardine Curry Puffs
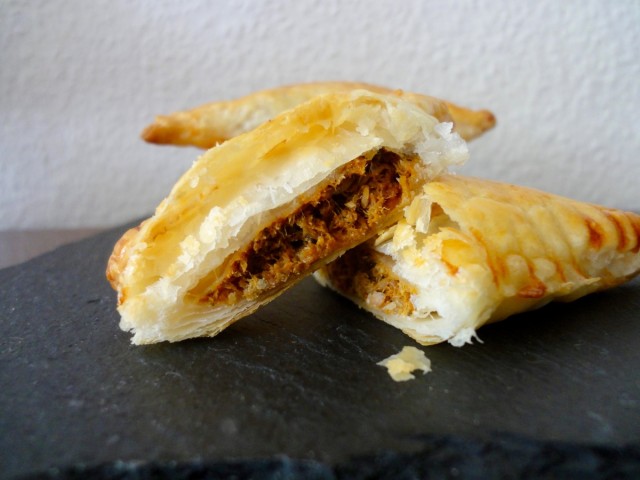
This is an exceptionally fast and easy snack to make…yet another reason to have puff pastry around! The filling is very similar to sardine cutlets (recipe will come eventually).
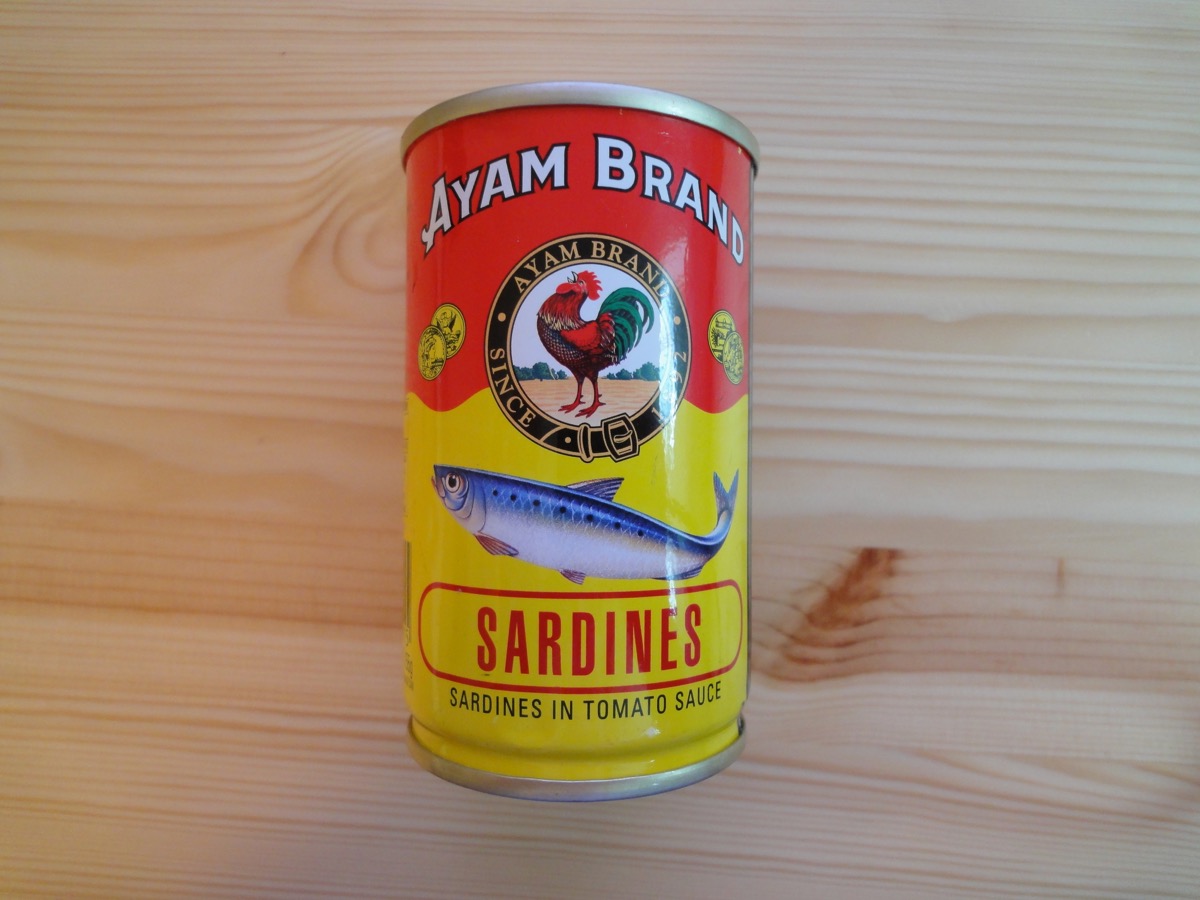
Sardine packaging in Malaysia
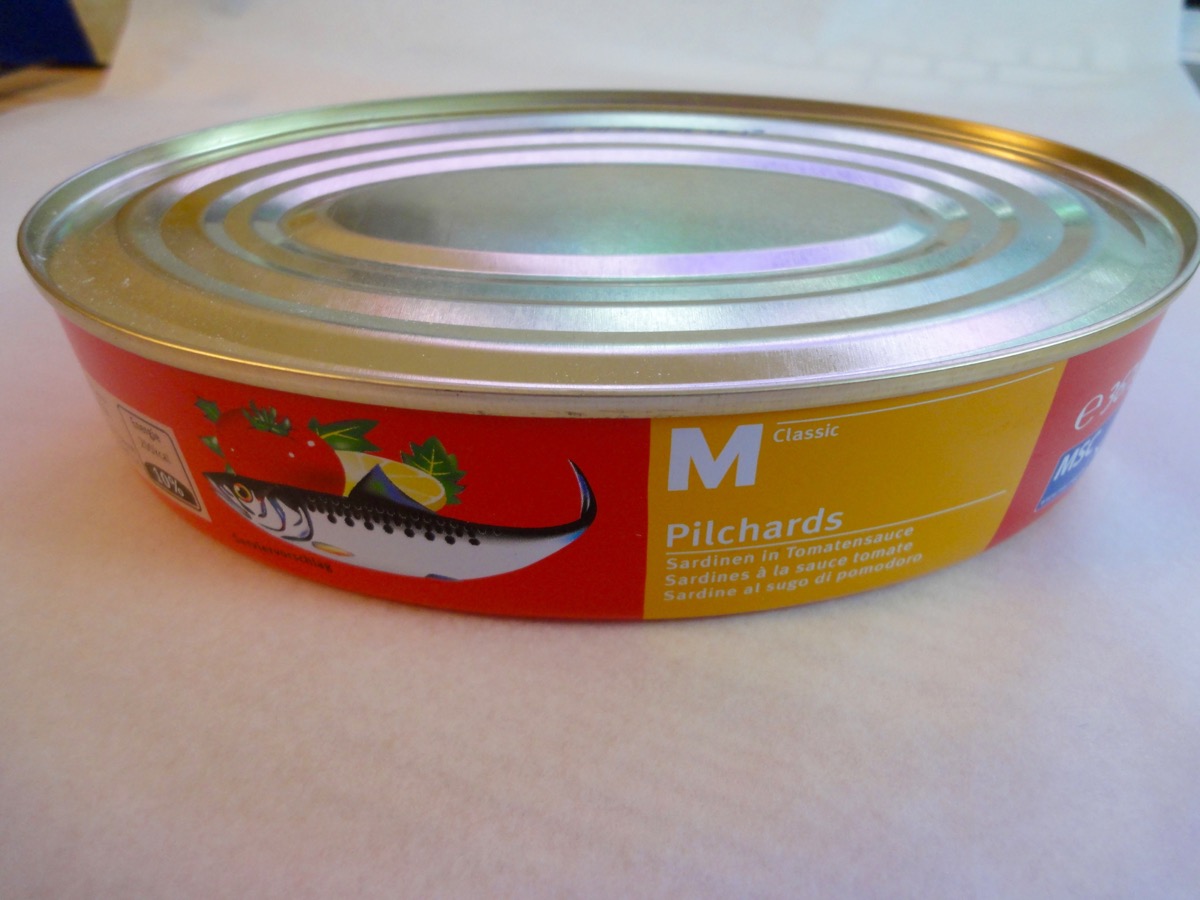
Sardine packaging in Switzerland
Ingredients
- 1 rectangle/square package (320g) Puff Pastry
Egg Wash
- 1 nos Egg
- 1 Tablespoon Water
Sardine Filling
- 1 small can (155g) Sardines in tomato sauce, drained and mash
- 1 sprig Curry Leaves, chopped
- 1 small Onion, chopped
- 1 inch Ginger, grated
- 1 Tablespoon Curry Powder
- 2 tsp Chilli Powder (optional)
- To Taste Salt
- To Taste White Pepper
Directions:
- Sardine Filling
- Drain out half the tomato sauce from the sardines.
- In a medium high heat pan, sauté onions. Add curry leaves and fry till fragrant.
- Add sardines with sauce, grated ginger, curry powder, chilli powder, salt and pepper.
- Fry till the sauce has been reduced to half.
- Set aside to cool.
- Egg Wash
- Beat 1 egg and 1 Tablespoon of water together. Set aside.
- Assembling Sardine Puffs
- Take out puff pastry 10 minutes before intended use. Thaw if using frozen puff pastry.
- Pre-heat oven to 220°C (430°F). Prepare baking tray and line with parchment paper.
- Unroll puff pastry and cut into equal square’s. Around 3 x 3-inches.
- Place 1½ tablespoons of the sardine filling in the centre of the puff pastry and slightly flatten.
- Brush egg wash around the filling (for extra seal), fold into half and seal by using a fork to press seal it.
- Place sardine puffs on prepared baking tray. Brush with egg wash.
- Bake for 15 – 20 minutes or till golden brown.
- Leave to cool on a wire wrack before enjoying.
Tips:
- Mash the sardines well.
- Balance tomato sauce can be turned into a dip by adding some chilli or tomato sauce and boiling it for a bit ; or to be reserved for plain sardine curry.
- You can use short crust pastry instead of puff pastry. Bake according to instructions on packet.
- It’s very important when baking with puff pastry that the oven is properly pre-heated. This will prevent uncooked pastry inside.
Enjoy!


Evenly baked pastry
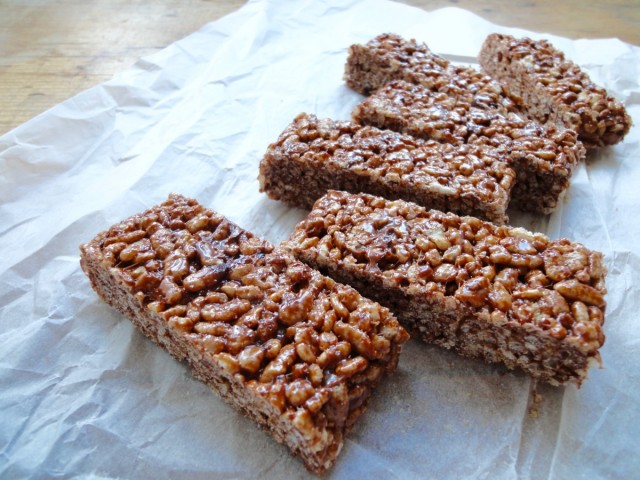
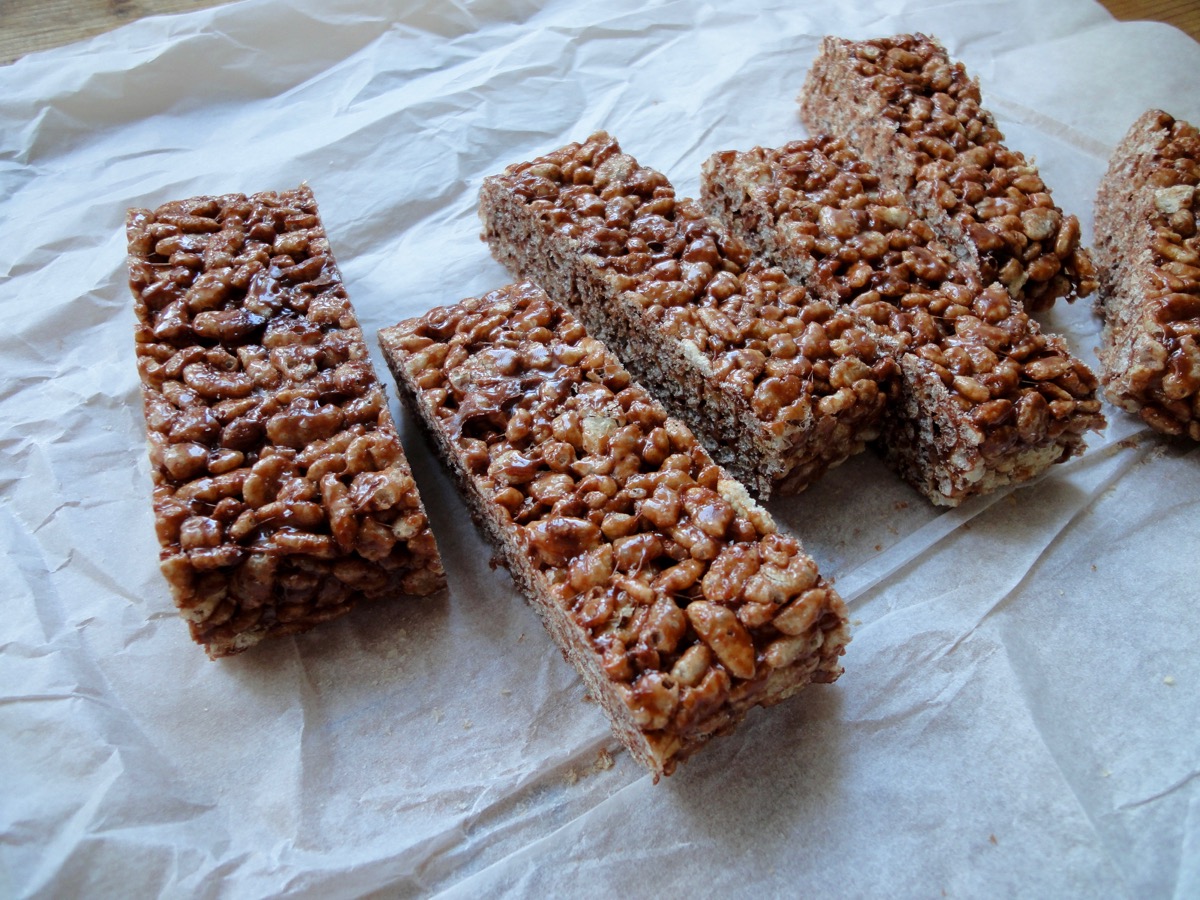
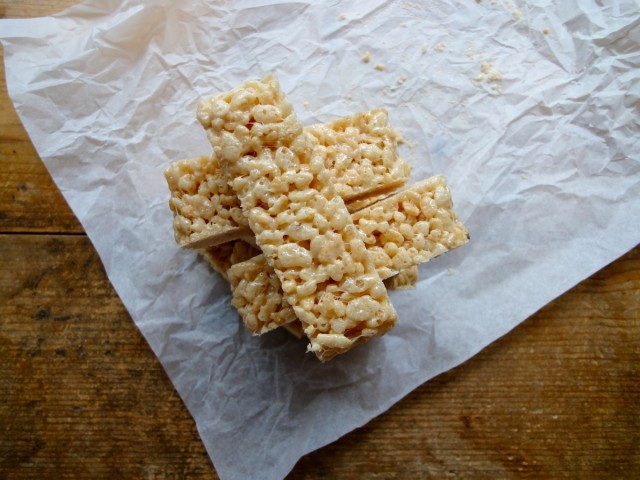
Chocolate Rice Krispies Treats
Back from a little Christmas/New Year break! Though it’s already into the second week of year 2016, I would like to wish you a Happy New Year and may this year be better than before.
As you may notice, I’ve got a thing for sweet stuff. I prefer anything sweet over flowers or materialistic things. Bring me a nice box of chocolates, confectionary or cake and I will be super happy! Sadly, my waistline won’t be happy. Heck, I can’t even see my waistline! Few nights ago I realised that it’s finally time to REALLY do something about my weight and sugary cravings. I’ve tried many things for a number of years and always made excuses. Now with great apps available on my phone and TV, it makes it easier to count calories, how many steps you take a day, and to analyse your food intake to help you make better choices. I’m really not one to make healthy choices with foods as I live to eat. This time I’m really going to try slowly but surely to cut my “protective” layers. What way better than to start off by posting a bitter sweet end to my sweet addiction? Chocolate Rice Krispies Treats. So hopefully after this you won’t be seeing much sweet recipes here unless I make something that doesn’t have much calories and sugar in it.
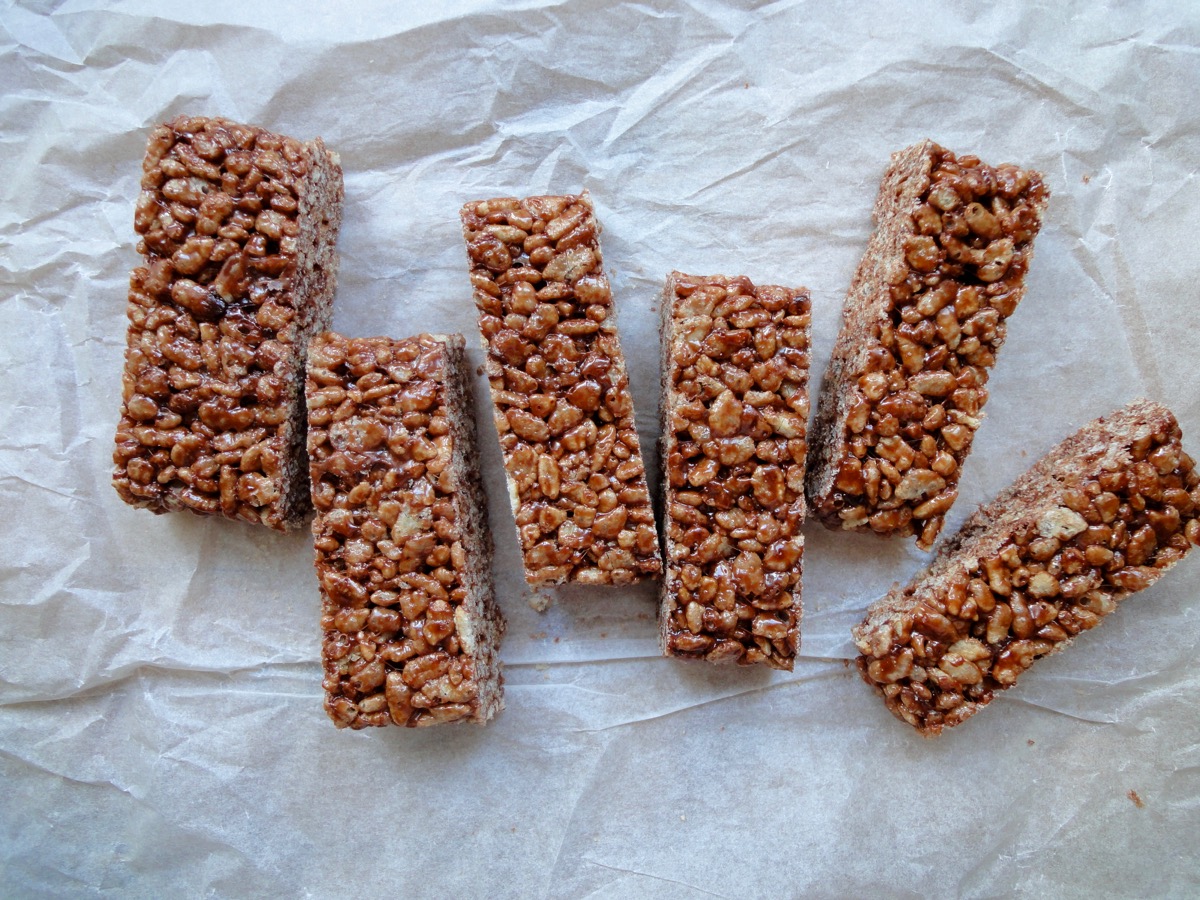
Chocolate Rice Krispies Treats are a variation of the regular Rice Krispies Treats. Simple and fast to make for a quick snack or fulfilling those sugar cravings. These that I made here are very basic, and if you are looking for something more eye catching then throw in some M&M’s, or drizzle some white chocolate on it to make it, pop.
Recipe adapted from Kelloggs The Original Treats ™ .
Ingredients
- 1 ½ Tablespoons Butter
- 5 oz / 140 grams Marshmallows
- 3 cups Chocolate Rice Krispies
- 1 teaspoon Vanilla Extract
- 2 Tablespoons Cocoa Powder
Directions:
- In a large non-stick pan, melt butter on low heat.
- Add marshmallows and stir until completely melted.
- Mix in cocoa powder and vanilla extract. Remove from heat.
- Add chocolate rice krispies, stir well until well coated.
- Transfer to parchment paper.
- Using another parchment paper or the same, press down the rice krispies and shape it into a rectangle. Size and shape depends on you.
- Allow to cool for 45 minutes. Cut and serve.
Tips:
- Conversion table
- 10 large Marshmallows = 3 oz = 85g
- 20 large Marshmallows = 6 oz = 170g
- 30 large Marshmallows = 9 oz = 250g
- 40 large Marshmallows = 12 oz = 350g
- 1 large Marshmallow = 10 miniature Marshmallows
- 10 large Marshmallows = 1 cup miniature Marshmallows
- 1 – 10oz bag miniature Marshmallows = 2 cups miniature Marshmallows
- You can also use a 13 x 9 x 2-inch pan coated with cooking spray to mould the treats. I use parchment paper as there’s less mess and one less dish to wash.
- You can also microwave the butter and marshmallow. In microwave-safe bowl heat butter and marshmallows on HIGH for 3 minutes, stirring after 2 minutes. Stir until smooth. Follow steps 3 onwards.
Enjoy and happy treating!

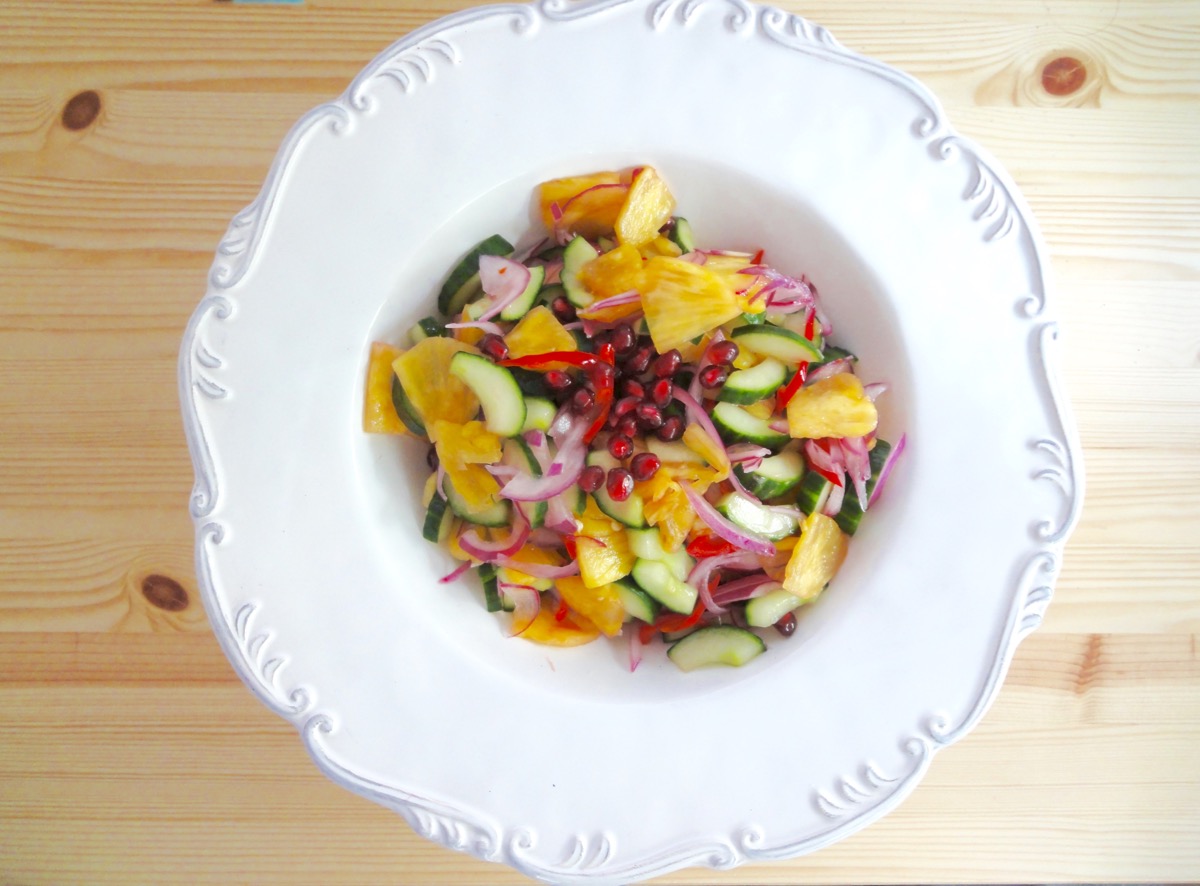
Spicy Cucumber & Pineapple Salad (Kerabu)
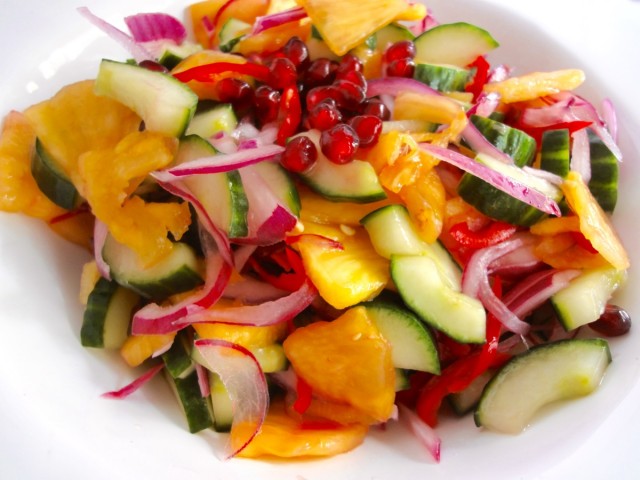
Kerabu means food that is made from cuts of cucumbers or vegetables seasoned with salt, chillies, etc. Yes, I got it out of the Bahasa Malaysia dictionary.
This past 2 weeks have been really hot in Switzerland, and I’m from a tropical country! I barely wanted to cook anything that involved standing in front of the stove. Moreover, I had guests over on Saturday (luckily it was cooler) and cooked butter chicken, so I paired this cold salad with it. It’s very refreshing with just a hint of spiciness.
For this recipe, I used some pomegranate because it caught my eyes while I went on my weekly grocery shopping. By the time I was done getting the gem-like seeds out, I looked like I had Unicorn tears all over me (according to the hubby). I made a mistake of wearing a white top. Lesson learnt. Plus, pomegranate gives the salad an awesome colour boost.
Ingredients
- 1 Cucumber, deseeded and diced
- ½ Pineapple, diced
- 5 tablespoons Pomegranate
- 1 medium Red Onion, thinly sliced
- 2 (or according to taste) Red Chillies, thinly sliced
Lime Dressing
- 3 tablespoons Lime, Key Lime or Kalamansi
- 2 tablespoons (or according to taste) Sugar
- To taste Salt
Directions:
- Mix limes with sugar and salt. Let dissolve.
- Combine all ingredients with lime dressing.
- Chill for an hour, toss it a few times in between.
- Serve.
Tips:
Enjoy!

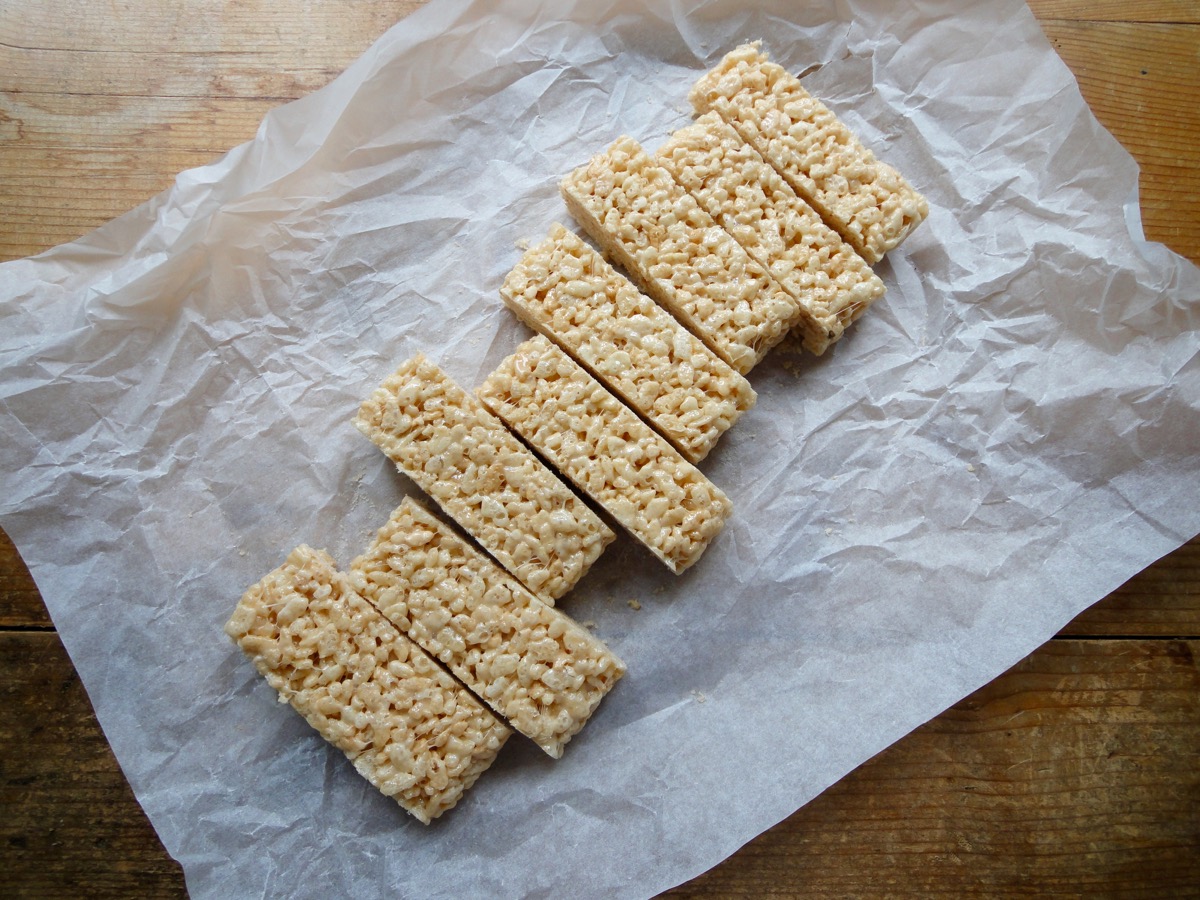
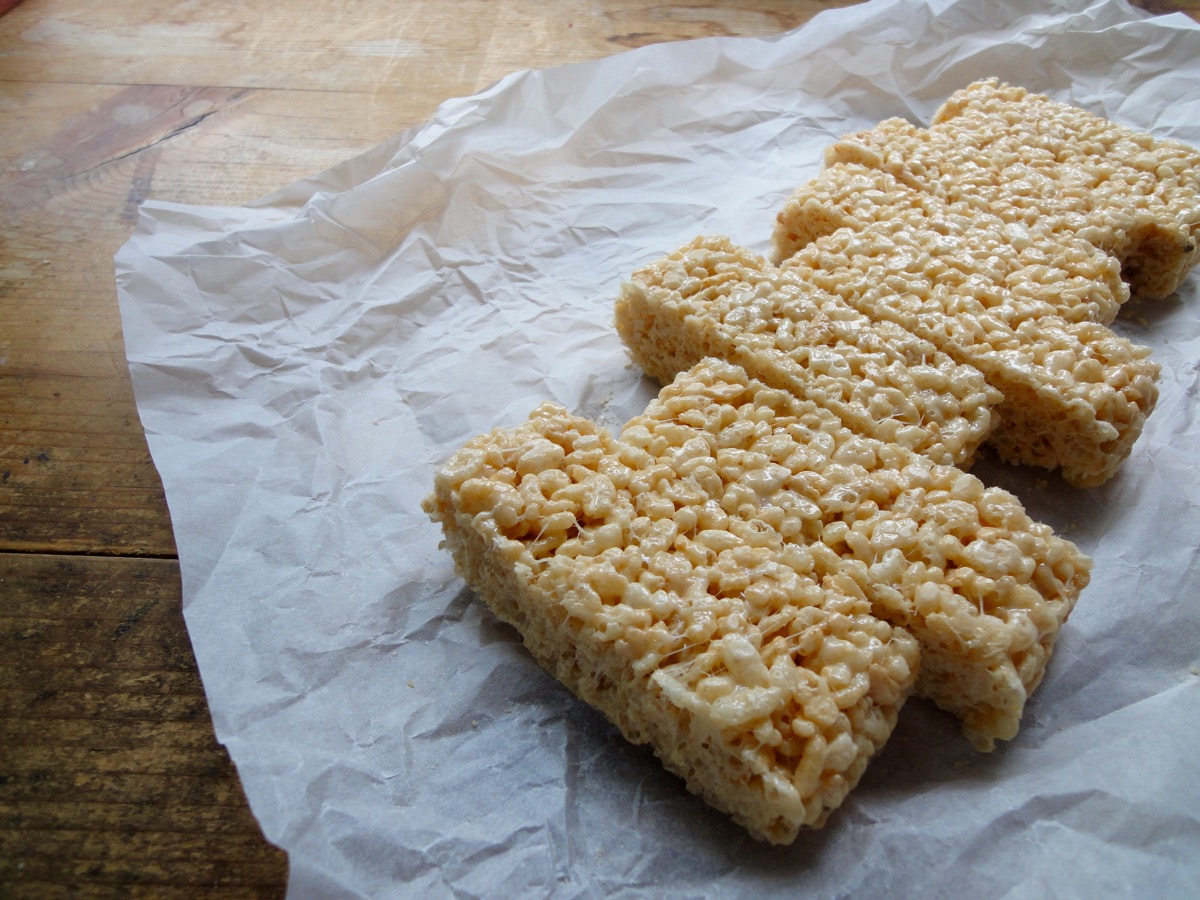
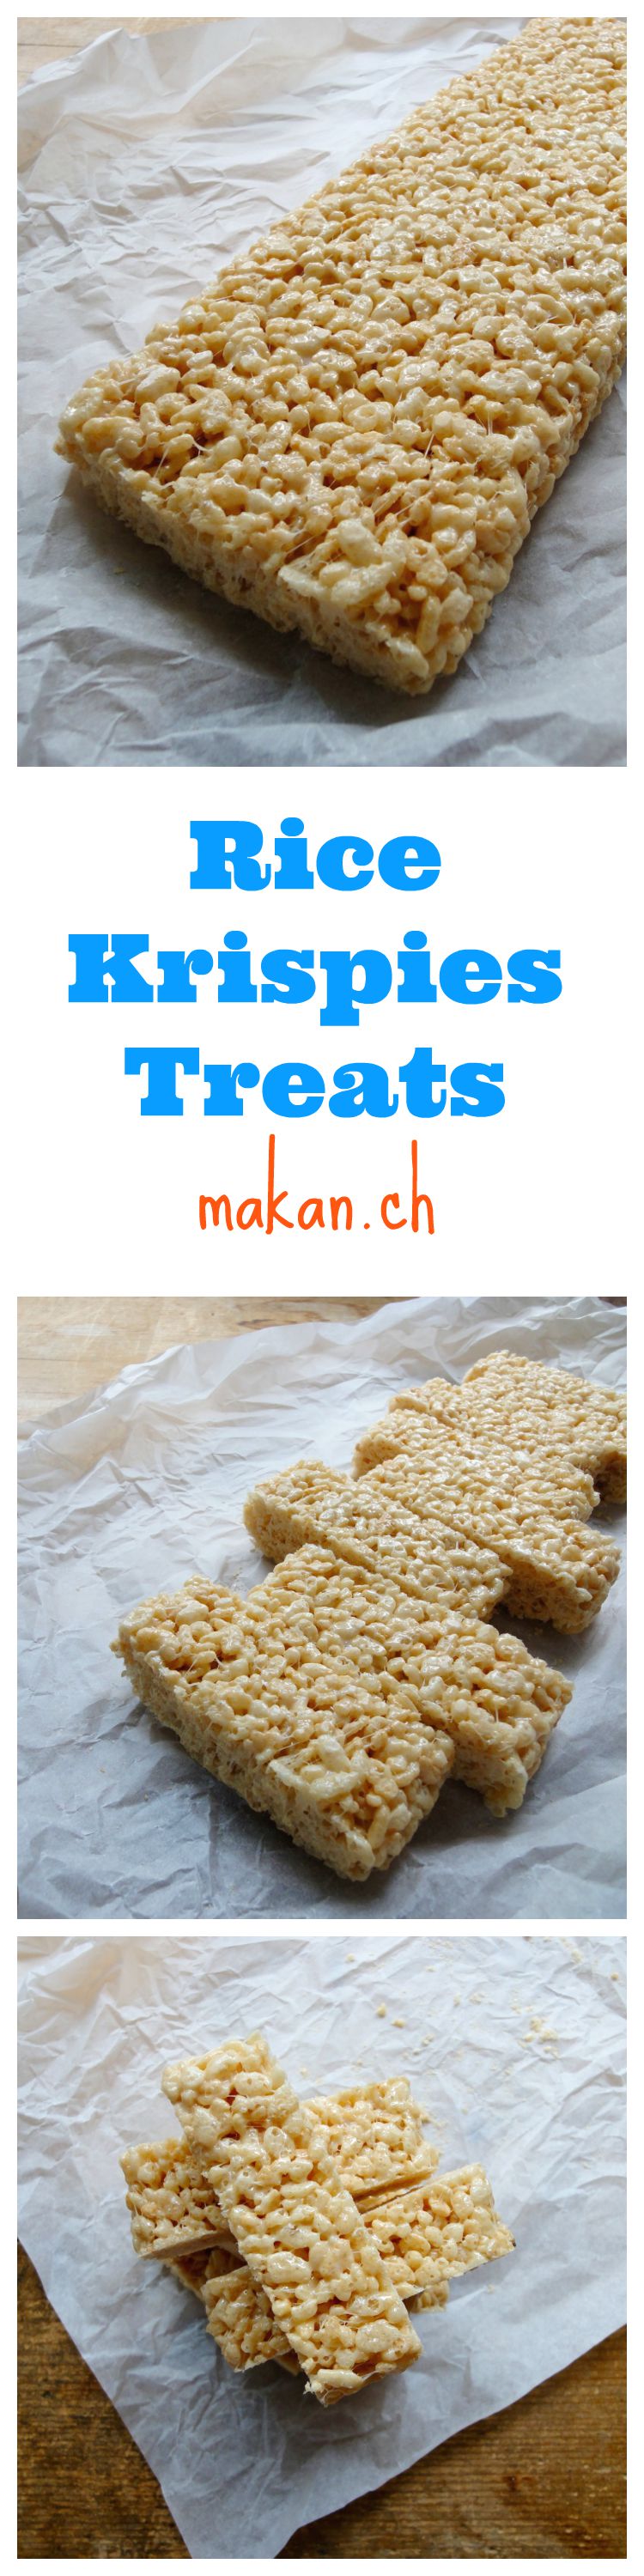
Rice Krispies Treats
These sweet treats used to be sold in Switzerland, now I can’t find them anywhere! I was first introduced to these treats back in Malaysia. My siblings and I loved these treats that were sold in blue packets. I’ve been really missing it recently and decided to make my own batch. They are so great that I actually finished the whole batch in a day. I was supposed to leave one for the hubby, but I ate it up 😛
So here it is, rice krispies treats to be made at home. Recipe adapted from Kelloggs The Original Treats ™

Ingredients
- 1 ½ Tablespoons Butter
- 5 oz / 140 grams Marshmallows
- 3 cups Rice Krispies
- 1 teaspoon Vanilla Extract
Directions:
- In a large non-stick pan, melt butter on low heat.
- Add marshmallows and stir until completely melted.
- Mix in vanilla extract and remove from heat.
- Add rice krispies, stir well until well coated.
- Transfer to parchment paper (in the middle)
- Using another parchment paper or the same, press down the rice krispies and shape it into a rectangle. Size and shape depends on you.
- Allow to cool for 45 minutes. Cut and serve.
Tips:
- Conversion table
- 10 large Marshmallows = 3 oz = 85g
- 20 large Marshmallows = 6 oz = 170g
- 30 large Marshmallows = 9 oz = 250g
- 40 large Marshmallows = 12 oz = 350g
- 1 large Marshmallow = 10 miniature Marshmallows
- 10 large Marshmallows = 1 cup miniature Marshmallows
- 1 – 10oz bag miniature Marshmallows = 2 cups miniature Marshmallows
- You can also use a 13 x 9 x 2-inch pan coated with cooking spray to mould the treats. I use parchment paper as there’s less mess and one less dish to wash.
- You can also microwave the butter and marshmallow. In microwave-safe bowl heat butter and marshmallows on HIGH for 3 minutes, stirring after 2 minutes. Stir until smooth. Follow steps 4 onwards.
Enjoy and happy treating!
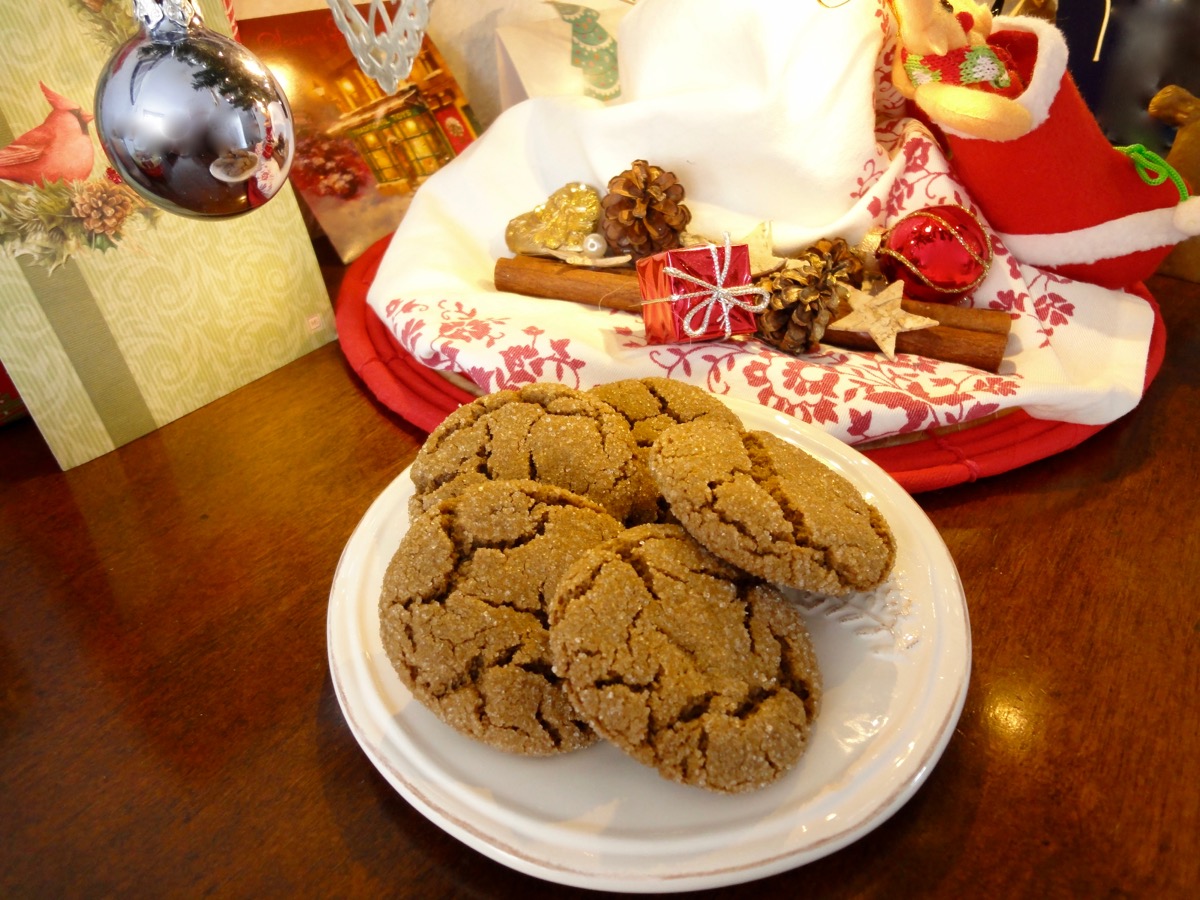
Christmas Edition: Ginger Cookies

Yay! The most wonderful time of the year is here! Christmas has always been my favourite holiday. The food, the decorations, the presents, the carols, and the heat… what? what heat? Why, Malaysian Christmas of course! I spent 21 years celebrating tropical Christmases, and now that I get to celebrate Christmas during winter makes me even love it more. I finally understand the carols where they roast chestnuts on an open fire, sip hot chocolate, that it’s actually cold outside, and most of all…a white Christmas. I had my first white Christmas in 2010. It was also my very first Christmas with my husband (then boyfriend).

Christmas Tree at a restaurant where I used to work back in 2010. My very first Christmas away from home. I cried when I saw this tree. I’m a little cry baby. 🙂
Christmas, has always been special to me. Lot’s of sadness and happiness all in one day. Being away for the most important holiday in my family has got to be one of the hardest days ever. But as I celebrate Christmas with my new family-just my husband and I, I am happy and get happier with each and every year I do with him. I get to annoy him by playing carols and watch corny Christmas movies. This year is particularly exciting as we are trying to set our own traditions. We already have 2 that we do each year, which is having Spaghetti à la Carbonara for our Christmas Eve dinner and on Christmas day, we stay home and watch my corny Christmas movies.

Our little Christmas tree. If it was up to me, I would have a 6 footer. 😀
Baking skills are often put to the test during the festive season. I tried to do a 12-day of Christmas Cookies for the blog but I started out a little too late to test out new cookies and having 12 types of cookies will certainly make my pants tighter! So instead, I shall give a few of my favourite treats during the holidays. First one being Ginger Cookies. Crunchy on the out and soft on the inside. These cookies are nice and spicy perfect for a cold cold winters day. These are thicker and soft cookies. If you want gingersnaps, you’d have to use shortening instead of butter. I never used to like ginger cookies, not until I had some from my mother’s close friend Aunty Emily. It’s been a long time since I had her ginger cookies but I fell in love with her cookies and the rest is history! Last year, instead of baking my own ginger cookies I got mine from Ikea. It’s not too bad, but it was too much for me to finish. I also thought that it required lots of work but it’s really easy!
So here it is…
Ingredients
- ¾ cup Butter
- 1 cup Sugar
- ¼ cup Molasses
- 1 Egg
- 2 cups All Purpose Flour
- 2 teaspoons Baking Soda
- 1 Tablespoon Ginger Powder
- 1 teaspoon Cinnamon Powder
- ¼ teaspoon Nutmeg Powder
- ½ teaspoon Salt
- ½ Cup Sugar, for coating
Directions:
- Preheat the oven to 175°C (350°F) and prepare baking trays with parchment paper.
- In a mixing bowl, cream butter and sugar till smooth.
- Add molasses and egg. Mix till combined.
- In another bowl, mix together ginger powder, cinnamon powder, nutmeg powder, flour, baking soda and salt.
- Add the dry ingredients into the wet ingredients and mix till it forms into a dough.
- Pour ½ cup of sugar into a bowl.
- Take 1 Tablespoon of dough and roll it into a ball. Drop the dough ball into the bowl of sugar and coat. Pop it in the fridge for 20 minutes if the dough gets warm.
- Place balls on prepared baking tray about 2 inches apart from each other. I would suggest 12 balls per tray.
- Bake for 10-12 minutes. *Please pay attention to the cookies 8 minutes in. Baking times may vary.
- Allow cookies to cool down on baking tray for 10 minutes before transferring to cooling rack.
- Store in an air tight container.
Tips:
- Conversion Table
- Dough is very soft, so you might need to pop it into the fridge for 30 minutes to make rolling easier. When I baked mine, my kitchen was very cold so I could roll and bake right away.
Enjoy and merry baking!