Bacon & Spinach Breakfast Mini Quiche

Another way to use bacon? I’m sold!
In the recent years, I have grown to like spinach. Why I say this is because, when I was a child…I really hated it! Every time my mother cooked spinach I would dread eating it. So I thought I could beat the system and pretend to chew my spinach. But I would then spit it out into my hand (yuck) and stick it below the wooden table. I thought I was good at it and that would be the perfect hiding place for my uneaten spinach…then one day…my mum decided to turn the table over to draw on it? (this was to prevent ants from crawling up) and I tried to coax her to not turn it over. It got too suspicious I guess and she did it…and there it was…my spinach art (double yuck). Instead of getting the usual scolding plus whacking, she laughed. PHEW! Well, the shame was enough to make me not do it again.
So, I had this bag of frozen spinach in my freezer and decided to use it for this mini quiche together with bacon and gruyere. I actually made this for Brinner (Breakfast for dinner) and the hubby loved it. There ware two versions of this, one baked with toast cups and one without. I made both; 6 with toast cups and 4 – without.
Recipe adapted from Recipe Tin Eats’ Quiche Toast Cups.
Toast Cups
- 6 slices or more Sandwich Bread, fresh
- To spread on sandwich bread Butter, softened
Bacon and Spinach Filling
- ¾ cup bacon Bacon, diced
- ½ cup Spinach, thawed
- 1 medium sized Red Onion, chopped
- 2 Eggs
- 2/3 cup Milk
- ⅓ cup Gruyere, grated
- To taste Salt
- To taste Black Pepper, grounded
Directions:
- Toast Cups
- Pre-heat oven to 180°C (350°F). Prepare a muffin/cupcake pan, brush with butter or spray with cooking spray.
- Melt butter.
- Take slices of fresh sandwich bread and cut it with a round cookie cutter (about 4 1/2 inch diameter).
- Flatten the bread with a rolling pin.
- Brush flattened bread with butter.
- Press the bread into the muffin/cupcake pan.
- Bake for 5-7 minutes.
- Bacon and Spinach Filling
- Fry bacon in pan, add onions once the bacon fat has rendered.
- Sauté till the onions are soft. Set aside.
- Thaw spinach and squeeze or strain any access liquid.
- In a medium sized bowl, whisk eggs, milk, cheese, salt and pepper. Add bacon, onions and spinach.
- Once toast cups are baked, pour the mixture into each toast cup – about 3/4 full.
- Fill balance of mixture into the rest of the muffin/cupcake pan.
- Bake for 20 minutes until the filling is set and golden brown. (I took mine out a tad too early, because we were hungry!)
Tips:
Enjoy!


Bacon & Spinach Breakfast Mini Quiche with Toast Cups

Bacon & Spinach Breakfast Mini Quiche

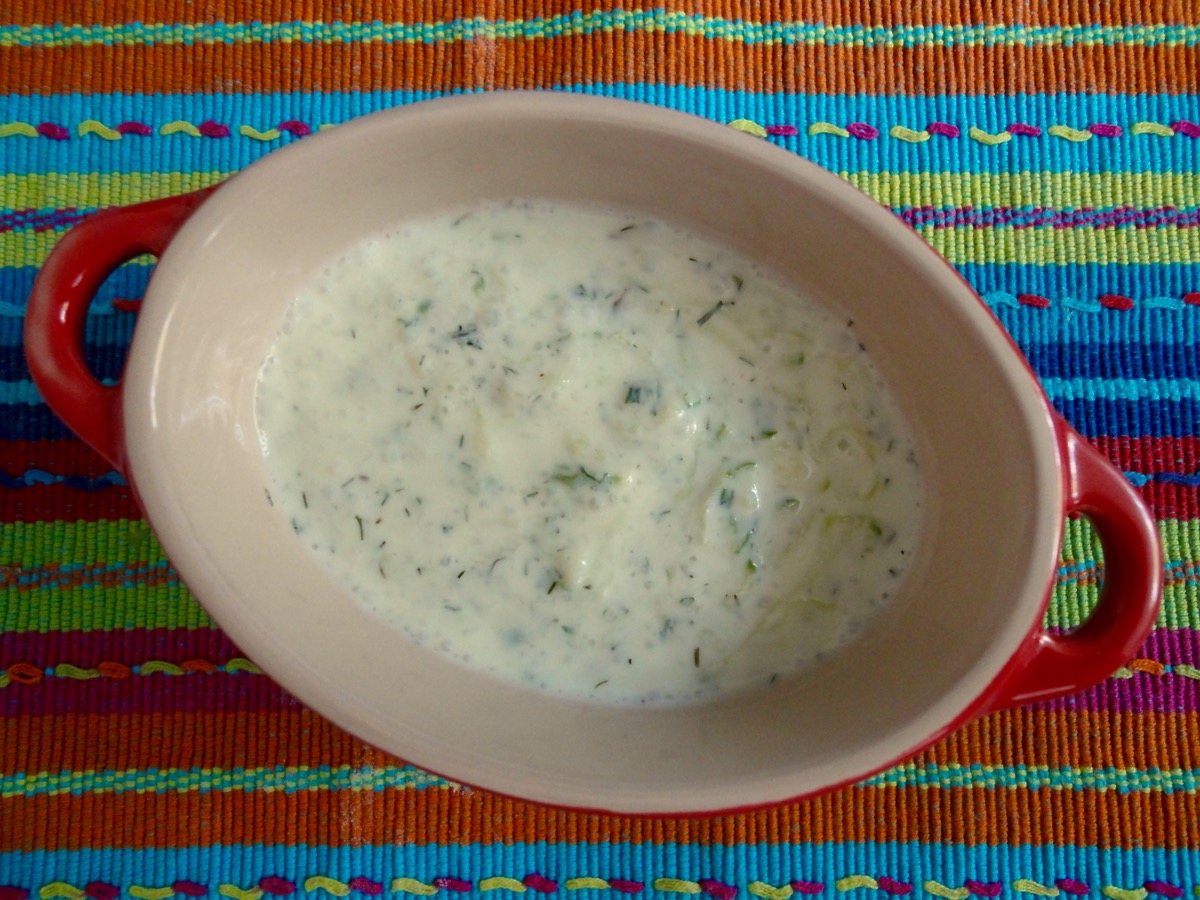
Tzatziki Sauce

A quick cold yogurt sauce great for Kebabs, Pita Bread with Falafel, or sandwiches.
Back in my Uni days, my friend Ling and I used to frequent a Kebab house that baked the best chicken wings ever! It was super crispy, juicy and tasty. Ling use to pair her wings with yogurt sauce and she introduced it to me. I loved it instantly! Ling also had a way to eat wings…with a fork and knife. On top of that, she actually spent time de-boning it before eating it. Her way was genius as you could then fill the wings up with the yogurt sauce! Like a stuffed chicken wing.
She was my eating, shopping, b*tching and sometimes snuggling/sleeping companion. We used to also spend lots of time watching trailers together. So Ling Ling, this is for you!
Ingredients
- ½ (about 6-inches) Cucumber
- 1 cup Yogurt or Greek Yogurt
- 1 clove Garlic, minced
- ½ tablespoon Dill, dried or fresh
- 1 tablespoon Fresh Mint, chopped
- 1 teaspoon Sugar
- To taste Salt
Directions:
- Cut cucumber lengthways, use a teaspoon to deseed.
- Use food processor to grate cucumbers.
- Mix cucumbers, yogurt, garlic, dill, chopped mint, salt and sugar.
- Refrigerate for 2 hours before serving.
Tips:
Enjoy!
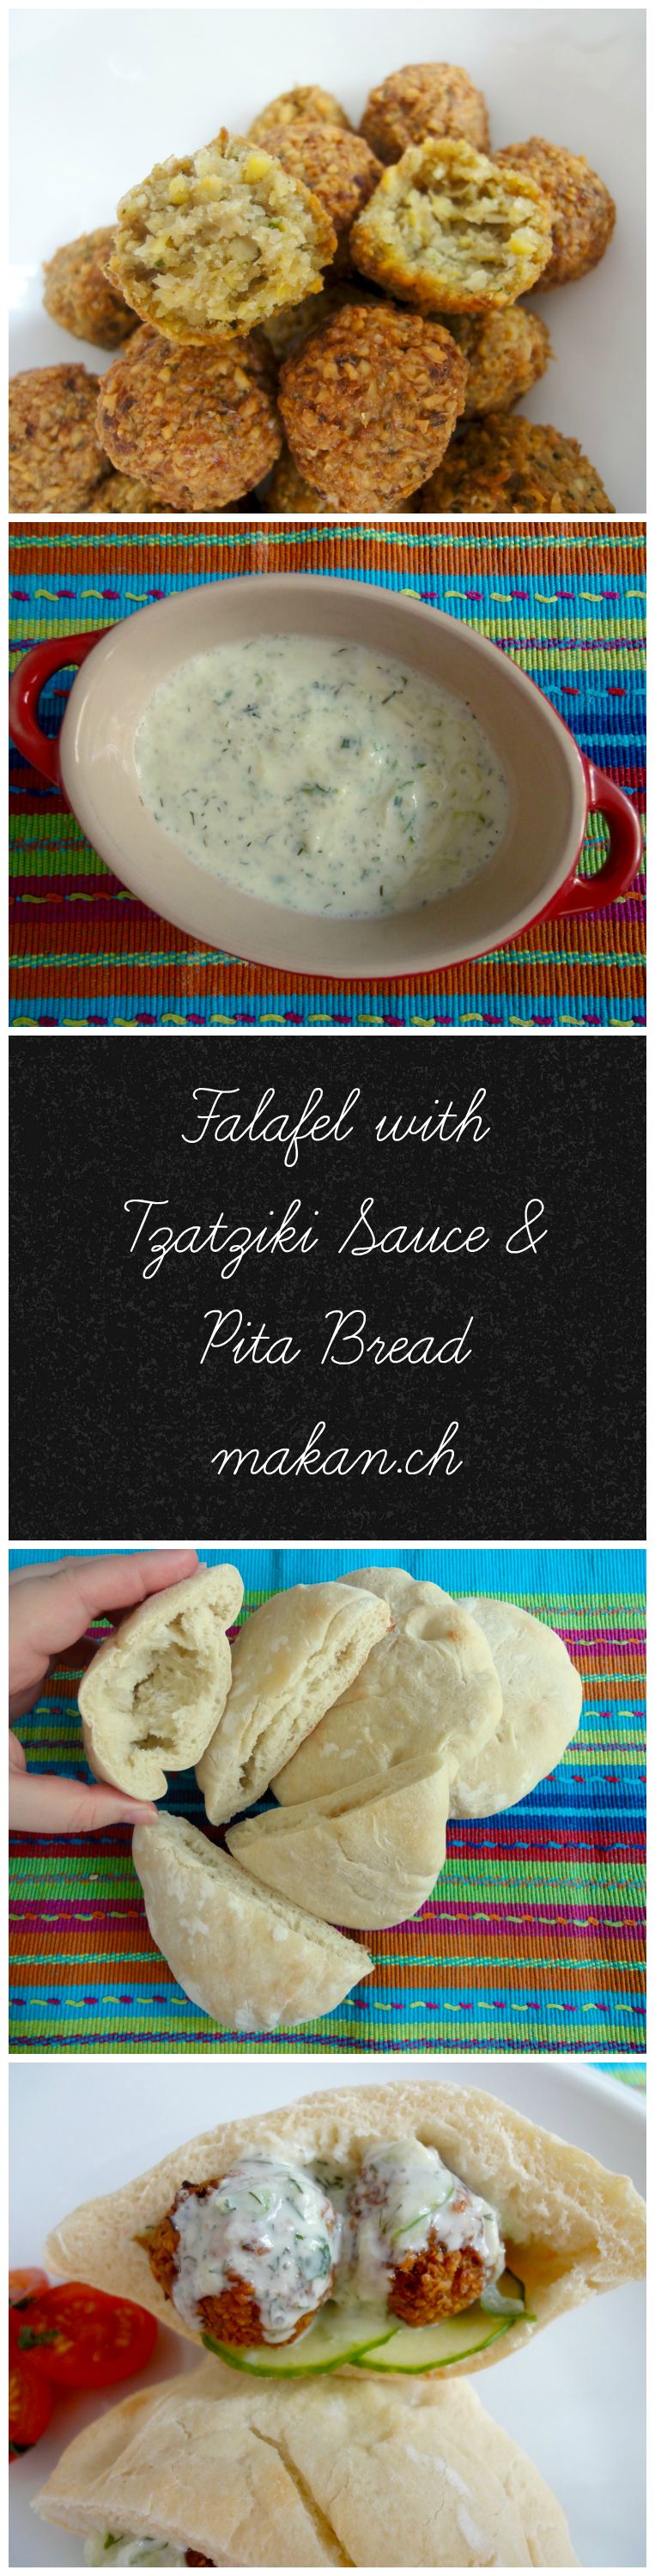
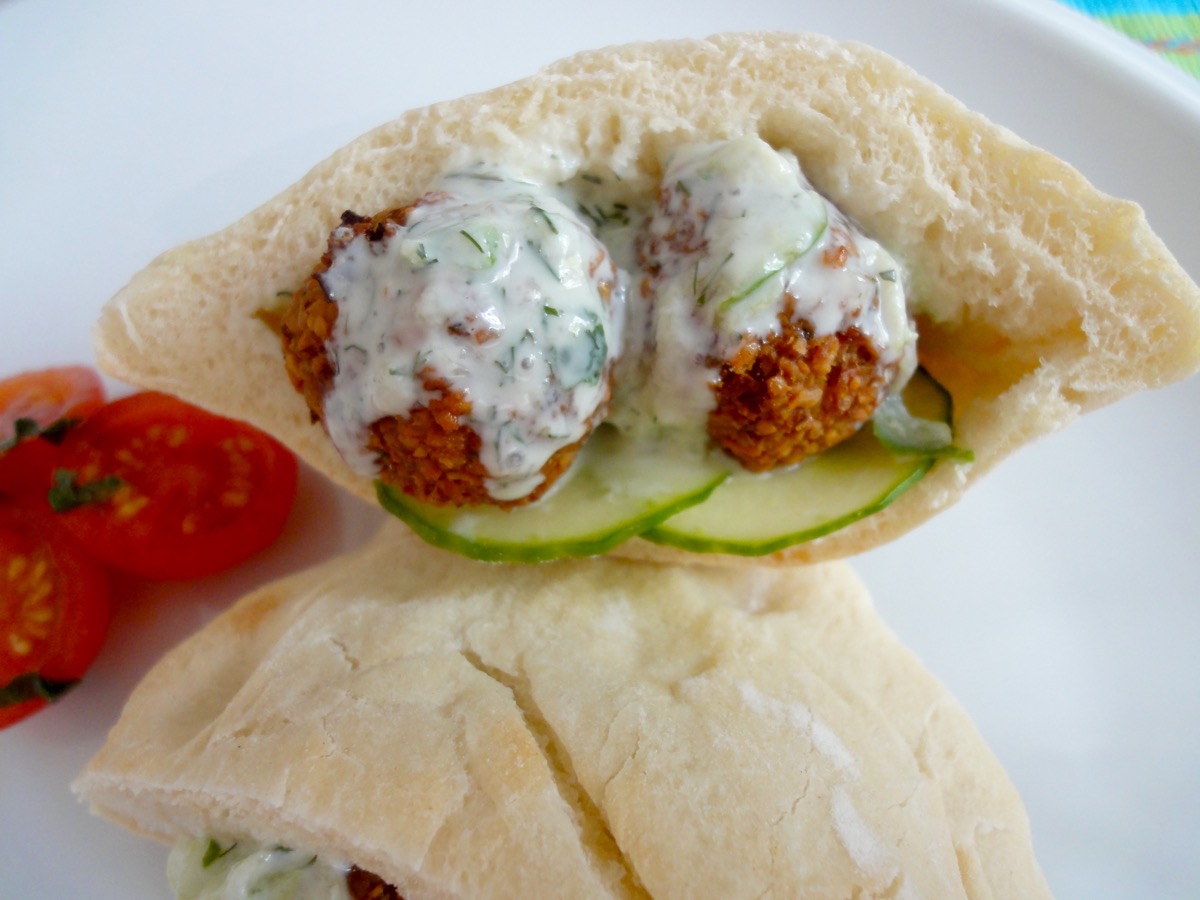
Pita with Falafel and Tzatziki Sauce
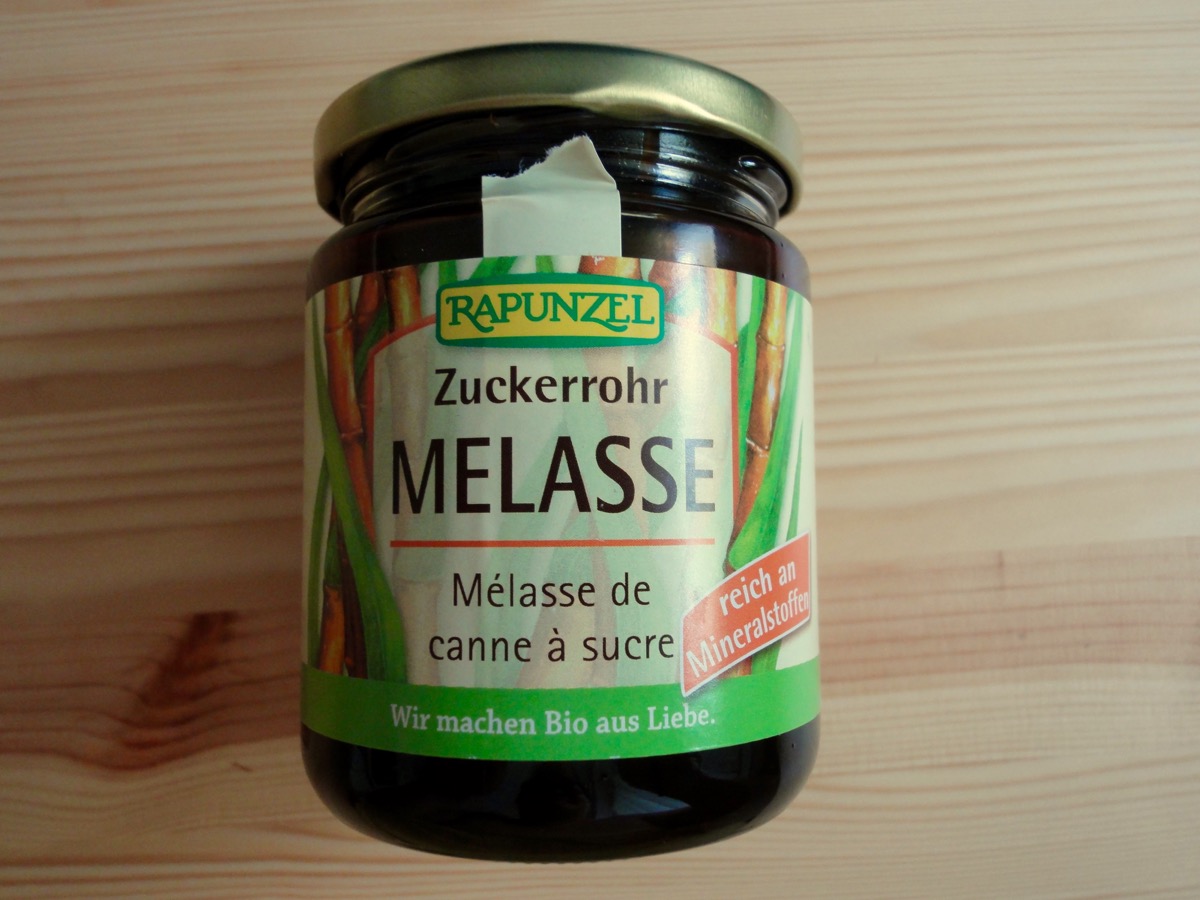
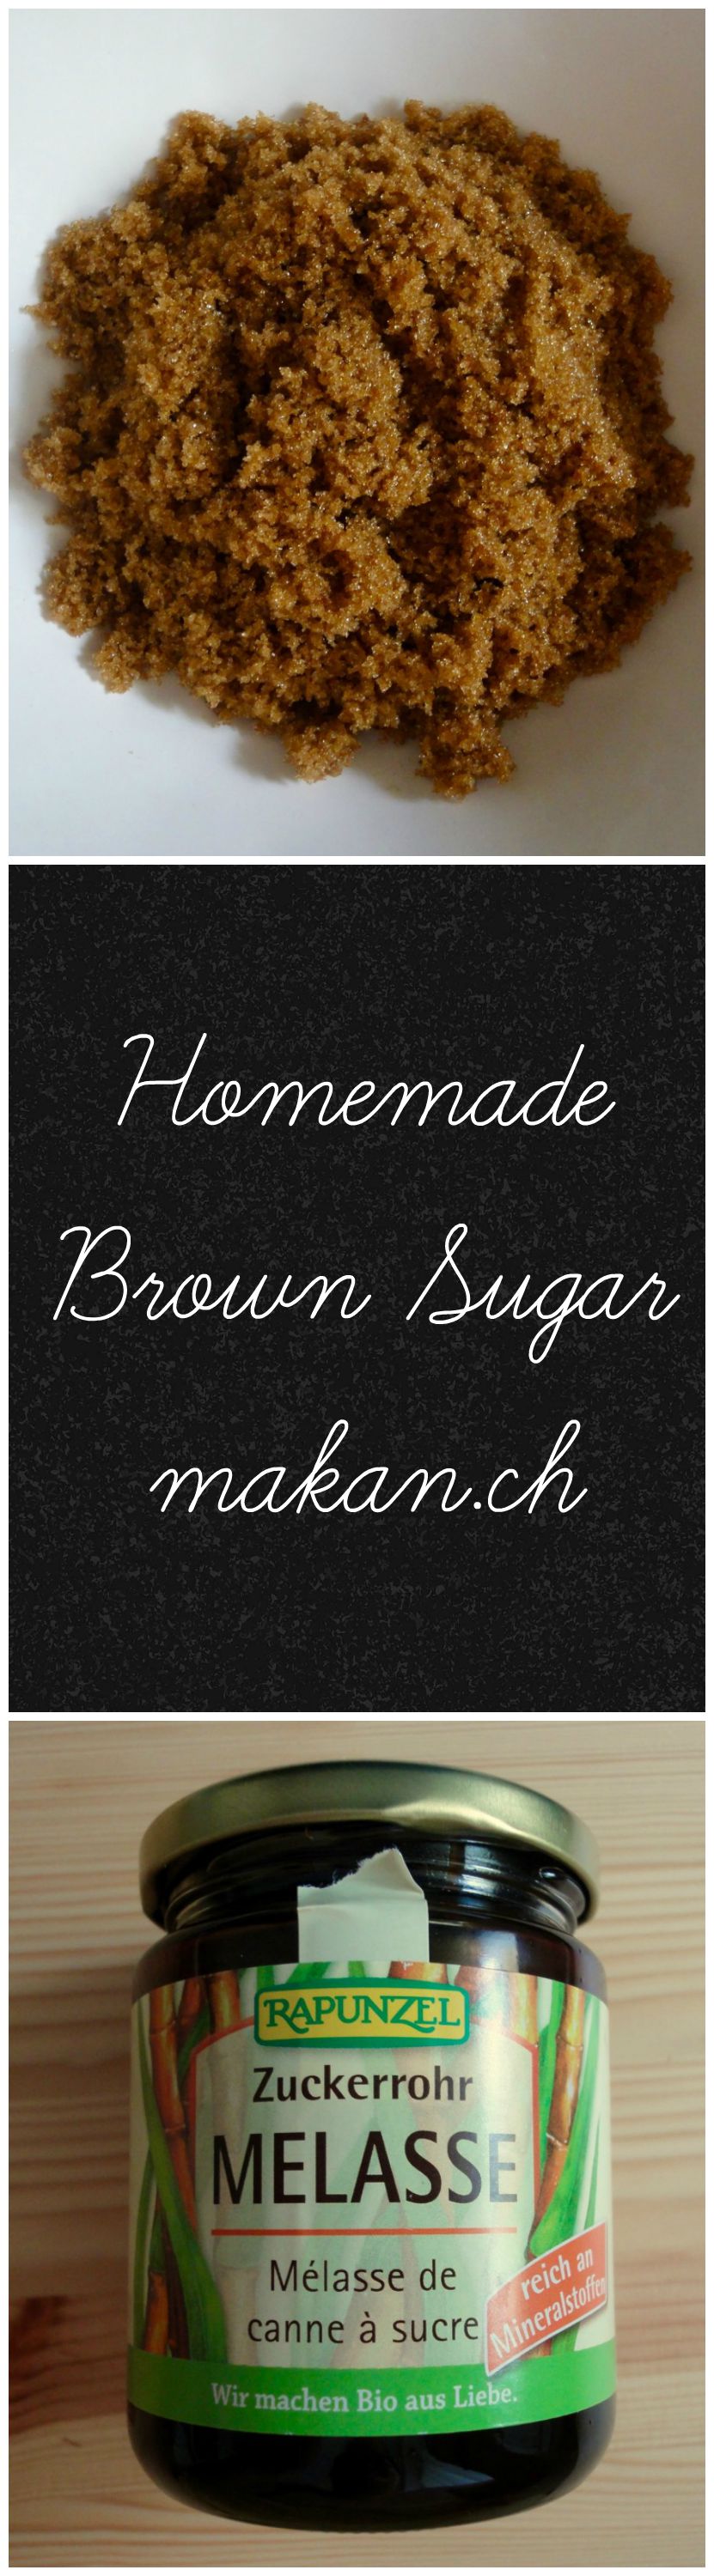
Homemade Dark Brown Sugar
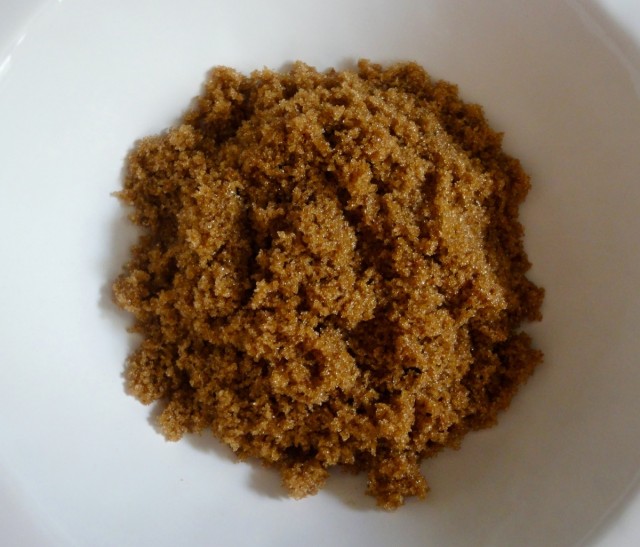
Many recipes call for brown sugar, especially cookies. But in Switzerland, you can’t easily get soft packed brown sugar in grocery stores…and even if they have it, it’s pricy. Since brown sugar is just regular white sugar with molasses, why not make it at home? The other part was finding molasses! In the regular stores, the only have Tafelmelasse which is a molasses spread for bread. It’s very thick and syrupy, almost like a different grade of maple syrup. I tried that one out but the robust taste of molasses was greatly missing. So I went to Alnatura which is a Bio Shop (Organic) near me and found Zuckerrohr Melasse (Blackstrap Molasses). So all you need is plain white sugar and molasses, blitz it up in a food processor and you are all set!
Ingredients
- 1 cup Sugar
- 1 tablespoon Molasses
Directions :
- Add ingredients to food processor.
- Blend until combine.
- Store in an air tight container.
Tips:
- For light brown sugar, reduce blackstrap molasses to half.
- Blackstrap molasses is also known as treacle.
- Cups to Grams conversions
Enjoy!

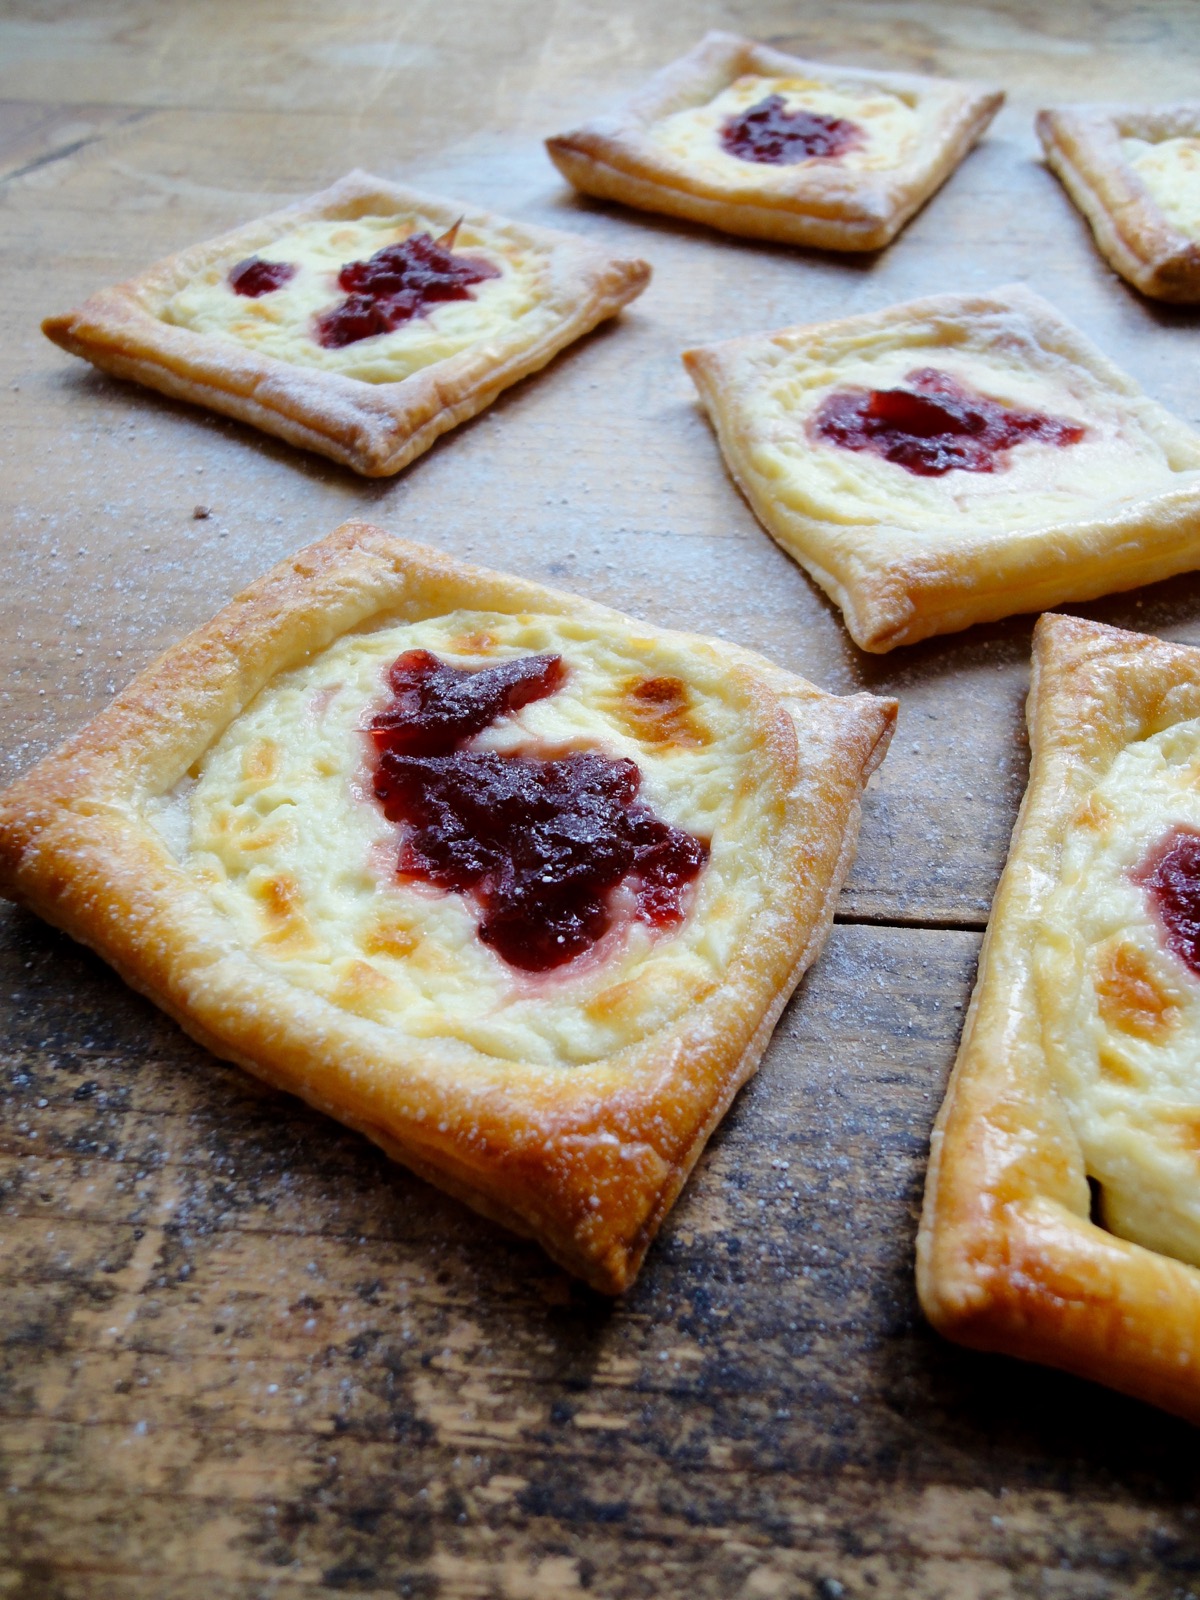
Cream Cheese & Cranberry Danish

Back when I worked at Starbucks, they sold cream cheese danish’s. It sold quite well and a lot of it landed in my belly too, resulting in high quality padding for my bones and organs 😛 Their’s were of course made with real danish dough, while I just use puff pastry. One day when I have the patiences, I will try my hand at danish dough. Anyways, the past few weeks I have been craving that cream cheese danish. But I was thinking too much about it that I got scared of the thought of making it. The one sold at Starbucks was fully covered, like McDonald’s apple pie. That would require me to use more puff pastry so I decided to make an open-faced one.

I was also feeling a little left behind seeing that many other bloggers were churning out pumpkin recipes (it’s the season) and I’ve got no pumpkin recipe to give. Mainly because cutting a whole pumpkin is scary and buying it sliced is expensive. Canned pumpkin is not much of an option because it’s also expensive and why should I buy canned pumpkin puree when I could ‘easily’ make my own. So, instead of joining the crowd of pumpkin recipe churners, I decided to go with Cranberries. It’s cranberry season too and my local grocery store sells cranberries! Last year, I made 4 – 500 ml jars of cranberry jam and I still have one more jar left in my pantry. The jam that I use here is from last years batch and I am going to make a new batch of jam soon. Only thing is, I used too little jam on it in the pictures here. If you want more jam, do add more than just a teaspoon. 🙂

Potato Quality Step 4
Ingredients
- 1 rectangle or square (320g) Puff Pastry
- 1 Egg
- 1 Tablespoon Water
- For dusting Powdered Sugar
Cream Cheese Filling
- ½ - ¾ cup Cream Cheese
- 2 Tablespoons Powdered Sugar
- 1 teaspoon Vanilla Extract
- 1 - 1½ teaspoon per Danish Cranberry Jam
Directions:
- Pre-heat oven to 190°C (375°F). Line a baking tray with parchment paper.
- Roll out puff pastry and cut into even squares or rectangles. (I got around 15)
- Transfer to baking tray.
- With a sharp knife, score an inner rectangle or square but do not cut all the way through. (See picture above. Helps puff pastry puff up without spilling the filling)
- With a fork, prick the centre of the puff pastry rectangle.
- In a small bowl, mix cream cheese, powdered sugar and vanilla extract.
- Place about 2 teaspoons (or as you see fit) in the centre of the puff pastry.
- Top cream cheese with 1 – 1½ teaspoon of cranberry jam (or any jam of your choice).
- In another small bowl, beat an egg with 1 Tablespoon of water.
- Brush the edges of the puff pastry .
- Bake for 15-18 minutes or till the pastry is golden brown and puffed up.
- Cool on a wire wrack and dust with powdered sugar once completely cooled.
Tips:
- Always work with cold puff pastry.
- Not a fan of sweet stuff? To make it savoury, simply omit the sugar, vanilla and jam. Instead add some salt, herbs, garlic granules to the cream cheese and top with gravlax after it’s baked.
- Conversion Table
Enjoy and happy baking!
P.S: Don’t know why, but my hubby actually ate 4-5 pieces of these Danishes. He ain’t a fan of sweet stuff. 😮

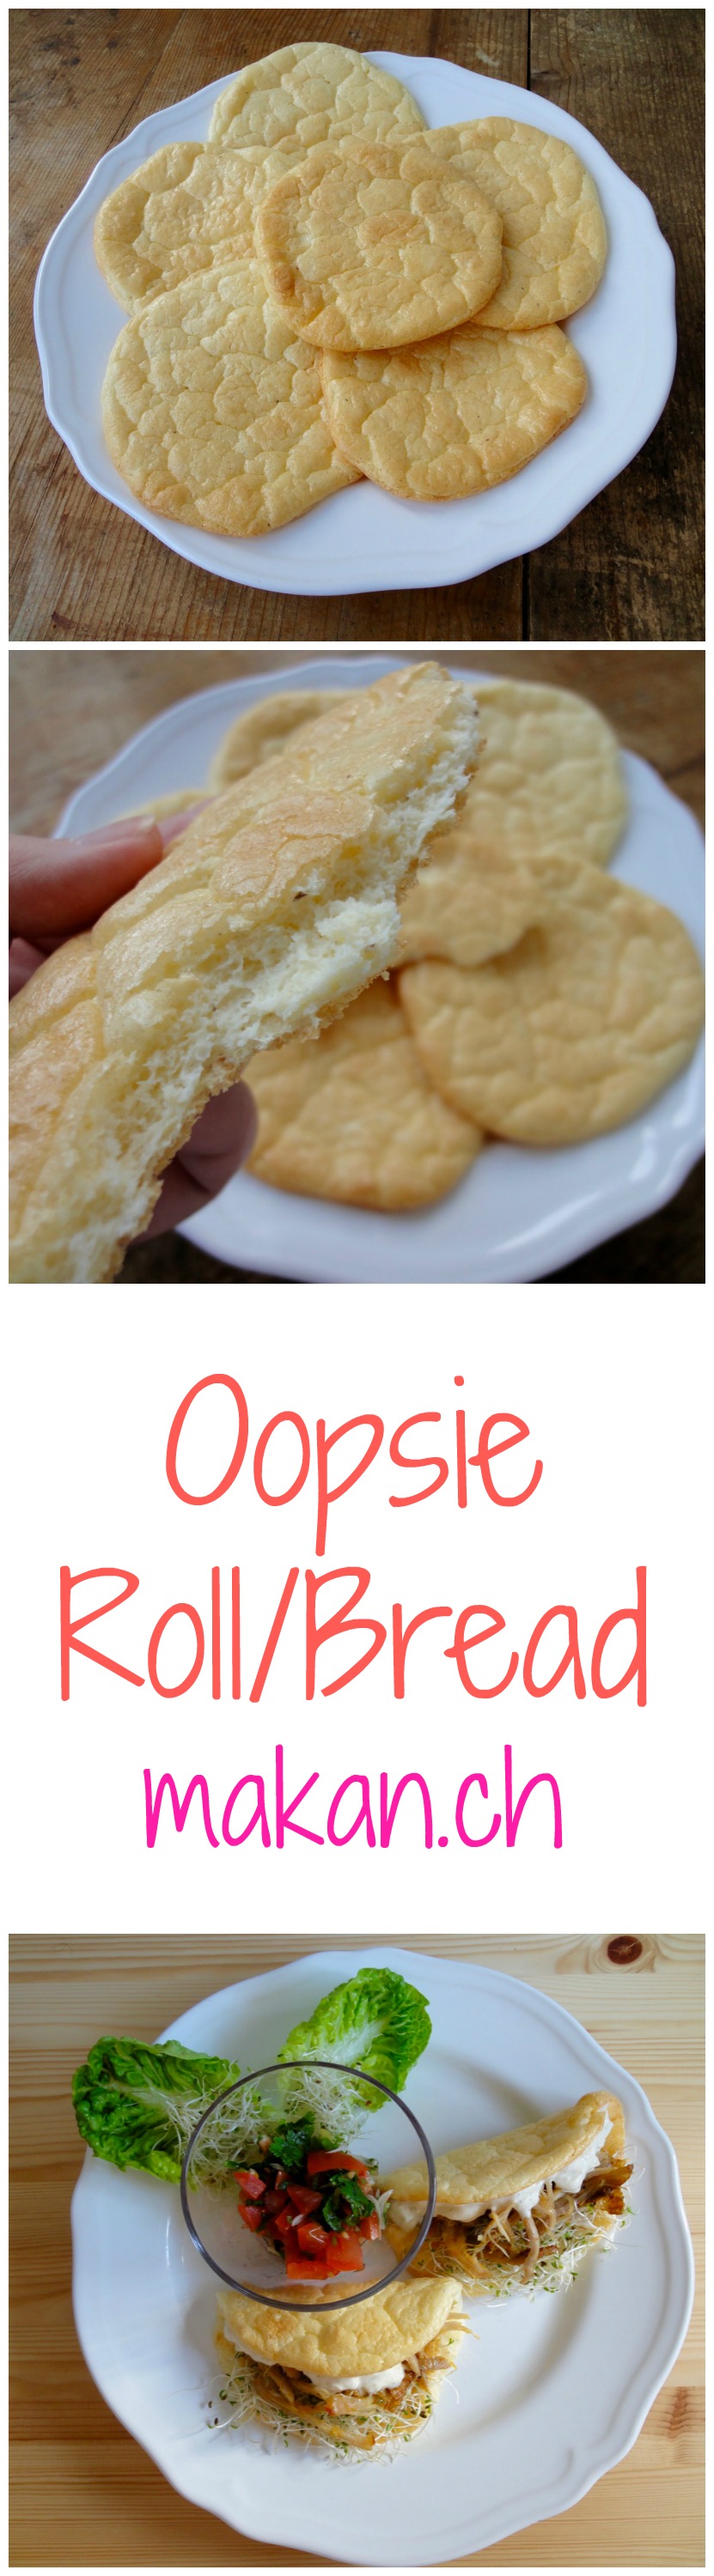
Oopsie Rolls / Bread

Watching your carbs but can’t resist bread? On a LCHF or Keto diet and miss that bun on your burger? Sick of just eating meat without a starch to accompany it? Here’s the solution. Oopsie Rolls / Bread. Of course it’s not the same as bread, but I find it a reasonable and quick substitute. These rolls/bread was created (not by me) by accident, hence the name of it. Use it as a replacement for foods that you would normally have with bread such as, hotdogs, burgers, sandwiches or wraps. You can even use it as a dessert like swiss rolls, pancakes or crepes. However, there are better keto friendly dessert recipes other than this.
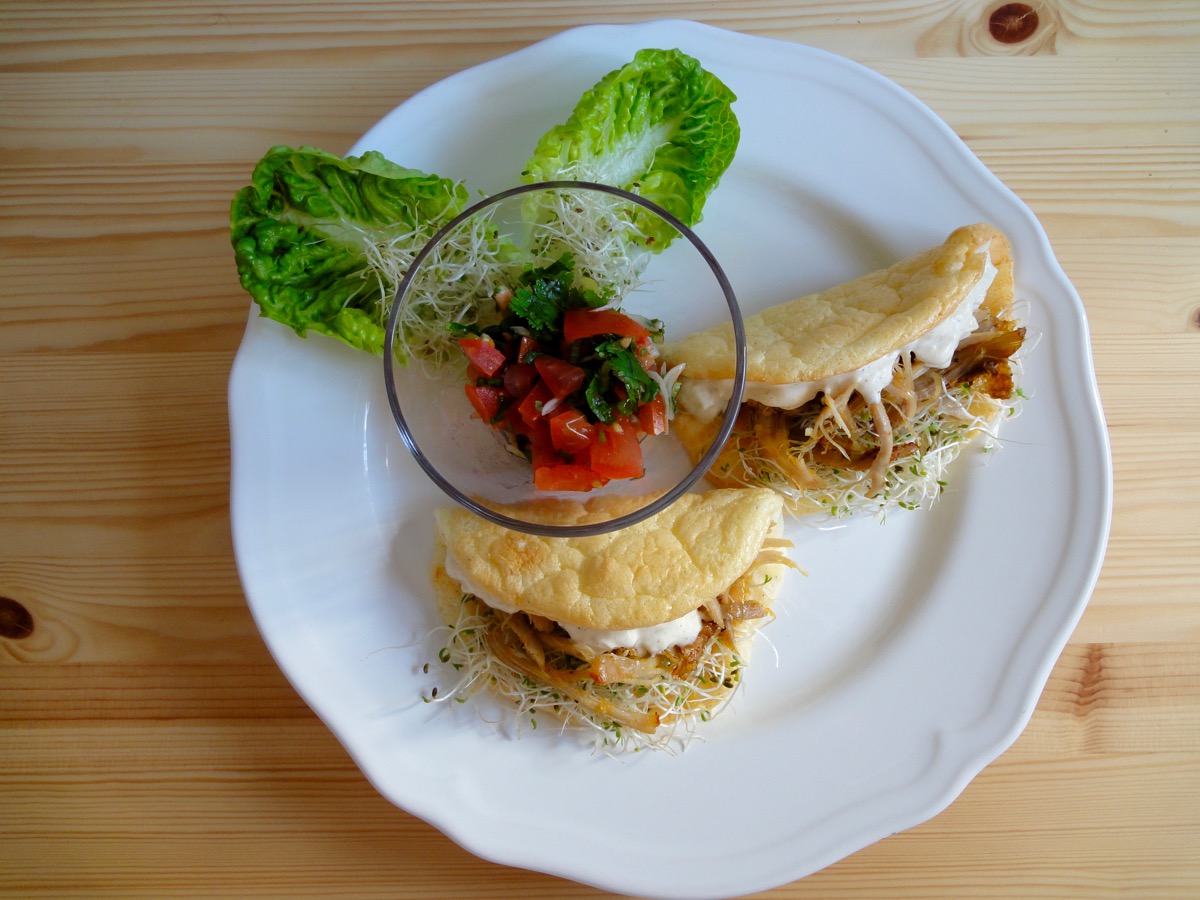
My keto lunch today, Oopsie Rolls with Alfalfa Sprouts, Shredded Chicken (leftovers), aioli with a side of homemade salsa. 530kcal, 4g Carbs, 25g Fat, 34g Protein.
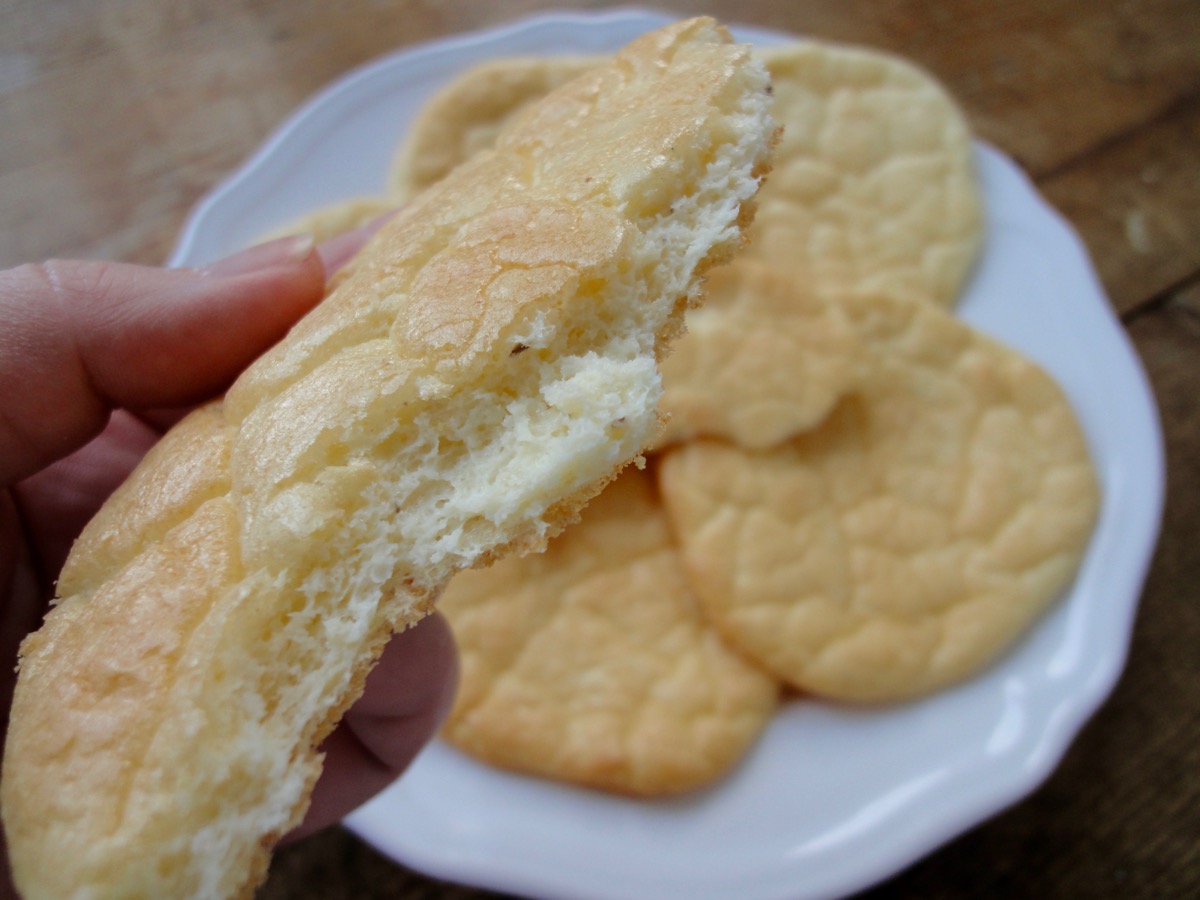
The texture of these rolls/bread is like an overly fluffed up scramble egg. Very soft, spongy, delicate and tear very easily. It’s best to eat the rolls/bread the day you make it.
This is a very simple recipe and you probably already have the ingredients on hand. Psyllium husk is optional but it is a good edition as it is a source of soluble dietary fiber and it gives you a full feeling. It also does not affect the taste of the rolls/bread. Be sure to drink lots of fluids when using psyllium husk. Also, if you do not know about psyllium husk, research it well before using it. It can be bought in any health stores, reformhaus, or amazon.
Recipe from DietDoctor.
Ingredients
- 3 Eggs, medium (separated)
- 100 grams / 3½ oz Cream Cheese
- ½ teaspoon Baking Powder
- ½ Tablespoon Psyllium Husk Powder (optional)
- To Taste Salt
Directions:
- Pre-heat oven to 150°C (300°F). Line a baking tray with parchment paper.
- Have 2 bowls ready. Separate eggs. White in one bowl and yolk in the other.
- Take the bowl with yolk. Add cream cheese and whisk till frothy and fully combined (no more clumps).
- Mix in baking powder and psyllium husk powder if using. Set aside.
- Using a hand mixer/stand mixer, whip up egg whites till it reaches stiff peaks. It should be able to not fall/drop when you turn the bowl upside down and shake.
- Gently fold in egg yolk mixture into the egg whites. Be very gentle with it as you do not want to deflate the egg whites.
- Once fully mixed, scoop out mixture onto baking tray. 6 big ones or 8 small ones.
- Bake for 25 minutes.
Tips:
- Conversion Table
- For more nutritional information, please visit my Yummly page and scroll to the bottom of the recipe.
- If you are using MyFitnessPal app to count calories, first copy the recipe URL then go to MyFitnessPal app to Recipes, select Create a New Recipe, then Add from the Web. Paste the URL, match ingredients and that’s it!
- Always match ingredients to the ones you use. Ingredient nutritional facts differ depending on brand.
Enjoy!
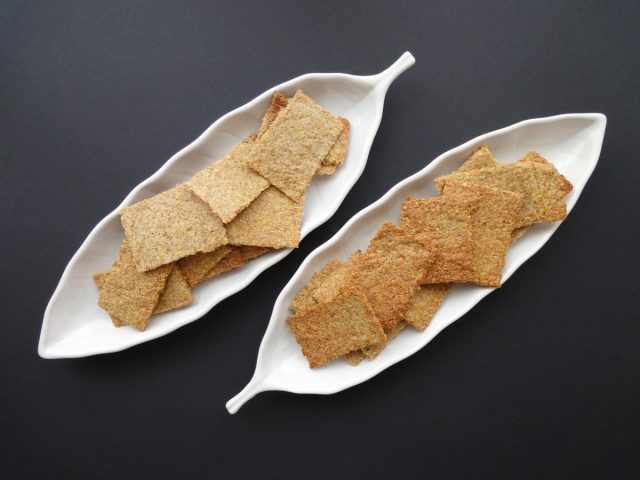
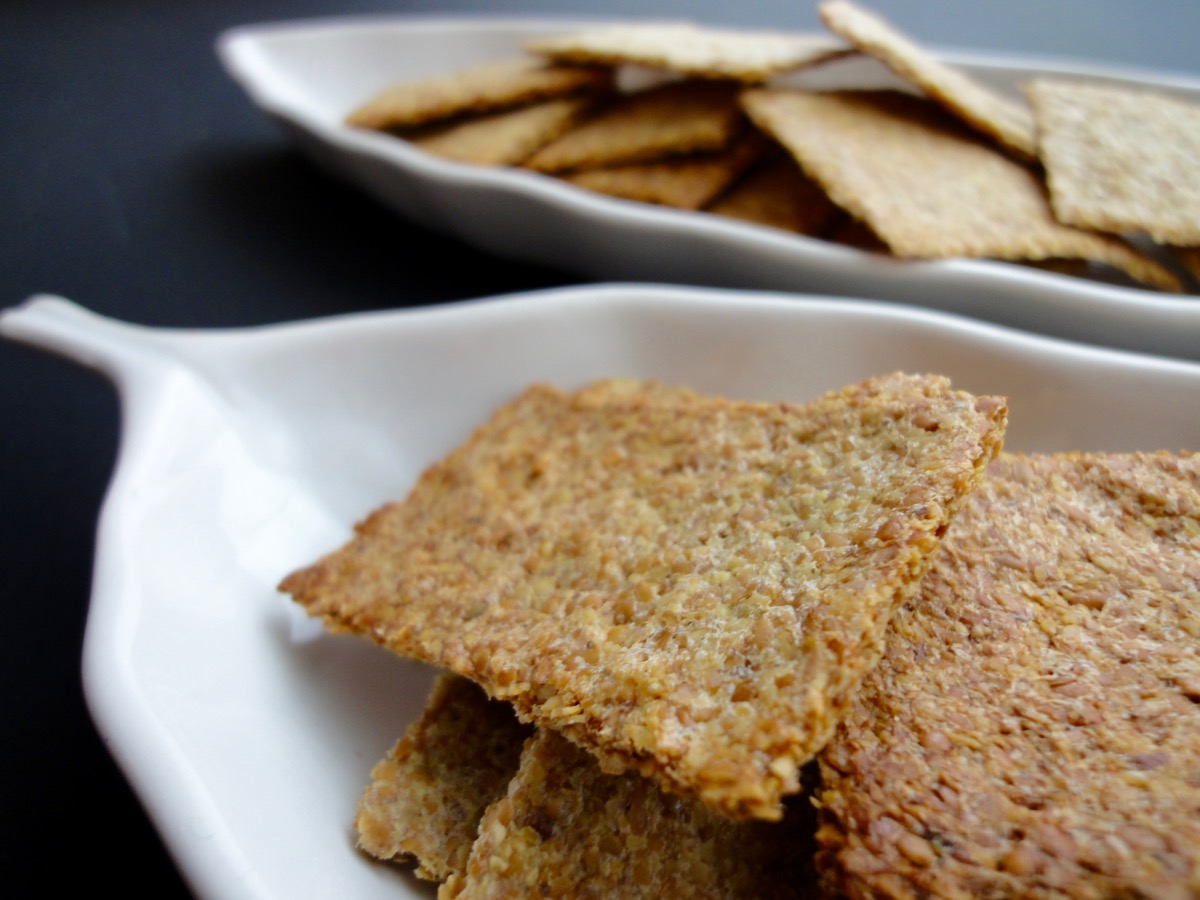
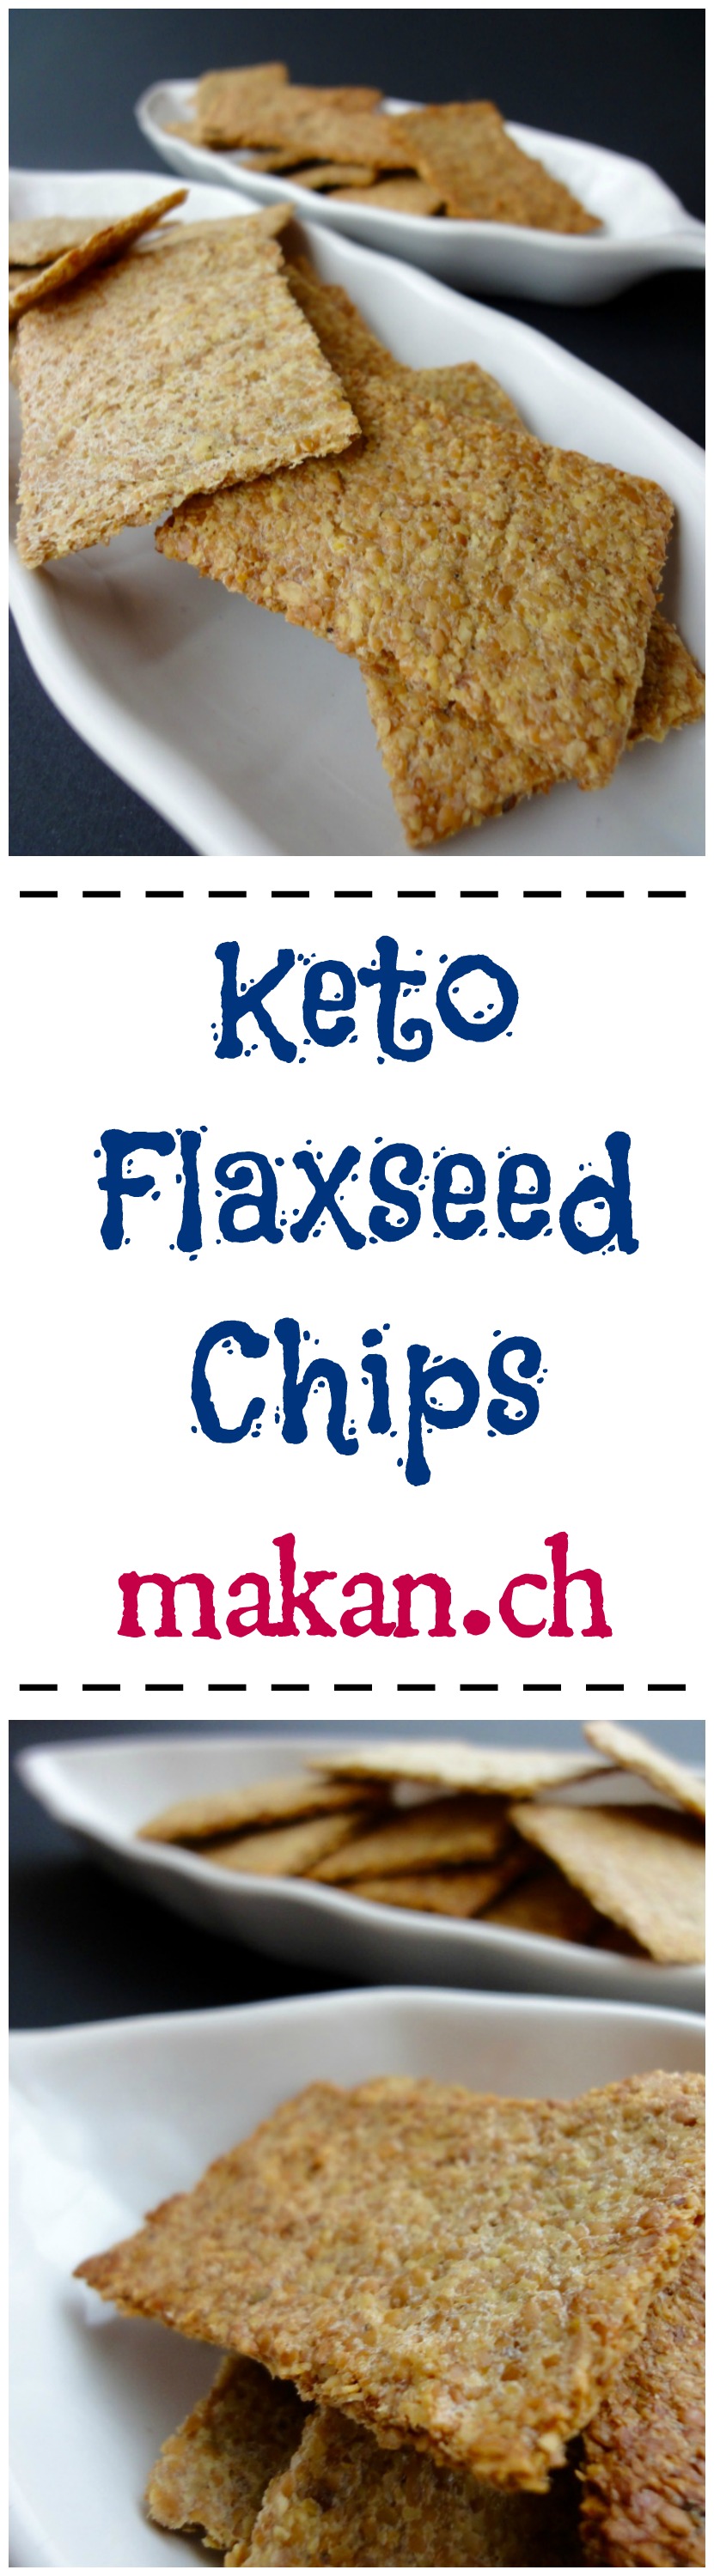
Keto Flaxseed Chips
Hello, hello! I’ve not been spending time on my blog for the past month! Honestly, I’m running out of ideas and I’ve been eating simple meals which I think don’t need to be on the blog. Anyways, I’m getting my groove back and certainly meal ideas for those who are on the keto way of eating.
Most chips sold in supermarkets are made from either potatoes or flour, which are obviously high in carbs. There’s reduced fat, fat free, sodium free and gluten free, but no low carb. So I was looking for something crunchy to snack on or have as dips and I came across this Low Carb Flaxseed Chips from Low Carb Recipe Ideas. I tried it out and got hooked. Hooked so much, I would make it at least once a week.
You can adjust seasoning according to what you like. I like mine a little spicy so I add a chili powder mix of cayenne, chili, cumin, and paprika. These chips are perfect as a dip or a high fiber snack.
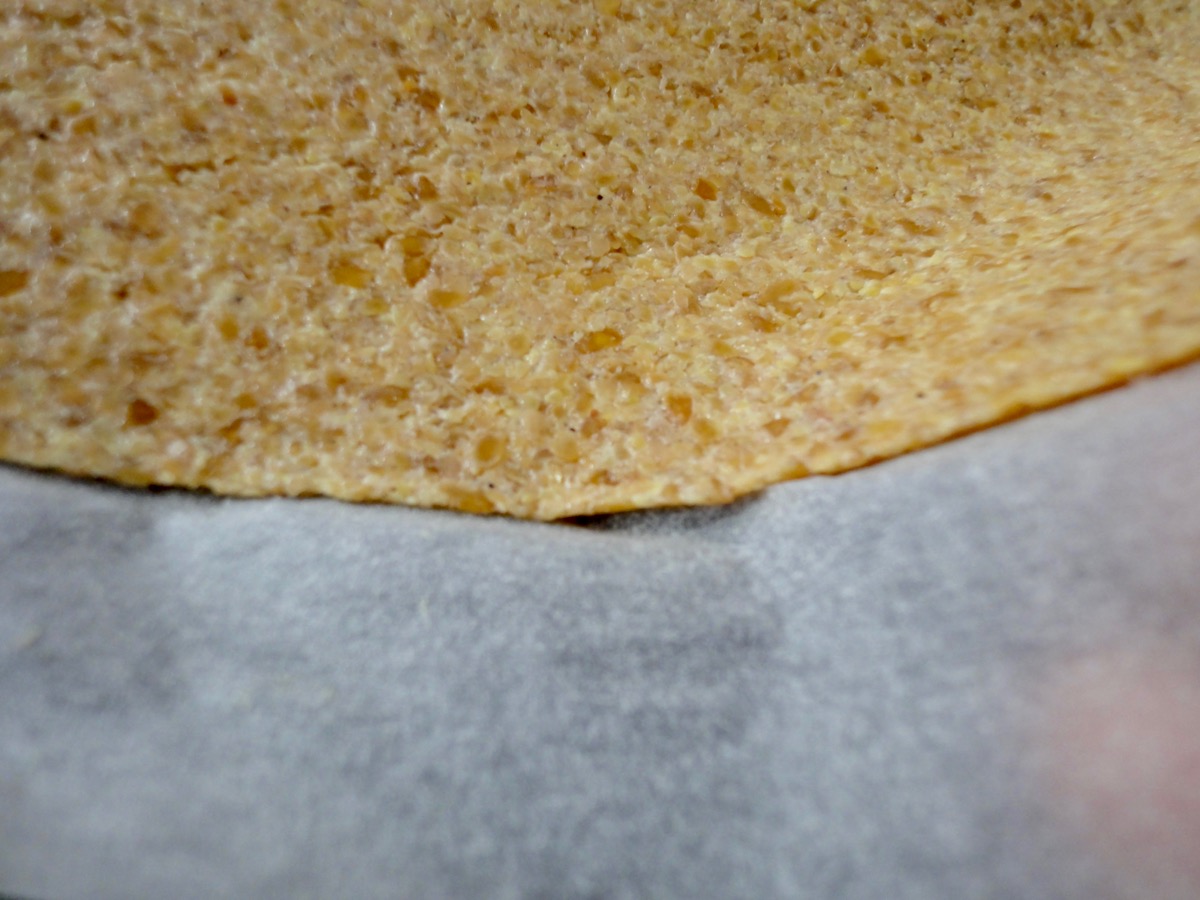
Roll it out as thin as you can between 2 parchment papers.
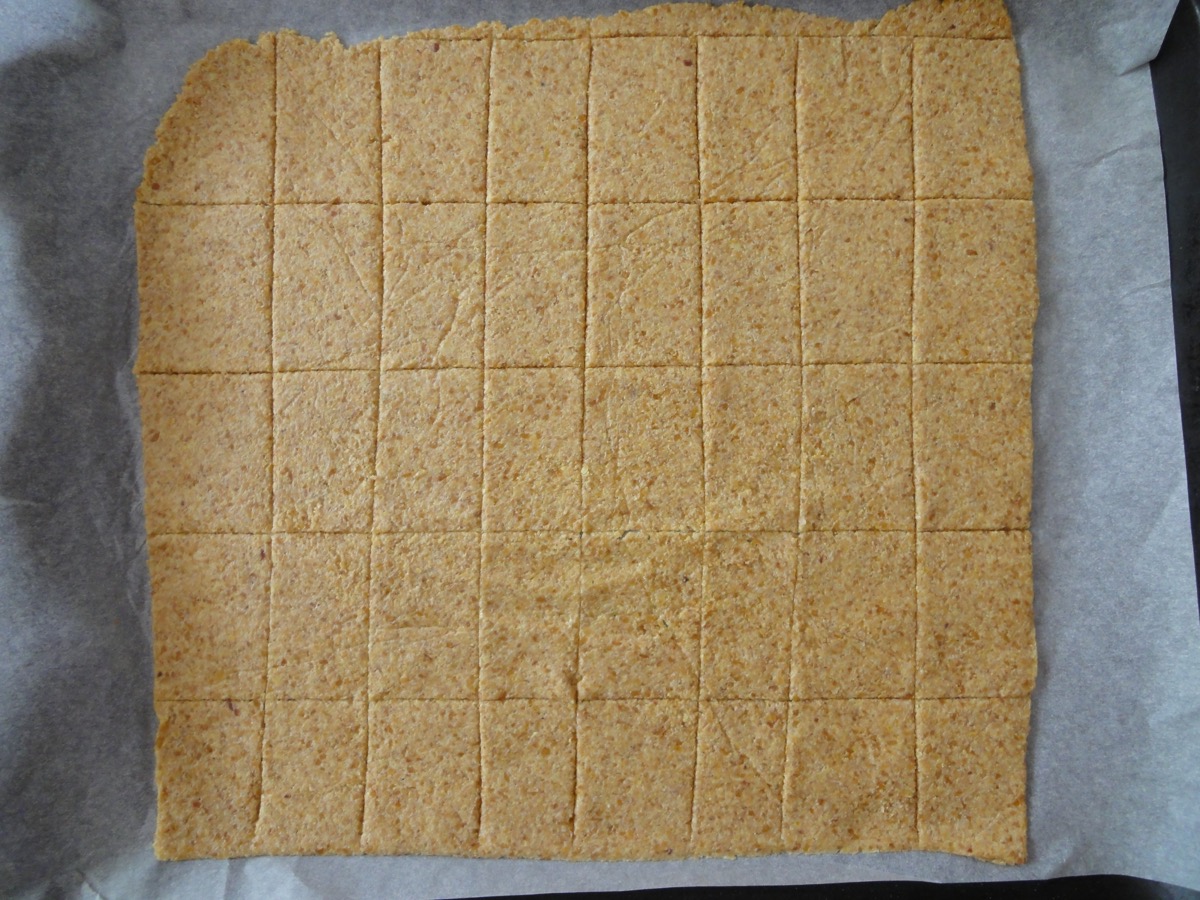
Cut it with a pizza cutter before baking.
Ingredients
- 1 cup Flaxseed Meal (Golden or Brown)
- 2 teaspoons Garlic Powder
- 2 teaspoons Onion Powder
- 2 teaspoons Chilli Powder Mix (Cayenne, Paprika, Chilli) *optional
- ½ cup Water
Directions:
- In a bowl, mix ground flax meal and seasonings well.
- Add water and mix till combined with a spatula.
- Cover and set the dough aside for 10 minutes.
- Pre heat oven to 200°c (400°F).
- Once dough is ready, roll it out between 2 parchment papers as thin as you like. (cooking times will vary according to thickness)
- Gently pull apart parchment paper from each side of the rolled dough onto the other (this is to make sure it does not stick to the paper while baking)
- Place the rolled dough with parchment paper onto a baking sheet and use a pizza cutter to cut into cracker sized pieces.
- Bake chips for 10-15 minutes (longer if thicker).
- Once chips are baked, turn off the oven, remove and break the crackers. Spread the crackers on the baking tray and return to the oven for another 10 minutes with the oven door slightly opened. (this is to dry it out so it gets crispy)
- Allow crackers to cool completely before storing.
Tips:
- Conversion Chart
- You can adjust seasoning according to what you like. I like mine a little spicy so I add a chili powder mix of cayenne, chili, cumin, and paprika. These chips are perfect as a dip or a high fiber snack.
- If you are using MyFitnessPal app to count calories, first copy the recipe URL then go to MyFitnessPal app to Recipes, select Create a New Recipe, then Add from the Web. Paste the URL, match ingredients and that’s it!
- Always match ingredients to the ones you use. Ingredient nutritional facts differ depending on brand.
- Nutrition Facts (based on my ingredients) : Per serving (8 pieces) 124 kcal, Total Fat – 9 g, Total Carbs – 7 g, Fiber – 6 g = NET Carbs – 1 g, Protein – 4 g.
Enjoy!
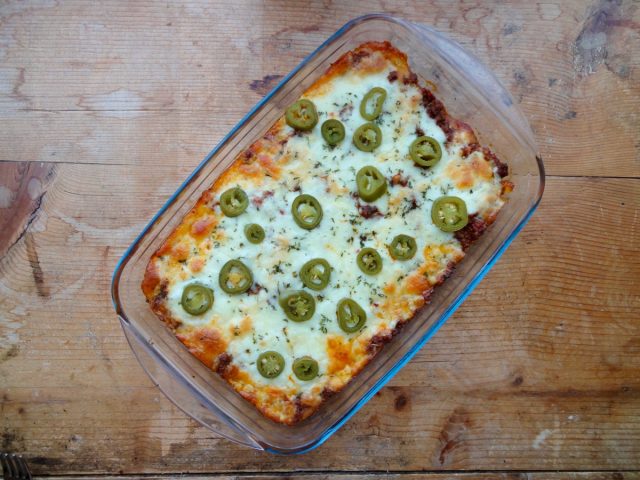
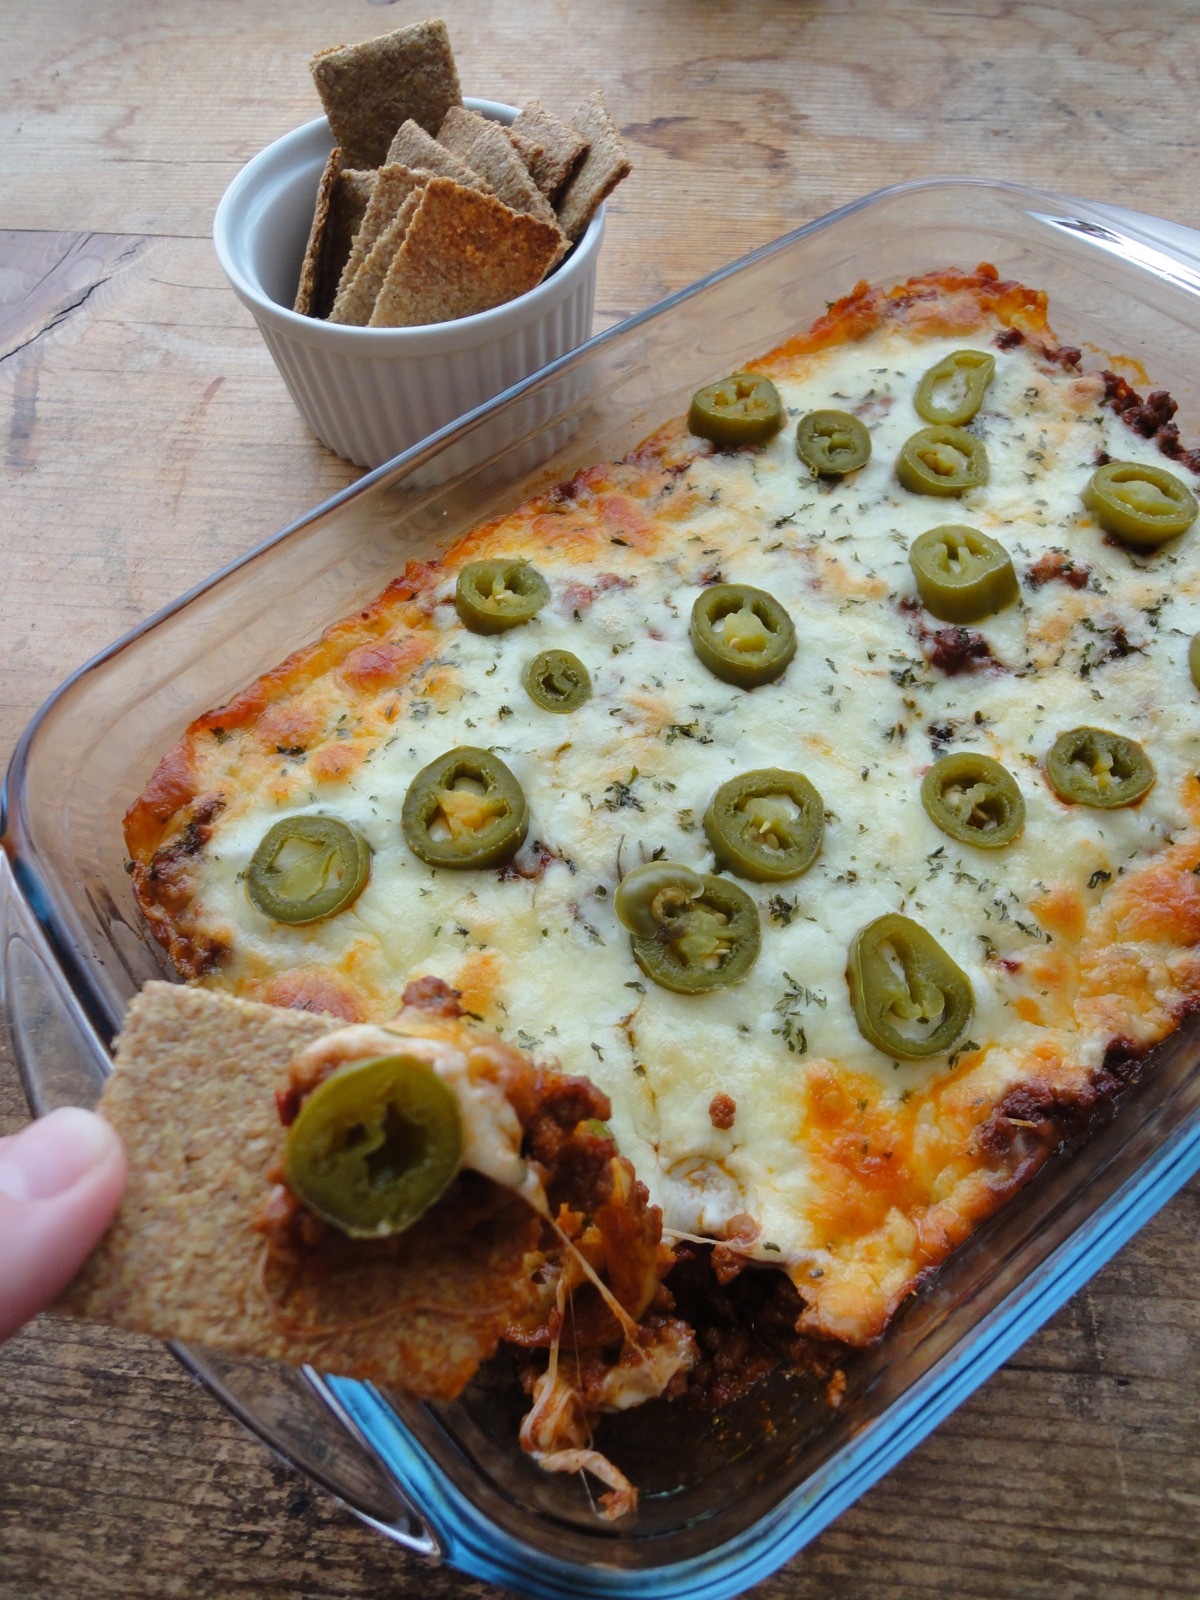
Spicy Cheeseburger Casserole (Keto-Friendly)
I’ve been slacking on my blog because I have been repeating my meals. Since I started Keto, I’ve actually had lots of ideas but often enough I repeat it and since it’s simple grilled meat with some veggies on the side, I didn’t think it would be worth a post for it.
The past month, I’ve been eating lots of naked burger’s. Why naked? Because it’s a regular burger sans the burger bun. Instead I use some lettuce or when I’m feeling a little ambitious, I would make some Oopsie Rolls to go with it. But after some time, I was actually getting sick of burgers. However, I still had lots of frozen burger patties left. I bought lots of it because hey! We love burgers! And since I just got a new freezer with lots of space and the burger patties were selling half price at my local grocery store so, why not! So I gladly stocked up on burger patties. Double score!
Since I started getting sick of it, I just minced it up, mixed together some spices, topped it with cheese and jalapeños, baked it and Voilà.! A new dish from burger patties. But when I ran out of burger patties, I started using minced meat for this dish. I can get minced meat relatively cheap here because I buy it for half the price when it’s on sale (about once a month) and I buy at least 3 kg’s of it and freeze it or make it into homemade burgers, meatballs, salisbury steak or bolognese.
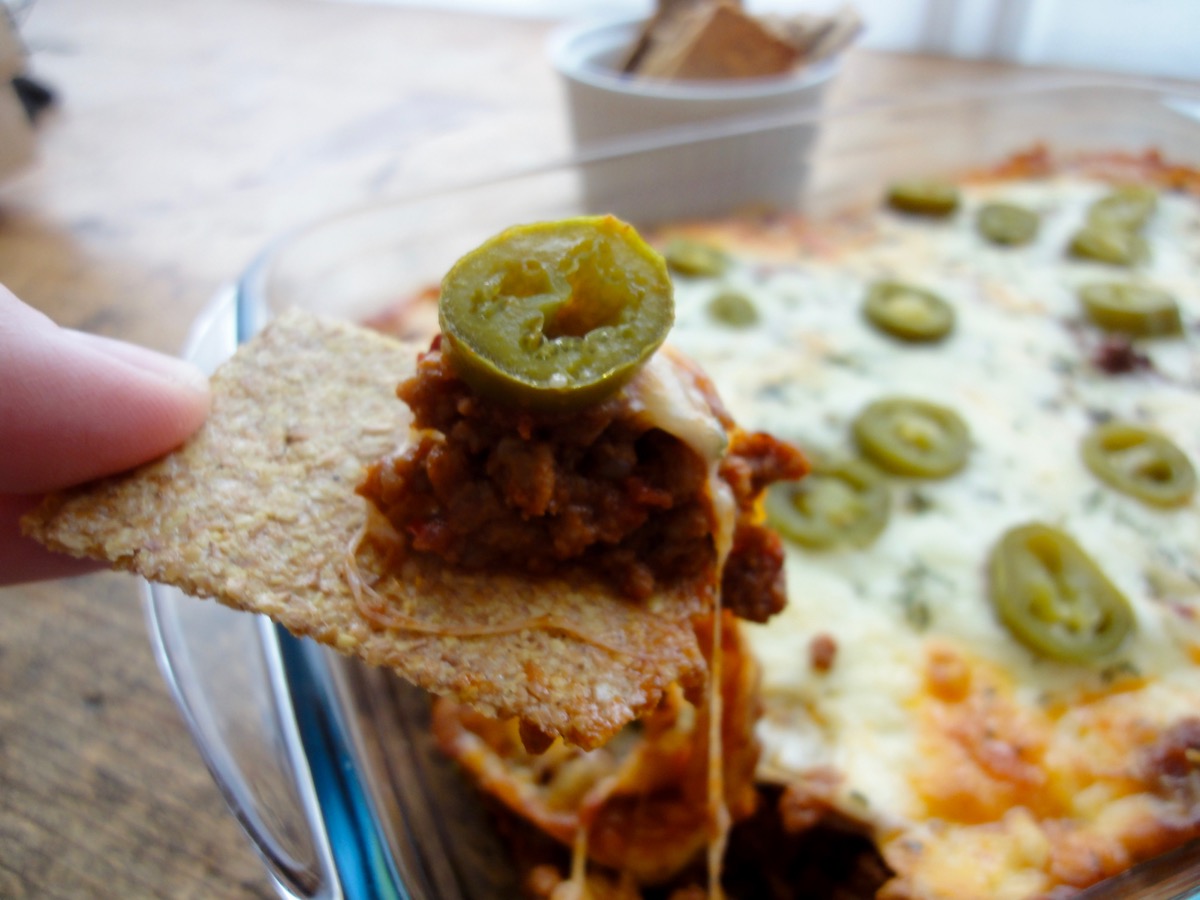
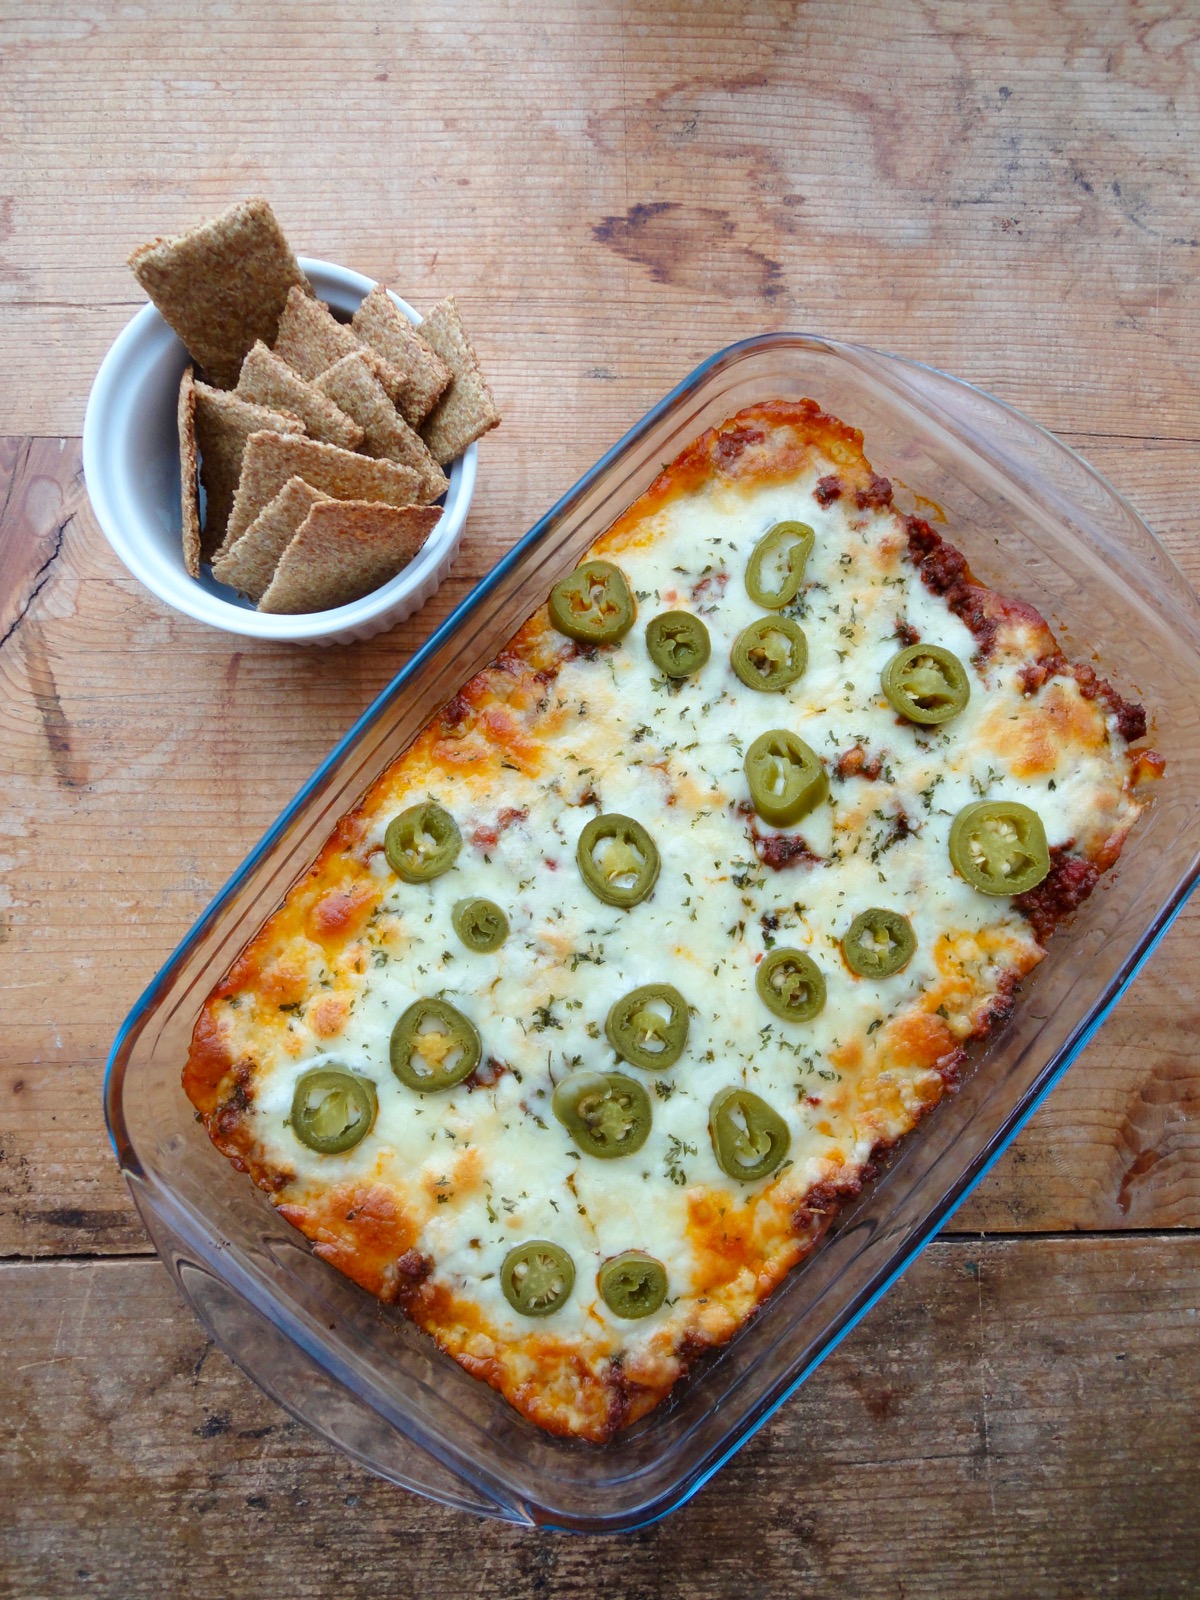
This has got to be one of my favourites! Fast, simple and easy to put together dinner. Plus, I get to make some Keto Flaxseed Chips to go with it. I like to eat it like a dip.
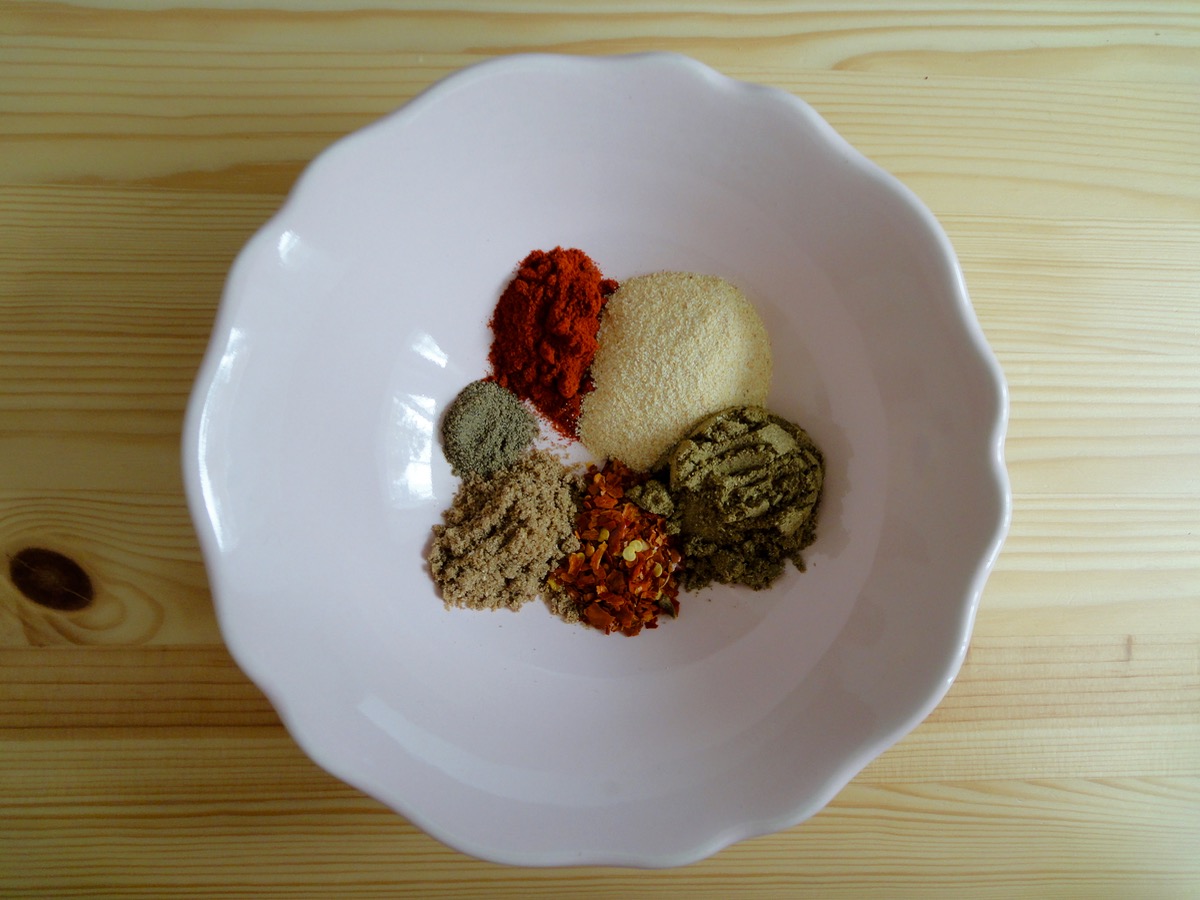
Seasoning Mix – Paprika Powder, Garlic Powder, Cumin Powder, Dried Chilli Flakes, Coriander Powder & Black Pepper Powder.
Seasoning Mix
- 2 teaspoons Cumin Powder
- 2 teaspoons Paprika Powder
- 1 teaspoon Dried Chilli Flakes
- 2 teaspoons Garlic Powder
- 1 teaspoon Coriander Powder
- ¼ teaspoon Black Pepper
- 1-2 teaspoons Himalayan Pink Salt
Cheeseburger Casserole
- 500 grams / 1 pound Minced Meat
- 200 grams / ½ can Chopped Tomatoes (sugar free/reduced sugar)
- 2 Tablespoons Tomato Paste (sugar free/reduced sugar)
- 2 cups Mozzarella Cheese, shredded
- For Garnish Jalapeño Slices
Directions:
- Seasoning Mix
- Mix ingredients together and set aside.
- Cheeseburger Casserole
- In a medium non-stick pan, heat up coconut fat and brown minced meat.
- Add tomato paste, chopped tomatoes and seasoning mix.
- Stir and cook through.
- Transfer cooked meat into a greased dish.
- Top with mozzarella and jalapeños.
- Bake for 20 minutes at 180’C or till cheese has melted and turned golden brown.
- Serve with a side of sour cream, salad and keto flaxseed chips.
Tips:
- Conversion Chart
- You can adjust seasoning according to what you like. I like mine a little spicy so I add a chili powder mix of cayenne, chili, cumin, and paprika.
- If you are using MyFitnessPal app to count calories, first copy the recipe URL then go to MyFitnessPal app to Recipes, select Create a New Recipe, then Add from the Web. Paste the URL, match ingredients and that’s it!
- Always match ingredients to the ones you use. Ingredient nutritional facts differ depending on brand.
- Nutrition Facts (based on my ingredients) : Per serving (1/4) 443 kcal, Total Fat – 28 g, Total Carbs – 9 g, Fiber – 2 g = NET Carbs – 7 g, Protein – 39 g.
- If you find that there’s too much meat in the dish, simply load up on the cheese or fat and increase serving size or simply reduce amount of meat.
Enjoy!

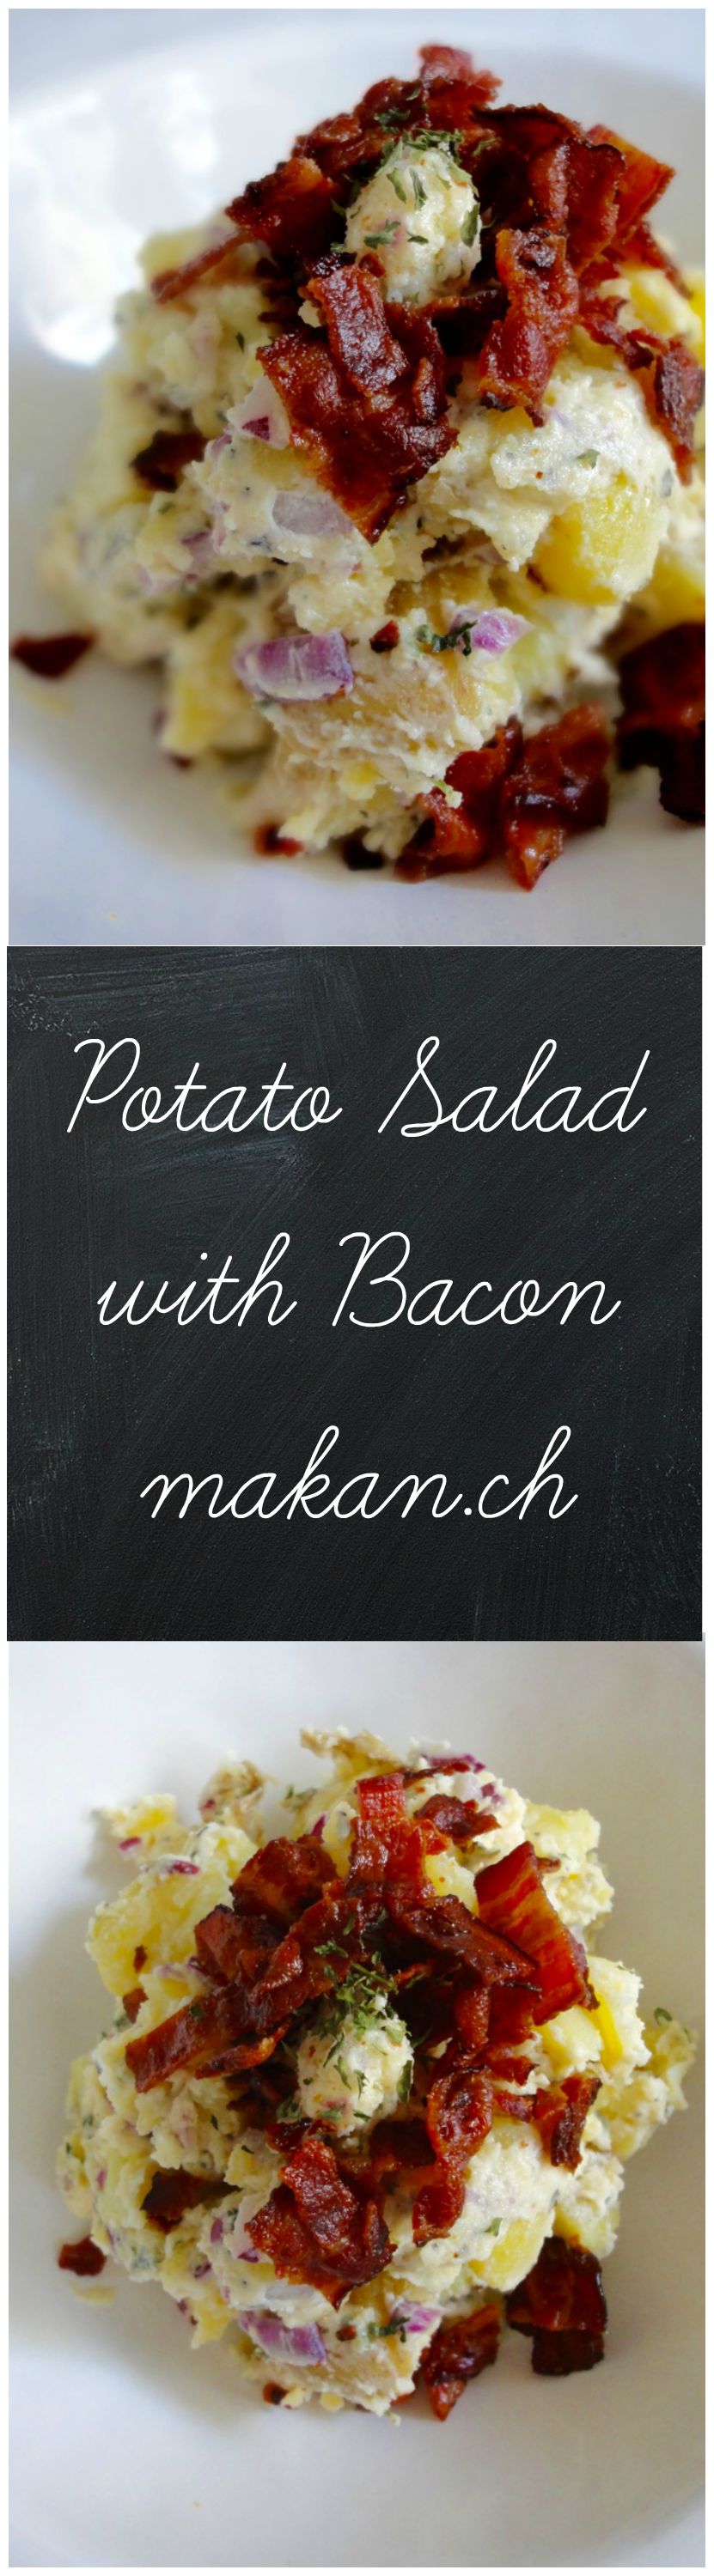
Potato Salad with Bacon
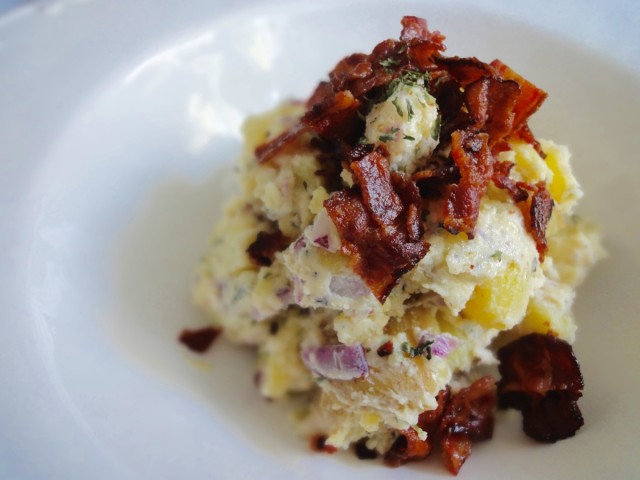

Bacon? Bacon. There’s really nothing more to say about it…just that it’s yummy. So, here it is!
Ingredients
- 1kg New Potatoes, washed and cut into quarters
- 4 Bay Leaves (optional)
- 1 cup Mayonnaise
- 2 medium sized Red Onion, chopped
- 2 teaspoons White Wine Vinegar
- 2 teaspoons Oregano or mixed herbs, fresh or dried
- To taste Salt
- To taste Black Pepper, freshly ground
- 10 strips, or more...the sky's the limit Bacon
Directions:
- Bring a large pot of water to boil.
- Add bay leaves and salt.
- Add potatoes and cook till tender but still firm. About 20 minutes.
- Drain and cool.
- In a bowl, mix in mayonnaise, salt, pepper, white wine vinegar, oregano or mixed herbs, red onions and potatoes.
- Allow potato salad to cool down before refrigerating it.
- Refrigerate for at least 3 hours.
- Need instructions to cook bacon? Place bacon on a baking tray, bake at 200°C for 15-20 minutes or till crispy. Chop it up and sprinkle over potato salad.
- Serve with bacon, topped with bacon, and a side of bacon. 😀
Tips:
Enjoy!
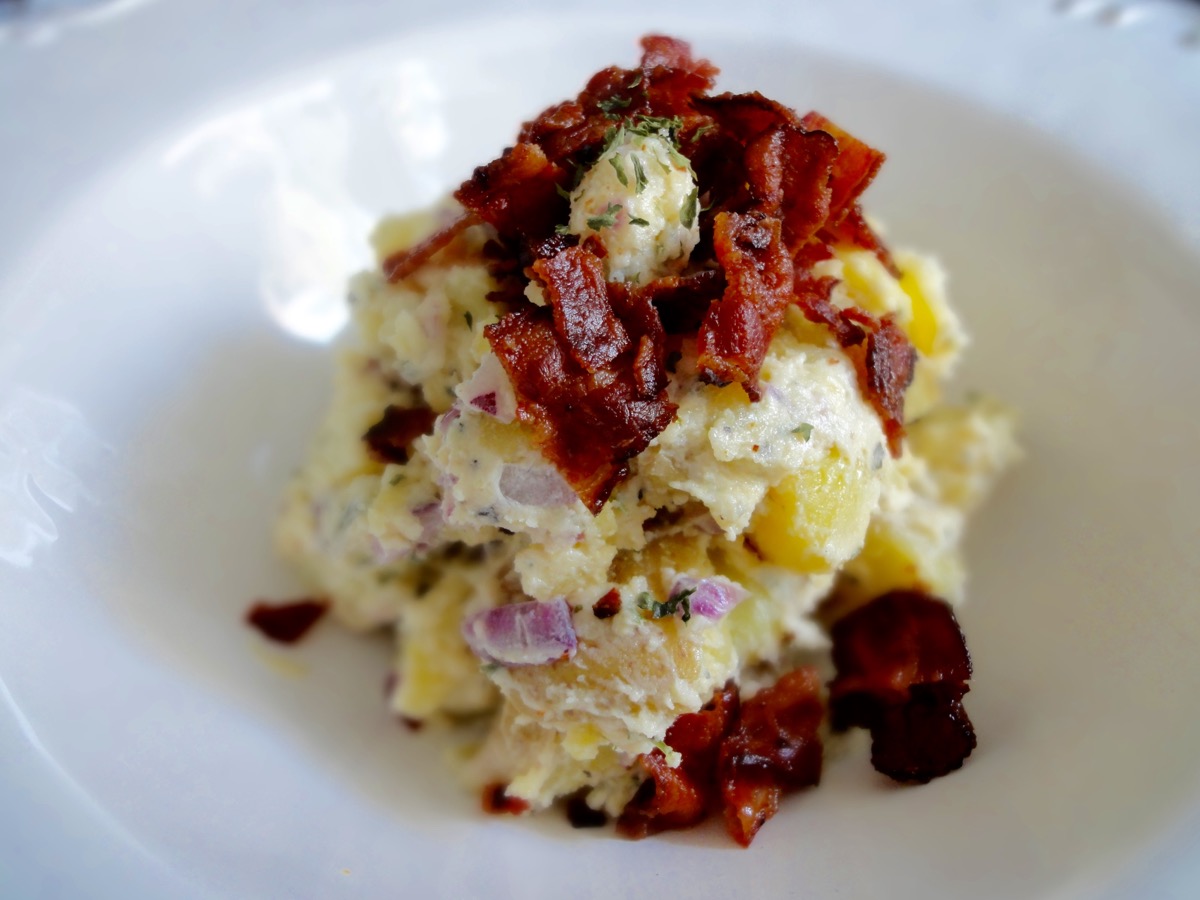
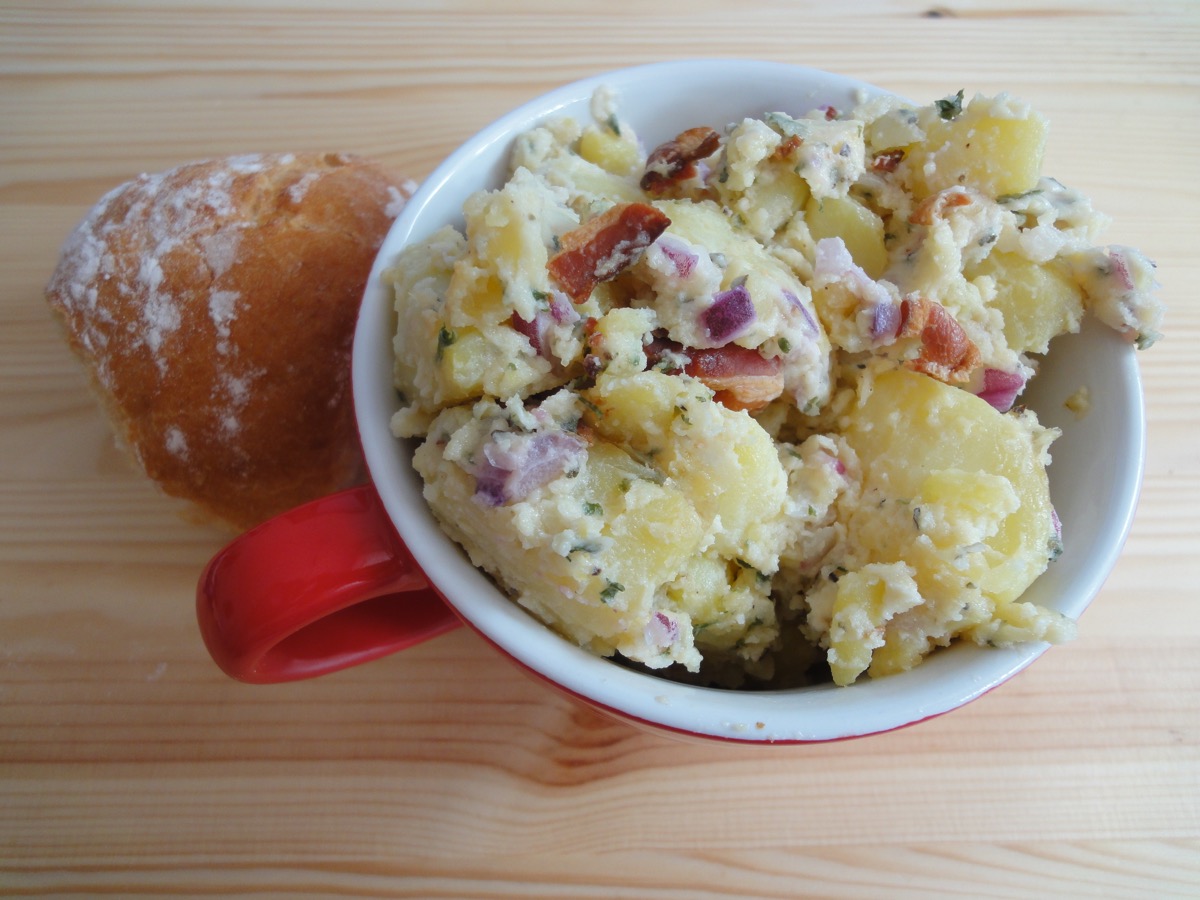
Still good the day after
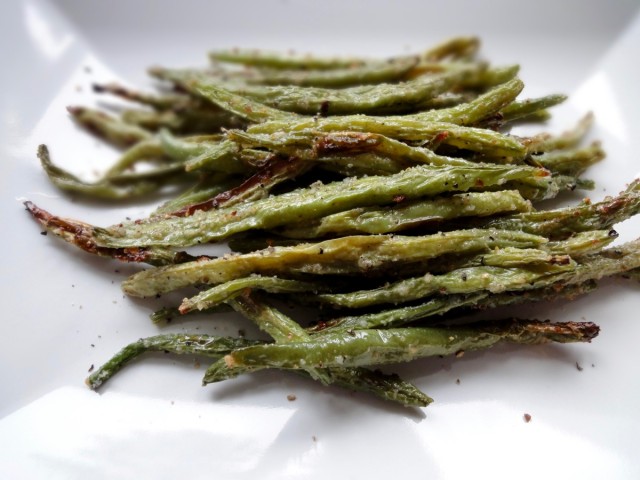
Roasted Green Beans

Since I’ve been at this whole eating healthier/trying to shed some weight, I’ve been trying to eat more vegetables. I like vegetables, just that sometimes I don’t pay attention to it as much as I do my protein and starch. Most of the time I like to just dump my vegetables into a pot to boil or I would buy ready-made frozen spinach where you just have to put it in a pot with a tablespoon of water and cook it.
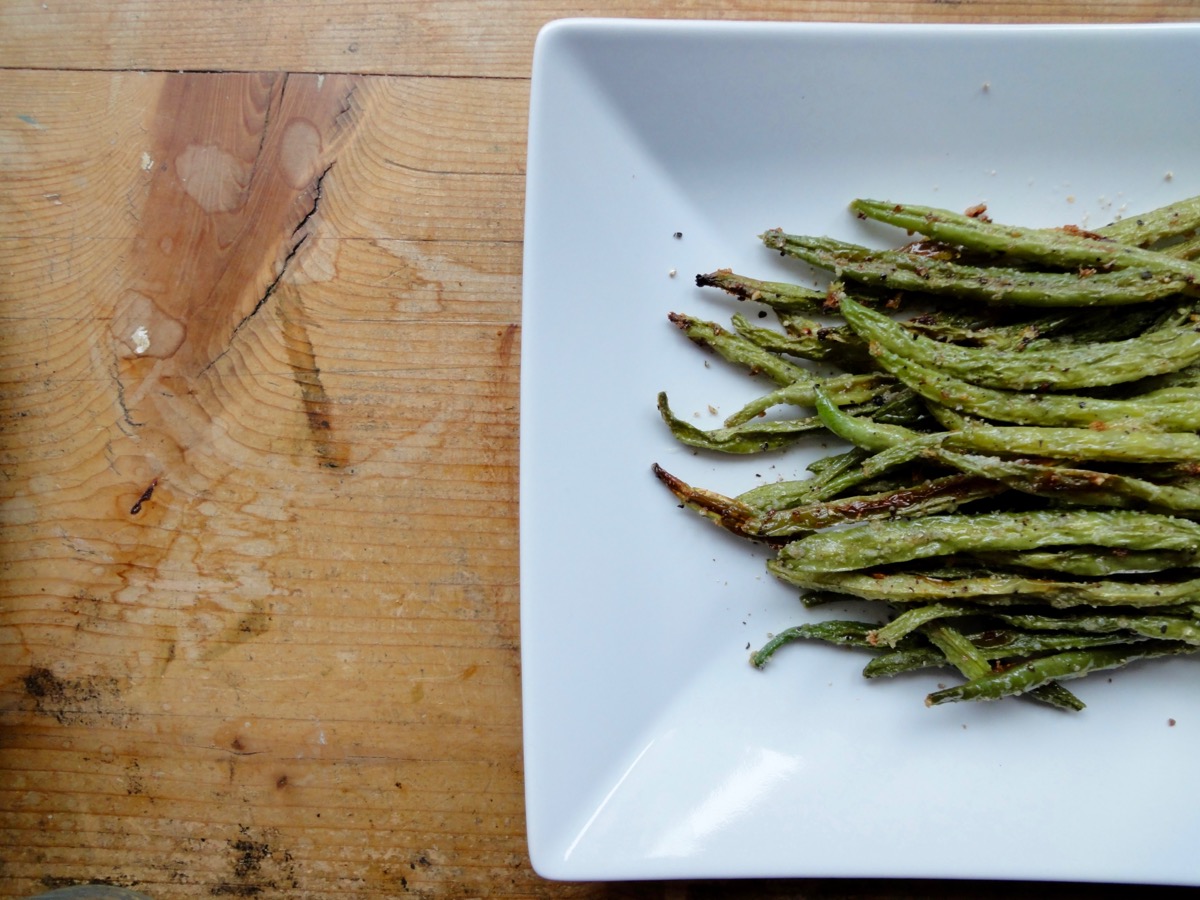
Green beans are the one of our top favourite vegetables. However, my husband likes it boiled/steamed till it’s very soft (like most restaurants in Switzerland) whilst I like it still crunchy. I thought roasting it would solve our problem of having our beans two different ways as it gets soft but still has a crunch due to the high temperature of roasting it. He is not a fan of this but I love it. In fact, I just had this for lunch. Just roasted green beans. Belly is still grumbling, but what to do!

This recipe is very basic. Just green beans, some oil, salt, ground black pepper, and garlic powder. Many recipes call for adding parmesan cheese, but that’s simply up to you.
Ingredients
- 500 grams ( 1 pound) Green Beans
- ½ Tablespoon Olive Oil
- ½ teaspoon Garlic Powder
- ¼ teaspoon Salt
- To Taste Freshly Ground Black Pepper
Directions:
- Pre-heat oven to 200°C (400°F) and prepare baking tray with parchment paper.
- Break the top and tail of the green beans and rinse it. Dry with paper towels.
- Spread green beans onto baking tray. Drizzle with oil and sprinkle with salt, ground black pepper and garlic powder.
- Mix green beans to coat evenly.
- Bake for 20 minutes. Serve immediately.
Tips:
- Conversion Table
- You can use fresh or frozen green beans. Frozen green beans need to be defrosted before baking.
- For nutritional information, please visit my Yummly page and scroll to the bottom of the recipe.
- If you are using MyFitnessPal app to count calories, first copy the recipe URL then go to MyFitnessPal app to Recipes, select Create a New Recipe, then Add from the Web. Paste the URL, match ingredients and that’s it!
- Always match ingredients to the ones you use. Ingredient nutritional facts differ depending on brand.
Enjoy!

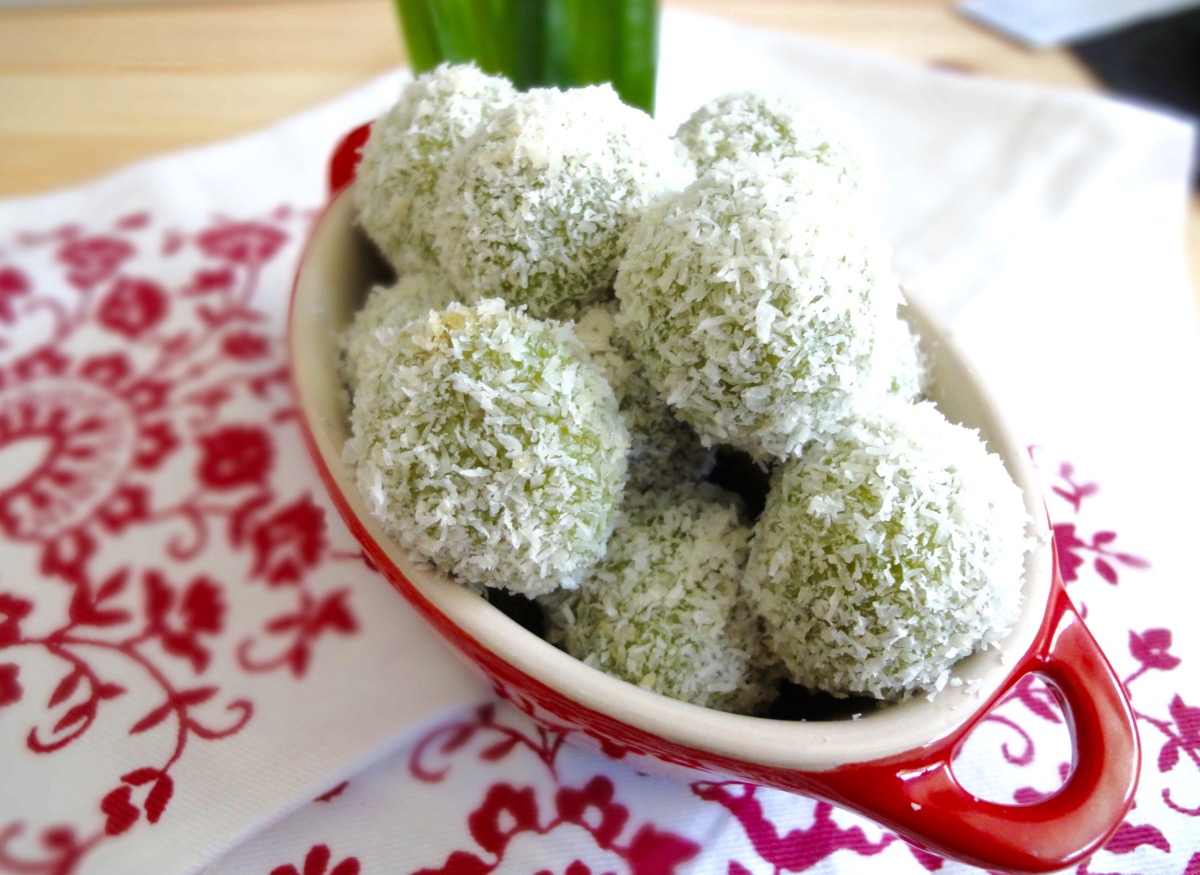
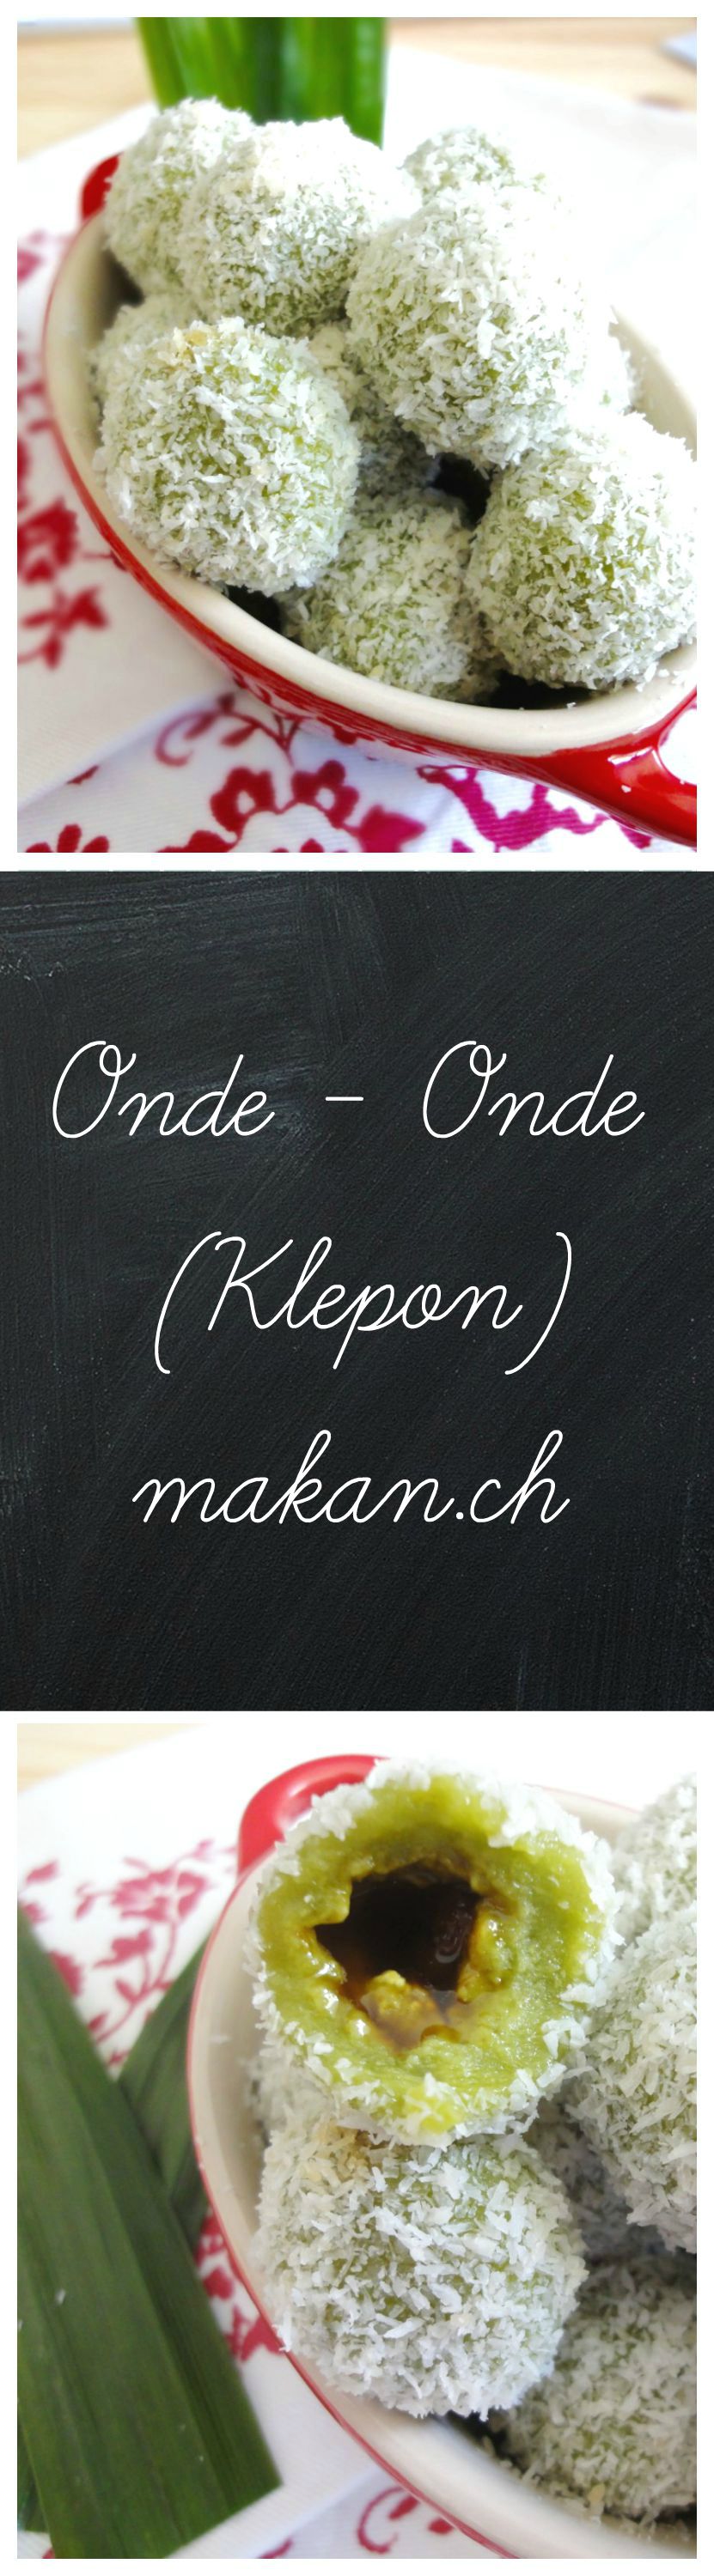
Onde – Onde (Klepon)

Onde-onde, ondeh-ondeh or in Indonesia – klepon is a dessert or tea-time snack made out of glutinous rice flour or sweet potato, filled with gula melaka (coconut palm sugar) and coated with grated coconut. Onde-onde can be found in morning markets, school canteens and sold by Mak Cik’s or Pak Cik’s (aunties or uncles) selling kuih (cakes).
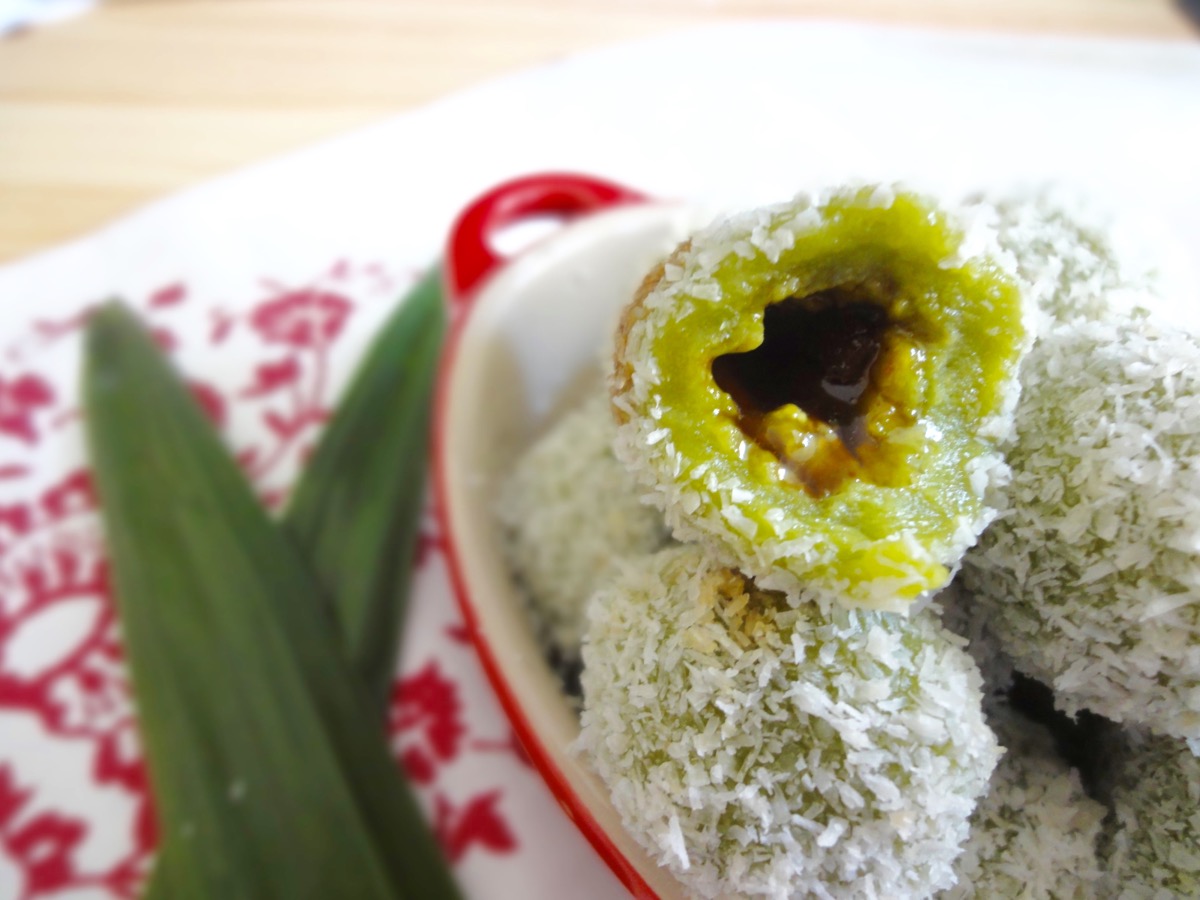
Melted gula melaka inside the onde-onde.
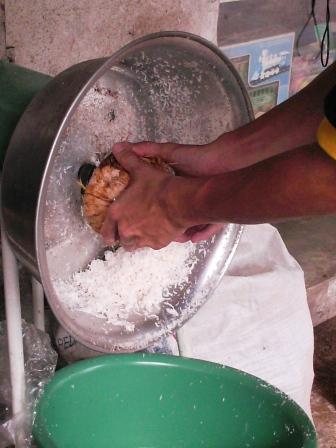
This recipe was requested by my close friend Martin. I can’t remember how the subject came up but he said ‘make onde-onde lah…then put on your website’. So right after I got off the phone with him, I started gathering the ingredients. Lucky for me, I had all of it on hand. The only thing that’s missing is freshly grated coconut. I have yet to find finely grated coconut here, so I used desiccated coconut but steamed it for 30 minutes before using it. This is to rehydrate the desiccated coconut. It does taste and feel different compared to the freshly grated ones, but what to do! Below is a machine used to grate coconut in Malaysia. Here’s a video on how it’s used.
Though I am able to make it at home, I still prefer the ones sold in Malaysian markets. Perhaps I’m a little stingy when it comes to using my gula melaka since I only have limited stock from Malaysia. Of course you do not need to use the ones from Malaysia as most Asian shops sell palm sugar from Thailand or Vietnam.
Recipe adapted from Sea Salt with Food
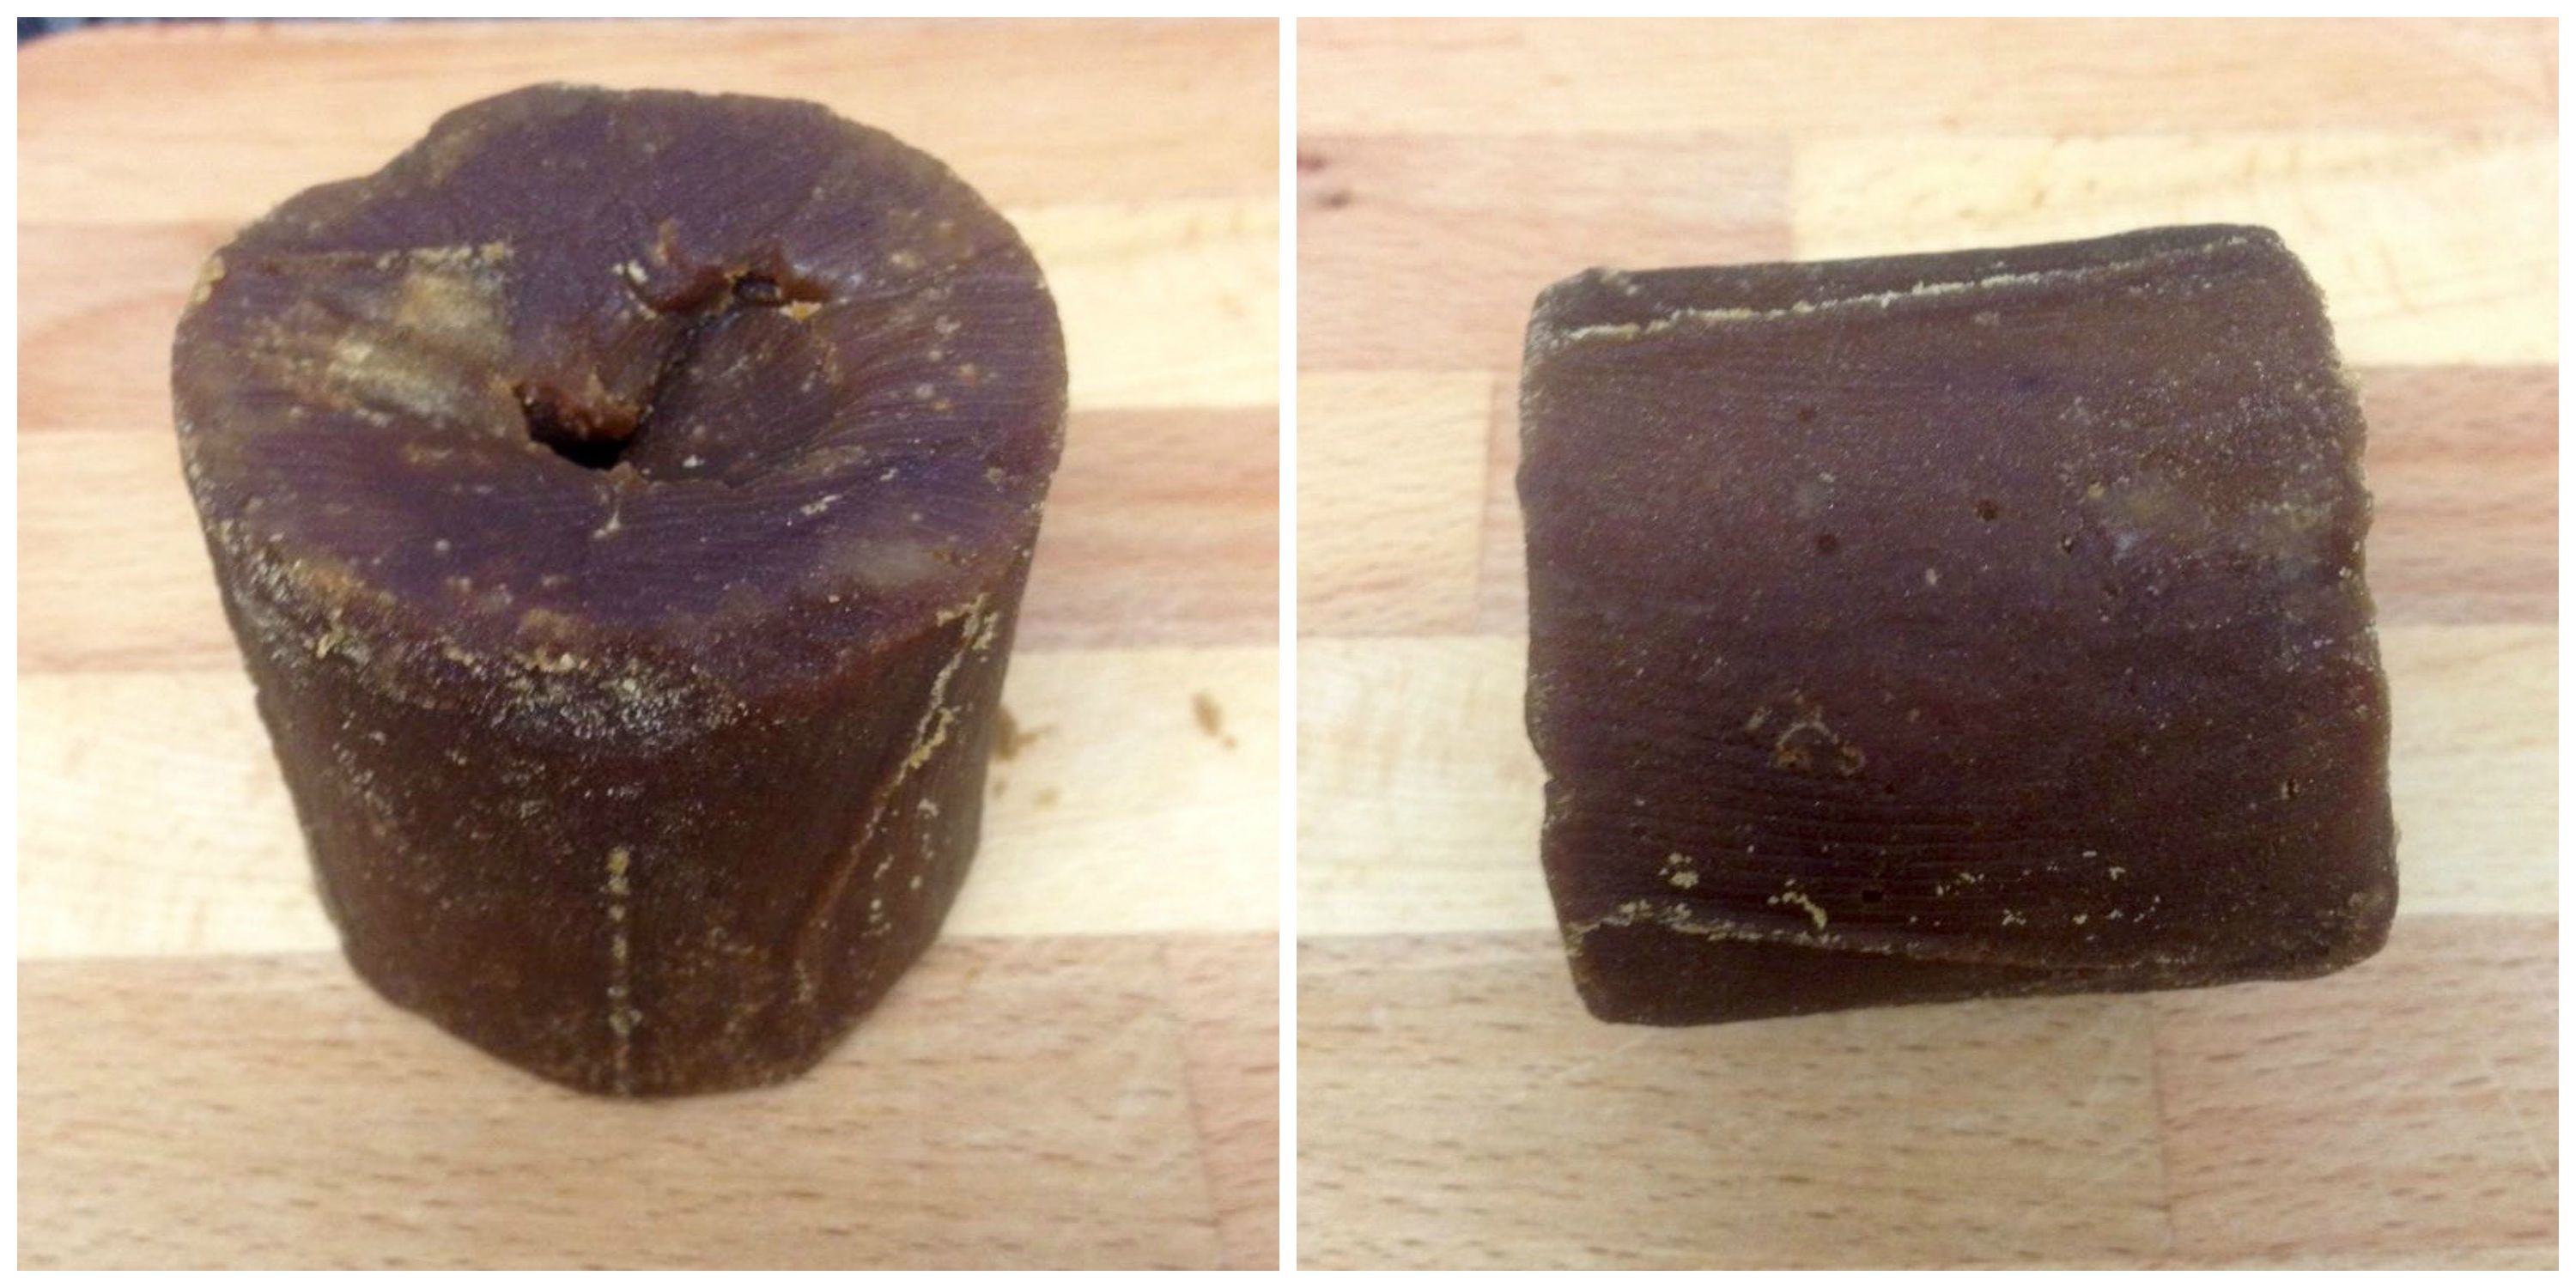
My block of Gula Melaka, about 3 inches high and 2 inches in diameter.
Pandan Extract
- 12 Pandan Leaves
- 1 cup Water
Coconut Topping
- 1 cup Desiccated Coconut / Freshly Grated Coconut
- To taste Salt
Onde - Onde
- 2 cups (204 grams) Glutinous Rice Flour
- 1 cup Pandan Extract
- 1 tablespoon Sugar
- 1 small block Gula Melaka (Coconut Palm Sugar), chopped into small pieces
Directions:
- Pandan Extract
- Wash pandan leaves. Cut pandan into 2 cm strips. (This helps to blend faster)
- Add cut pandan leaves and water into blender or food processor.
- Blend till juices have been extracted. About 3-4 minutes.
- Strain pandan extract with a cheesecloth.
- Coconut Topping*
- Mix desiccated coconut and salt in a heat proof bowl.
- Steam for 30 minutes.
- Onde – Onde
- Mix glutinous rice flour with pandan extract (you may not need all) and sugar until it forms into a dough.
- Roll dough into small balls (about 1 tablespoon each).
- Flatten dough and fill the centre of dough with gula melaka (about 1/4 – 1/2 teaspoon).
- Seal the gula melaka with the dough and gently roll it to form a ball.
- Bring a medium sized pot of water to boil.
- Boil the onde-onde in batches. Do not overcrowd the pot.
- When the onde-onde floats to the surface, use a slotted spoon to remove.
- Coat the onde-onde in steamed grated coconut immediately.
- Allow onde-onde to cool before serving.
Tips:
- You can get palm sugar from any Asian shop.
- If you do not have fresh pandan leaves, you can use pandan extract or flavouring.
- Store onde – onde in a container and enjoy within 2 days.
- Do not refrigerate, it will become very hard.
- 1 cup glutinous rice flour = 104 grams
- Cups to Grams conversions
* If using freshly grated coconut, you can skip this step.
Enjoy!