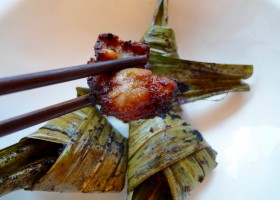


 Homemade Dark Brown Sugar
 Falafel
Servings
8Prep
30 minCook
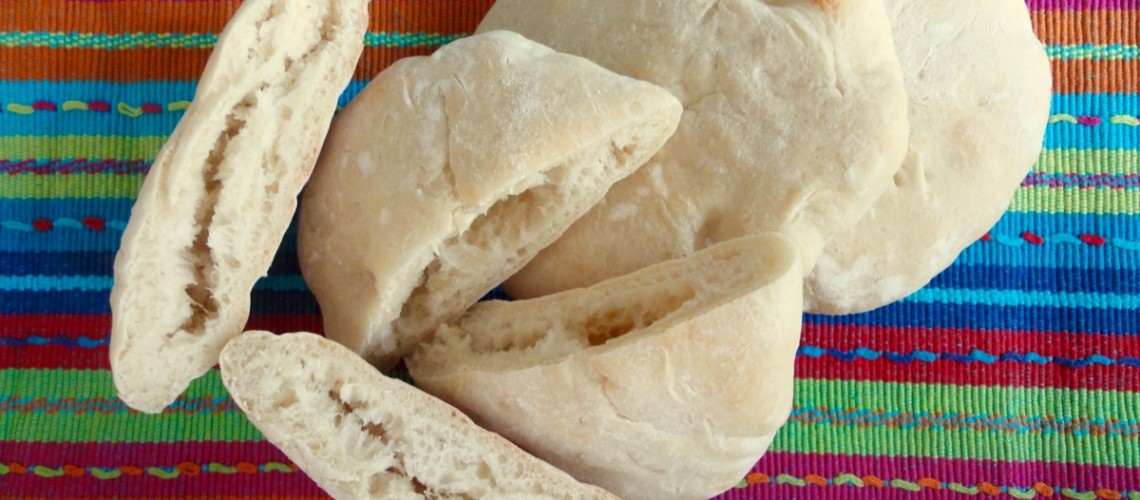
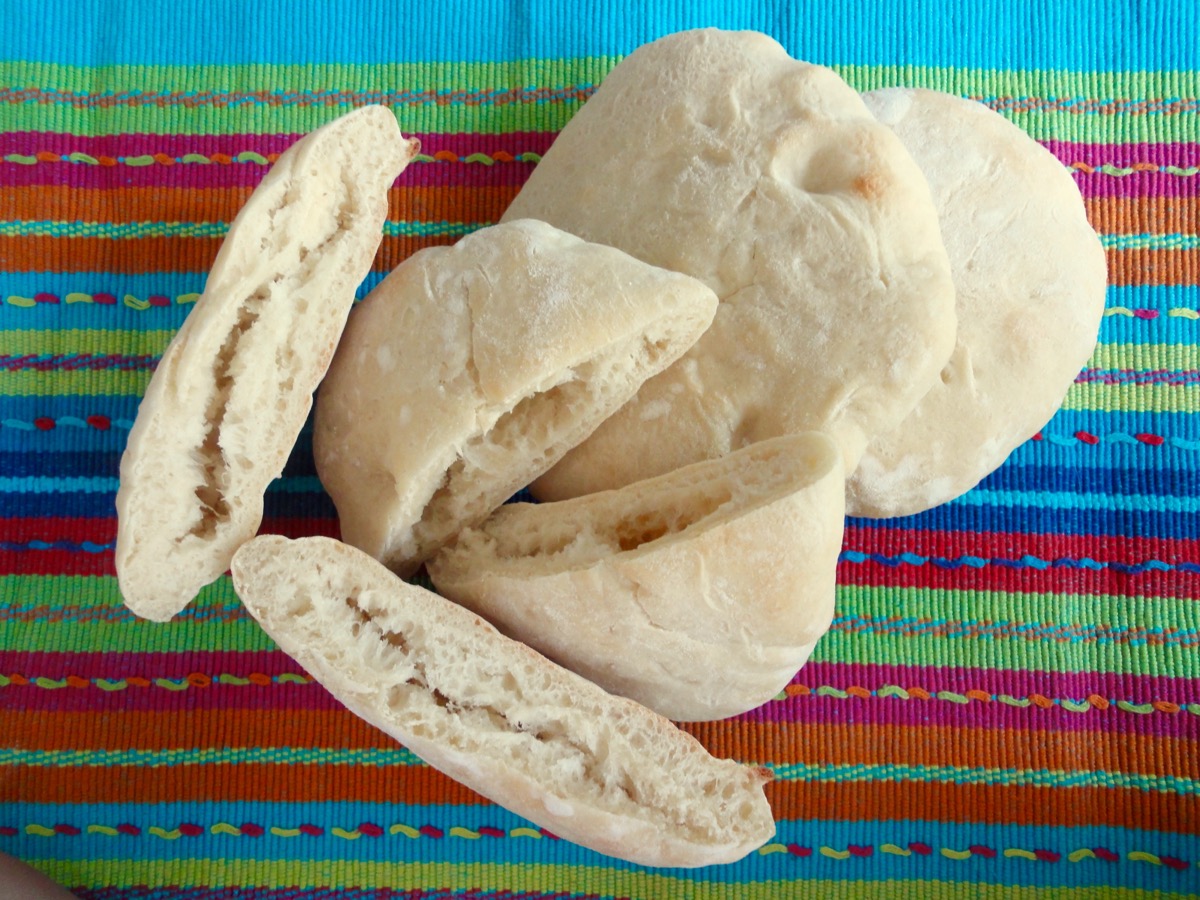
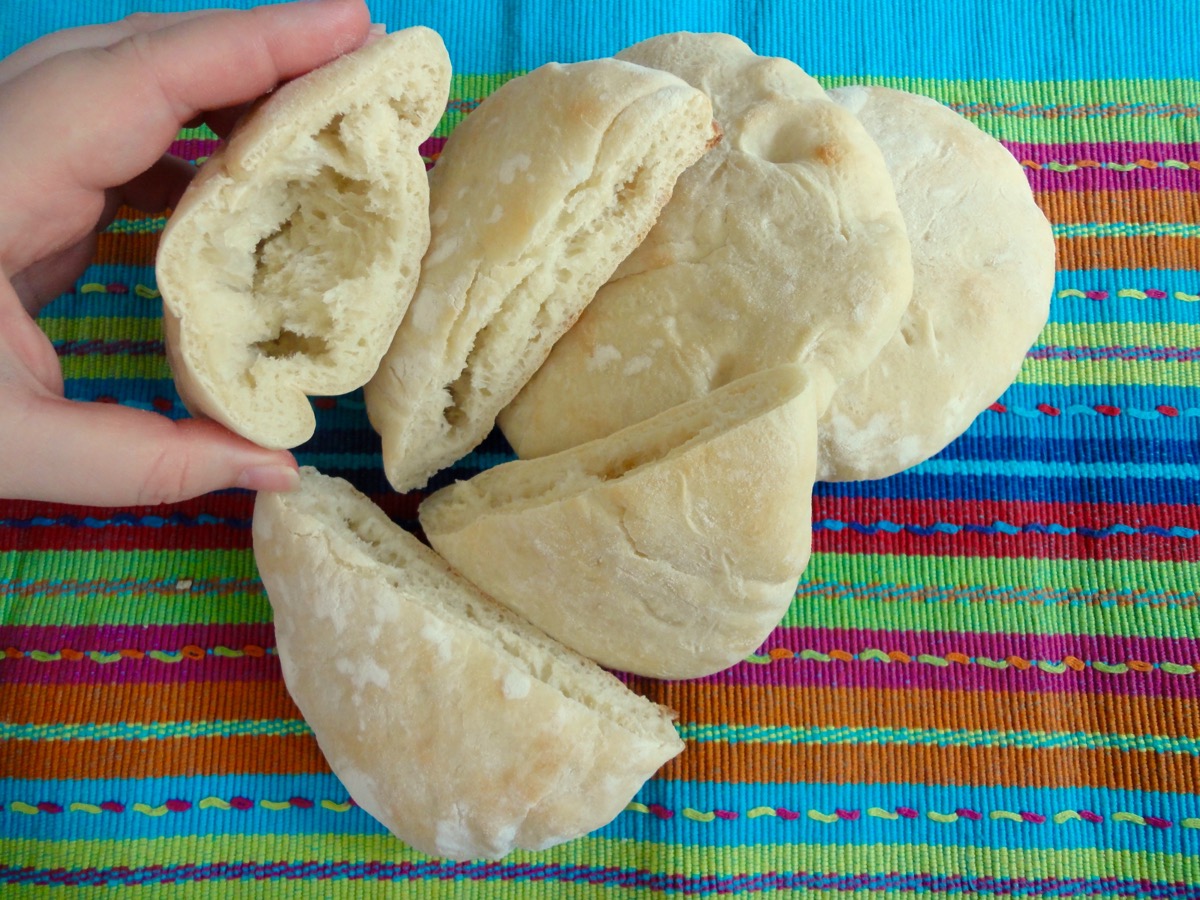
15 minMaking pita bread at home is not that difficult, but it is a little time consuming unless you have a bread maker. Well, what bread isn’t really time consuming anyways? I use my stand mixer for this recipe.
The results are absolutely lovely! It beats the ones sold at the grocery store here. Unless of course you fancy dry, hard, and commercial tasting pita bread…
Pita’s may be used to dip in sauces or dips such as hummus and curries, or to stuff sandwich fillings in such as Falafel, egg salad, tuna and chicken salad. For those that did not puff up (pocket-less), it can be cut and baked to make pita chips.
The ones I made here rose a little too much. We are currently experiencing an absolutely hot summer and I accidentally left it out to rise too long. It was still yummy…just a wee bit fluffy.
Ingredients
- 3 cups All-Purpose Flour
- 1¼ cups Warm Water (45°C)
- 1½ teaspoons Dry Yeast
- 1 teaspoon Sugar
- 1½ teaspoons Salt
- 1 tablespoon Olive Oil
Directions:
- Combine yeast, sugar and 1 cup of water. Let proof for 5 minutes or until frothy.
- Using a stand mixer, mix all ingredients together using a dough hook.
- Knead for 5 minutes on medium high . If dough looks very dry, add water bit by bit.
- Transfer to counter top and hand knead till dough is soft.
- Place dough in an oiled bowl and cover with a damp towel.
- Let rise for an hour or till doubled in size in a warm place.
- Place dough on counter top. Divide into 8 equal pieces.
- Gently roll the dough into a balls.
- Flour counter top well.
- Use a rolling pin to roll dough into a 6-inch circle.
- Cover with a damp towel for 15 minutes, till slightly risen.
- Meanwhile, pre-heat oven to 260°C (500°F).
- Place pita’s on rack, about 4 at a time and bake for 5 minutes till puffed and slightly browned.
- Remove from oven and place pita’s in a paper bag. Seal.
- Once pita’s have cooled down and soften in paper bag, it’s ready to be served.
Tips:
- Step 10: Ensure there is enough flour on the counter top so that when pita’s rise, it will not stick to countertop.
- If you do not have a paper bag, you can cover pita’s with a clean damp towel.
- Paper bags should not be scented. I once used a Lush paper bag because that was all I had on hand…I had Lush scented pita’s.
- Cups to Grams conversions
Happy Baking!

Pita Bread Pocket

100
0
100
6