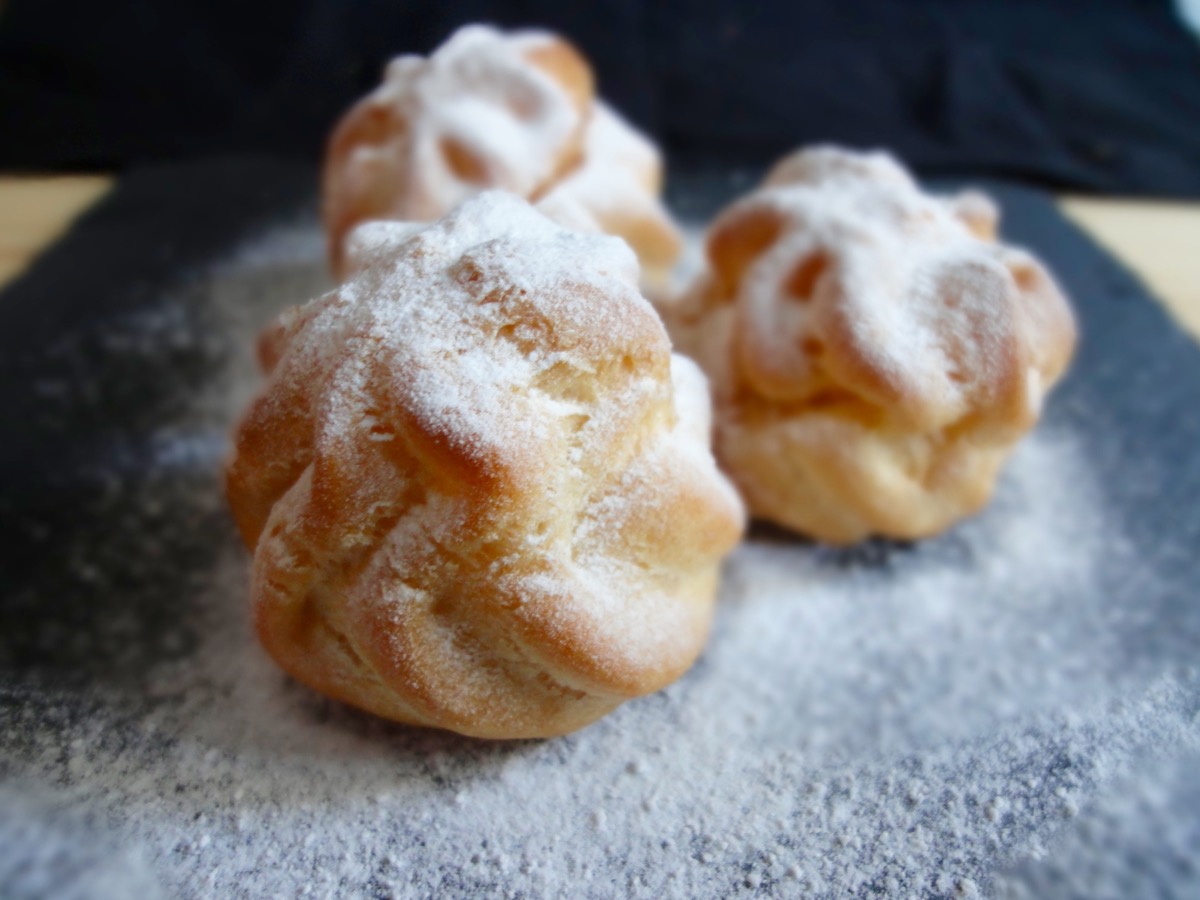
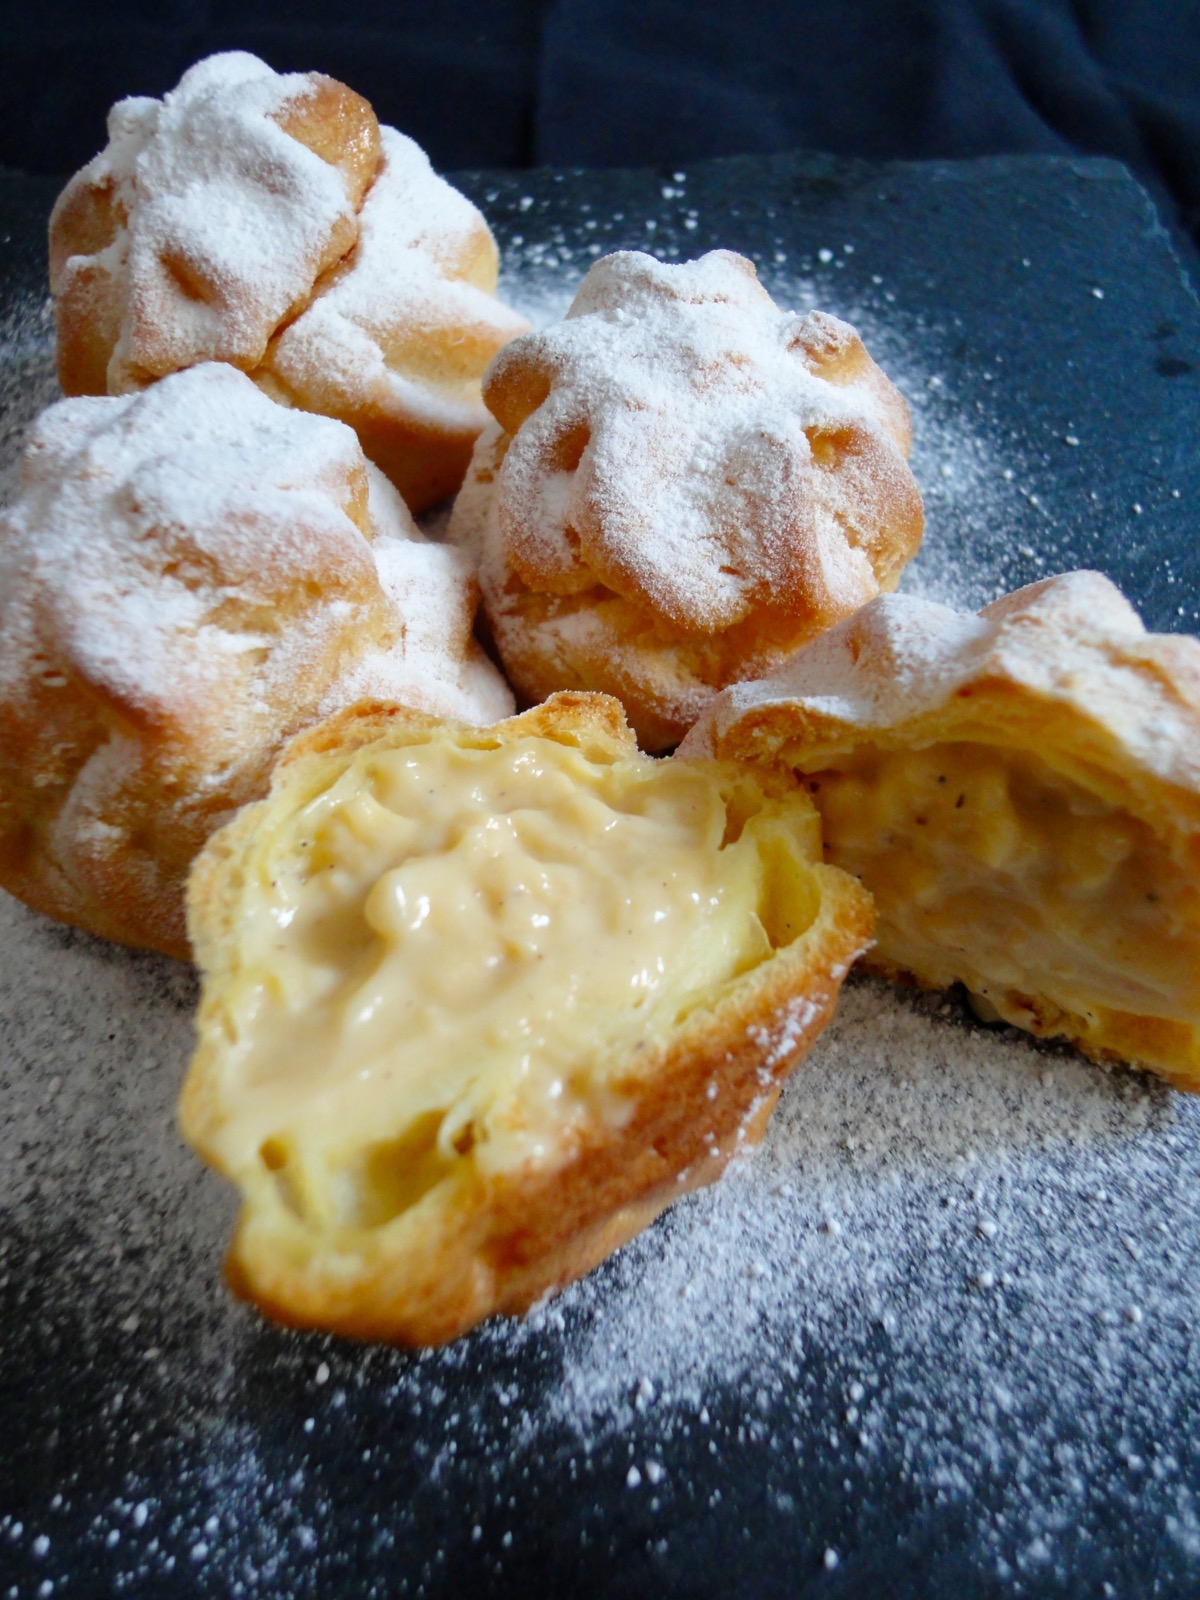
Kuih Seri Muka
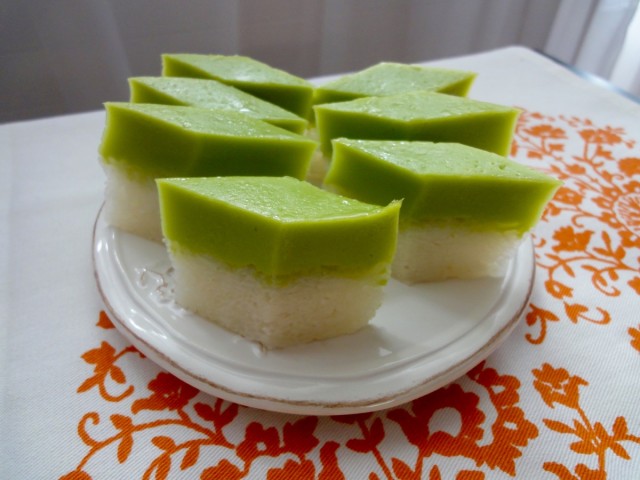
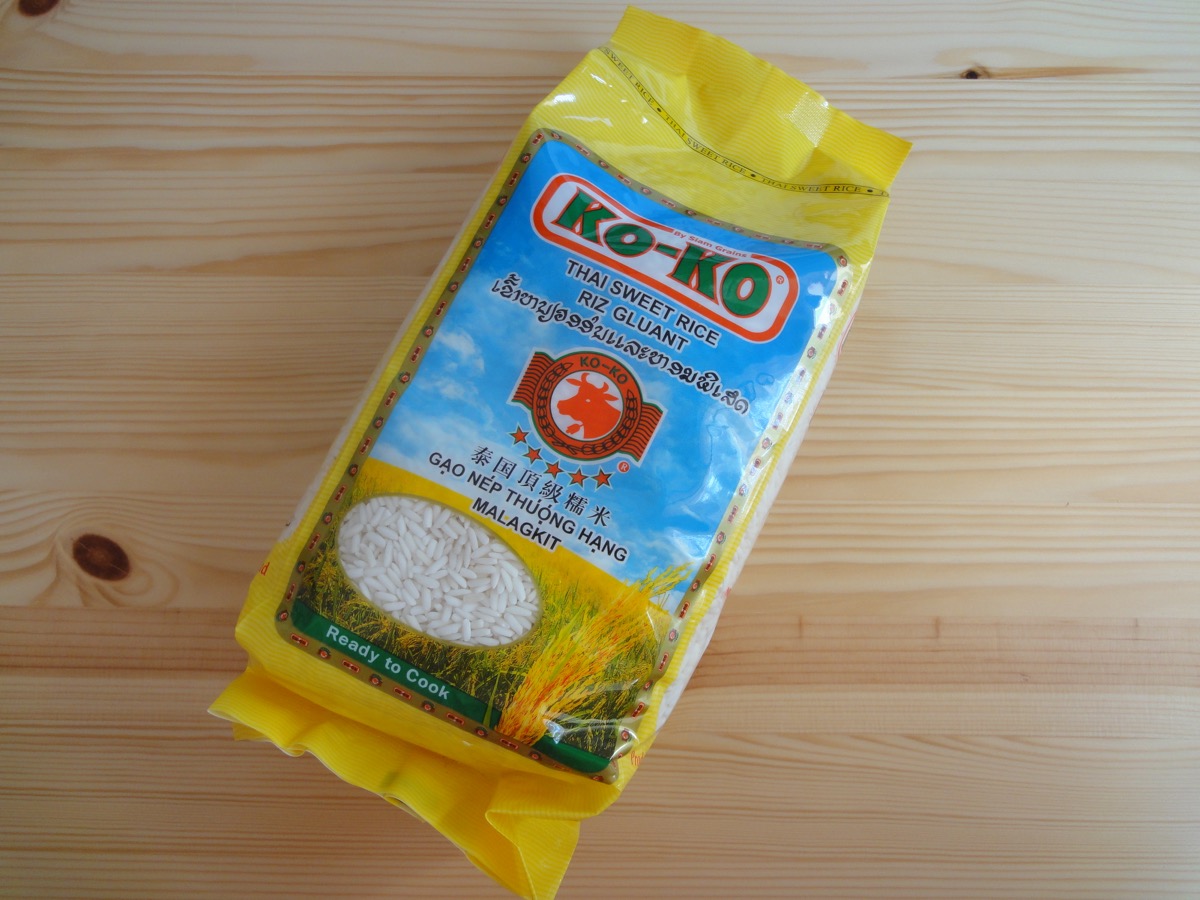
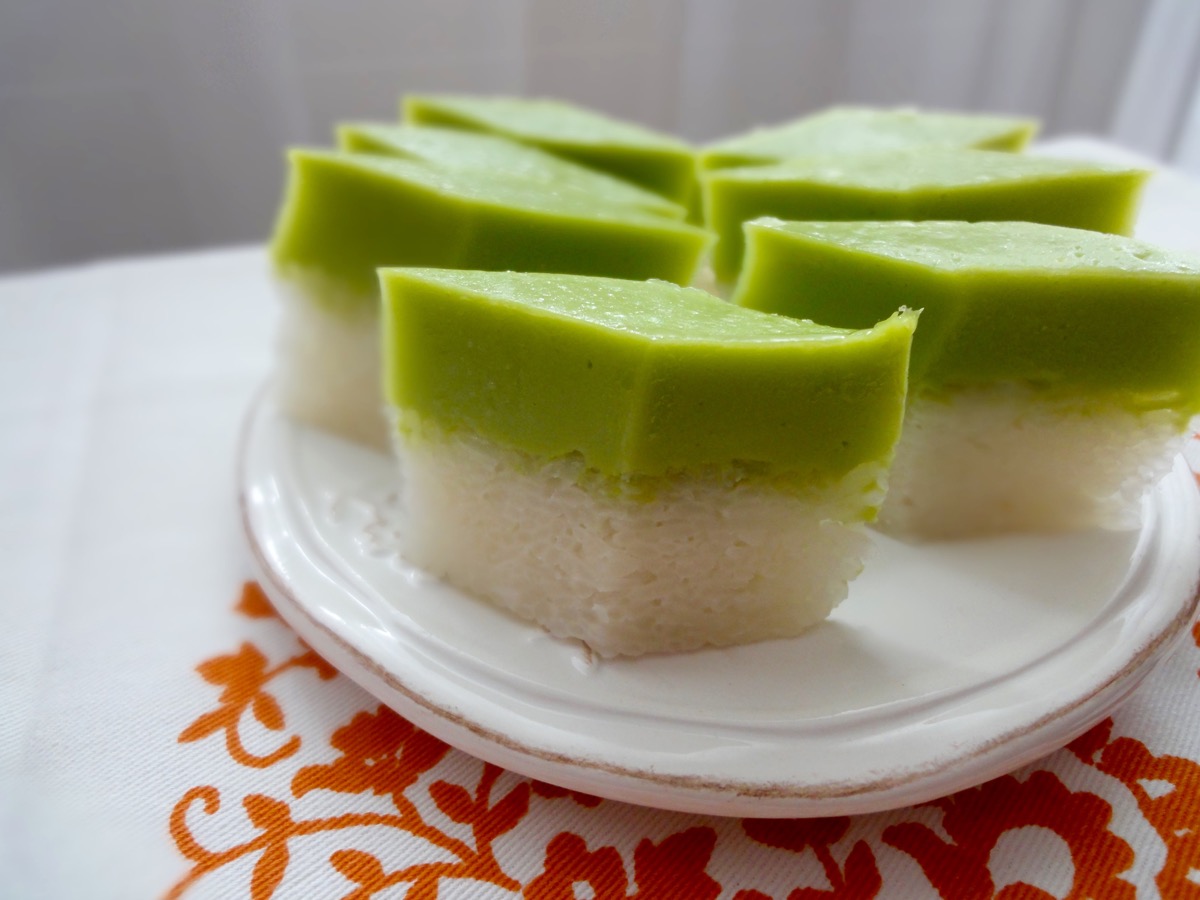
Seri muka is a Malaysian steamed layer cake (kuih) which consist of a glutinous rice (thai sweet rice – sticky rice) layer steamed with coconut milk and a sweet pandan custard layer to finish off. It’s green layer comes from the pandan leaf, but some do add green colouring. I prefer to stick with the natural green the pandan leaf gives out once blended.
Kuih means cakes in Malay. Seri Muka translates to radiant face or pretty face. So this is a pretty face cake. 🙂 I’m guessing what it’s called seri muka is because of the smooth top layer it has after it has been steamed. However, I seem to not be able to get that 100% smooth surface. There always seems to be a large bubble spot on it. Other than that, it actually is quite smooth.
This kuih is found in morning markets, school canteens, cake stands and just about every place that has a person selling kuih’s. It is eaten as a dessert, a snack, or at tea time.
Recipe adapted from Sea Salt with Food’s Kuih Seri Muka. I have tried and read number of recipes and this one has so far been a good replica.
Glutinous Rice Layer
- 400 grams Glutinous Rice
- 150 ml Coconut Milk
- 100 ml Water
- 1 teaspoon Salt
- 3 Pandan Leaves, knotted
Pandan Custard Layer
- 150 ml Pandan Juice, see tips
- 5 Tablespoons Cornflour
- 3 Tablespoons All Purpose Flour
- 3 Eggs, large (53g +/- per egg)
- 200 ml Coconut Milk
- 140 grams Sugar
- A Pinch Salt
Directions:
- Glutinous Rice Layer
- Soak glutinous rice with water for at least 1 ½ hours prior to using. Drain.
- Prepare a 9-inch round or square cake pan and spray with cooking spray or line with plastic wrap.
- Mix coconut milk, water, salt and the rice. Pour it into cake pan, topped with the pandan knots.
- Steam for 30 minutes.
- After 30 minutes, fluff up the rice and remove pandan knots. Then, using a greased spatula, flatten the steamed rice. Make sure there are no holes/air bubbles and gaps in the rice, especially the sides.
- Steam for another 10 minutes.
- Pandan Custard Layer
- Combine pandan juice, coconut milk, all purpose flour, cornflour, and sugar. Mix well.
- Add eggs and whisk well then strain into a medium sized metal bowl or pot.
- Place pandan mixture over simmering water (double boiler or bain-marie)
- Stir continuously and cook till custard starts to thicken. (15 minutes)
- Pour pandan custard into glutinous rice layer, give it a little tap (for air bubbles) and continue to steam for 30 minutes.
- Remove kuih seri muka from the steamer and allow to cool completely before cutting into rectangles or diamond shapes.
Tips:
- Pandan Juice: Take 10 pandan leaves and cut them (to make blending easier). Blend with 200ml water. Strain with cheesecloth.
- Wrap steamer cover with a cloth tightly. This is to prevent water droplets from dropping.
- Glutinous rice layer has to be hot while pouring in the pandan custard layer, otherwise it will not stick to each other.
- Cups to Grams conversions
- 1 cup glutinous rice flour = 104 grams
- If you do not have fresh pandan leaves, you can use pandan extract or flavouring.
- Store kuih seri muka in an airtight container once it has completely cooled down. Consume within 24 hours.
- Do not refrigerate, this will make the glutinous rice layer to become very hard.
Enjoy!
Cherry Chocolate Cake
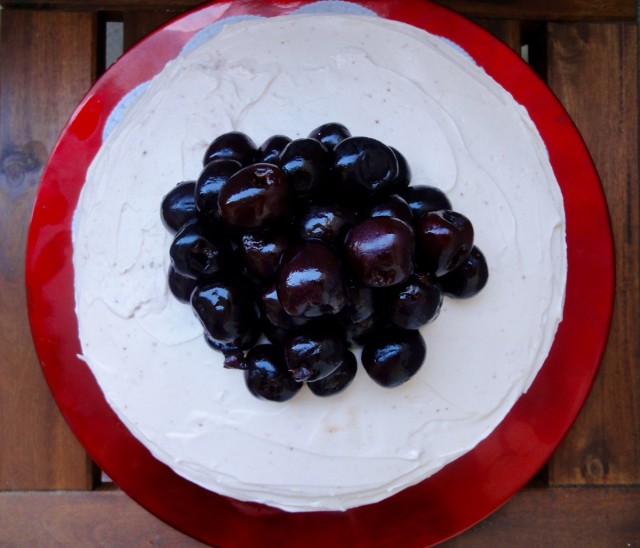
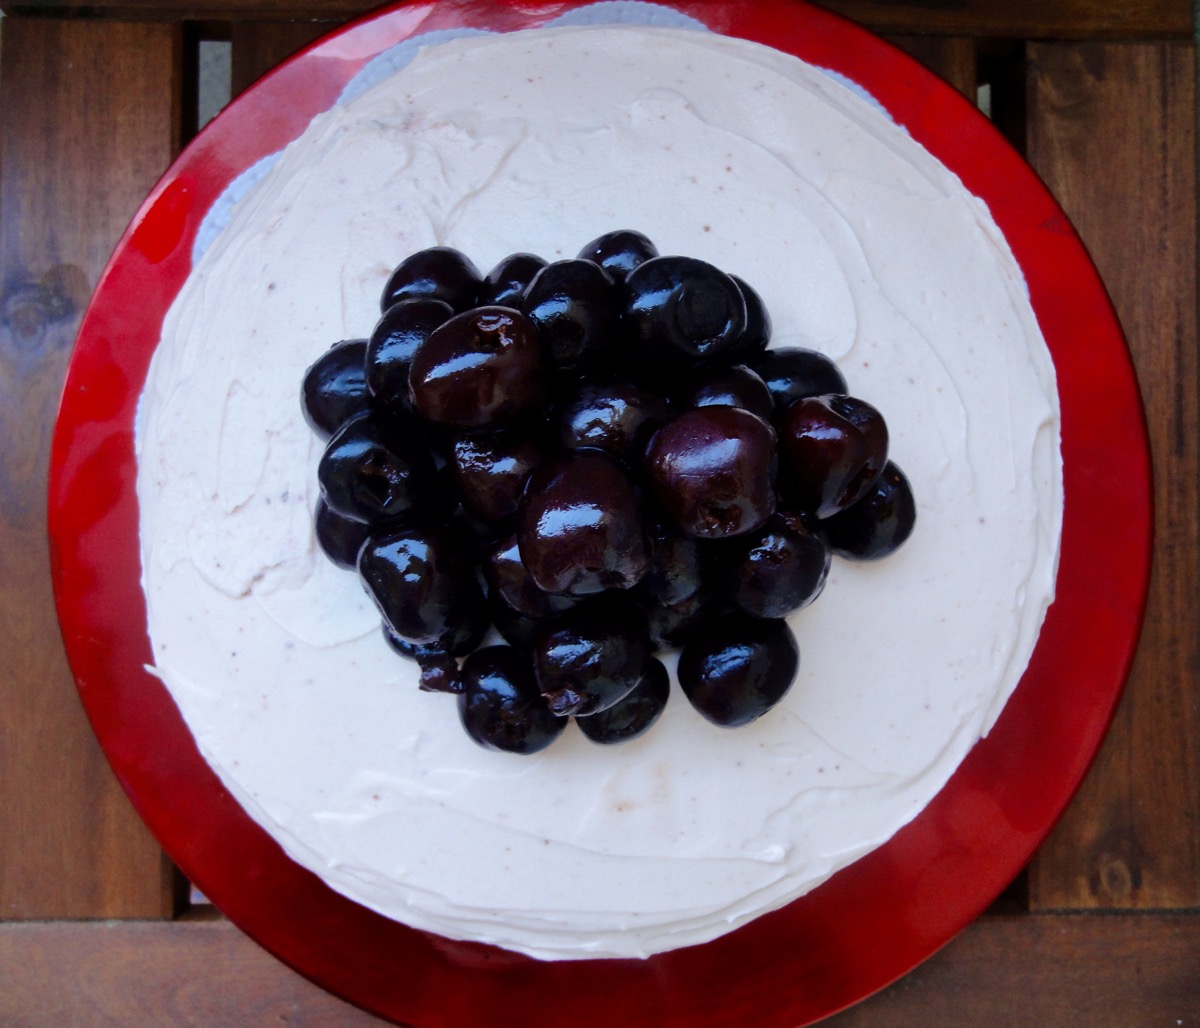
Finally a recipe with cherries in it. Cherry is the name I go by since birth…almost everyone I know calls me Cherry and sometimes introducing myself by my real name sounds weird, so I do tell people to call me Cherry. Growing up, when my mother calls me by my real name, that would be an indication that I’ve actually done something mischievous …which also means…time to ruuuuuun!!!!
I live in a Canton that’s known for it’s cherries, cherry liquer known as Kirsch, and cherry liquer cake – Kirschtorte. It also has its own cherry day – chriesitag, where there’s a game of cherry stone pitting and a cherry market where the farmers sell their cherries and cherry produce, and as you enter the Canton by car, you can see a big signboard with cherries on it.
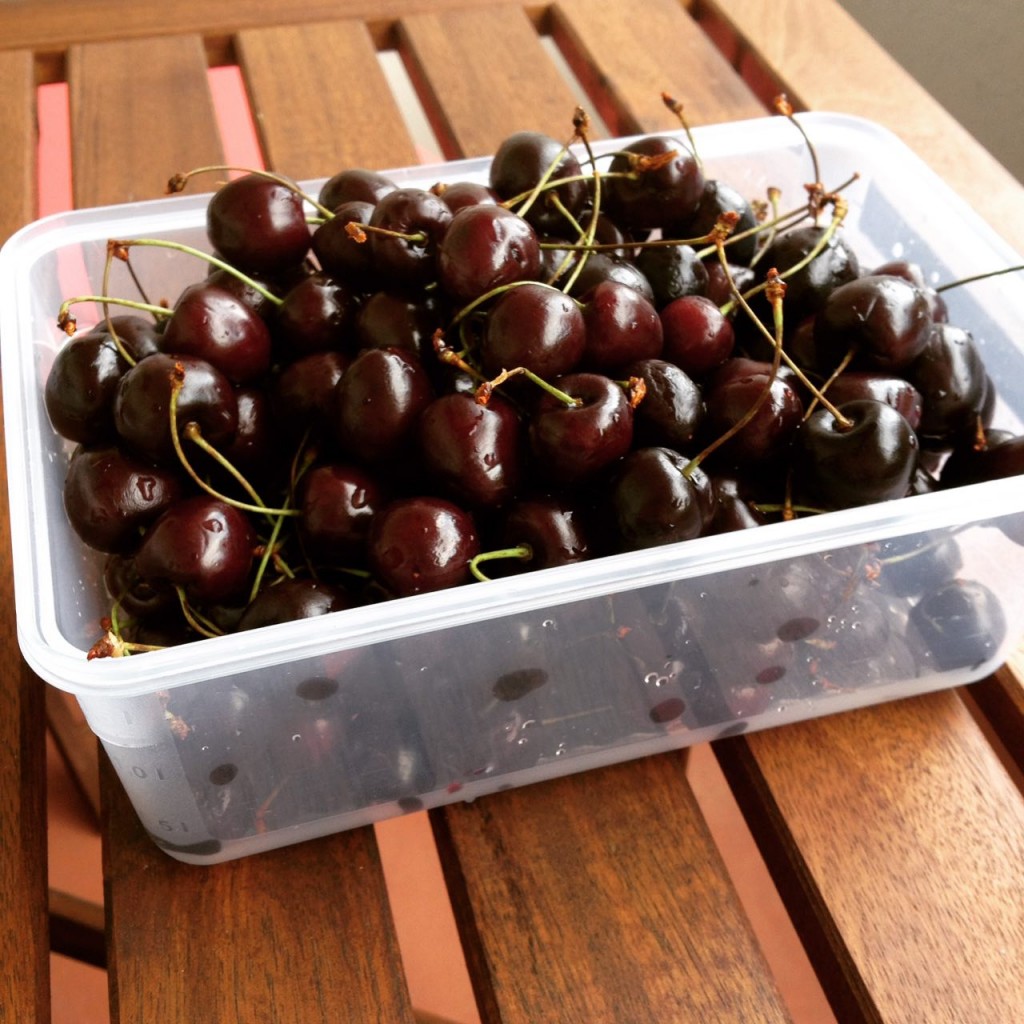
So, being called Cherry all my life, I decided this year to finally get some cherries from the cherry market for a cherry chocolate cake. I wanted to even wear my cherry cap to the market but chickened out. The hubby came along with me because I’m a bratty wife. The farmer even let us try out the cherries before purchasing it. Those cherries were the freshest I have ever had in my life and it was really juicy and good. So we got a kilo of it. As soon as we got home, I cleaned it and started pitting it. I also made some cherry juice from it for the cake frosting.
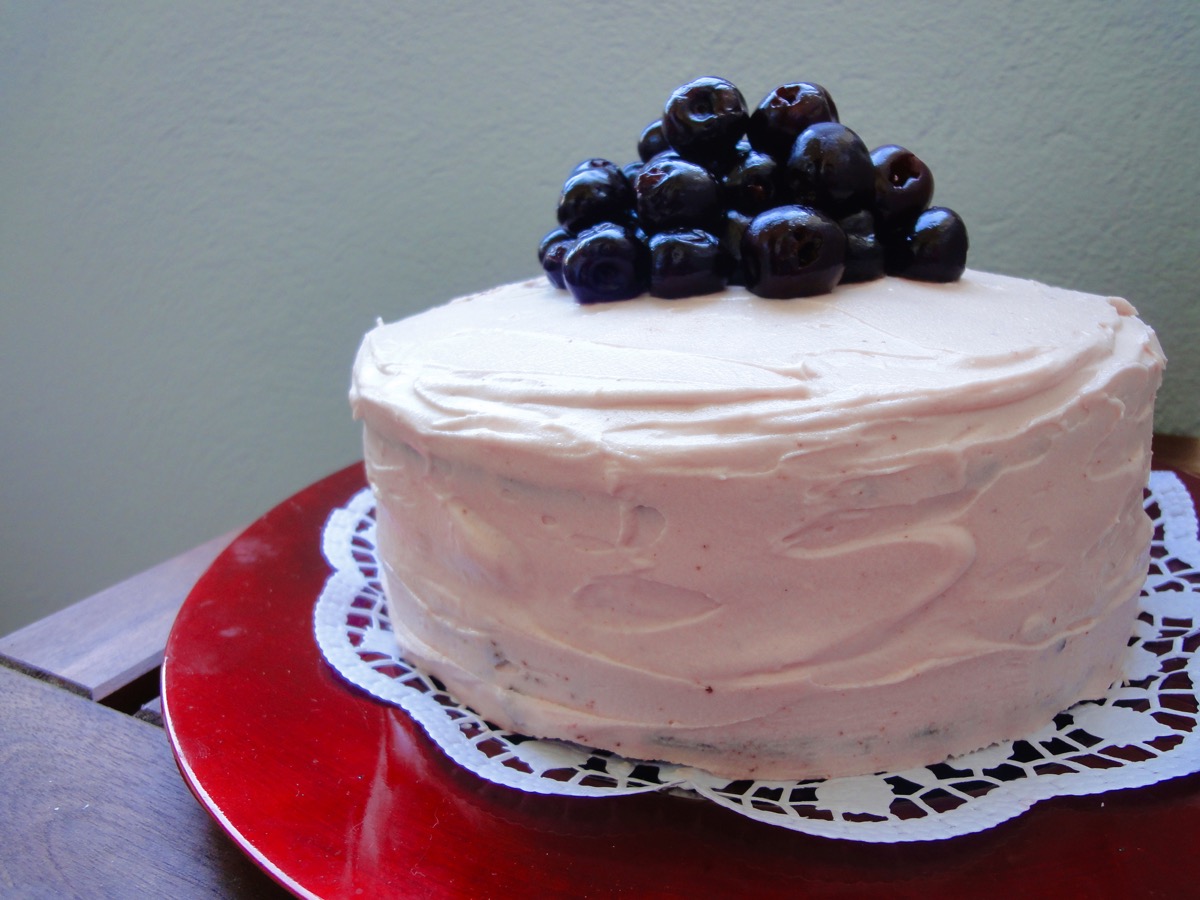
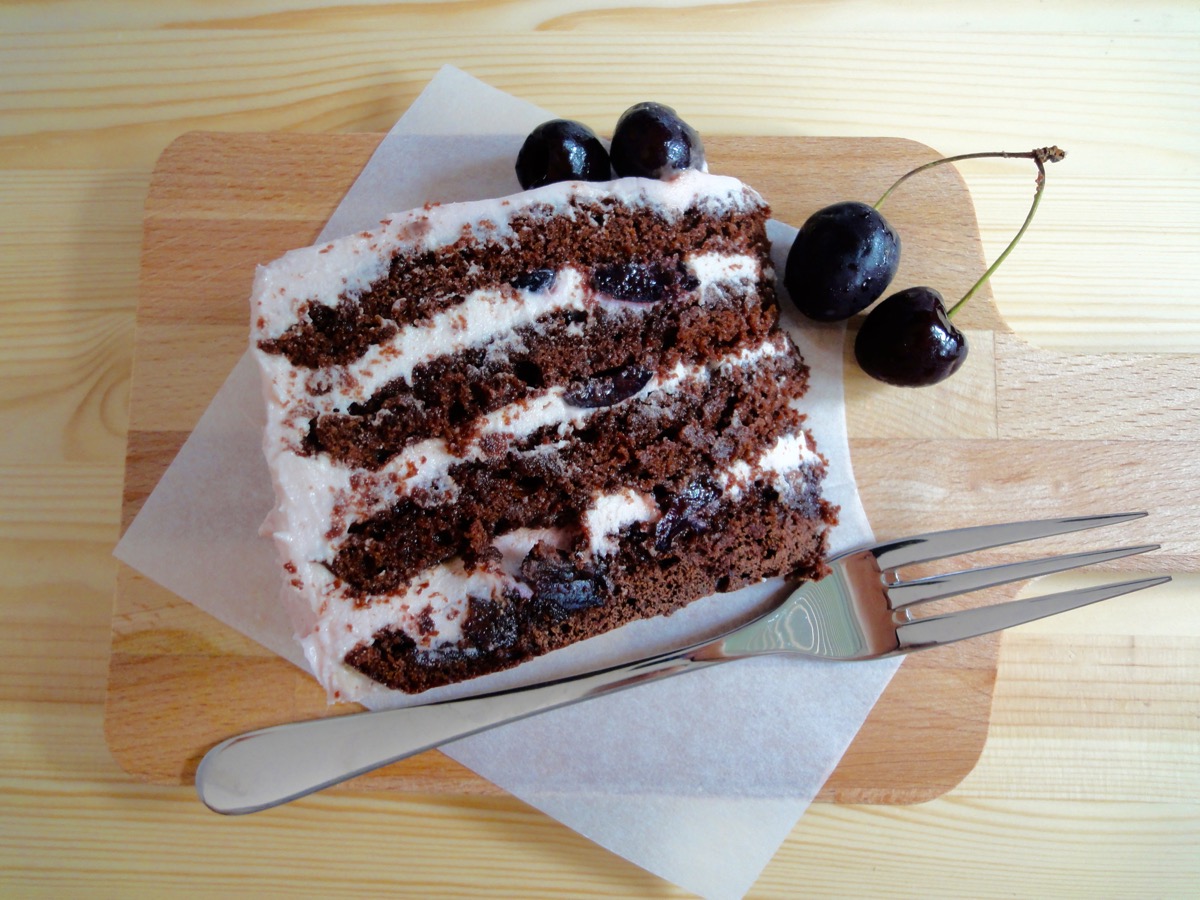
I got the recipe idea from Natasha’s Kitchen’s Drunken Cherry Chocolate Cake. However, mine was a virgin cherry chocolate cake. That was about the only thing I changed from the recipe. It was a delicious cake that I ate half of it over a span of 3 days. But every time I had a slice, there was a tingling feeling in my throat. And one night, I had about 3 slices of it and my tongue swelled up a little. So, sadly…I self diagnosed myself that I am ironically allergic to cherries. That did not stop me from finishing up the cake. 😛 I will go for a test soon though.
Chocolate cake layers taken from Tatyana’s Chocolate Cherry Rum Cake and the frosting from Hungry Rabbit’s Cherry Chocolate Cake.
Chocolate Cake Layers
- ¼ cup (57 grams) Butter, softened
- 1½ cups Sugar
- 2 nos Eggs
- 1 teaspoon Vanilla Extract
- 1 cup Milk
- 1⅓ cups All Purpose Flour
- ¾ cup Cocoa Powder, unsweetened
- 2½ teaspoons Baking Powder
- ⅛ teaspoon Salt (if using unsalted butter)
Cherry Filling
- 4 cups (900 grams) Fresh Pitted Cherries, chopped
- ½ cup Rum (optional - I did not use) soak overnight
Cherry Cream Cheese Frosting
- 1 cup Butter, softened
- 3 cups (+/-) Powdered Sugar
- ¼ teaspoon Salt
- 16oz (2 cups, 450 grams) Cream Cheese
- 4 tablespoons Cherry Juice*
Directions:
- Chocolate Cake Layers
- Preheat oven to 180°C (350°F). Prepare two 8-inch (20 cm) cake pan with cooking spray or butter and dust with flour.
- In a bowl, whisk butter, sugar and salt until light and fluffy.
- Add eggs one by one followed by vanilla extract.
- In a separate bowl, sift flour, cocoa powder and baking powder.
- Add flour to creamed mixture alternating with milk. Mix until just combined.
- Divide batter equally between the two prepared cake pans.
- Bake for 30 to 35 minutes or until your cake tester comes out clean.
- Cool cakes in cake pan. Once cool enough, transfer onto cooling racks.
- Cherry Filling
- Take 2½ cup of chopped cherries.
- Soak cherries in rum overnight (optional)
- Reserve 4 tablespoons of the juice and rum mixture for frosting. (When not using rum, see Cherry Puree for frosting.)
- *Cherry Juice
- Take 1½ cup of cherries from cherry filling and blend till smooth. Set aside.
- Cherry Cream Cheese Frosting
- Mix butter, powdered sugar and salt on low speed until combined. Then increase to medium speed and mix till fluffy.
- Add cream cheese and mix till incorporated. I prefer to keep the cream cheese cold. It does take a little longer to mix it together after that but it resists me from adding too much powdered sugar to thicken the frosting.
- Add 4 tablespoons of cherry juice, mix well. Keep the balance of the cherry puree/juice for layering.
- Refrigerate frosting before using.
- Assembly of cake
- Slice each cake into half horizontally with a long knife or a cake cutting wire.
- Place one layer on a cake stand.
- Take balance cherry juice and mix in 1/8 – 1/4 cups of water. Brush first cake layer with cherry juice.
- Cover the layer with cherry frosting and top with some cherry filling. Repeat process for the next 2 cake layers.
- Add the final cake layer without cherry juice and frosting.
- Leave to set in refrigerator for an hour.
- Once set, frost the top layer and the sides.
- Decorate with some cherries.
- Leave to set for 2 hours before serving.
Tips:
- Cups to Grams conversions
- 1 cup pitted cherries = 225 grams
- Make a day ahead for best results
- Let cake sit at room temperature at least 30 minutes before serving.
Enjoy and happy baking!
Green Beans with Browned Butter and Almonds
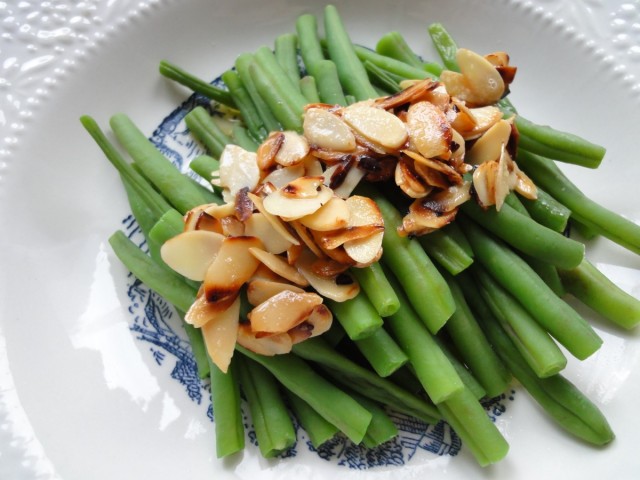
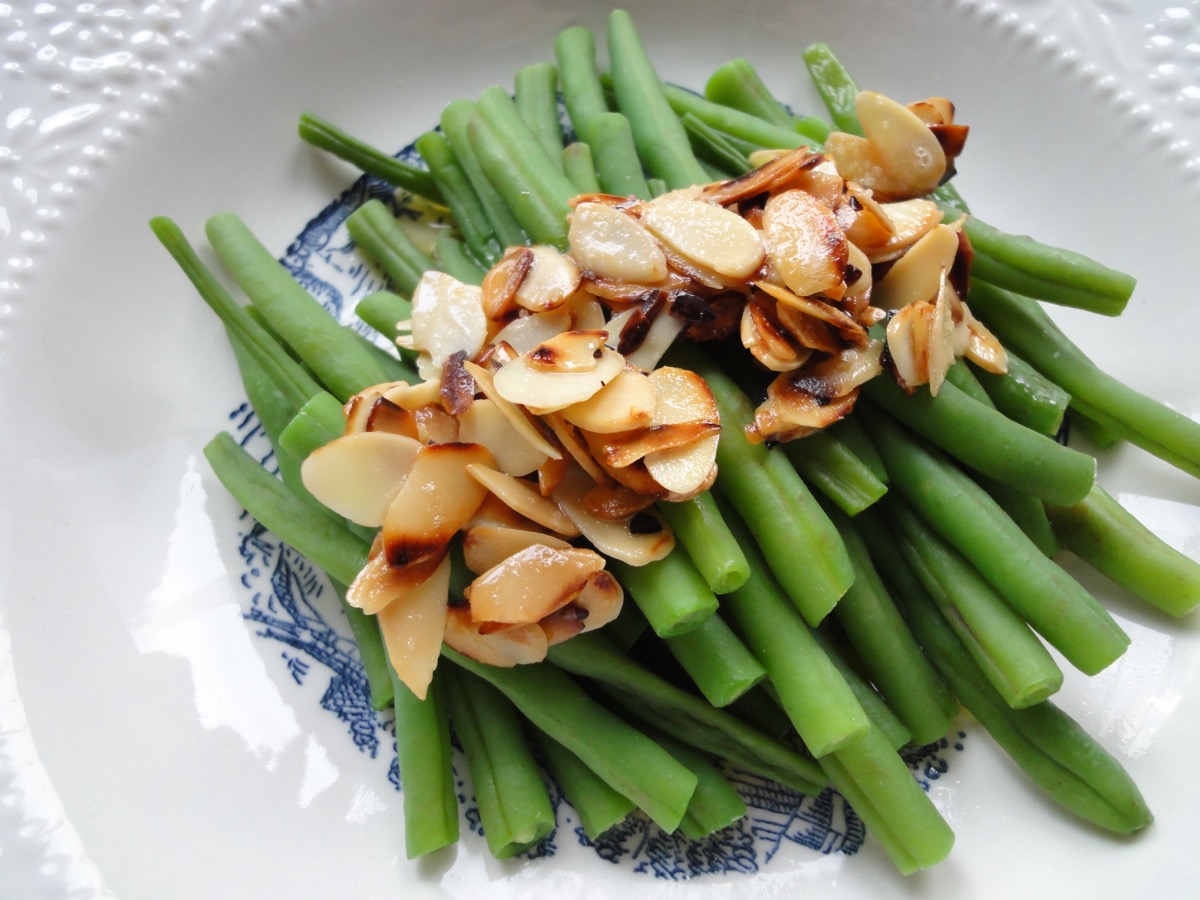
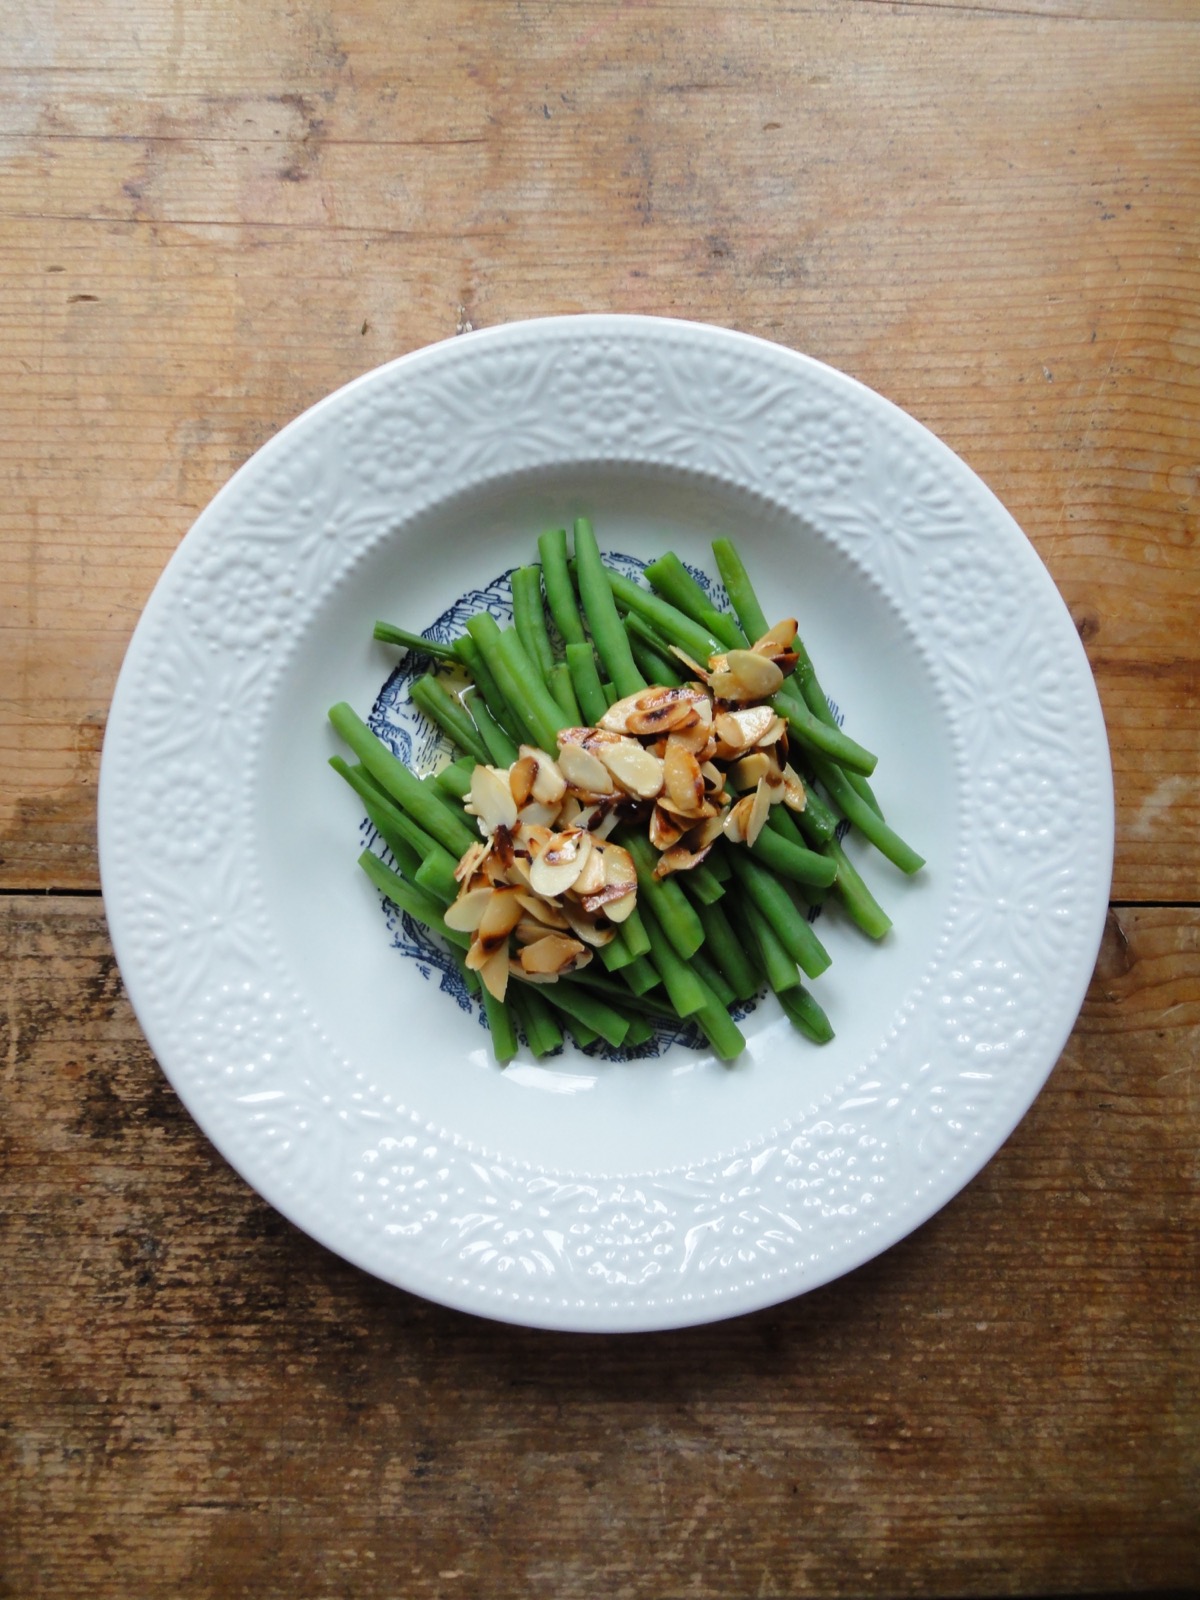
Green beans, also known as French beans or string beans. Growing up, I ate these stir fried style…with garlic, onions and soy sauce. In Switzerland, it’s just steamed till it’s super soft and served just like that. Not all places, but most places. When I worked at a Swiss restaurant, they often served their green beans this was for functions. That was when I started to like having green beans this way. Maybe because I like butter a lot but it’s just really tasty. I also use browned butter and almonds for fried fish filets. I served this side dish with my Crispy Roasted Chicken Legs and mashed potatoes.
Ingredients
- 2 cups / 300 grams Green Beans, fresh or frozen
- 3 Tablespoons Butter
- ¼ cup Sliced Almonds
- To Taste Salt
Directions:
- Bring a pot of water with some salt to boil.
- Boil green beans for 5-7 minutes; or till desired texture.
- In the meantime, heat up a pan to medium high.
- Toast almond slices till it starts to smells nutty (do not brown it yet)
- Remove almonds.
- In the same pan, melt the butter till it starts bubbling.
- Add almonds
- Cook on medium high till the almonds start browning. (pay close attention to it)
- Season and top it on the cooked beans.
- Serve.
Tips:
- Conversion table
- You can also steam the beans
- Add a squeeze of lemon for some tanginess
- Add parmesan for some cheesiness 😉
- Goes well with asparagus, artichokes, brussels sprouts and broccoli.
- For nutritional information, please visit my Yummly page and scroll to the bottom of the recipe.
- If you are using MyFitnessPal app to count calories, first copy the recipe URL then go to MyFitnessPal app to Recipes, select Create a New Recipe, then Add from the Web. Paste the URL, match ingredients and that’s it!
- Always match ingredients to the ones you use. Ingredient nutritional facts differ depending on brand.
Enjoy!
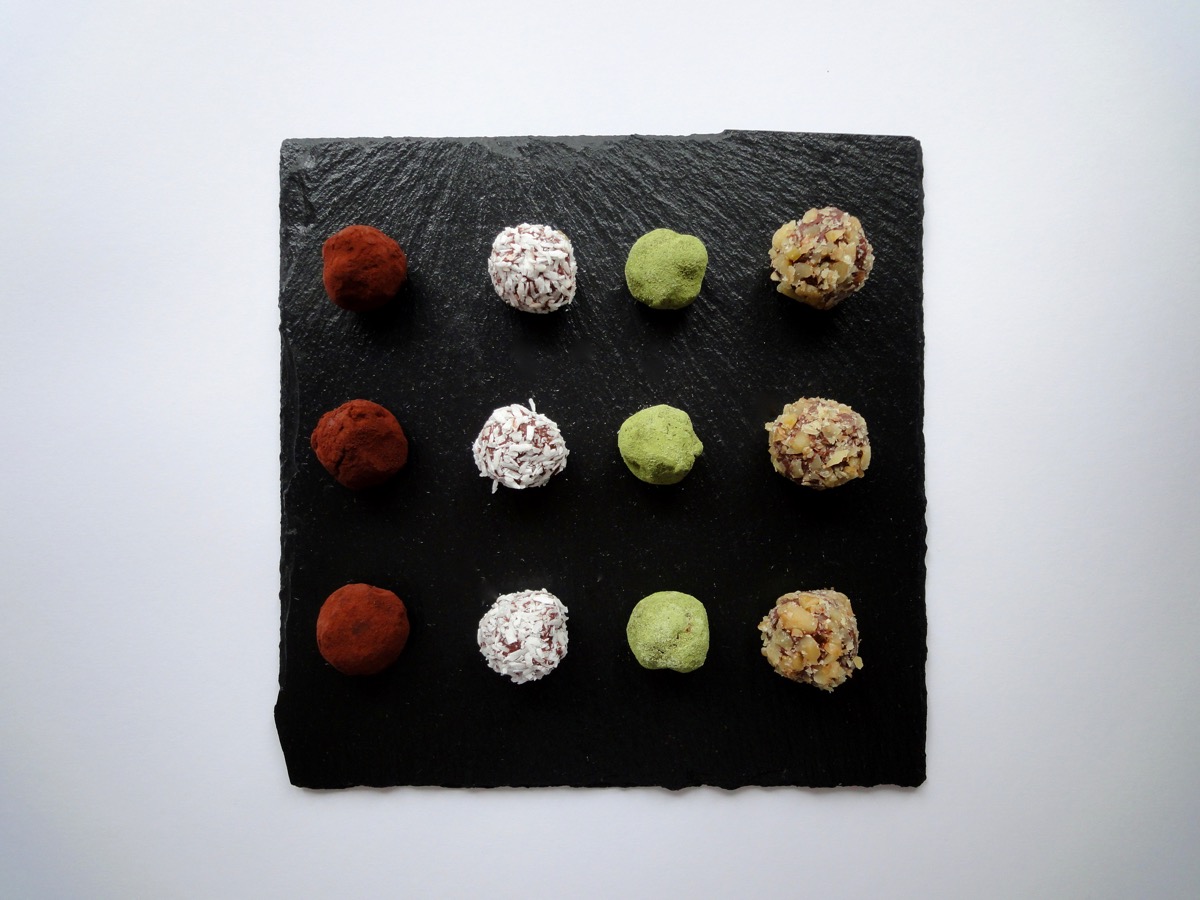
Assorted Keto Coconut Chocolate Truffles
Though living in Switzerland, I don’t eat chocolate every day. But on this way of life, I have at least 1 small chocolate treat a day. As you may already know, there are many types of chocolate. My favourite? None. I will eat all types of chocolate. Yes, I even like compound chocolates which in some countries do not even qualify as chocolate. Heck, I like chocolate so much that I even took a chocolate course and wrote my thesis on chocolate! My thesis was a rush job so there was no proper research or let’s just say, no one will benefit from reading it. 🙂
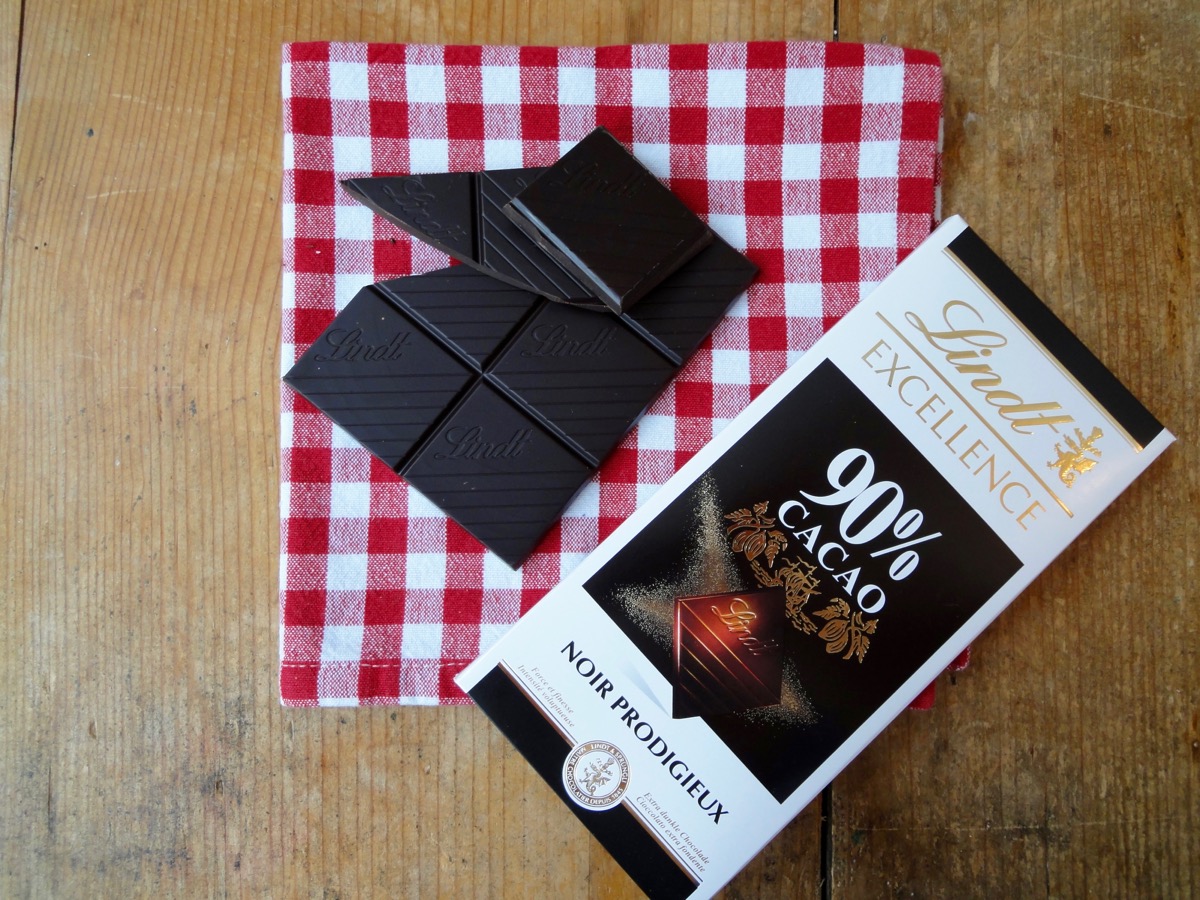
I don’t regularly consume dark chocolate, but on this way of life, dark is about the only way to go. So far I’ve been making treats with 90% cocoa bar. I would say it’s an acquired taste. But you can of course work your way up to it. But 90% is not the highest. There’s a 99% cocoa bar from Lindt that I’ve not tried yet as they don’t sell it at my local grocery store. Have to pay a visit to the Lindt shop one day to get it.
These truffles were made because I was really craving something chocolaty and soft. I was at the grocery store earlier on and there was a full display of easter chocolates as I entered. So I grabbed 2 bars of 90% cocoa bars instead and made these. Cravings satisfied.
Truffles
- 150 grams / 5 oz Dark Chocolate (85% and above)
- 1½ Tablespoons Coconut Oil
- ½ cup Coconut Milk
- 1 teaspoon Vanilla Extract
Topping/Coating
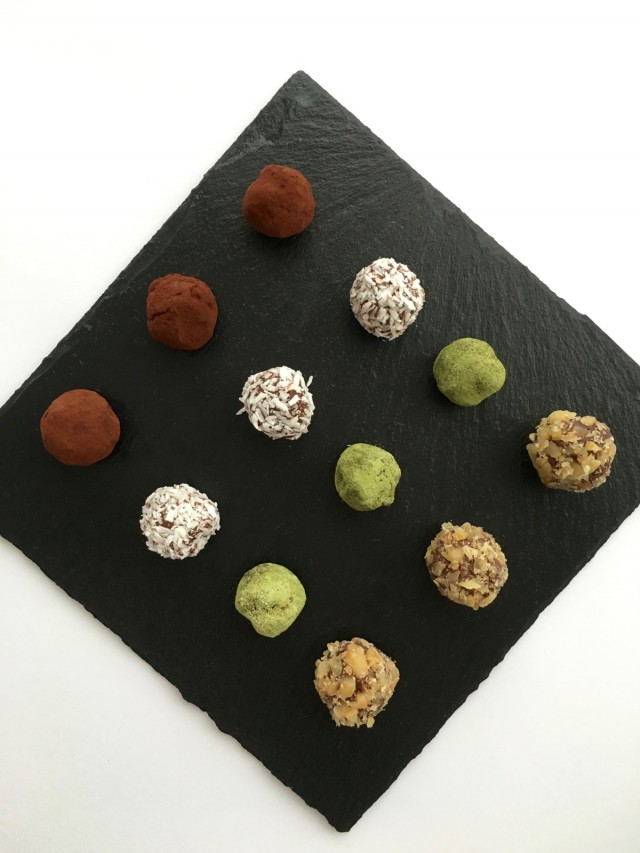
- Walnuts, toasted & chopped
- Matcha Powder
- Coconut Flakes
- Cocoa Powder
Directions:
- In a saucepan, add coconut milk and allow to simmer. Once it starts simmering, remove from heat.
- Add dark chocolate, coconut oil and vanilla extract into the saucepan and stir with a spatula till completely melted and incorporated.
- Transfer coconut chocolate mixture into a container and allow to chill in the fridge for about 4 hours.
- Once completely chilled and hardened, use a melon baller or ½ tablespoon spoon and scoop out chocolate. Shape as desired.
- Coat each truffle in choice of coating.
- Serve!
Tips:
- Conversion Chart
- For even less carbs, find the highest content of cocoa bar. I use 90% cocoa bars for this recipe. Soon, I would test it out with 99% cocoa.
- Since this recipe does not have any added sugar or sugar alcohol in it, the sweetness comes from the coconut milk and dark chocolate. However, if you wish to add any sweeteners to it, feel free to do so.
- I got 34 pieces of truffles with 1/2 tablespoon per truffle.
- If you are using MyFitnessPal app to count calories, first copy the recipe URL then go to MyFitnessPal app to Recipes, select Create a New Recipe, then Add from the Web. Paste the URL, match ingredients and that’s it!
- Always match ingredients to the ones you use. Ingredient nutritional facts differ depending on brand.
- Nutrition Facts (based on my ingredients) : Per serving (2 plain truffles) 75 kcal, Total Fat – 7 g, Total Carbs – 3 g, Protein – 1 g.
Enjoy!
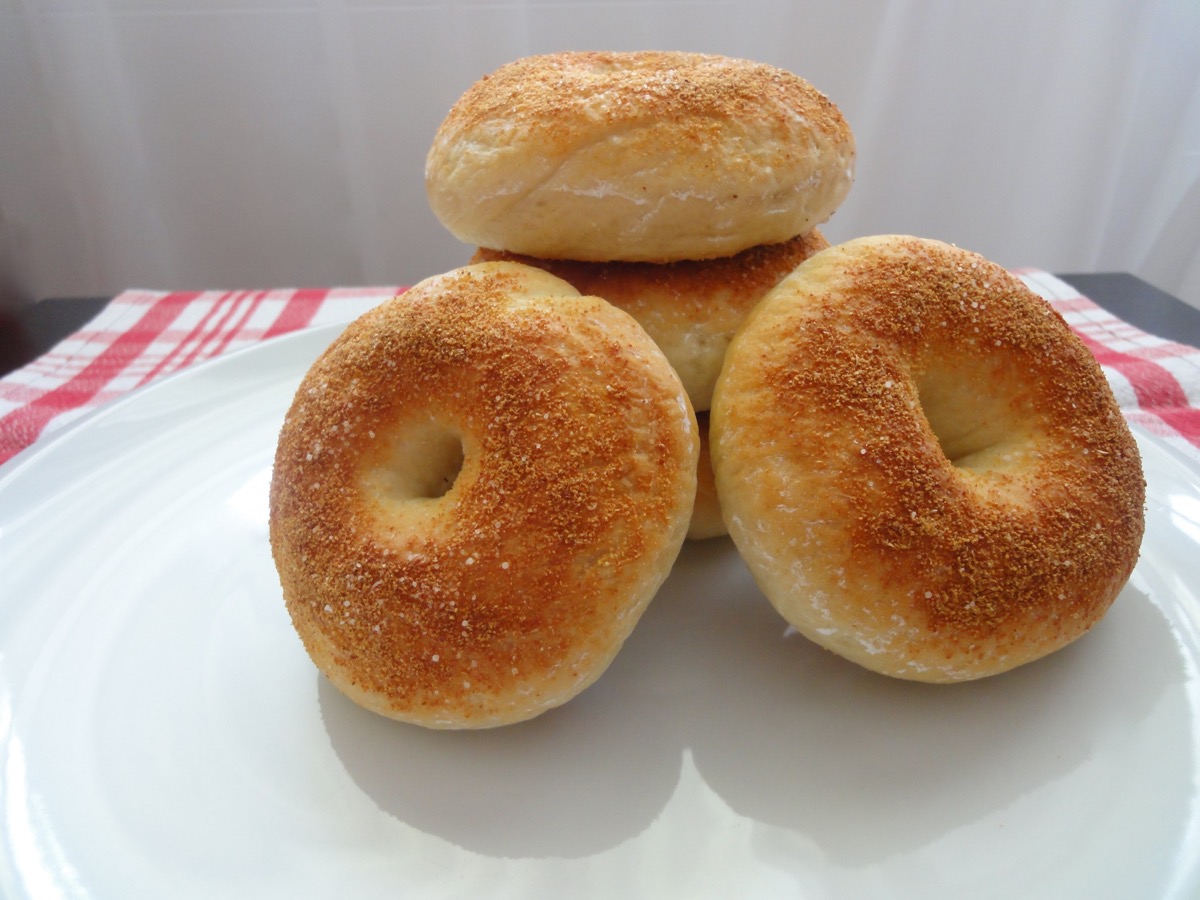
Bagels
If you watch the series Community, you would know who Britta Perry is. In Season 1 Episode 17: Physical Education, Britta gets mocked by her friends for mispronouncing bagel as bag-el. Though this episode was released in 2009, it was only in 2013 when I watched it again…and hearing the word bagel got me thinking more of it. At the same time, I was working in a Café/Bakery that sold bagels. I never ate the bagels sold at that Café, because their hygiene was horrible, and they used expired ingredients. On top of it, the owner was in debt and on the verge of bankruptcy that she did not have the money to even pay me. I stayed for a month, barely eating anything there during my break time. Thankfully, the Café has been shut down (due to bankruptcy) and I got my salary after waiting for nearly half a year which was only possible because of strict labor rules here.
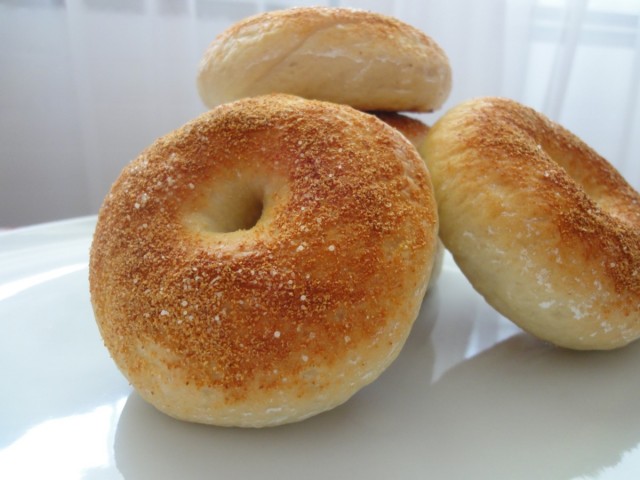
So when I was jobless again, I started to make my own bagels at home. I found out that making bagels was easier than expected and certainly delicious. My favourite toppings are poppy seeds and garlic granules with sea salt. Of course, you are free to be creative with your toppings. I also like my bagels to have a bit of a chewy bite so I do boil mine slightly longer. If you do not like much chew, boil it for a shorter time. Lastly, I add a little honey to the water to boil. It gives out a really nice light scent and taste.
Ingredients
- 3 ½ cups Flour
- 1 ½ teaspoons Salt
- 2 teaspoons Dry Yeast
- 1 ⅓ ( +/-) Warm Water (45°C)
- 1 ½ tablespoons Sugar
For Boiling
- Medium Sized Pot Water
- 4 tablespoons Honey
Topping (optional)
- 1 nos Egg + 1 tablespoon Water (egg wash)
- 1 tablespoon each Cornstarch + Water (use this if you do not want to use eggs for egg wash)
- Poppy Seeds
- Sesame Seeds
- Garlic Granules
- Sea Salt
- Sunflower Seeds
- Minced Onions
Directions:
- Take 1 cup of the warm water and add sugar and yeast. Let the mixture sit for 5 minutes or till the yeast starts frothing a little. I like to put it in the oven with just the light on which creates enough heat on a winters day.
- Mix flour and salt in a large bowl. Pour in yeast mixture and mix (by hand or you can also use a stand mixer if you have. I use my stand mixer to combine ingredients and hand knead half way).
- Add in the rest of the water. You may add more water if needed. The dough should be slightly moist but firm after mixing.
- Transfer to lightly floured countertop and knead for about 10 minutes (5 minutes if you started off with stand mixer) until it forms a stiff and firm dough.
- Use cooking spray to grease a bowl, add dough and cover the bowl with a damp towel. Let the dough rise for an hour in a warm place (I use my oven for this in winter, just slightly warm it up on the lowest setting 5 minutes prior)
- Divide dough into 8 pieces (for large ones) and shape it into round pieces.
- Coat finger in flour (prevents sticking to finger) and gently press your finger through the centre of each ball to form a ring. Stretch the ring of the bagel and place on a lined baking tray.
- Cover bagels with a damp towel and let it rest for 10 minutes.
- Preheat oven to 220°C. In the meantime, bring a pot of water to boil, add honey. Reduce heat. Use a slotted spoon to lower bagels in. Boil a few at a time, but do not overcrowd.
- Boil for a minute, and them flip them over to boil for another minute. Extend the boiling times to 2 minutes each, if you prefer a chewier bagel. Remove and put on lined baking tray.
- If you want to add toppings, do so right after you take the bagels out from the water. You will need to use egg wash or a mixture of cornstarch and flour to get the toppings to stick.
- Once all bagels have been boiled and have been topped with toppings, bake for 20 minutes.
Tips:
Enjoy!
Croutons
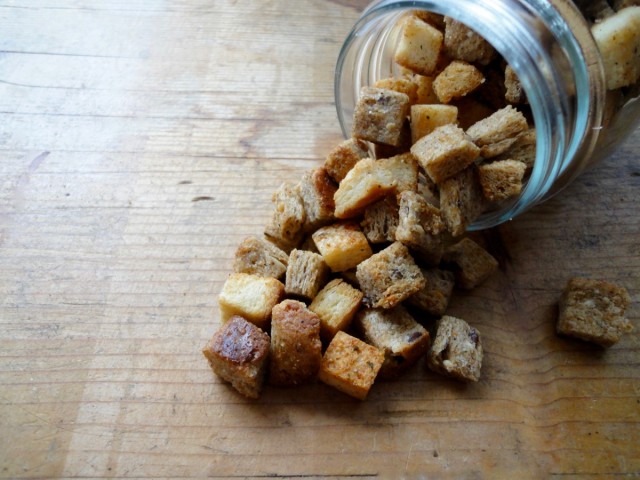
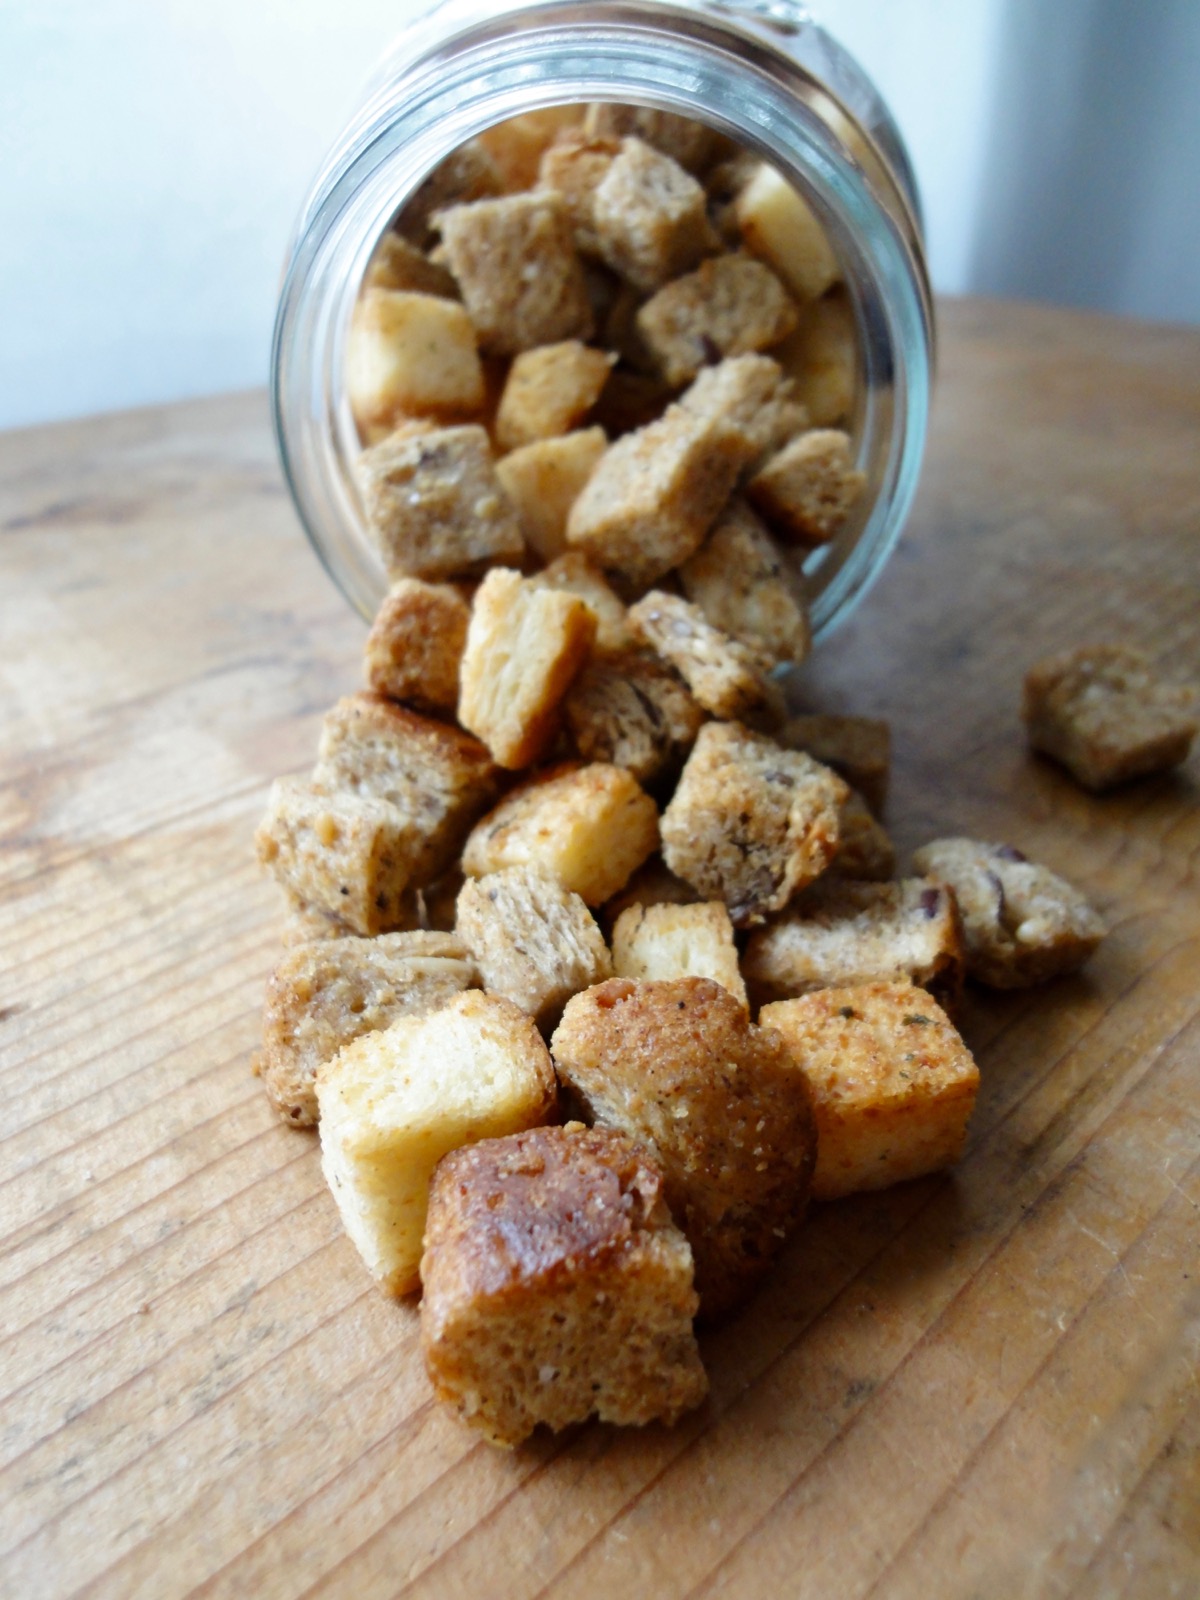
Little gems on salad! Tastes 100% better than store bought croutons.
I love croutons and I love making them. Back when I was working, I used to eat croutons with sour cream everyday. I was addicted to it. Then in my other job, I had to make croutons twice a week using lovely brioche toast which made the croutons taste even better! I could not keep my hands off those too, that’s why I had to make it twice a week!
Now I’m on a very strict low carb diet. So croutons are out of the picture. I’m only on day 4 and I miss bread so much! Anyways, I made this batch here with half white bread and half wholemeal bread – just to make myself think it’s better than just going full white. I gladly sprinkled it over my salads while it lasted. So for all those who are not on a strict diet, please eat some on my behalf.
This post is dedicated to my sister. After she got married, she started to cook at home. See, she’s not that domesticated when it comes to the kitchen. She’s better in the cleaning department and keeping the place tidy. I remember one day she made salad and then posted on Facebook that she did not have croutons. So I told her just toast up some bread and you’d have croutons. Her reply was, why would I make a condiment! HAHAHA I’m sure her cooking has improved a lot over the few years plus she knows how to cook rice well. I’ve not eaten her cooking yet. Though, there was a close call when we were younger. Our mother was out and we were playing outside the kitchen. She proceeds to cut grass and brings some water to boil. She then boiled the grass and added salt and pepper. The next thing I knew was she was trying to force me to drink her grass soup!!!! Mother came back in time to save the day. So dear sister, you are a year older today and I hope you do not attempt to cook grass soup anymore. 😛 Happy Birthday and cook more!
Ingredients
- 8 slices Sandwich Bread
- 2 Tablespoons Olive Oil
- 2 teaspoons Garlic Powder
- 2 teaspoons Onion Powder
- 1 teaspoon Oregano
- To taste Salt
- To taste Black Pepper Powder
Directions:
- Pre-heat oven to 150°C (300°F) and line a baking tray with parchment paper.
- Cut sandwich bread into small cubes. Put bread cubes in a medium sized bowl.
- Drizzle oil over bread and toss or mix by hand. Make sure bread cubes are evenly coated.
- Sprinkle seasoning and herbs. Toss or mix by hand again till coated.
- Spread croutons out onto baking tray.
- Bake for 20 -30 minutes or till it’s lightly brown. Pay attention to the croutons once it starts browning as it can go south very quickly.
- Remove from oven and allow to cool completely before storing in an air-tight container.
Tips:
- Conversion Table
- Use any type of bread of choice
- Feel free to use your own choice of oil such as peanut oil, vegetable oil, canola oil, sunflower oil, rapeseed, or even butter.
- Add parmesan for extra yumminess!
- For nutritional information, please visit my Yummly page and scroll to the bottom of the recipe.
- If you are using MyFitnessPal app to count calories, first copy the recipe URL then go to MyFitnessPal app to Recipes, select Create a New Recipe, then Add from the Web. Paste the URL, match ingredients and that’s it!
- Always match ingredients to the ones you use. Ingredient nutritional facts differ depending on brand.
Enjoy!
Lavender Biscuits
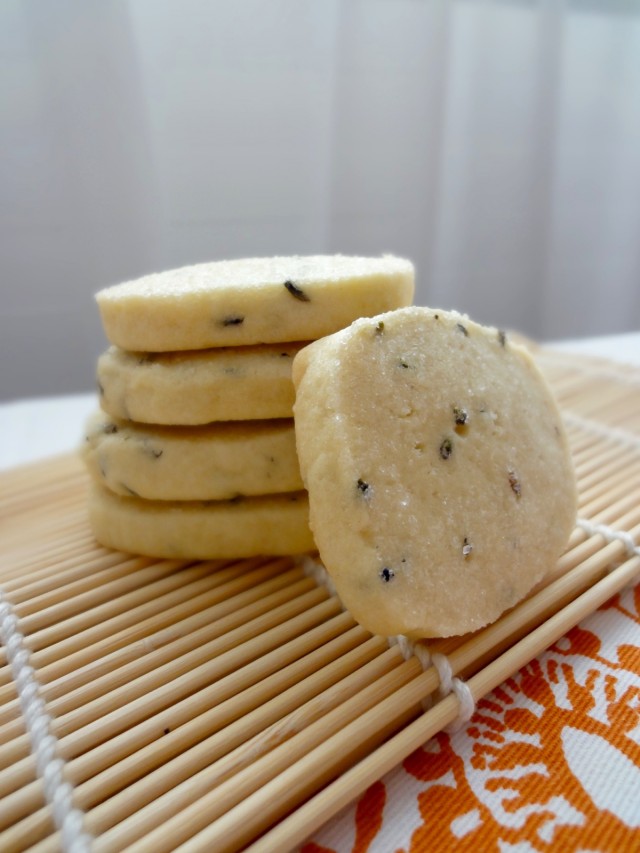
Never have I thought that lavender could be eaten. All the while I thought it was just for potpourri, decoration, essential oils, room deodoriser, car freshener and stuff like that. However, not all lavender can be consumed. It’s best to get ones that are guaranteed pesticide free which can be found in tea shops. In Switzerland, I get my lavender buds from a tea shop called The Queen Camellia Tea House which is in Lucerne. Though, few weeks ago I went again to find some but they did not have stock of it because of some crop problems. They import theirs from France. A lady there suggested we look at a nearby Reformhaus (a health food shop) as they would have it there.
I first heard about lavender biscuits during Kate Middleton’s first pregnancy. There was a tabloid article that mentioned she was munching on lavender biscuits as it helps with morning sickness. Don’t know how true that was but I cared more about those lavender biscuits. After nearly 3 years, I finally decided to give it a go. It was really lovely. Since I did not have prior experience cooking with lavender, I thought I might expect some overly pungent lavender smelling biscuits. But no! With the right amount, it’s really really good. The smell is heavenly when baking and it taste’s very special.
Recipe adapted from Bakingdom’s Tea Time Shortbread Cookies
Ingredients
- 1 cup Butter, softened
- ¾ cup Powdered Sugar
- 1 nos Egg
- ½ teaspoon Vanilla Extract
- 2 ¼ cups All Purpose Flour
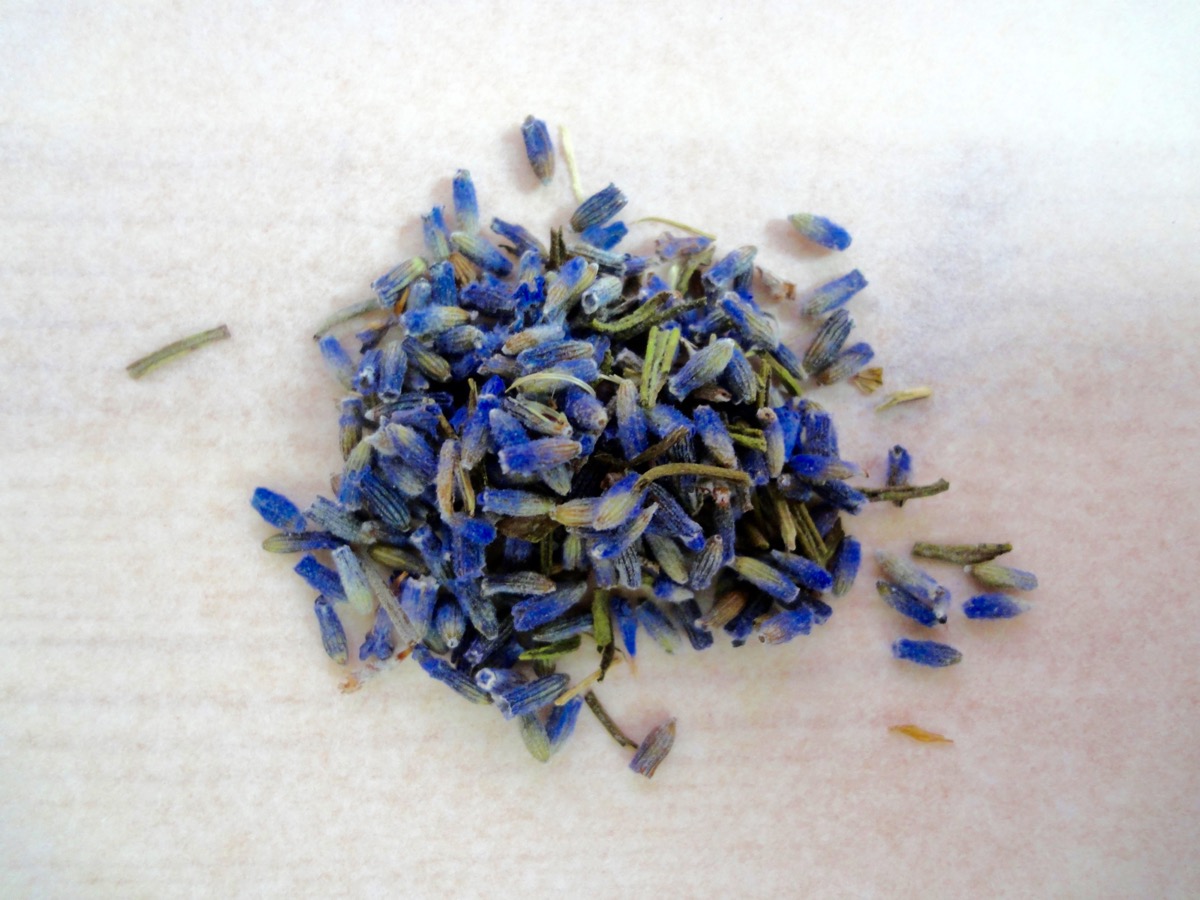
- 2 tablespoons Dried Lavender Buds
- ½ teaspoon Salt
- ¼ cup Sugar, for dipping
Directions:
- In a large bowl, cream softened butter together with sugar and salt till light and fluffy.
- Add in vanilla extract and egg. Beat till incorporated.
- Add in flour and lavender buds. Mix till combined.
- Divide dough into two and form into logs. Wrap dough in plastic wrap or parchment paper. Dough will be a little sticky and soft (like it needs more flour, but do not), once chilled it will become solid.
- Chill for an hour in the fridge.
- Pre-heat oven to 150°C (300°F). Line two baking pans with parchment paper.
- Remove chilled dough, unwrap and cut into slices about 1/2 – inch thick.
- Dip one side of the dough in sugar.
- Place biscuits (sugar side up) on prepared baking pans, about 2 inches apart.
- Bake for 20 minutes. Biscuits will look pale, so resist baking them longer otherwise it would be too hard.
- Place on wire rack to cool before serving and storing.
Tips:
- Try and stick to 1/2 – inch thickness, otherwise baking time has to be adjusted accordingly.
- If the dough gets too soft while slicing, refrigerate for 10-15 minutes.
- The biscuit itself is not that sweet, so I would not decrease the sugar.
- Store in an airtight container up to a week.
- Dough can be frozen up to 3 months.
- Cups to Grams conversion
Enjoy!
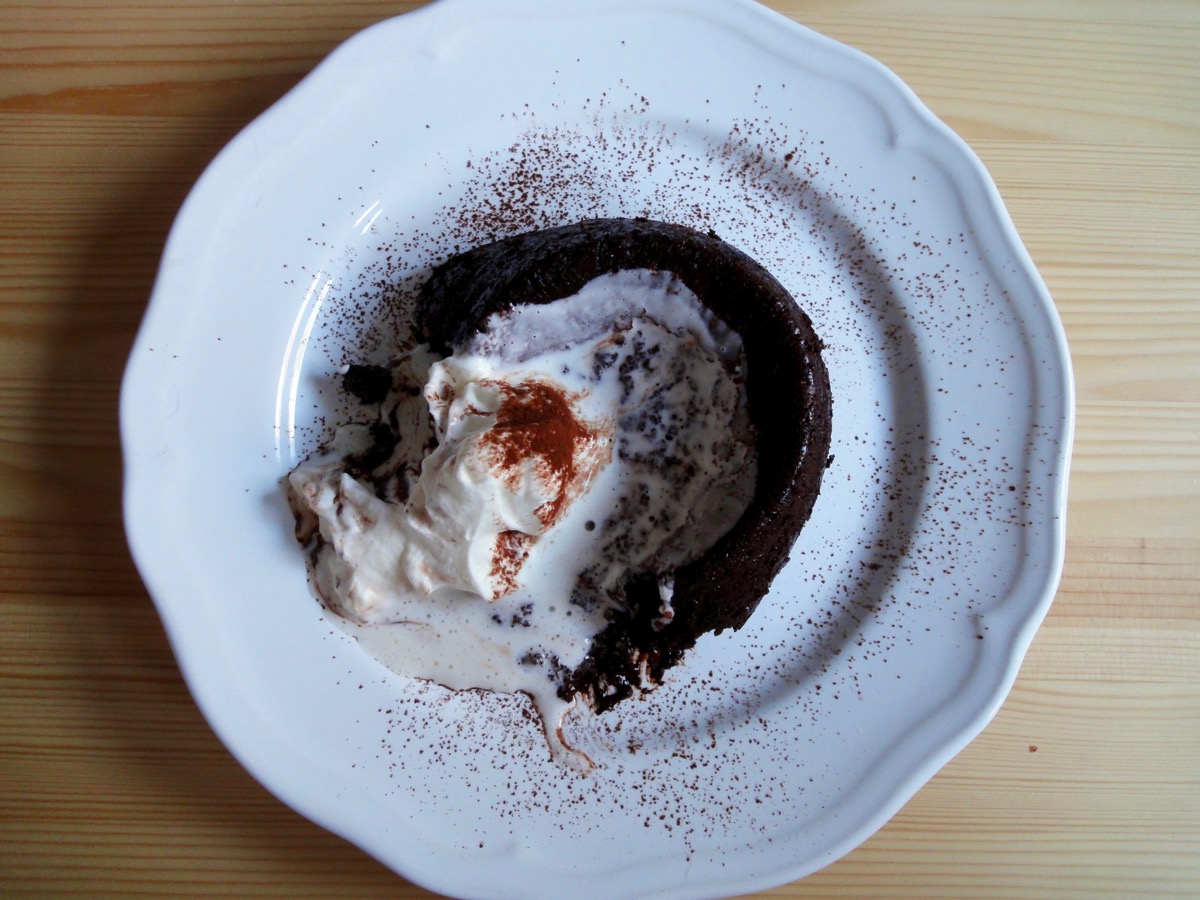
Keto Chocolate Molten Cake
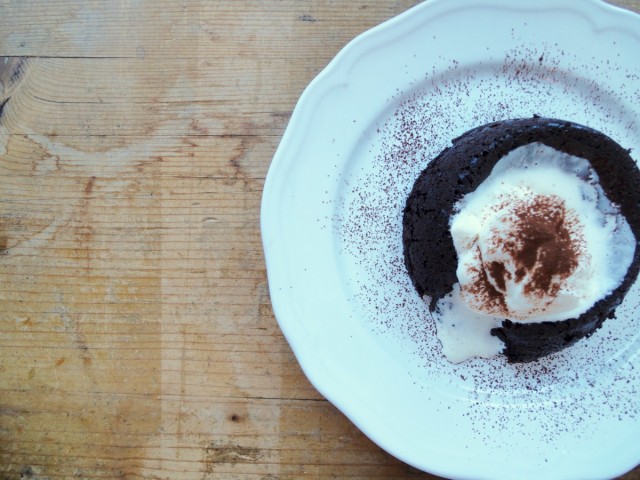
“Only Cherry can find a diet that still lets her eat desserts” – The Husband (2016)
A few posts back I claimed that I won’t be baking anymore sweet treats. I didn’t lie! I just found a loophole. With a whole lot of substituting, researching, shopping, and money, I am still able to bake sweet stuff! Woohoo! However, if you really have sugar addiction and are on a strict no-sugar diet, I do not recommend you do this ‘cheat’. Yes, you do not use real sugar but the sweet taste will take you back to all your delicious sweet treats and the tendency of to submit those cravings are high. If you have good willpower, you may treat yourself.
1st loophole : I found that sukrin (erythritol) is a good substitute for sugar in baking and cooking. It taste’s like sugar, looks like sugar and works like sugar but it is 100% natural, has ZERO calories, doesn’t damage teeth, and it does not cause blood sugar to spike. Please do your own research before purchasing or using a product.
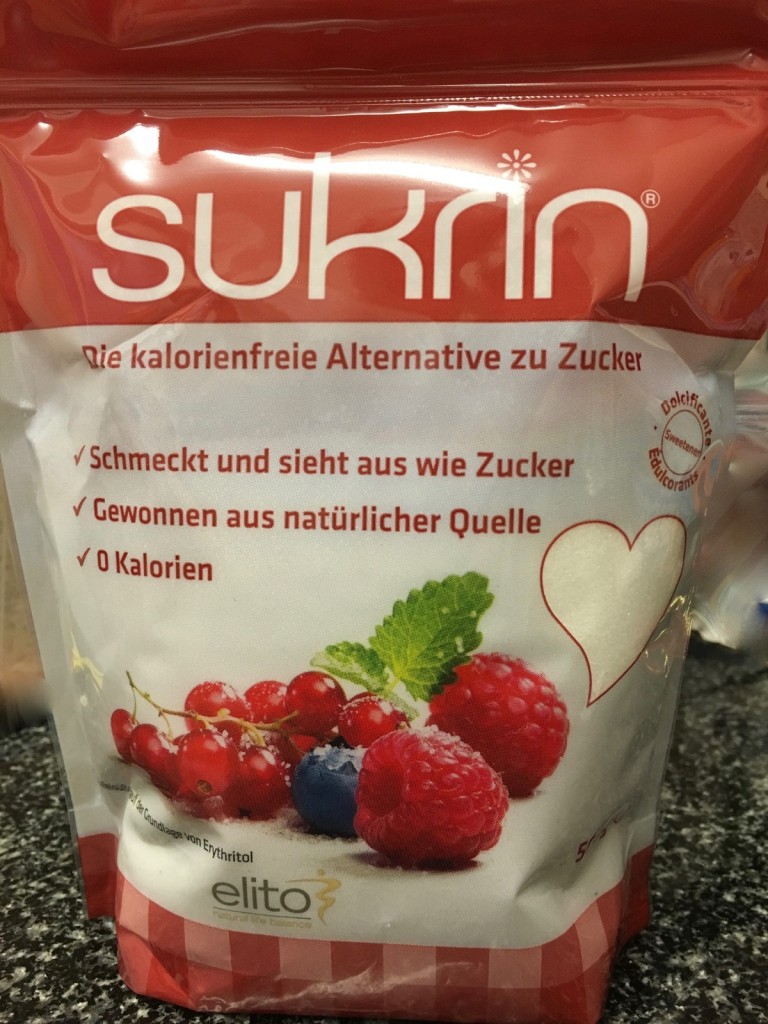
Sukrin: the calorie-free alternative to sugar. Taste and looks with sugar, 100% natural, Zero calories
2nd loophole : There are many recipes that use coconut flour or almond flour as substitutes to all-purpose flour. I have not tried using any of those two flours yet, but I will soon. Or just go flourless for now, like this recipe.
3rd loophole : Find or create sweet treats that have less than 5 grams of carbs per serving. With all the substituting, its very possible to have 5 grams of carbs per serving. If not, just eat a smaller portion.
However, the ingredients needed to create low carb sweet treats are rather expensive compared to if you do not substitute. For example, 1 kilo of sugar costs CHF 1 (in Switzerland) whilst a 500 gram packet of sukrin costs around CHF 14.50 and that’s without delivery. That alone is enough to discourage me from using much of it. I would use it for that biweekly or monthly treat and a little in the morning when I make my cocoa drink. I’m used to drinking Nesquik in the morning but I sadly have to give that up. :'(
So, here’s that delicious (and a little bitter) keto chocolate molten cake. Recipe adapted from Tasteaholics.
Chocolate Molten Cake
- 4 Tablespoons Unsweetened Cocoa Powder
- 2-4 Tablespoons Erythritol (Sukrin)
- ½ teaspoon Baking Powder
- To Taste Salt
- 2 Egg, medium
- 2 Tablespoons Heavy Cream (35%)
- 1 teaspoon Vanilla Extract
Vanilla Whipped Cream
- ½ cup Heavy Cream (35%), cold
- 2 teaspoons (or according to taste) Erythritol (Sukrin)
- 1 teaspoon Vanilla Extract
Directions:
- Chocolate Molten Cake
- Preheat oven to 175°C (350°F). If using microwave, skip this obviously.
- Spray or butter up your ramekins or heat-proof bowls. Set aside.
- Mix erythritol (sukrin), unsweetened cocoa powder and baking powder. Break up any clumps and set aside.
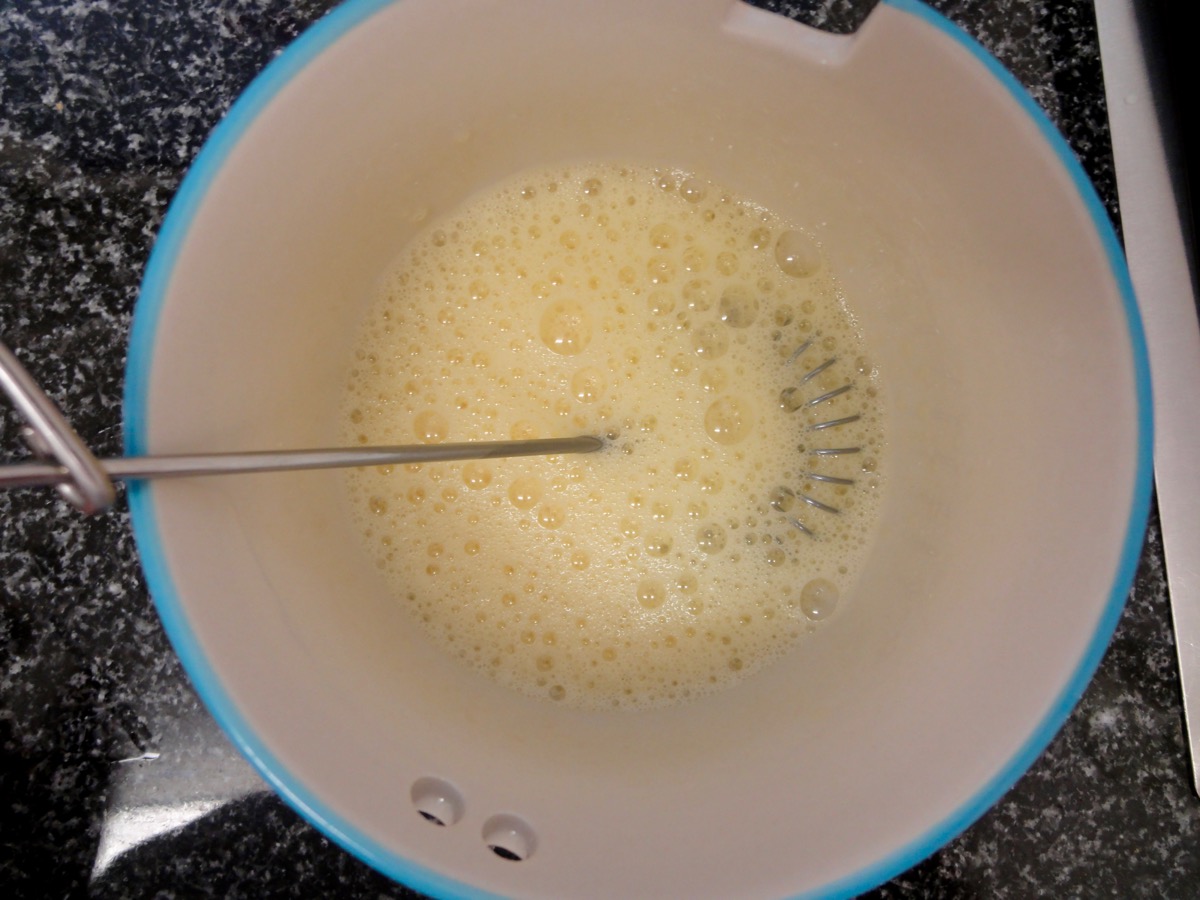
- In another bowl, whip/beat the crap out of the eggs until it’s frothy and aerated. (the cake is flourless so beating it till frothy and aerated is going to help the cake rise.
- Add the egg, heavy cream, vanilla extract and salt to the cocoa mixture.
- Gently fold in the mixture till combined.
- Pour batter equally into prepared ramekins.
- Bake for 15 minutes or microwave it for a minute (or till it’s cooked, all microwaves are different) In the meantime, prepare whipped cream. See 2nd set of instructions below. It should still be jiggly. If cooked too long, you wouldn’t get that molten effect and you’d just land up with a cake which is also nice.
- Whipped Cream
- Add heavy cream, erythritol (sukrin) and vanilla extract to a large bowl.
- Whip till it forms stiff peaks. You can use a hand mixer, stand mixer or if you like a challenge, whisk it manually.
- Set aside or put it in the refrigerator until needed.
- Assembly
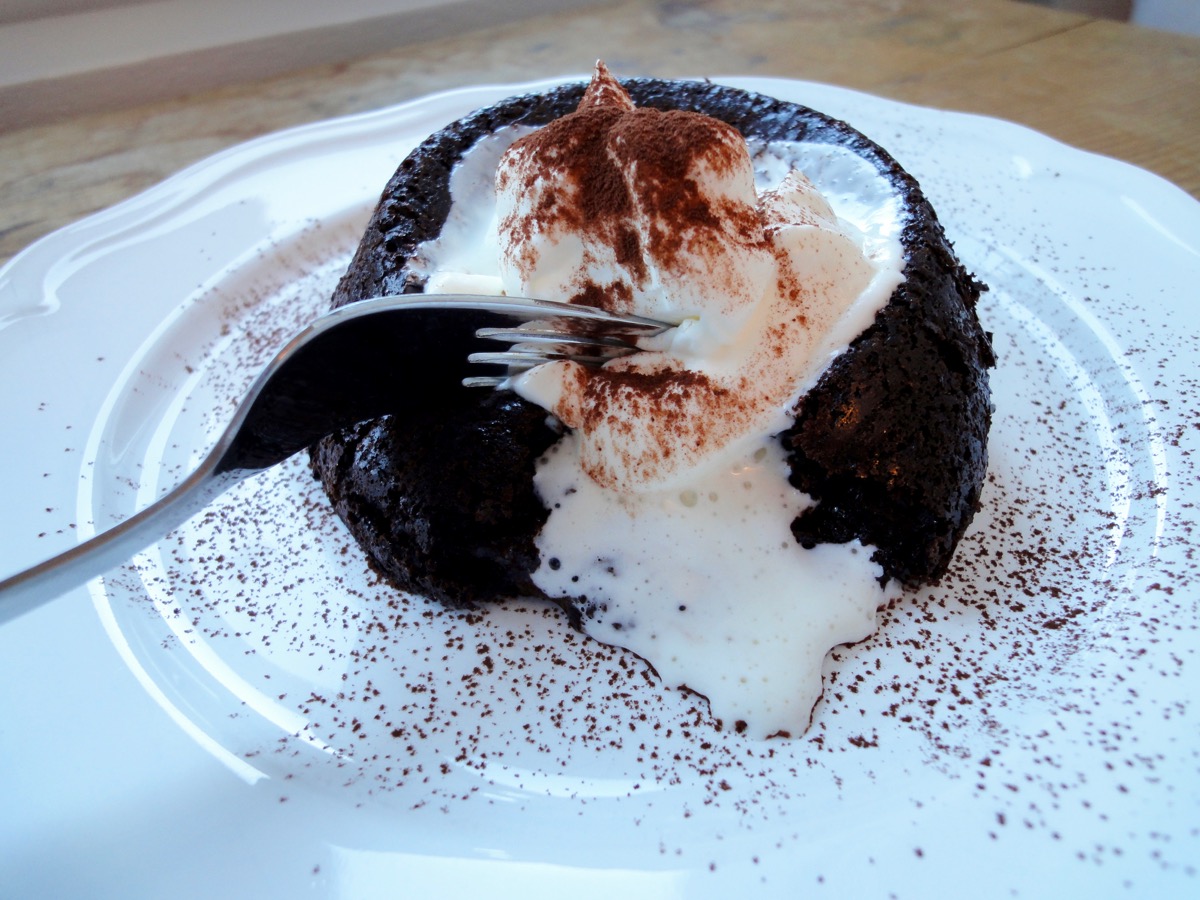
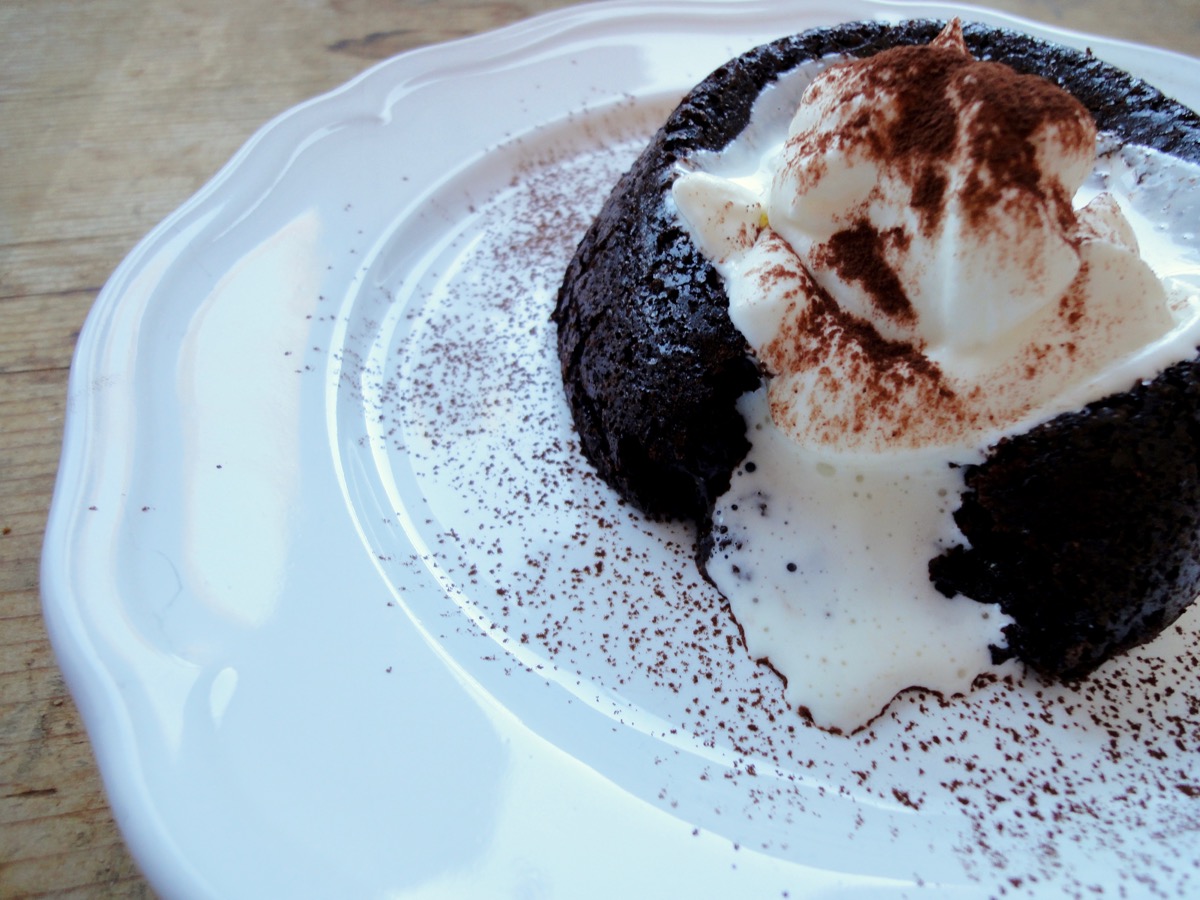
- Carefully run a knife around the edge of each cake, then turn out onto serving plates and serve with a dollop of vanilla whipped cream.
Tips:
- If cooked too long, you wouldn’t get that “lava” effect and you’d just land up with a cake which is also nice.
- Make your own Vanilla Extract!
- Conversion Table
- If you are using MyFitnessPal app to count calories, first copy the recipe URL then go to MyFitnessPal app to Recipes, select Create a New Recipe, then Add from the Web. Paste the URL, match ingredients and that’s it!
- Always match ingredients to the ones you use. Ingredient nutritional facts differ depending on brand.
- Nutrition Facts (based on my ingredients) : Per serving 302 kcal, Total Fat – 25 g, Total Carb – 4 g, Protein – 11 g.
Enjoy and just eat one portion! Don’t be greedy.
Cream Puffs (Profiteroles)
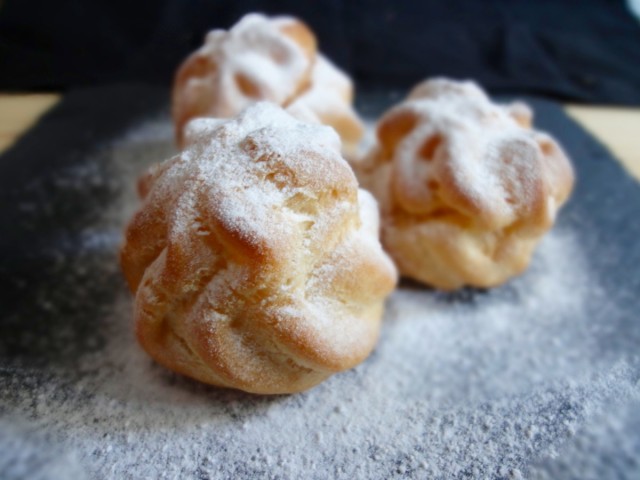
Cream puffs are also known as profiteroles. The pastry shell or bun is known as choux pastry or pâte à choux (pata shoe). These little pastries drove me crazy back in May. I was obsessed trying to get the perfect choux pastry. One day I even made five different choux pastries from three different recipes using various methods and baking temperatures. It all tasted good, but I could not achieve a puffy pastry that didn’t taste bland, held it’s shape and didn’t go all soft the next day.
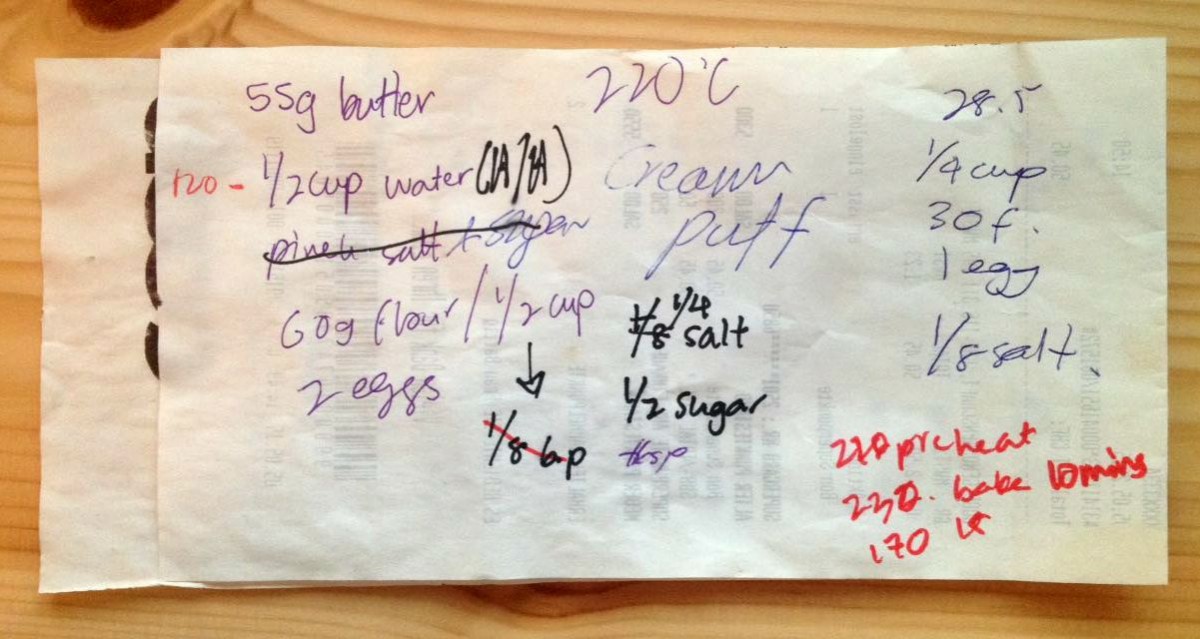
All in all, I’ve tried at least 10 times before I found the perfect combination. It might not work for all, but it has certainly worked for me…though not all the time. The eggs in this recipe are very very important. Not all eggs weigh the same, unless you use boxed eggs (as I call it). I’ve not tried using boxed eggs because it’s not available in grocery stores here. The only time I used it was when I worked in a restaurant. I normally use two medium sized eggs that weigh approximately 53g. But what I do is, I whisk the two eggs into a measuring cup and use as I need. Most of the time I use the whole mixture, but when the eggs are slightly bigger then I do not use all of it. The paste can’t have too much liquid, otherwise the shape would not hold. That, for me is the best way to go about with this.
The temperature is also very very important, as you want nice and puffy choux pastries and not ones that are flat, undercooked or overcooked. I learnt from Baker Bettie’s classic cream puff recipe where she preheated the oven to 220°C (425°F) but increased it to 230°C (450°F) when she put the pastries in the oven and baked it for 10 minutes then reduced the heat to 170°C (350°F) for 15 minutes. This worked perfectly for me and the results were perfect. The only thing I did a little different was, after the pastries were baked, I poked a hole at the bottom of it to release the steam in it. Then I returned it to the oven 100°C (210°F) for another 15 minutes to ‘dry’ it out. This step is totally optional as I just wanted my pastries a little drier.
Getting the recipe together was another thing. In some recipes, like this one…I use both imperial and metric system.
Most recipes either call for water or milk. I find that using water keeps the pastry hard while milk makes it soft after a few hours, but water makes the pastry taste super bland while milk give it a very nice taste. So, I use both! Half milk, half water. The milk I use is pasteurised full fat (3.5 %) milk. Sometimes I do use pasteurised skimmed milk (2.5 %) and got the same results.
The pastry cream or crème pâtissière is adapted from Martha Steward. Sometimes when I’m lazy I just use Bird’s custard and add some vanilla beans to it.
Choux Pastry
- ½ cup (55g) Butter
- ¼ cup (60ml) Water
- ¼ cup (60ml) Milk
- ½ cup (60g) All Purpose Flour
- 1 teaspoon Sugar
- ¼ teaspoon Salt
- 2 nos Eggs
Crème Pâtissière
- 1 cup Milk
- 3 nos Egg Yolks
- 3 tablespoons Sugar
- 3 tablespoons All Purpose Flour
- 1 pod Vanilla Pod
Directions:
- Choux Pastry
- Pre-heat oven to 220°C (425°F). Prepare a baking try and line with parchment paper.
- In a medium sized pot, add butter, milk, water, sugar and salt and boil over medium high until butter has melted.
- Reduce heat to medium and quickly stir in the flour. Keep on stirring and cook off the moisture in the dough until it starts to pull away from sides and forms into a ball. Should take around a minute or two.
- Take the dough off heat and let it cool down for 5 minutes.
- Whisk eggs.
- Once dough has cooled off, slowly pour in the eggs into the pot and stir continuously. The batter should look smooth, glossy and thick. (You can also use a hand mixer to stir in the eggs, it does take a little longer and requires more energy if you mix it by hand.)
- Place batter into a piping bag with star tip or round nozzle and pipe onto prepared baking tray. Around 1.5-inch diameter. Starting in the middle, going once around, then up 3/4 around.
- Wet finger to flatten the tip of the pipped batter. This is to prevent the tip from burning.
- Place the tray into oven (middle rack) and increase the heat to 230°C (450°F) and bake for 10 minutes.
- After 10 minutes, reduce the heat to 170°C (350°F) and bake for another 15 minutes.
- Take the pastries out and let it cool for a minute or two. Then using a small pairing knife, make a hole at the bottom of the pastry.
- In the meantime, reduce the heat to 100°C (210°F).
- Put the pastries back into the oven on the wire rack. Bake for another 15 minutes to dry it out.
- Take out dried pastries and let it cool on a wire rack.
- Pipe cooled pastries with crème pâtissière or chantilly cream.
- Dust with icing sugar or coat with melted chocolate.
- Crème Pâtissière
- Split vanilla pod into half and scrape out the seeds.
- In a saucepan, bring the milk to a boil over medium heat.
- In a small bowl, whisk egg yolks, vanilla seeds and sugar.
- Add flour and mix until smooth and free of lumps.
- Take 1/4 cup of the warm milk and pour slowly while mixing into the egg mixture.
- When the remaining milk begins to boil, add it slowly into the egg mixture. Mix well.
- Pour egg and milk mixture back into the saucepan and cook over high heat and whisk continuously until pastry cream thickens and boils, about 1 minute.
- Reduce heat to medium and cook while whisking continuously until cream becomes shiny and easier to stir, about 4 minutes.
- Once done, remove from heat and pour into a bowl. Wrap with plastic wrap and leave to cool.
- Once cooled, refrigerate until it has set (3 hours or overnight).
Tips:
- You can make the crème pâtissière a night before intended use.
- Do not use aluminium foil in place of parchment paper. This will cause the choux pastry to burn at the bottom.
- For humid countries, the choux pastry maybe a little “runnier” resulting in difficulty of holding shape while being pipped. What might help is if you chill the choux pastry for 10 minutes before piping.
- It’s best to fill the pastries before being served, otherwise the pastry will get soggy. I once filled it 5 hours prior to serving and it was not too soggy.
- Store pastry in an uncovered or loosely covered container.
- Read the text above for more tips
- Cups to Grams conversions
All the best and enjoy baking!

