The Baby Edition: Homemade Carrot Purée
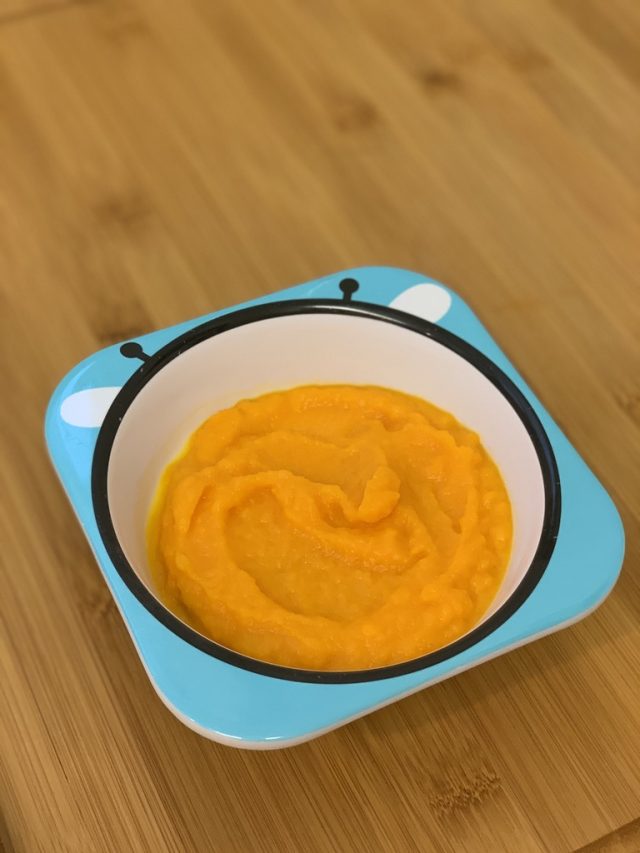
Hey everyone! It has been a long time since I’ve posted new recipes. The past few years have been a crazy but joyful roller coaster, as my husband and I welcomed our first child into this world. So after a year and a half of broken sleep, I decided to take some more time off to catch up on all the shows and movies I missed and to just take a step back from my hobby. I never thought a Carrot Purée entry would ever be my comeback to posting! I’m also dabbling into creating YouTube video/tutorials for my recipes and this Carrot Purée recipe is gonna be the first (video below), cause you know, you gotta roll with the trend (though I might be too late since apparently Tik Tok is now a new place for stuff like these, and I’m too old for Tik Tok!).
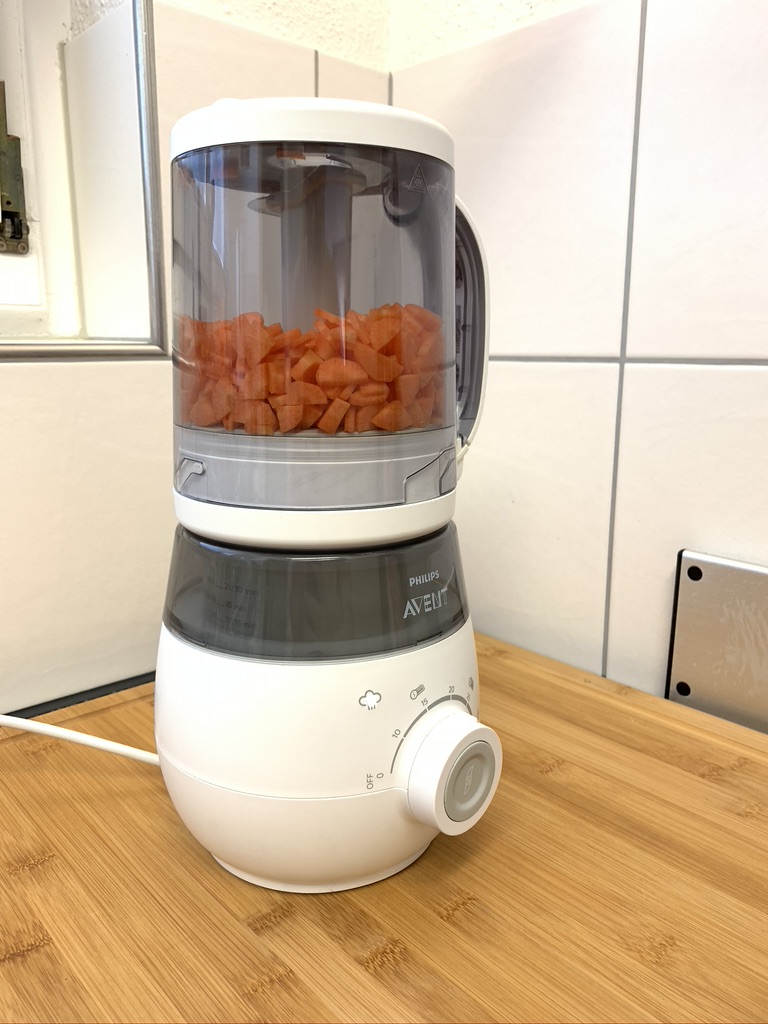
So like most first time mums, I was one of those that wanted to make homemade baby food for my baby. As soon as my son’s paediatrician gave the green light to start solids, I immediately went online shopping (who has time and the energy to leave the house), got myself a Phillips Avent 4-in-1 baby food maker, baby food storage pots, some cute tableware and cutlery, bibs and of course, the fruits and vegetables itself.
When the baby food maker arrived, I was SO excited that I immediately washed it and started cooking. I was a nervous wreck while preparing his first purée! Making sure that everything was perfect, from the produce to the consistency, and the taste. That afternoon, my husband and I gathered to feed our son his first solids. TOTAL FAIL.
Turns out, kiddo REALLY hates carrots, even till now at 3 years old – probably from the trauma of his first solids experience. He also was that baby who preferred store-bought baby food. I gave in, and accepted that he likes store-bought baby food and I kept the baby food maker away. After a bit, I tried again. Still nope. So when he started having stage 2 (basically over-boiled consistency) of baby food, I’d prepare it in the baby food maker. It’s still in use now as I still make carrot purée for him as he will tolerate it now.
If you are a new parent, I’d suggest you to read up about feeding/cooking for your baby. The Pediatrician’s Guide to Feeding Babies and Toddlers : Practical Answers To Your Questions on Nutrition, Starting Solids, Allergies, Picky Eating, and More (For Parents, By Parents) book helped me a lot.

The Pediatrician’s Guide to Feeding Babies and Toddlers : Practical Answers To Your Questions on Nutrition, Starting Solids, Allergies, Picky Eating, and More (For Parents, By Parents)
Check out my first full recipe video here!
Ingredients
- Carrots
- Butter*
Directions:
I am using the Philips Avent 4 in 1 Baby Food Maker in this recipe. The directions in this recipe is per manual. If you are using a different steamer, please follow the instructions on the manual.
As you may have noticed, there’s no amount given with the list of ingredients. This is because I simply go according to the max line on the blending jar. I cook in bulk and freeze the rest for another day.
- Peel, rinse and cut carrots into small cubes. (according to the manufacturers manual, food should be cut into cubes no bigger than 1cm)
- Fill 200ml of filtered water* – or till it reaches the 20 minute mark
- Turn the dial to 20
- Once the steamer beeps, turn it to the blending function.
- Open carefully, discard some water for thicker purées, add butter**
- Blend in intervals till desired consistency.
- Serve
Tips:
- * Filtered water : Using filtered water will help reduce the chalk build up in your appliances where water is needed. Regular tap water is fine to use too.
- ** Butter : Add any healthy fats such as butter, olive oil (taste might be too overpowering), or avocado oil. This was the recommendation from my son’s paediatrician and can be omitted. Actually, the recommendation was to use rapeseed oil, but since learning and eating the keto way, I only use these 3 oils for my son.
- Make purées in bulk and freeze them. You can also add it to sauces and soups for an additional veggie boost.
Enjoy!

Classic Lasagne
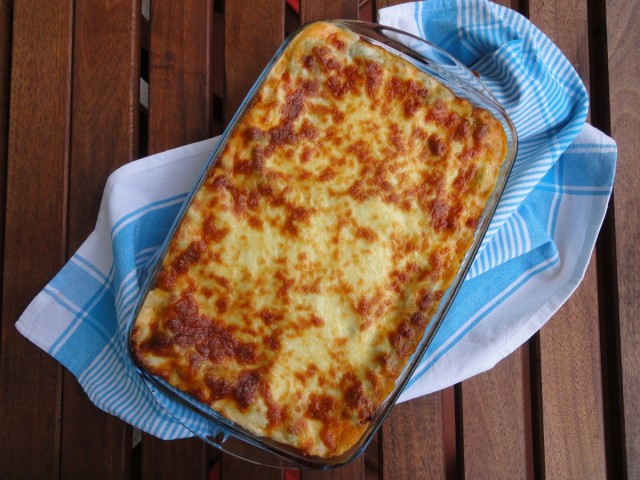
There’s no doubt that my pictures are still horrible. If someone wants to offer me a free photography crash course I will delightfully accept, or perhaps we can trade? Let’s say a dish of lasagne and some cookies? Please? But anyways, my goal here is to not make Pinterest perfect pictures, but ones that actually are realistic to make and taste fine. At least, thats what I believe.
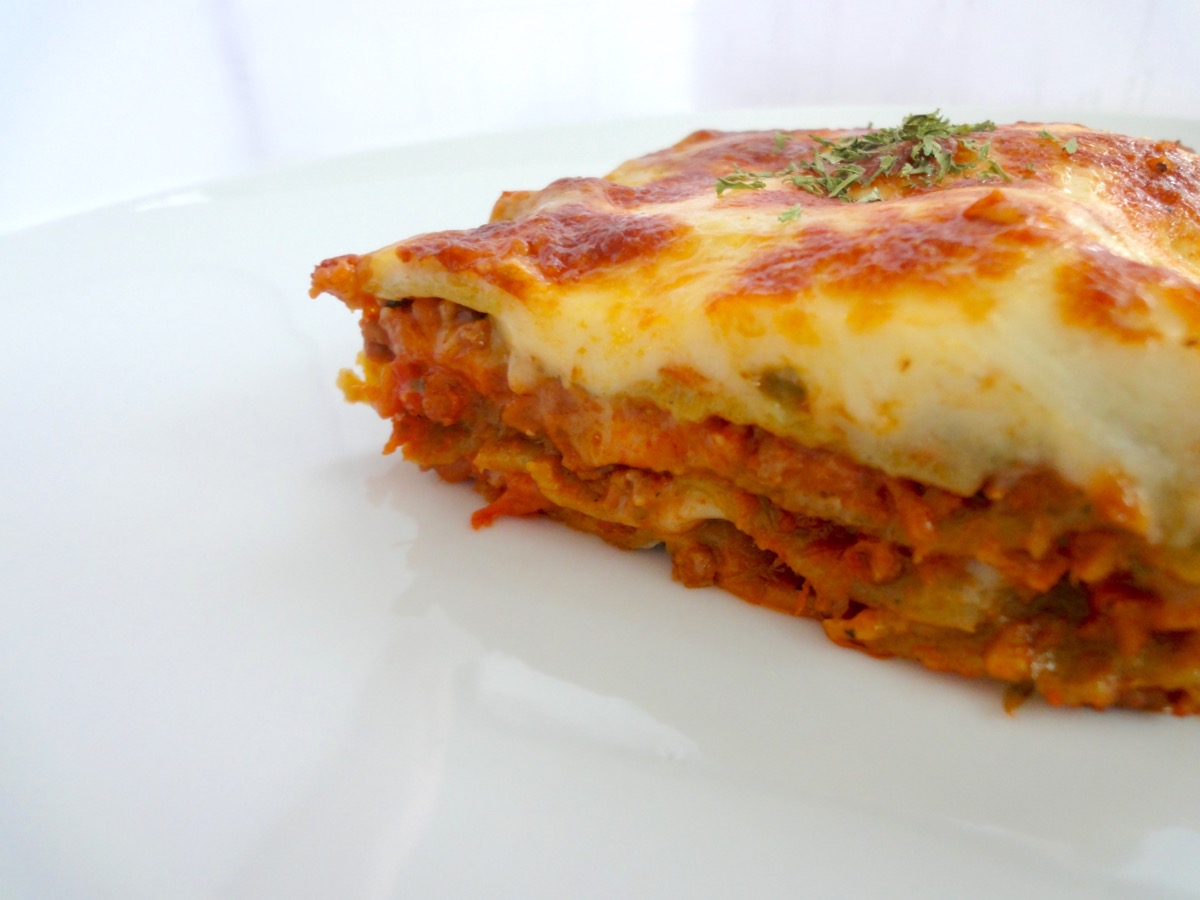
As most know, Lasagne is made from layers of ragù alla bolognese (commonly known as bolognese), béchamel (white sauce ; made from roux and milk, and an oignon pique), pasta layers and topped with cheese.
Oignon pique is french for pricked onion – a bay leaf tacked with cloves to a peeled onion.
Lasagne was introduced to me by my mother. She took me to a place called Dave’s Deli when I was around 9 years old, she had the lasagne while I had something else…I asked her what lasagne is and I was stupidly put off by it. What was I thinking!! So, being a pesky youngest child…I got to eat nearly half of her lasagne because it was just so freaking good! Don’t know if they have kept their standards, but that left a good imprint in my life.
Though Lasagne was not a famous pasta dish back then in Malaysia, a close family friend used to make it for birthday parties. I was very excited when she started bringing it to birthday parties and after party No.3, I finally asked her how she made it. She told me to just follow the instructions on the box. That simple! Sadly, she has passed on and I never got to have her lasagne again. So dear Aunty Lorna, I hope you are watching down from heaven and hope I’m doing well with my lasagne!
During my final diploma semester in college, we had this module where the students had to take over the college cafeteria (or food court). My friend Ronnie and I were assigned to the hot kitchen and prepared lasagne in mass. It was quite a hit and we got some good compliments from the lecturers and students. Even a well known Malaysian celebrity chef’s sister bought our lasagne! I remember she once bought 6 pieces of it to take home for her family.
Now, I have this chance to share my lasagne with every one. I even managed to convince my husband, who WAS not big on lasagne…to love it. This is one of the dishes where he does not mind having for the next 2 meals. Though I managed to convince my husband, I don’t think I could ever convince my siblings and parents to have my lasagne. I made it once for them 6 years ago and it was a huge flop! Guess they must be thanking their lucky stars to have survived that huge flop. 😉
Note: For the béchamel recipe, I use the metric weighing system as I get accurate measurements.
So here it is.
Ingredients
- 9-12 Lasagne Sheets, fresh or dried
- 1½ cups Mozzarella Cheese, shredded
- 1 teaspoon Oregano
Ragù
- 500 grams Minced Beef
- 2 Tablespoons Olive Oil
- 1 medium sized Onion, chopped
- 4 pieces Bay Leaf
- 3 cloves Garlic, minced
- ¼ cup Red Wine
- 1 can (400g) Crushed Tomatoes
- ¼ cup Tomato Paste
- 2 Tablespoons Worcestershire Sauce
- 1 Tablespoon Oregano
- 1 Tablespoon (add more if sauce is very sour) Brown Sugar
- 3-4 Carrots, grated (optional)
- To Taste Salt
- To Taste Black Pepper, crushed
Béchamel
- 50 grams All Purpose Flour
- 50 grams Butter
- 600 ml (2½ cups) Milk
- A pinch Nutmeg
- Half Onion
- 2 pieces Cloves
- 1 piece Bay Leaf
- ½ cup Parmesan Cheese, grated
- To Taste Salt
Directions:
- Ragù
- Heat up a pan with olive oil. Brown minced beef.
- Add onions, garlic and bay leaf. Stir until the onions soften.
- Deglaze pan with wine.
- Mix in canned tomatoes, tomato paste, herbs, and Worcestershire sauce. Add carrots if using.
- Cook until slightly reduced, about 15 minutes. Add in brown sugar. You can add more if the sauce if too sour.
- Season with salt and pepper.
- Set aside.
- Béchamel
- Pierce the halved onion with cloves and bay leaf (oignon pique).
- Lightly toast flour in a medium sized pot. Do not brown the flour.
- Once it starts smelling like toasted nuts, add butter. Stir well. (This is now called roux)
- Cook roux till it smells like again, toasted nuts.
- Whisk milk 300ml at a time into the roux, till combined.
- Continue mixing in the rest of the milk, bring to the boil.
- Add parmesan cheese and oignon pique.
- Season with nutmeg and salt.
- Set aside for at least 15 minutes. Discard oignon pique before using.
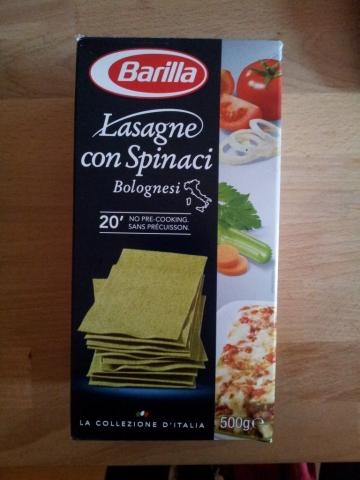
- Lasagne assembly (go according to instructions on box, I use Barilla Lasagne sheets)
- Pre-heat oven to 220°C (430°F) and grease a deep lasagne glass dish (13 x 9-inch).
- Spread 1 cup ragù or just enough to cover the dish with a thin layer of sauce.
- Lay lasagne sheets on top – I use 3 sheets per layer.
- Spread 1 cup of béchamel over the sheets.
- Repeat till you reach the third layer*
- Finish off with a generous spread of béchamel.
- Top with mozzarella and oregano.
- Bake for 20 minutes.
- Allow to rest for 15 minutes before serving.
Tips:
- * you can add more layers as you see fit.
- use vegetable lasagne sheets ex. spinach lasagna sheets
Enjoy!
Homemade Vanilla Extract
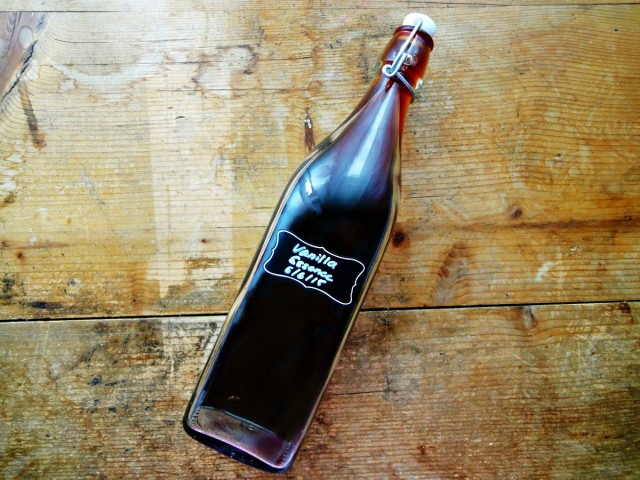
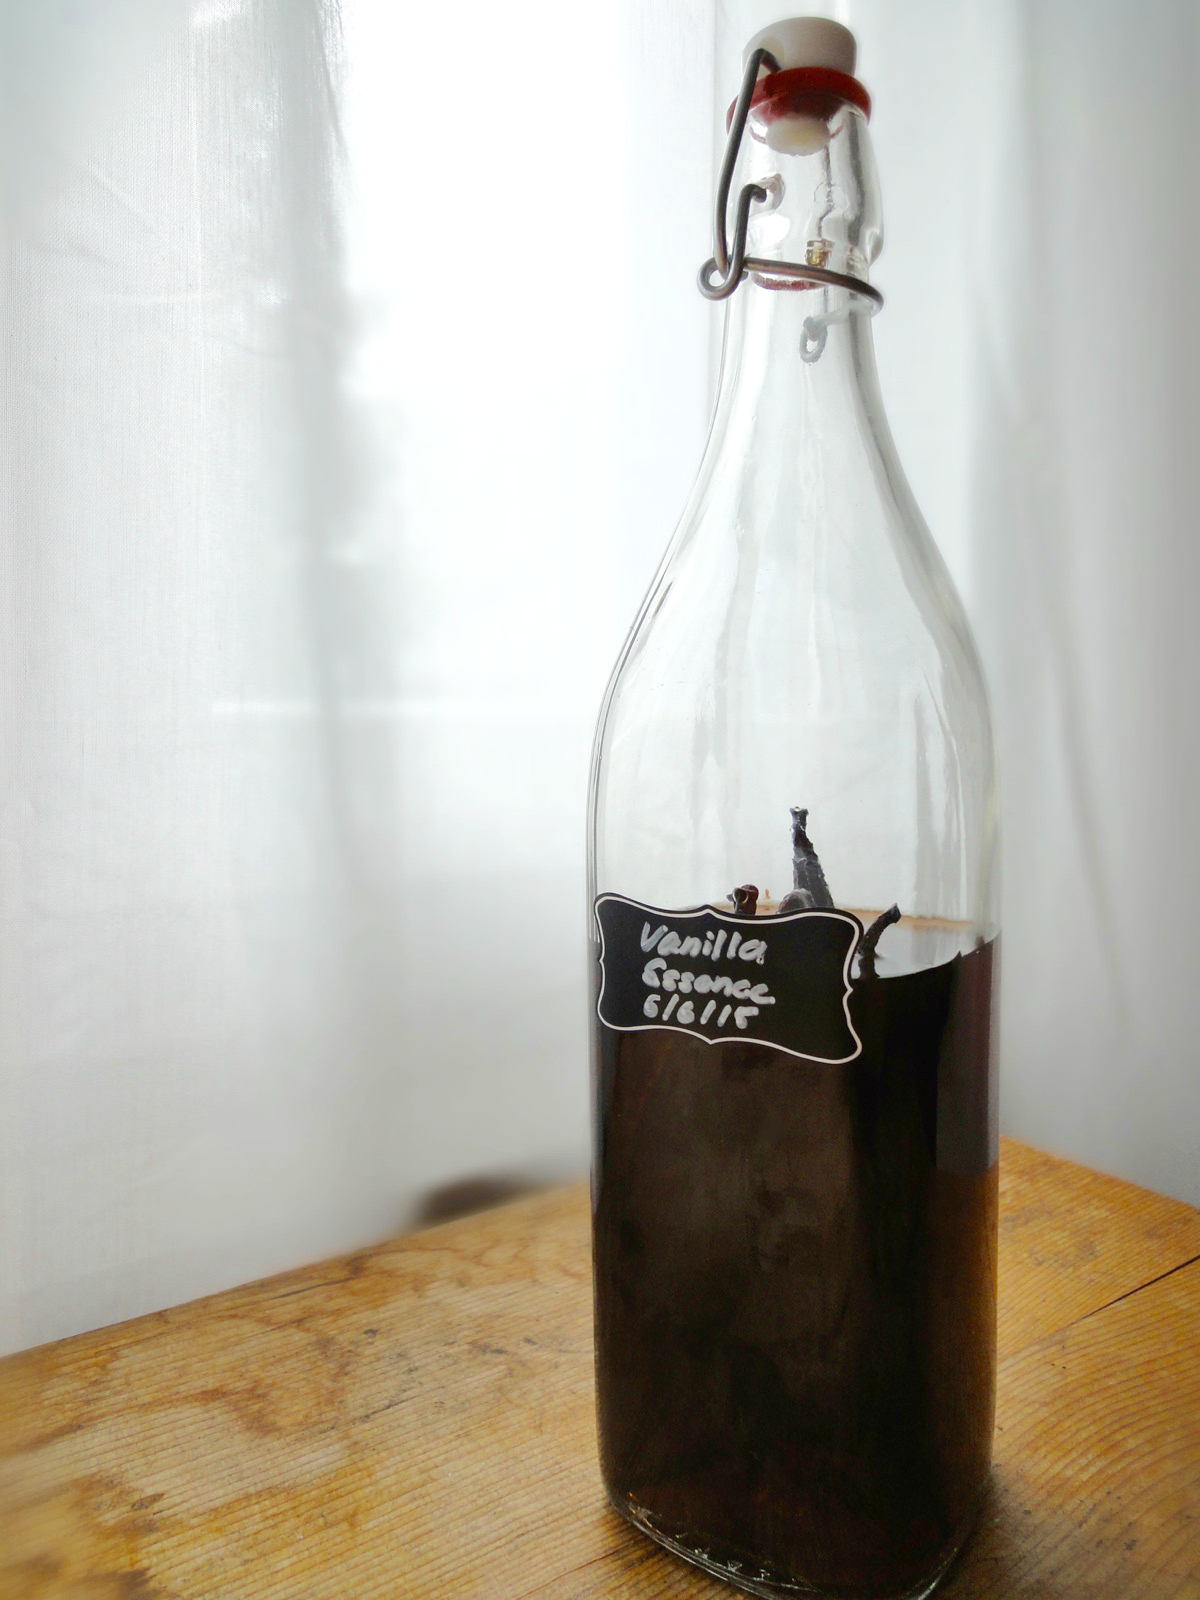
I have been using my own vanilla extract which I made in June and by the 8th week it was ready for using. Yes, the label on it is confusing. That’s because growing up we used vanilla essence as it was widely available in stores. So, for the longest time I’ve called it essence even though for the past 3 years I have been using extract. Making it a habit to start calling it by it’s true name.
What’s the difference between extract and essence?
Extract:
- Made from real vanilla beans and alcohol like vodka. Rum or brandy can be used as well.
- More expensive
- Stronger and fuller vanilla flavour
Essence:
- Synthetic (chemically produced)
- Cheaper
Where I’m at, you can’t easily get vanilla extract in general grocery stores. It’s available at American and British online stores or at a high-end store called Globus. What is common is vanillin zucker (vanilla sugar) which does not give the same taste as using vanilla extract. There is also vanilla-butter flavouring which I find awesome for my soft chocolate chip cookies. Lastly, there’s of course vanilla beans and vanilla bean paste easily available. Except for vanilla sugar, I use all the above for various recipes.
So, after finishing a small bottle of vanilla extract (50ml) that cost me about CHF 16, I decided to use my googling powers and learnt how to make my own vanilla extract. All you need is a clean bottle, vanilla beans and vodka. I used a 750ml bottle of vodka and about 15-18 vanilla beans. According to the kitchn, use 3 to 5 vanilla beans per 8 ounces (240 ml/1 cup) of alcohol and multiply accordingly if making more extract. You can add more vanilla beans of course.
Is it cheaper? Depends. The cost of vanilla beans vary depending on the quality and where it comes from. The one’s I get are CHF 2.30 for 3 beans. A bottle of vodka (750ml) cost’s me CHF 17. So, for me it’s cheaper compared to getting it from the high-end store. Plus, it’s really fun to see it change colour. It also makes a perfect gift for fellow home bakers.
And because I made my homemade vanilla extract before I started this blog, I did not bother to take photo’s of the stages of it and I just have a final product. The next time I make it, I will be sure to update this post.
Ingredients
- 3-5 Vanilla Beans
- 1 cup (240 ml / 8oz) Vodka
Directions:
- Prepare a clean bottle (preferably with a flip-top) by washing it and drying it properly.
- Slit vanilla beans into half lengthwise. You can also chop it up to fit a small bottle.
- Pour in vodka.
- Close the bottle.
- Store in a cool and dark place (your cupboard). Give it a little shake every now and then.
- After 8 weeks, your vanilla extract is ready to use. You can leave the vanilla beans in the bottle or you can strain it out. I left mine in so it get’s stronger with time. Plus, why waste the beans? It does look nicer when you can see the beans in it too.
Tips:
- After scraping vanilla beans for other recipes, throw in the bean into the extract.
- To have clear vanilla extract, simply strain it with a coffee filter.
- You can use brandy or rum instead of vodka. Vodka is commonly used because it does not have a strong taste.
- Conversion Table
- Make your own peppermint extract too at the same time!
Enjoy using your homemade vanilla extract with your homemade goodies!
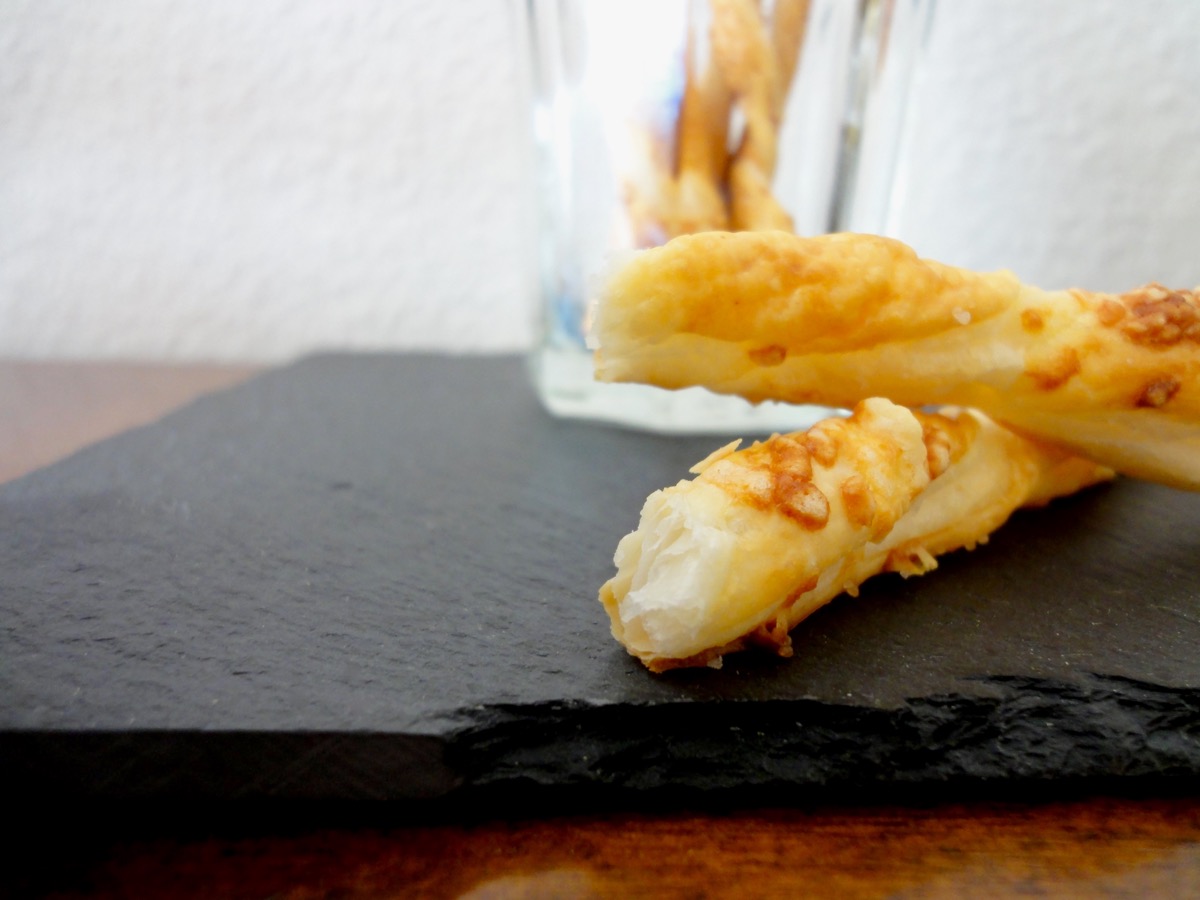
Cheese Sticks / Flûtes au Fromage
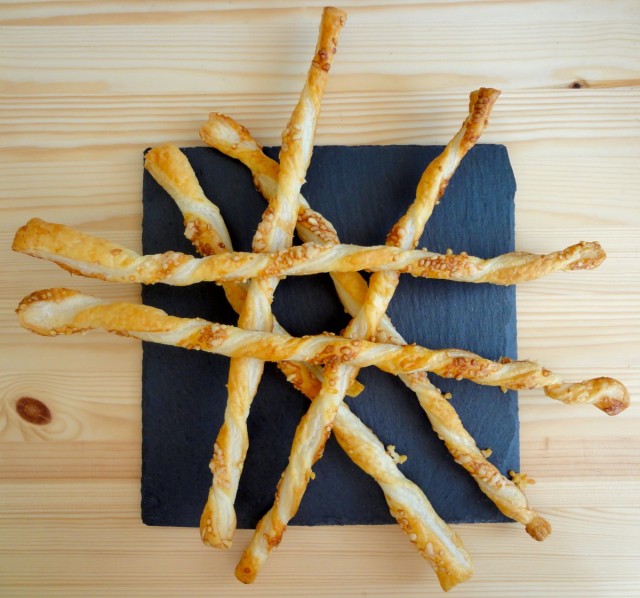
Back in 2007, I “learnt” some basic French in college. It was a compulsory subject and one of the best classes because the language teacher just went on and on with his French while the whole class just played. By the end of that class, 3/4 of us could not even count 1-10. Our pronunciation was so bad, I wonder how the kind Sir kept a straight face. We mainly had to learn French because we had to get accustom with culinary terms. That wasn’t too much of a problem, the rest were. To this day, I only know three phrases/questions : je m’appelle Cherry, comment allez-vous? (I had to look up the spelling), and voulez-vous coucher avec moi? which, sadly I learnt from Christina Aguilera in Lady Marmalade. The hubby says, please never speak French. 😀
What does French have to do with cheese sticks? Well, in the title there’s also the French word for it and I use it because that’s what it says on the package of this snack from the grocery store. The one’s from the store have a heavier and denser feel compared to this recipe. It is also so quick and easy to prepare and makes a great Hors d’oeuvre. You can also use various toppings such as poppy seeds, sesame seeds, cumin seeds, bacon, ham, grated parmesan, grated cheddar, grated gruyère, or fleur de sel.
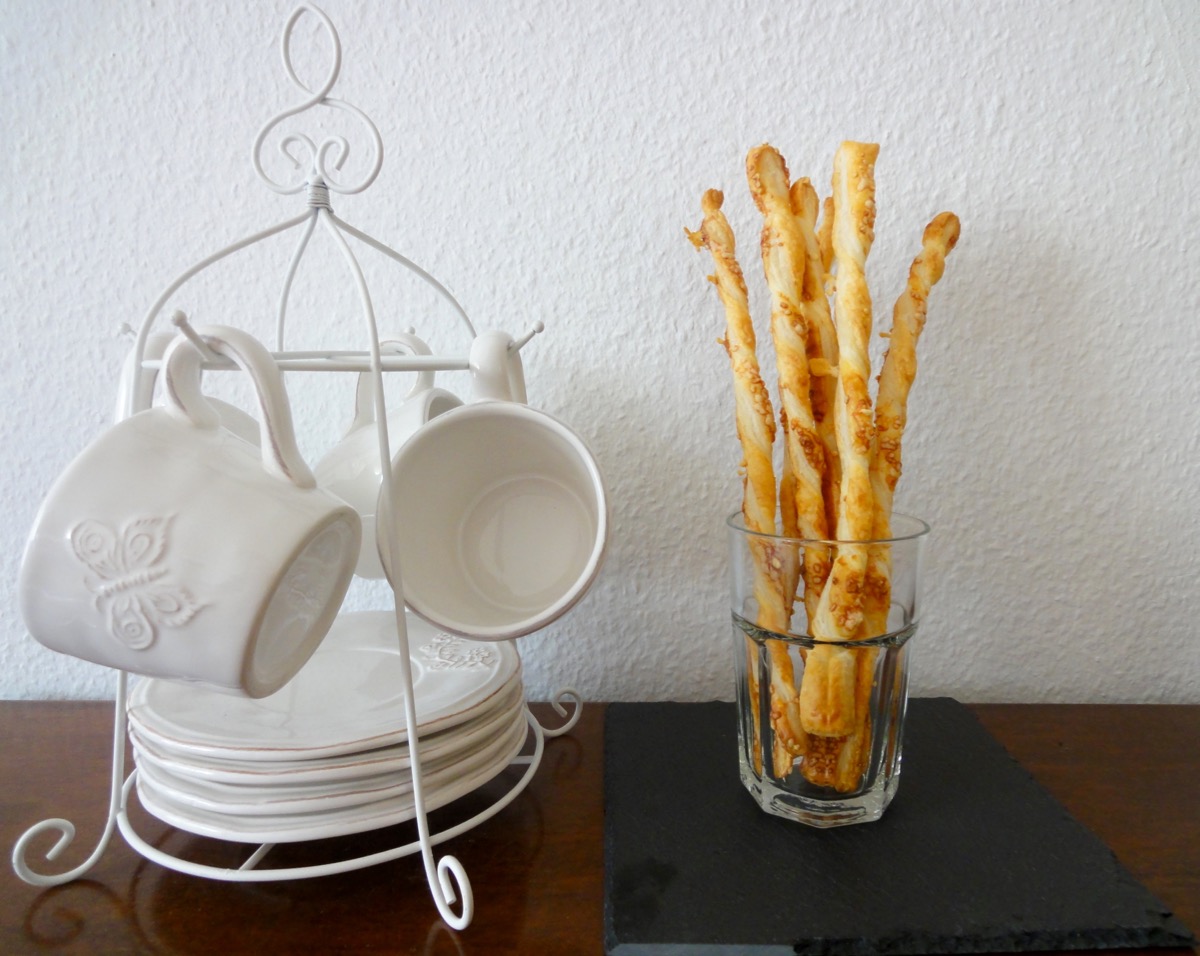
Owh look! I found a new possible spot to take photo’s plus the tea set’s actually handmade in France!
Ingredients
- 1 rectangle/square package (320g) Puff Pastry
Topping
- 1 nos Egg
- 1 tablespoon Water
- To spinkle Salt
- ¼ cup Grated Parmesan Cheese
Directions:
- Take out puff pastry 10 minutes before intended use.
- Pre-heat oven to 220°C (430°F). Prepare baking tray and line with parchment paper.
- Unroll puff pastry and using a pizza cutter (you can use a knife of course) and cut into strips, around 2cm width. With my puff pastry, I managed to get 20 strips.
- Place strips onto baking tray about 1-2cm apart.
- Whisk egg and water for egg wash. Brush strips with egg wash.
- Sprinkle with salt and grated cheese.
- Gently twist the strips. (optional)
- Bake for 8-10 minutes or till golden brown.
- Leave to cool on a wire wrack before enjoying.
Tips:
Bon appetite!
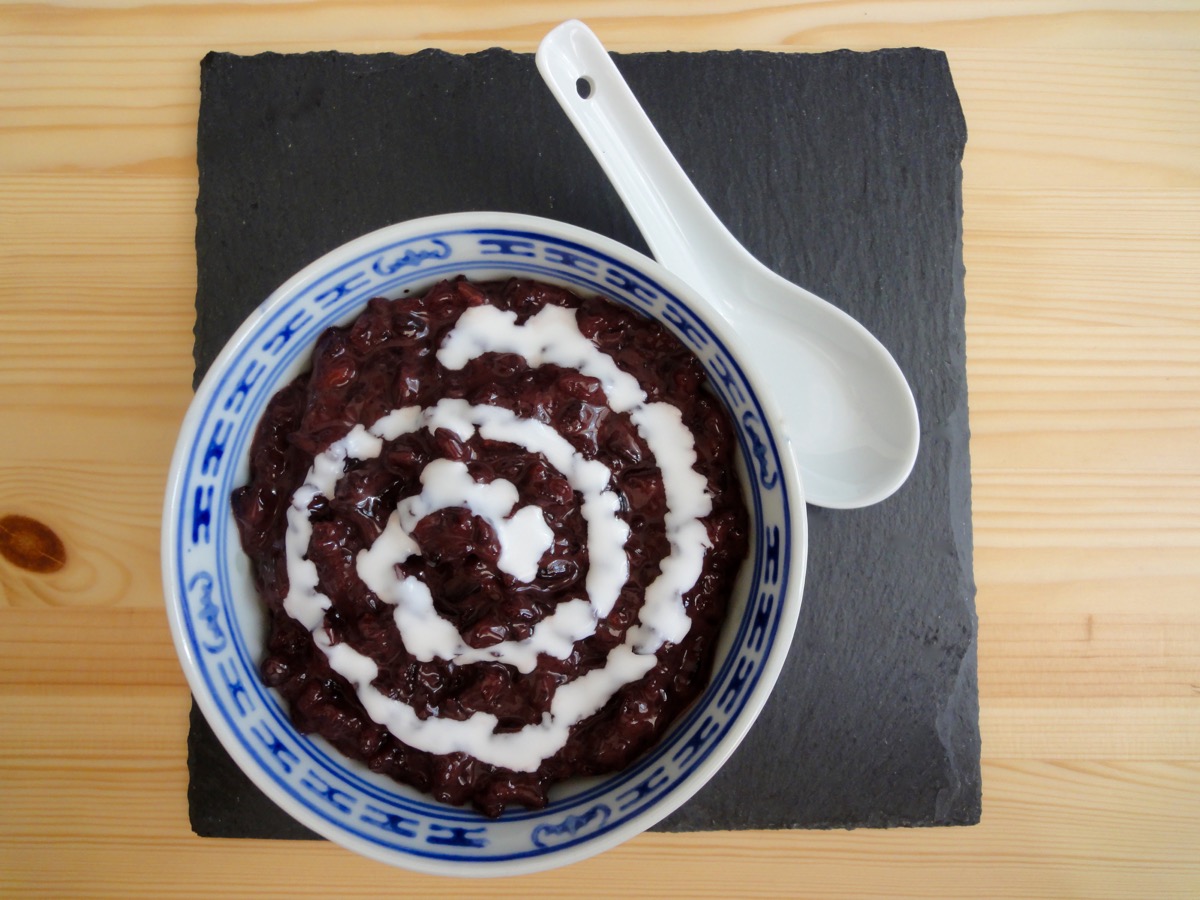
Bubur Pulut Hitam / Black Glutinous Rice Porridge
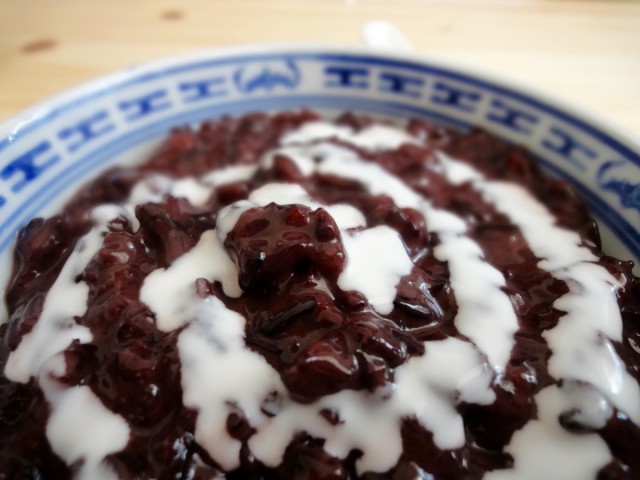
My siblings and I grew up eating this dessert cooked by our mother. It’s one of my favourite local desserts. I can’t find much information on where this dessert originates from, but it’s eaten in many South East Asian countries. There are many variations of this dessert, depending on which country you have it in. But in Malaysia, it’s prepared with just a simple mixture of pulut hitam (black glutinous rice), coconut milk, pandan leaves (screwpine) and gula melaka (coconut palm sugar).
For the longest time, I have been looking for black glutinous rice in Switzerland. Little did I know, it’s more known as black sticky rice here…because it comes from Thailand and there, they call it black sticky rice. Silly of me to not ask or search thoroughly.
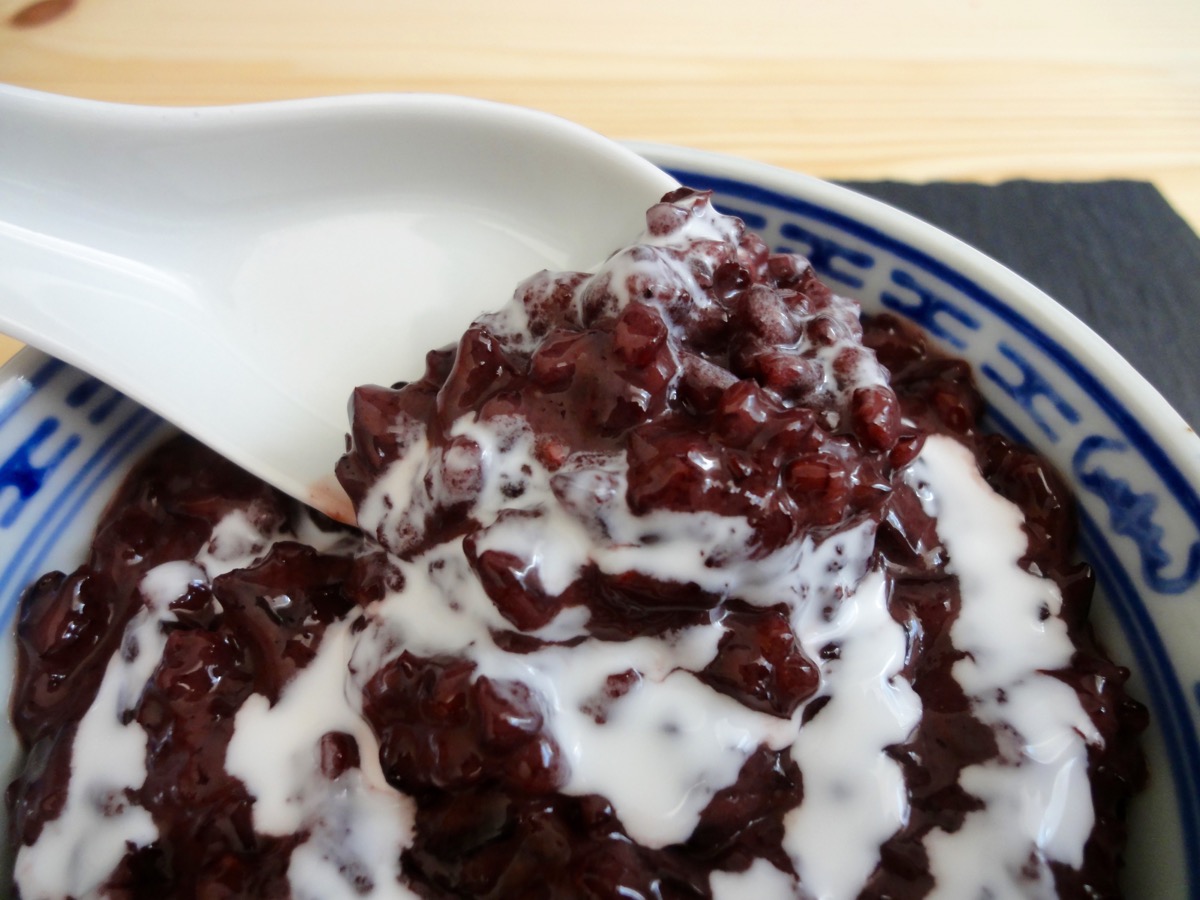
So what is this black glutinous rice? It is an unpolished sticky rice, meaning the bran has not been removed, is purplish black in colour and has a chewy texture. It has a nutty flavour and naturally sweet. This black glutinous rice also contains a lot of fiber and antioxidants. It takes some time to cook compared to regular rice, so some soaking in advance is advised. Otherwise just cook it longer.
Ingredients
- 1 cup (182 grams) Black Glutinous Rice
- 5 cups Water
- 1 small block Gula Melaka (Palm Sugar) *
- 4 Pandan Leaves, tied into knots
- ¾ cup Coconut Milk
- ¼ teaspoon Salt
Directions:
- Spread the rice on a bright surface. Check for any impurities such as small pebbles, wood, and so on. This step is optional if you are confident the rice you have is clean.
- Wash rice thoroughly – till the water runs clear. Water will have a slightly purple tint.
- Add water, rice, pandan leaves, salt and sugar into a pot and bring it to boil for 60 minutes or till the rice splits on medium high heat. Stir occasionally to prevent rice from sticking to the pot. You can add more water if the porridge is dry and the rice has not split yet.
- Once the porridge is done, add coconut milk. You can add more if you want the porridge creamier.
- Serve with some coconut milk. It can be eaten warm or cold.
Tips:
- It’s always tastes better the next day.
- Keep refrigerated
- 1 Cup glutinous rice = 182 grams
- Cups to Grams conversions
* if you can’t find coconut palm sugar, you can substitute with regular sugar. Add according to preferred sweetness.
Enjoy!
Crispy Roasted Chicken Legs
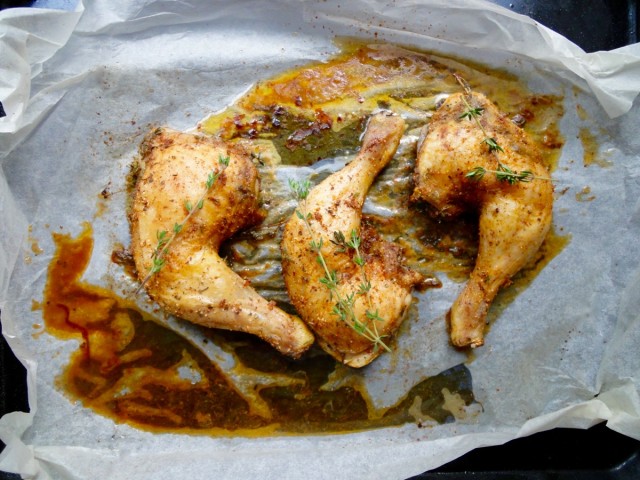
Autumn is here! It has been pretty gloomy in Switzerland the past few days, and I love it! The perfect setting to have a lazy day spent curled up on the sofa watching TV series. Unfortunately, all my series that I watch alone only start returning in a week or two. So, I started to iron the piled up laundry, fold shirts with my shirt folder, pair socks and of course to put it where it belongs. It took a whole day, because it was about a months worth of laundry! 🙁 I wanted to clear out my pantry too, but never got to it. Perhaps next week!
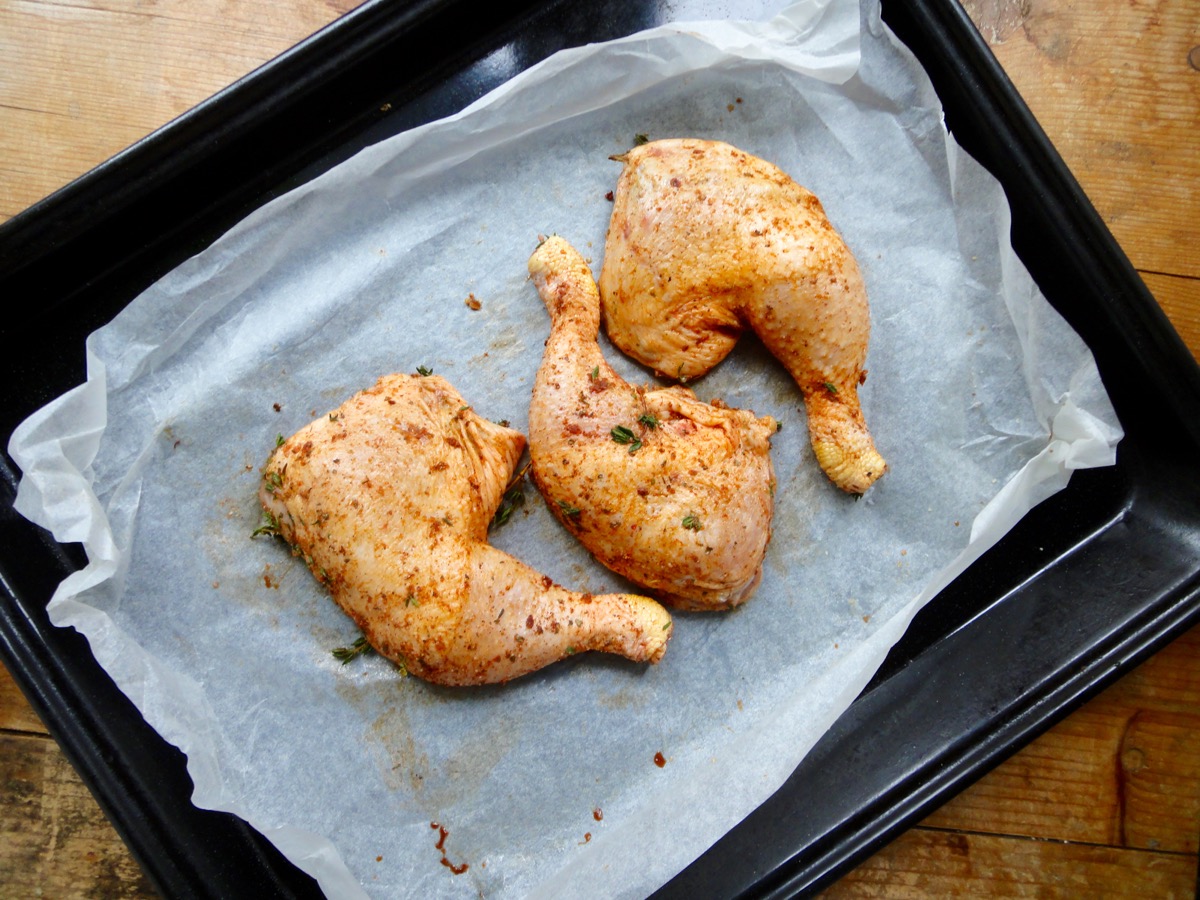
The hubby who has also been sick the past few days (I have recovered) requested for some roasted chicken legs, since I have not roasted chicken legs for quite some time. I normally use chicken legs for claypot chicken rice or chicken chops. So, I just thawed three chicken legs (one for me, two for hubby) marinated it and popped it into the oven while I made the side dishes : mashed potato and green beans with browned butter and almonds. Recipe to follow.
It’s really simple and yummy! Also crispy! Fast to put together and most of all, you do not need to precisely follow the recipe. The measurements I have here are just an estimation of what I put in. Feel free to add your own choice of herbs and spices.
Ingredients
- 4 Chicken Legs
Marinade
- 2 teaspoons Garlic Granules
- 2 teaspoons Smoked Paprika Powder
- 2 teaspoons Oregano, fresh or dried
- 2 teaspoons Thyme, fresh or dried
- 1 teaspoon Black Pepper, freshly ground
- 1 ½ teaspoons Salt
Directions:
- Clean chicken legs and dry with paper towels.
- Place chicken legs in a sealable bag or container, add marinade and evenly cover the chicken legs with it.
- Seal bag or container and allow chicken legs to marinate for at least an hour.
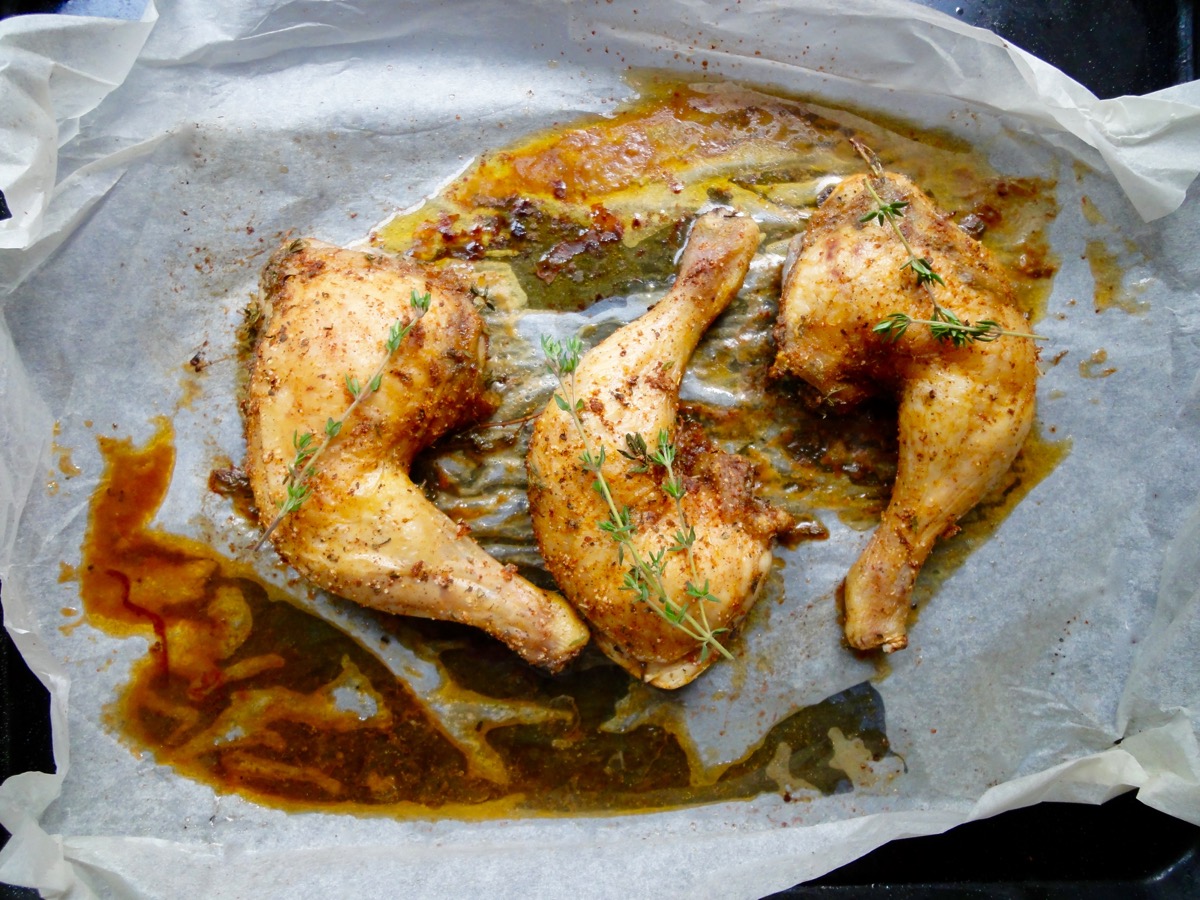
- After chicken has marinated, pre-heat oven to 180°C (350°F) and prepare a baking tray with parchment paper. Scrunch up the ends of the parchment paper to avoid fat from chicken legs spilling onto baking tray.
- Roast for an hour. Check chicken legs by inserting a knife to the thickest part of the leg. Make sure the juices run clear and there is no sight of pinkness in the chicken. If still uncooked, continue roasting at 180°C (350°F) for another 15 minutes.
- Remove from oven and serve.
Tips:
- Conversion table here
- Rosemary goes very well with chicken, add if you want.
- If you have any balance chicken legs, shred it up and toss it in the fat that’s left on the baking tray, refrigerate and use it for chicken sandwich or salad the next day.
- For nutritional information, please visit my Yummly page and scroll to the bottom of the recipe.
- If you are using MyFitnessPal app to count calories, first copy the recipe URL then go to MyFitnessPal app to Recipes, select Create a New Recipe, then Add from the Web. Paste the URL, match ingredients and that’s it!
- Always match ingredients to the ones you use. Ingredient nutritional facts differ depending on brand.
Enjoy!
Blueberry Muffins
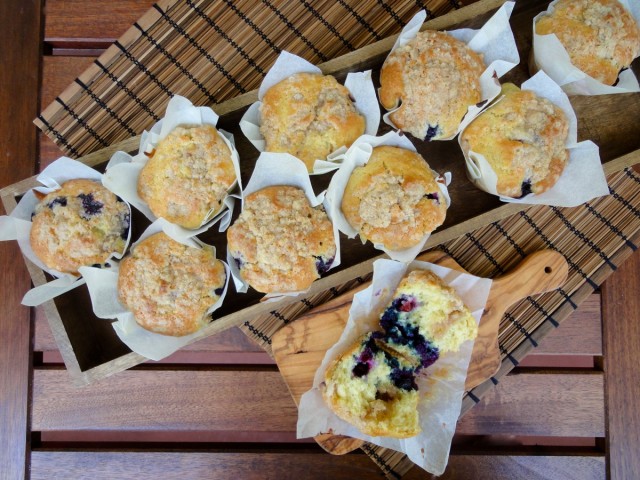
Blueberries are in season! What better way to use it than making homemade muffins? Well, there’s cheesecake but it’s summer and muffins are lighter than cheesecake. These are absolutely great for a hearty breakfast and for tea time.
Muffins to me aren’t supposed to look pretty. They are meant to look big and chunky, with an adorable top. These muffins are moist, buttery, not too sweet and has a little crunch on the top.
This post is dedicated to my sisters baby, whom she and her husband call, blueberry as a pet name. I’m really glad to get a niece and I can’t wait to get some super adorable dresses for her. I’ve already got 4 rascal nephews whom I love to bits and miss a lot! It’s sad that I am not able to see my nephews and niece growing up, but thanks to our modern technology, I’m not all that left out.
So little Blueberry, I’m sorry Aunty Cherry can’t be there to see you during the first year of your life. I do hope you grow up to be a kind, loving and respectful girl. Always remember your Aunty Cherry who is half way around the world from you. Don’t let the boy cousins bully you! Love, Aunty Cherry.
This recipe is adapted from Little Sweet Baker .
Ingredients
- 2 ½ cups Flour
- 1 tablespoon Baking Powder
- 1 teaspoon Baking Soda
- ½ teaspoon Salt
- ½ cup Butter, melted
- 1 cup Sugar
- 2 nos Eggs
- 1 cup Buttermilk
- 1 tablespoon Vanilla Extract
- 1 ½ cups Fresh Blueberries or Frozen
Topping
- ¼ cup Brown Sugar
- 2 tablespoons Flour
- 3 teaspoons Butter, melted
- ¼ teaspoon Cinnamon, powder
- To taste Salt
Directions:
- Preheat oven to 220°C and line a muffin tray.
- Mix ingredients for topping in a small bowl and leave to chill in fridge.
- Set aside about 2 tbsp of flour to coat blueberries. This will keep the blueberries from sinking to the bottom while baking.
- In a large bowl, sift flour, baking powder, baking soda and salt.
- In another bowl, mix the melted butter with sugar.
- Add eggs one by one then the vanilla extract and buttermilk.
- Add wet ingredients to the flour mixture using a spatula until moist.
- Gently fold in coated blueberries into the mixture.
- Scoop muffin mixture into muffin pan.
- If only making 10 muffins, pour some water into the 2 remaining holes. This will keep the muffins moist while baking. If making 12, then put some water in a small heatproof bowl in the oven.
- Bake for 5 minutes at 220°C, then reduce the heat to 190°C for another 15-25 minutes or until a thin skewer inserted into the centre of the muffin comes out clean. I like my muffins a bit more brown on top, so I left it in for 25 minutes.
Tips:
