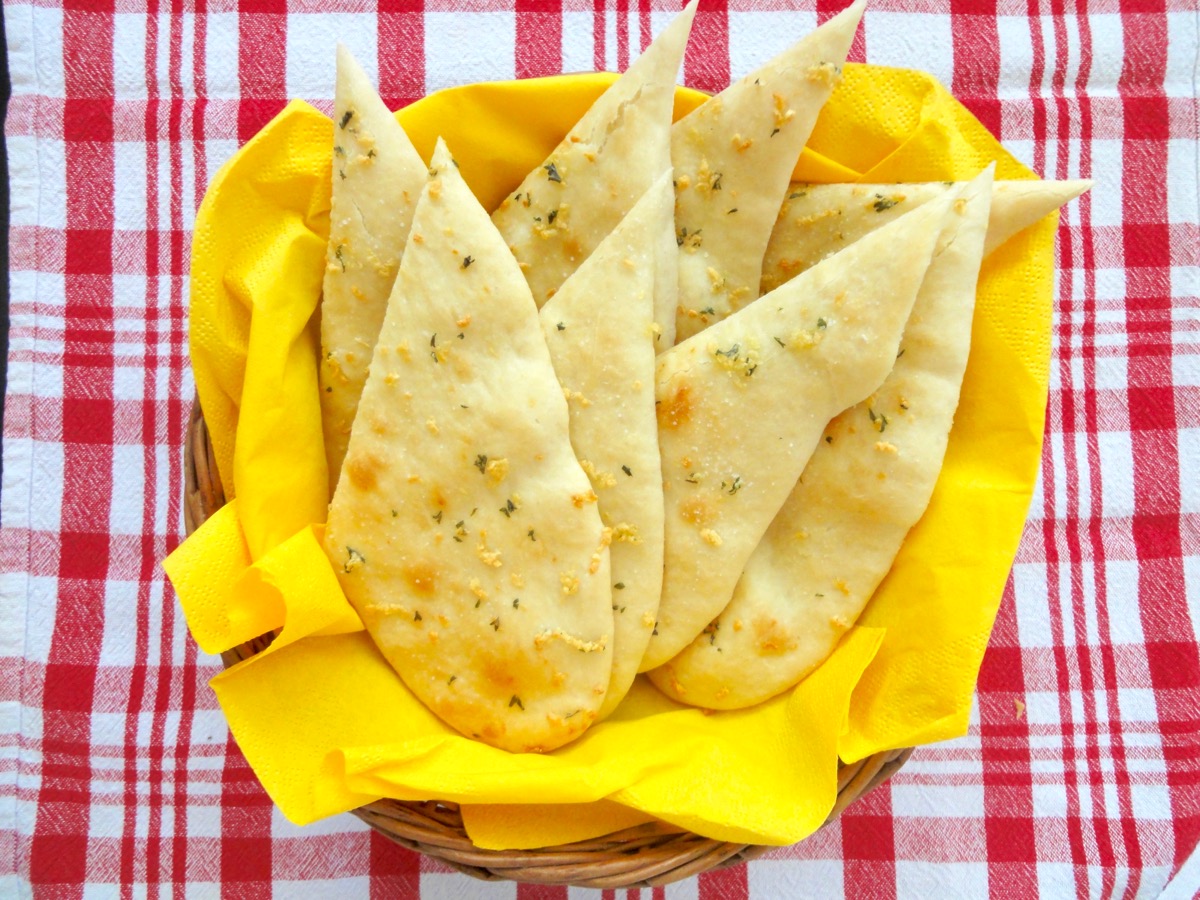
Garlic Flat Bread

It’s autumn here which means christmas is near and I have to start planning my christmas menu and goodies!! This year’s autumn is really beautiful (for me at least) and I’ve finally come to appreciate the different colours of the trees. Also looking forward to my autumn holiday with the hubby and my best buddy.

Roundabout Tree

Kids & some adults playing at the Summer Solstice Festival of the Celts in town.
Back to the post. I like baking my own bread. The kneading is very therapeutic for me especially on days when the lemons of life are particularly very sour. So, what better way to let out stress and worries? Kneading bread then eating it later! You do gain some muscle during those 7-10 minutes of kneading too. This recipe is very simple, tasty and easy to come together. You do not even need much time to shape it perfectly.
Dough
- ¾ - 1 cup Warm Water ( 45°C / 113°F)
- ½ Tablespoon Dry Yeast
- 1 teaspoon Sugar
- 2 cups + extra for dusting All Purpose Flour
- 1 teaspoon Salt
- 1 Tablespoon + extra for greasing Olive Oil
Garlic Butter
- ¼ cup Butter
- 3-5 cloves Garlic, pressed or chopped
- To Taste Salt
- For Garnish Coriander, chopped
Directions:
- Garlic Butter
- Gently melt butter in a small pot. Add freshly pressed or chopped garlic and salt. Mix and set aside.
- Dough
- In a large bowl, mix in sugar, yeast and warm water (about ¾ cup). Let it sit for 5-8 minutes till frothy. *see tips
- Add in flour, salt and oil. Mix till combined.
- Transfer to a clean surface and knead for 10 minutes. Add more water if needed.
- Lightly oil a large bowl and cover with a damp tea towel or plactic wrap and allow to rise for an hour or till doubled in size in a warm place. *see tips
- Pre-heat oven to 190°C (375°F).
- Prepare a baking tray and line with parchment paper. Set aside.
- Lightly flour countertop and divide dough into equal balls and flatten to desired shape.
- Place flattened dough onto baking tray and brush with garlic butter.
- Bake for 10-15 minutes or till golden brown.
- Brush with extra butter and serve.
Tips:
- *if your house/kitchen temperature is below 27°C (81°F) proof your yeast or bread in the oven. To do this, turn your oven on to the lowest setting available for 2 minutes. Then turn if off and place your bowl of dough or yeast into the oven. You may need to place the wire rack lower. Remember to turn the oven off!
- Conversion Table
Enjoy and happy baking!

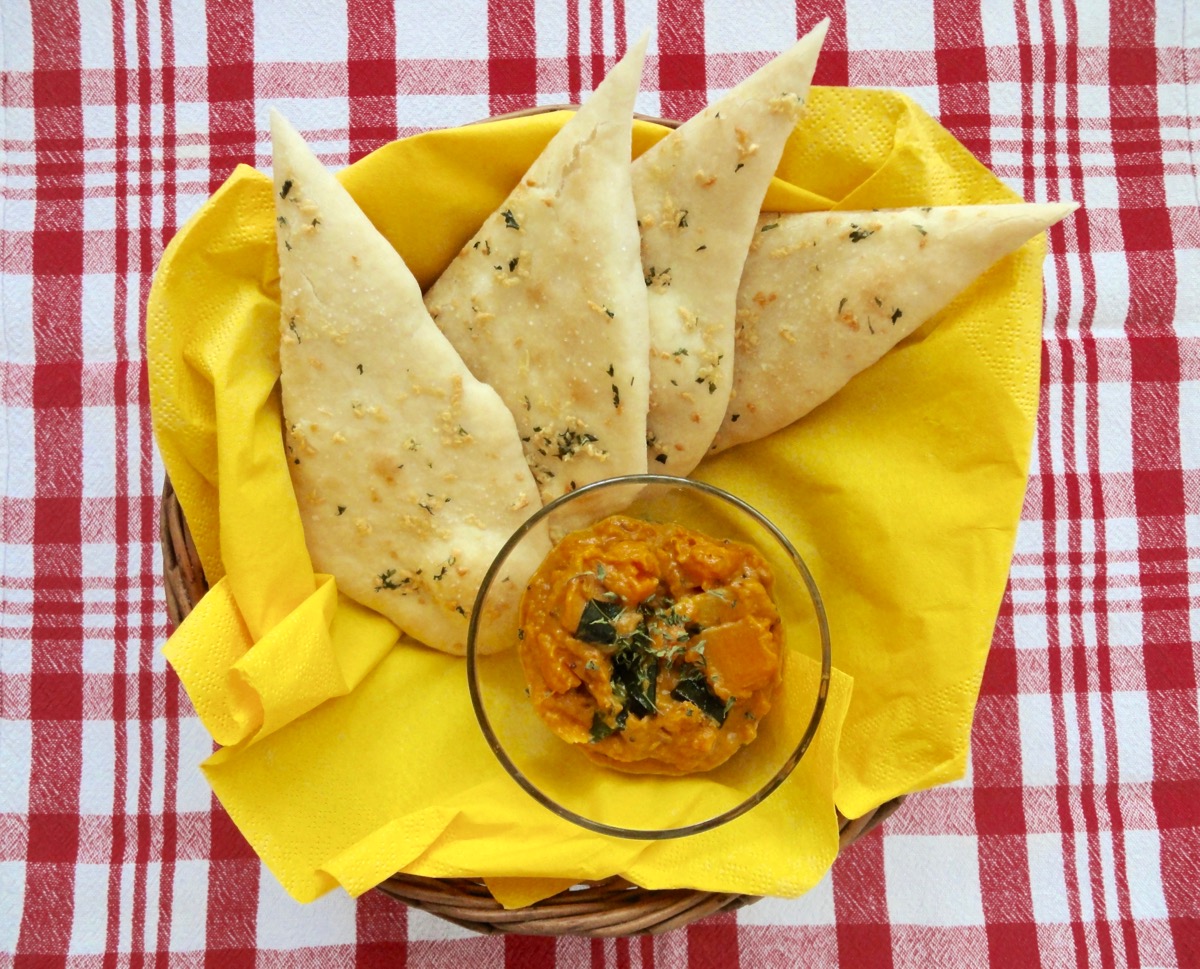
Served mine with leftover sweet potato curry.
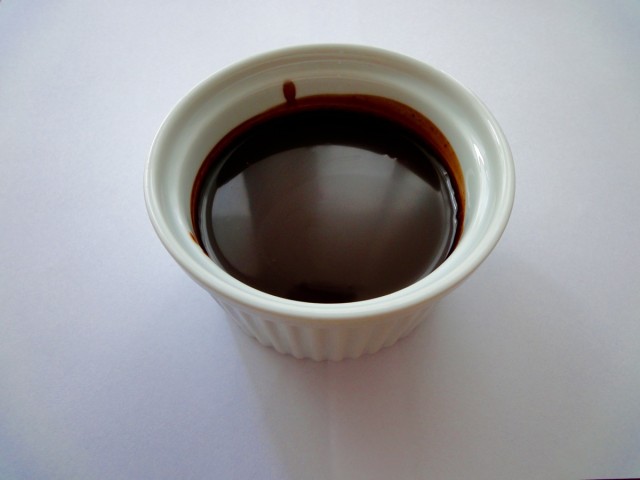
Homemade Chocolate Sauce
When you live in the land of chocolates, you’d expect there to be every single chocolate product to be at it’s best. Chocolate sauce does not fall under that category. I might be wrong, but it’s kinda difficult to find chocolate sauce here that does not blow a little hole in your pocket for one tiny tube unless you just use a dollop of it at a time…but when it comes to chocolate, savages like me do not know of a limit. If I could have ice cream with chocolate sauce everyday I would! As an adult, I have the freedom to do so…and have done it before…it did not turn out well. Yup, I had a tub ( 1.5 litres) of chocolate ice cream everyday topped with cornflakes. I did this for over a week when I was 18 years old and my pants got way too tight, I had to get new ones for work. It was a new found freedom and I probably thought it would not be such a big deal. Lesson learnt. But now as an even older adult, I have learnt to control my intake of ice cream….probably because I never have space in my freezer which is like a shoe box. Hehehe..
Anyways, chocolate sauce is easier to make than I have even anticipated. It also is very economical to make. All you need is good quality cocoa powder ( I use Cailler), sugar, water, vanilla extract or beans and a pinch of salt! It taste’s like the a store bought one just without the added preservatives. Don’t be too scared of the sugar amount, store bought ones probably contain more than that.
Cailler Cocoa Powder
Ingredients
- ¾ cup Cocoa Powder
- 1 ¼ cups Water
- 1 ½ cups Sugar
- 1 ½ teaspoons Vanilla Extract or Vanilla Bean Paste
- A Pinch Salt
Directions:
- Use a large pot – at least one that can hold 2 litres (chocolate sauce will expand when boiling)
- Combine all the ingredients except vanilla extract / bean paste in pot and mix.
- Boil over medium high heat.
- Stir constantly with a whisk until it boils.
- Continue boiling for 4-5 minutes.
- Add vanilla extract or bean paste. Mix.
- Remove from heat and allow to cool.
- Once completely cool, transfer to a clean jar or bottle.
Tips:
- Conversion table here
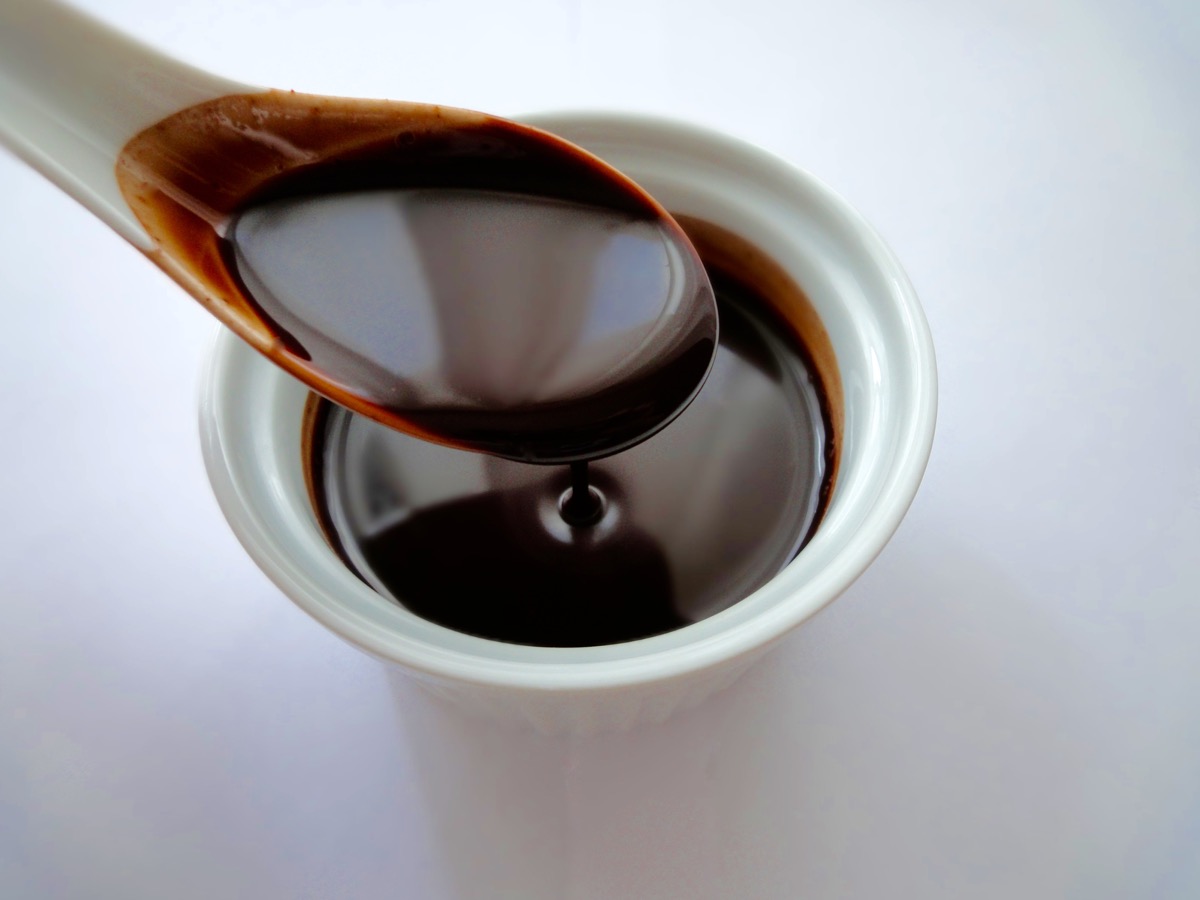
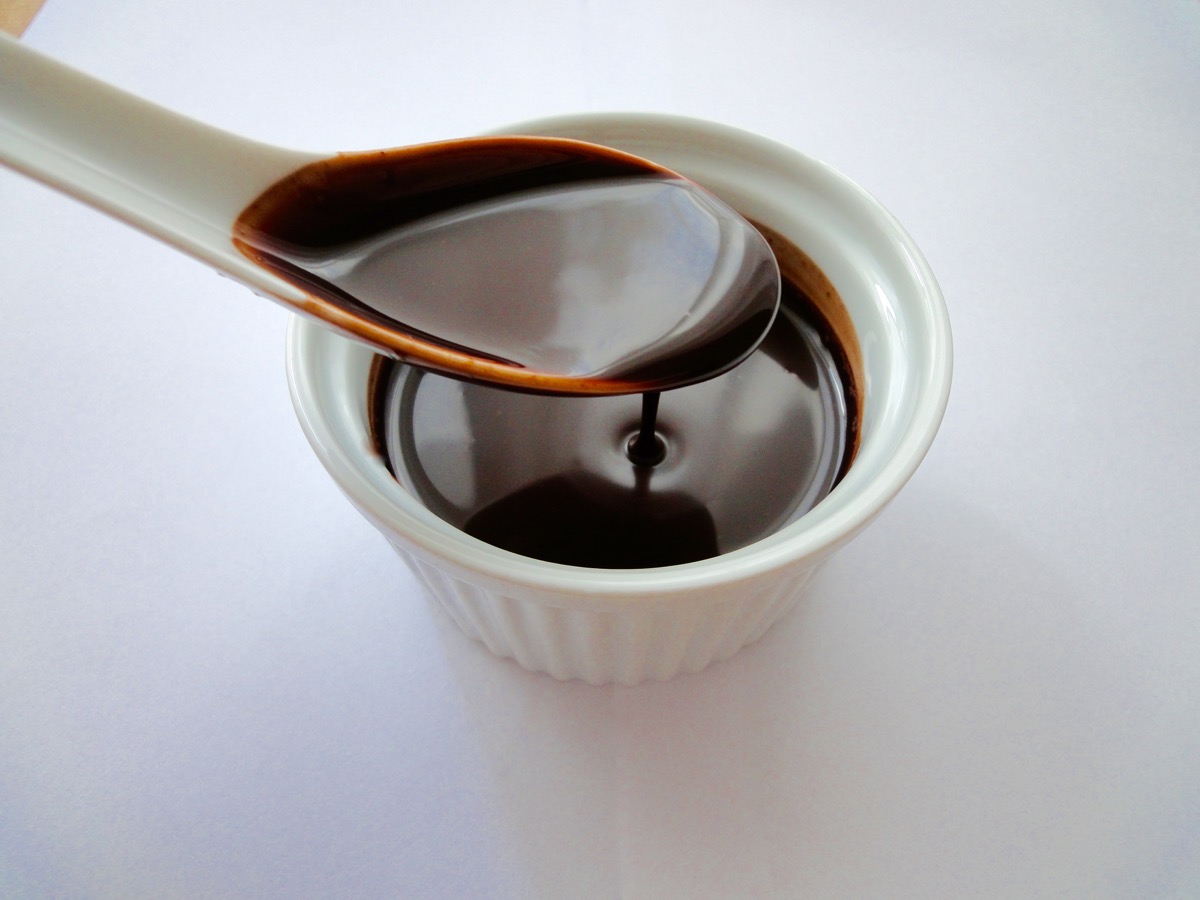
- Sauce will be thin and watery even after cooking, but once it has cooled down and chilled, it will thicken.
- Chocolate sauce keeps for up to 2 months in the fridge.
- Use as you would with store bought chocolate sauce/syrup.
Enjoy!
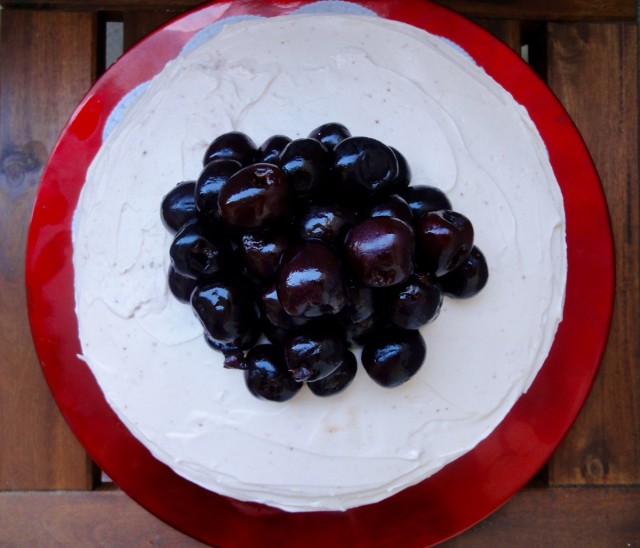
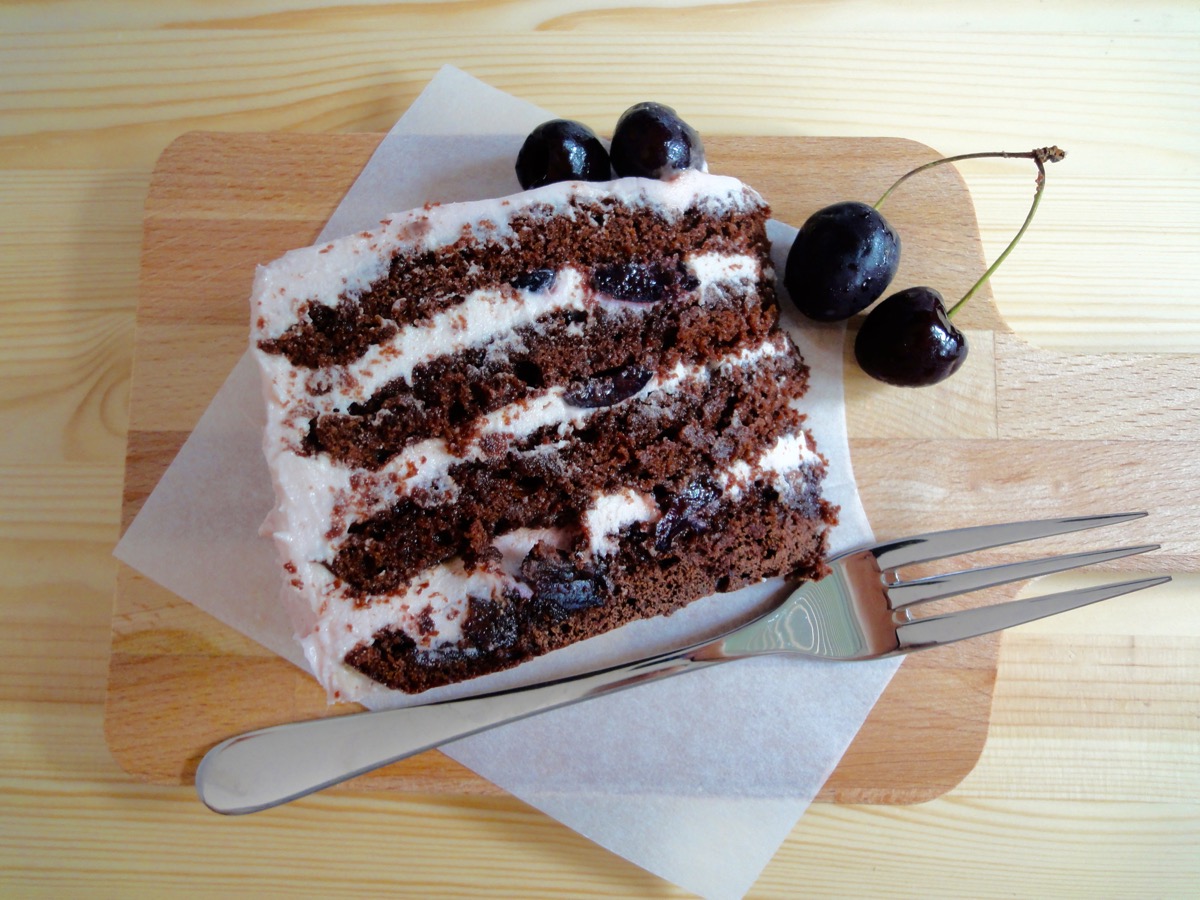
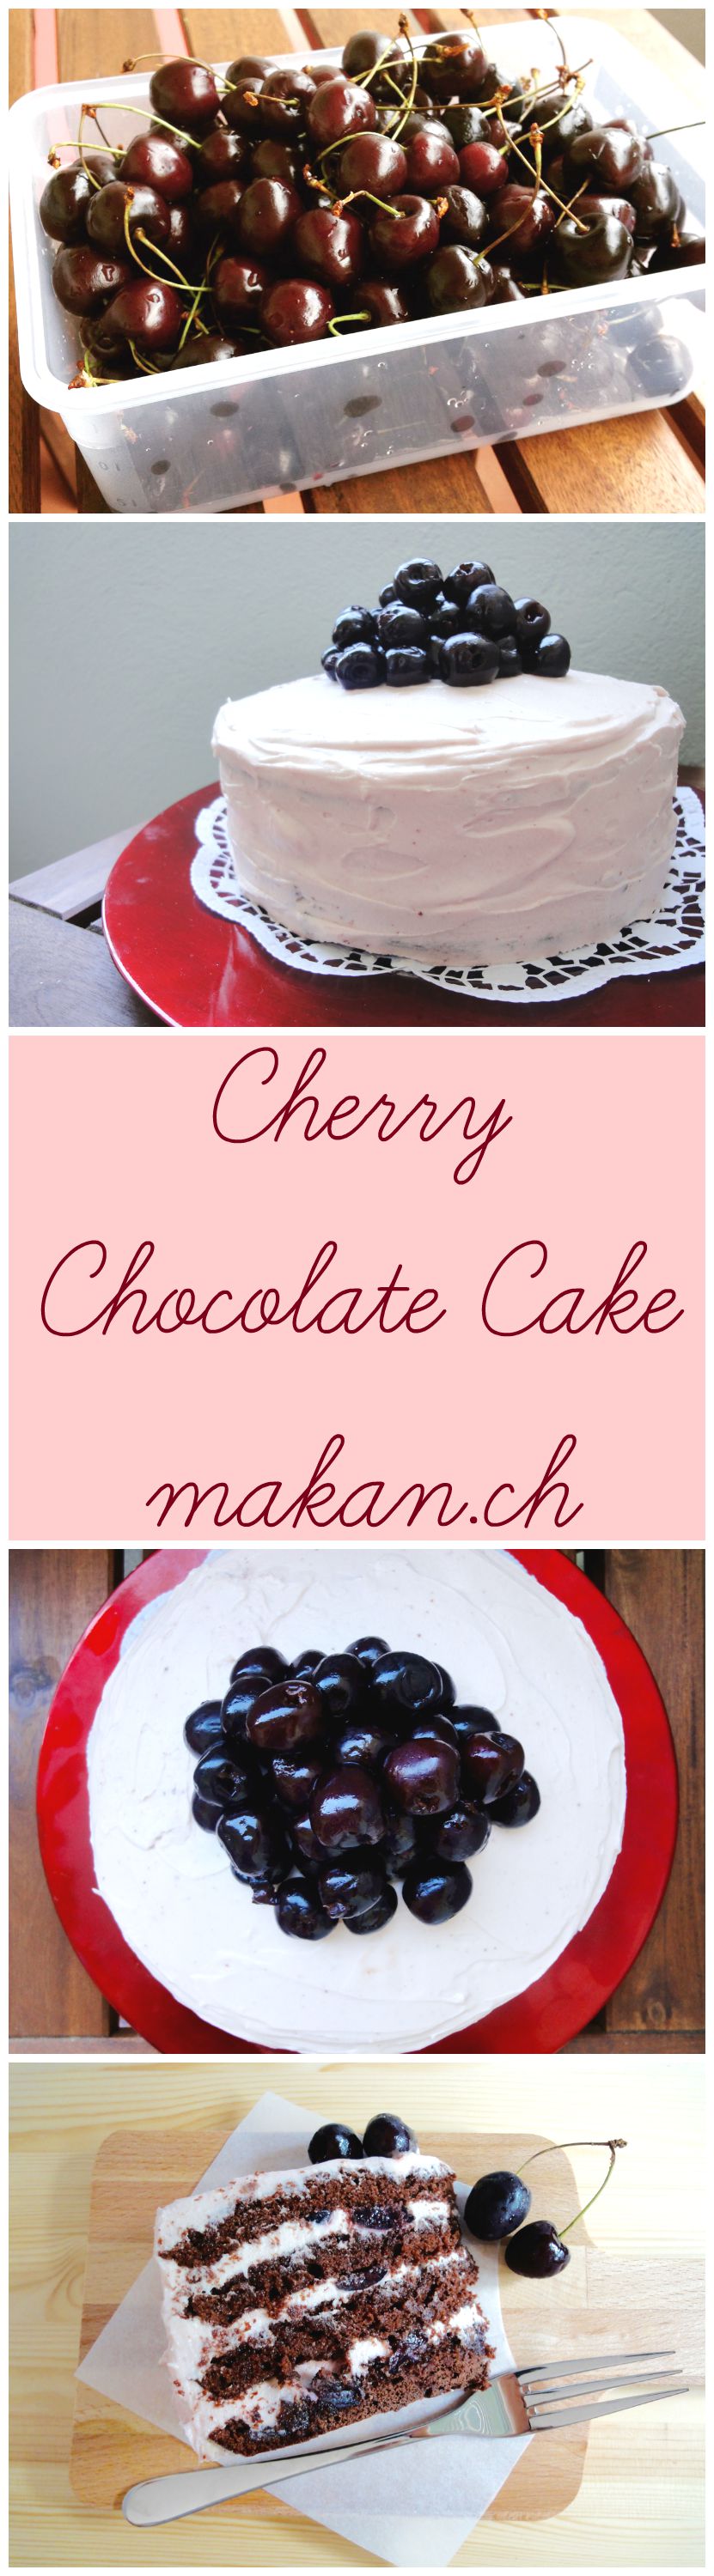
Cherry Chocolate Cake
Finally a recipe with cherries in it. Cherry is the name I go by since birth…almost everyone I know calls me Cherry and sometimes introducing myself by my real name sounds weird, so I do tell people to call me Cherry. Growing up, when my mother calls me by my real name, that would be an indication that I’ve actually done something mischievous …which also means…time to ruuuuuun!!!!
I live in a Canton that’s known for it’s cherries, cherry liquer known as Kirsch, and cherry liquer cake – Kirschtorte. It also has its own cherry day – chriesitag, where there’s a game of cherry stone pitting and a cherry market where the farmers sell their cherries and cherry produce, and as you enter the Canton by car, you can see a big signboard with cherries on it.

So, being called Cherry all my life, I decided this year to finally get some cherries from the cherry market for a cherry chocolate cake. I wanted to even wear my cherry cap to the market but chickened out. The hubby came along with me because I’m a bratty wife. The farmer even let us try out the cherries before purchasing it. Those cherries were the freshest I have ever had in my life and it was really juicy and good. So we got a kilo of it. As soon as we got home, I cleaned it and started pitting it. I also made some cherry juice from it for the cake frosting.
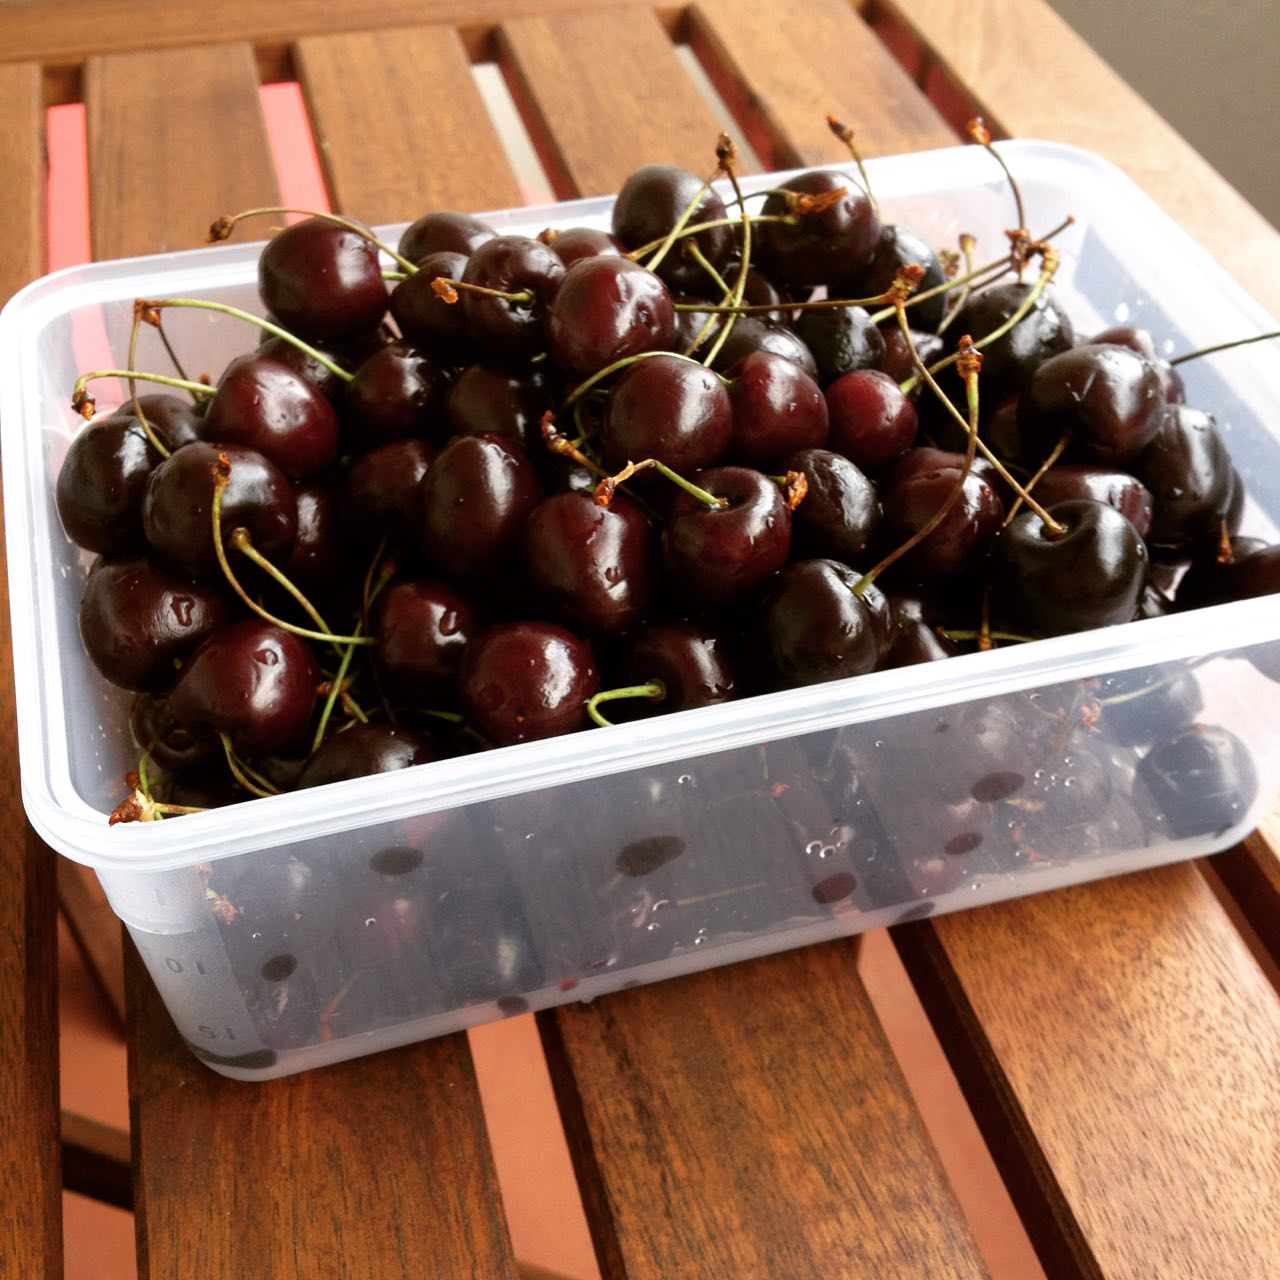
Cherries
I got the recipe idea from Natasha’s Kitchen’s Drunken Cherry Chocolate Cake. However, mine was a virgin cherry chocolate cake. That was about the only thing I changed from the recipe. It was a delicious cake that I ate half of it over a span of 3 days. But every time I had a slice, there was a tingling feeling in my throat. And one night, I had about 3 slices of it and my tongue swelled up a little. So, sadly…I self diagnosed myself that I am ironically allergic to cherries. That did not stop me from finishing up the cake. 😛 I will go for a test soon though.
Chocolate cake layers taken from Tatyana’s Chocolate Cherry Rum Cake and the frosting from Hungry Rabbit’s Cherry Chocolate Cake.
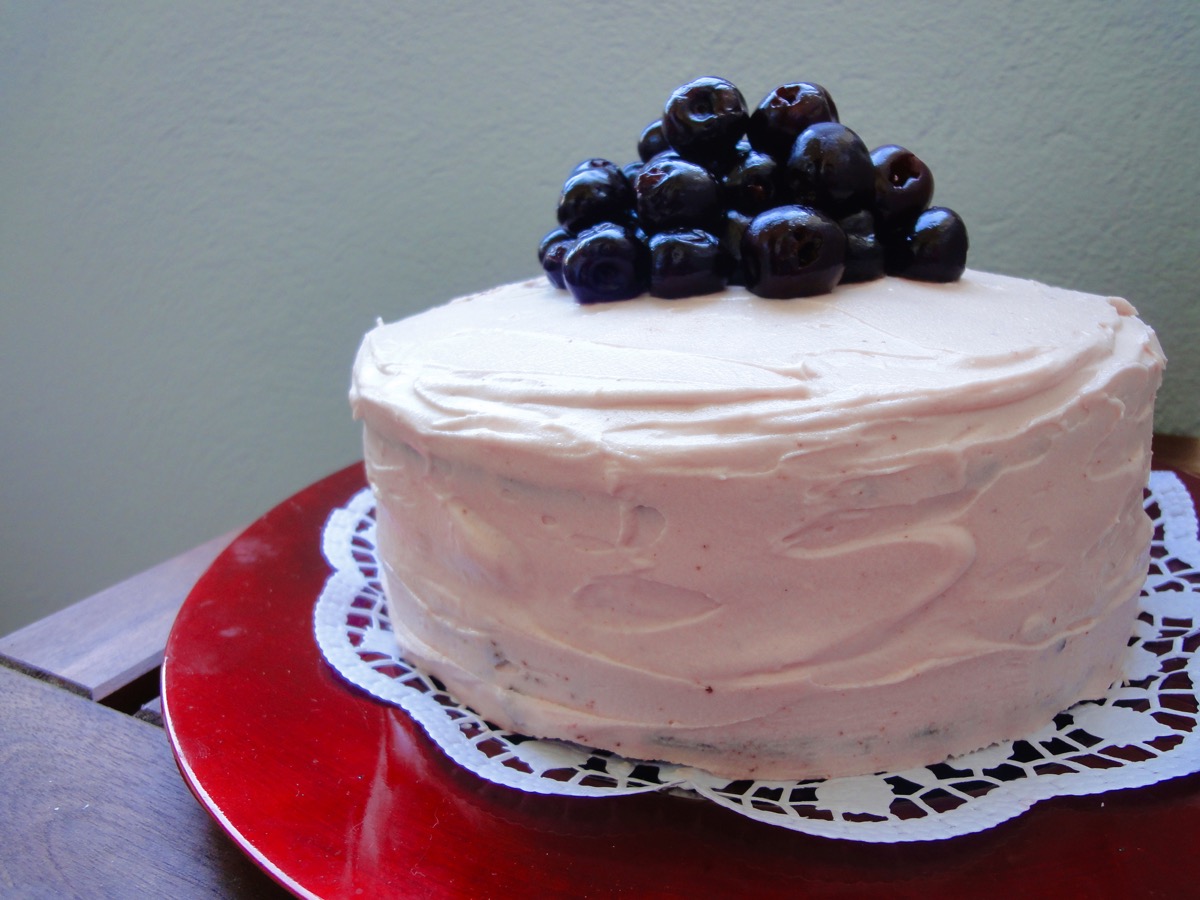
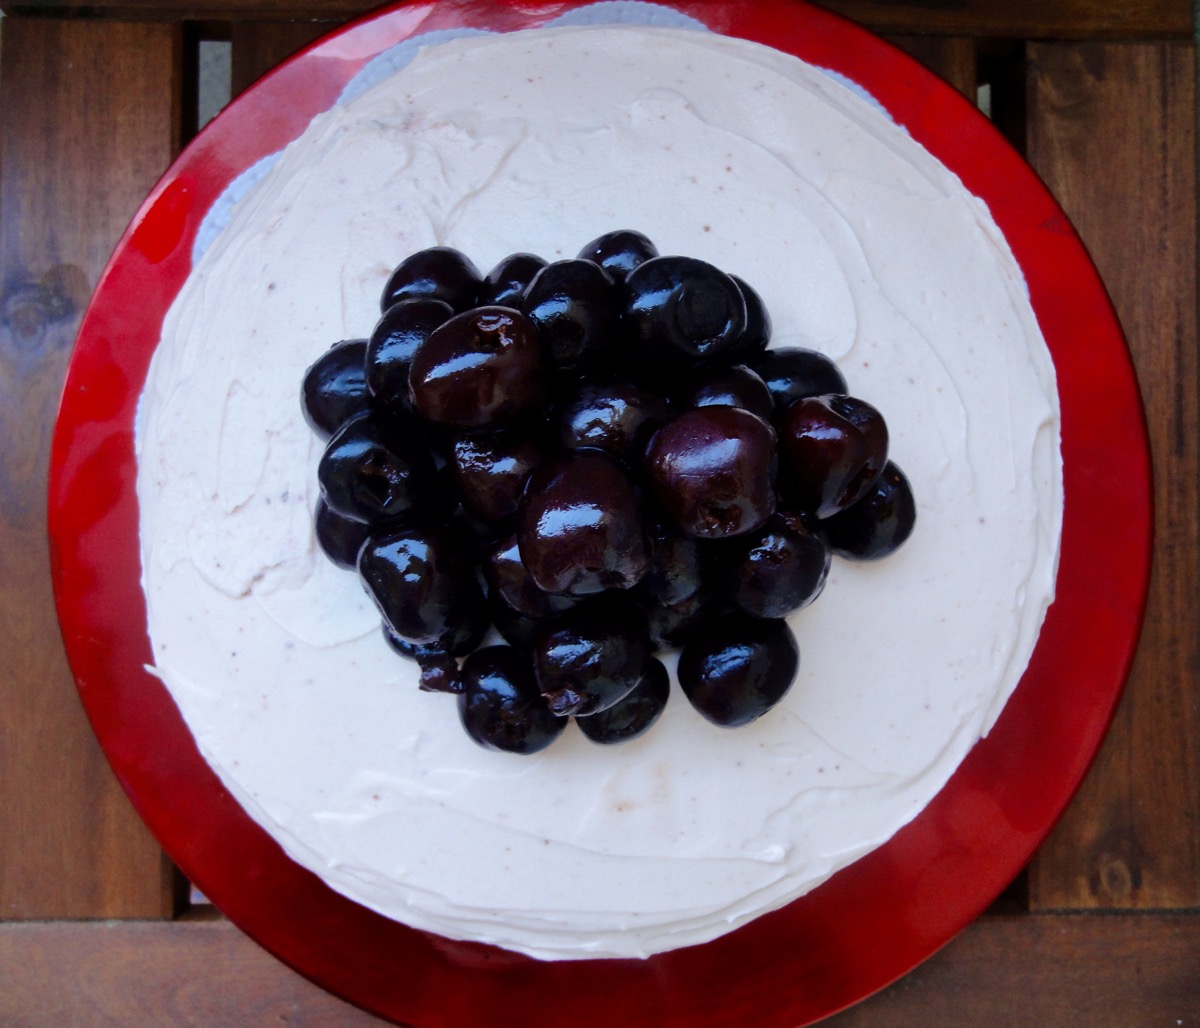
My Final Product
Chocolate Cake Layers
- ¼ cup (57 grams) Butter, softened
- 1½ cups Sugar
- 2 nos Eggs
- 1 teaspoon Vanilla Extract
- 1 cup Milk
- 1⅓ cups All Purpose Flour
- ¾ cup Cocoa Powder, unsweetened
- 2½ teaspoons Baking Powder
- ⅛ teaspoon Salt (if using unsalted butter)
Cherry Filling
- 4 cups (900 grams) Fresh Pitted Cherries, chopped
- ½ cup Rum (optional - I did not use) soak overnight
Cherry Cream Cheese Frosting
- 1 cup Butter, softened
- 3 cups (+/-) Powdered Sugar
- ¼ teaspoon Salt
- 16oz (2 cups, 450 grams) Cream Cheese
- 4 tablespoons Cherry Juice*
Directions:
- Chocolate Cake Layers
- Preheat oven to 180°C (350°F). Prepare two 8-inch (20 cm) cake pan with cooking spray or butter and dust with flour.
- In a bowl, whisk butter, sugar and salt until light and fluffy.
- Add eggs one by one followed by vanilla extract.
- In a separate bowl, sift flour, cocoa powder and baking powder.
- Add flour to creamed mixture alternating with milk. Mix until just combined.
- Divide batter equally between the two prepared cake pans.
- Bake for 30 to 35 minutes or until your cake tester comes out clean.
- Cool cakes in cake pan. Once cool enough, transfer onto cooling racks.
- Cherry Filling
- Take 2½ cup of chopped cherries.
- Soak cherries in rum overnight (optional)
- Reserve 4 tablespoons of the juice and rum mixture for frosting. (When not using rum, see Cherry Puree for frosting.)
- *Cherry Juice
- Take 1½ cup of cherries from cherry filling and blend till smooth. Set aside.
- Cherry Cream Cheese Frosting
- Mix butter, powdered sugar and salt on low speed until combined. Then increase to medium speed and mix till fluffy.
- Add cream cheese and mix till incorporated. I prefer to keep the cream cheese cold. It does take a little longer to mix it together after that but it resists me from adding too much powdered sugar to thicken the frosting.
- Add 4 tablespoons of cherry juice, mix well. Keep the balance of the cherry puree/juice for layering.
- Refrigerate frosting before using.
- Assembly of cake
- Slice each cake into half horizontally with a long knife or a cake cutting wire.
- Place one layer on a cake stand.
- Take balance cherry juice and mix in 1/8 – 1/4 cups of water. Brush first cake layer with cherry juice.
- Cover the layer with cherry frosting and top with some cherry filling. Repeat process for the next 2 cake layers.
- Add the final cake layer without cherry juice and frosting.
- Leave to set in refrigerator for an hour.
- Once set, frost the top layer and the sides.
- Decorate with some cherries.
- Leave to set for 2 hours before serving.
Tips:
- Cups to Grams conversions
- 1 cup pitted cherries = 225 grams
- Make a day ahead for best results
- Let cake sit at room temperature at least 30 minutes before serving.
Enjoy and happy baking!
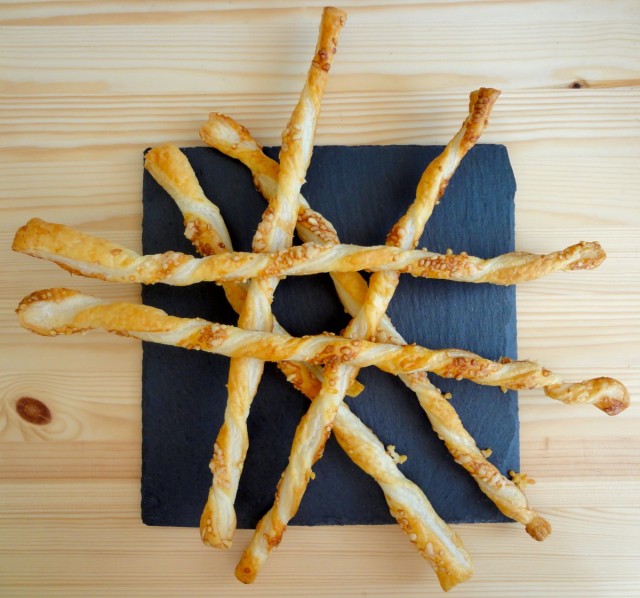
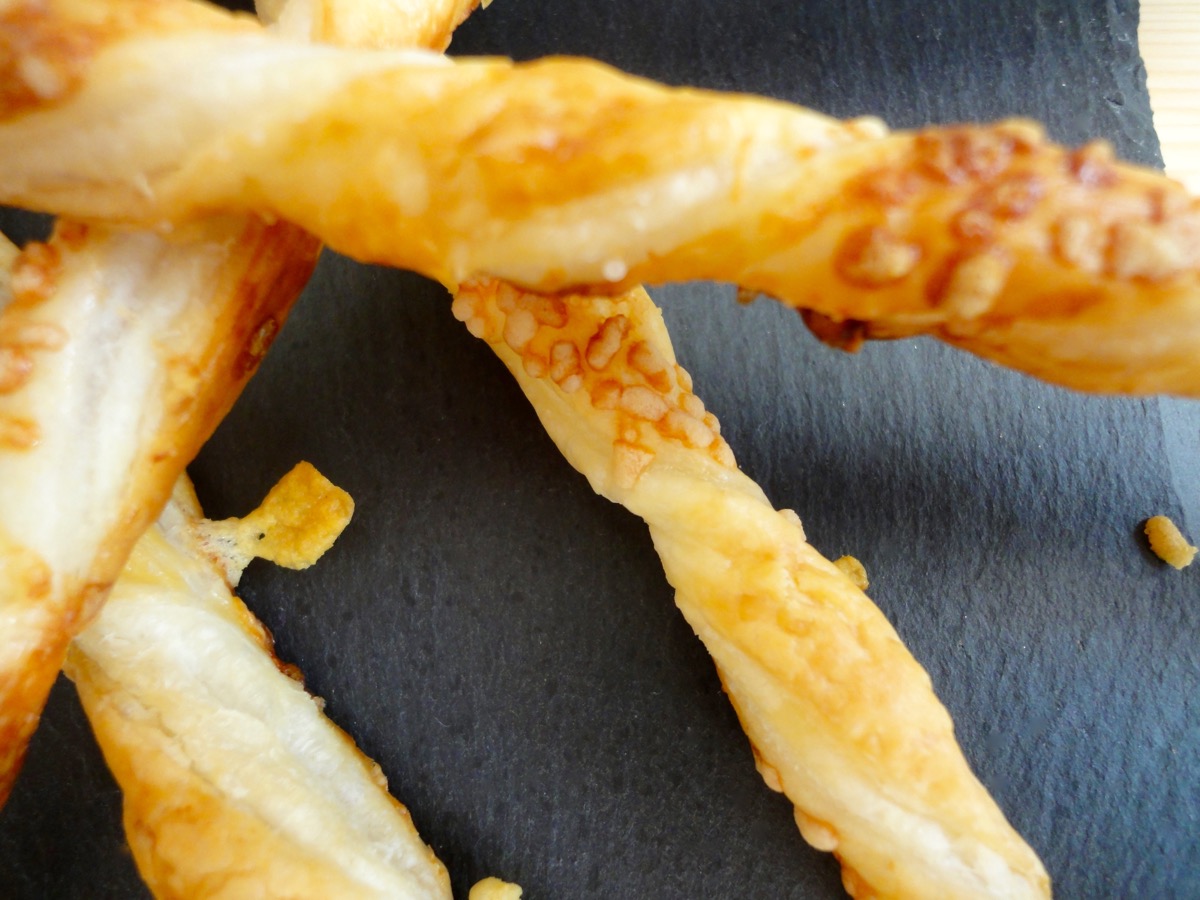
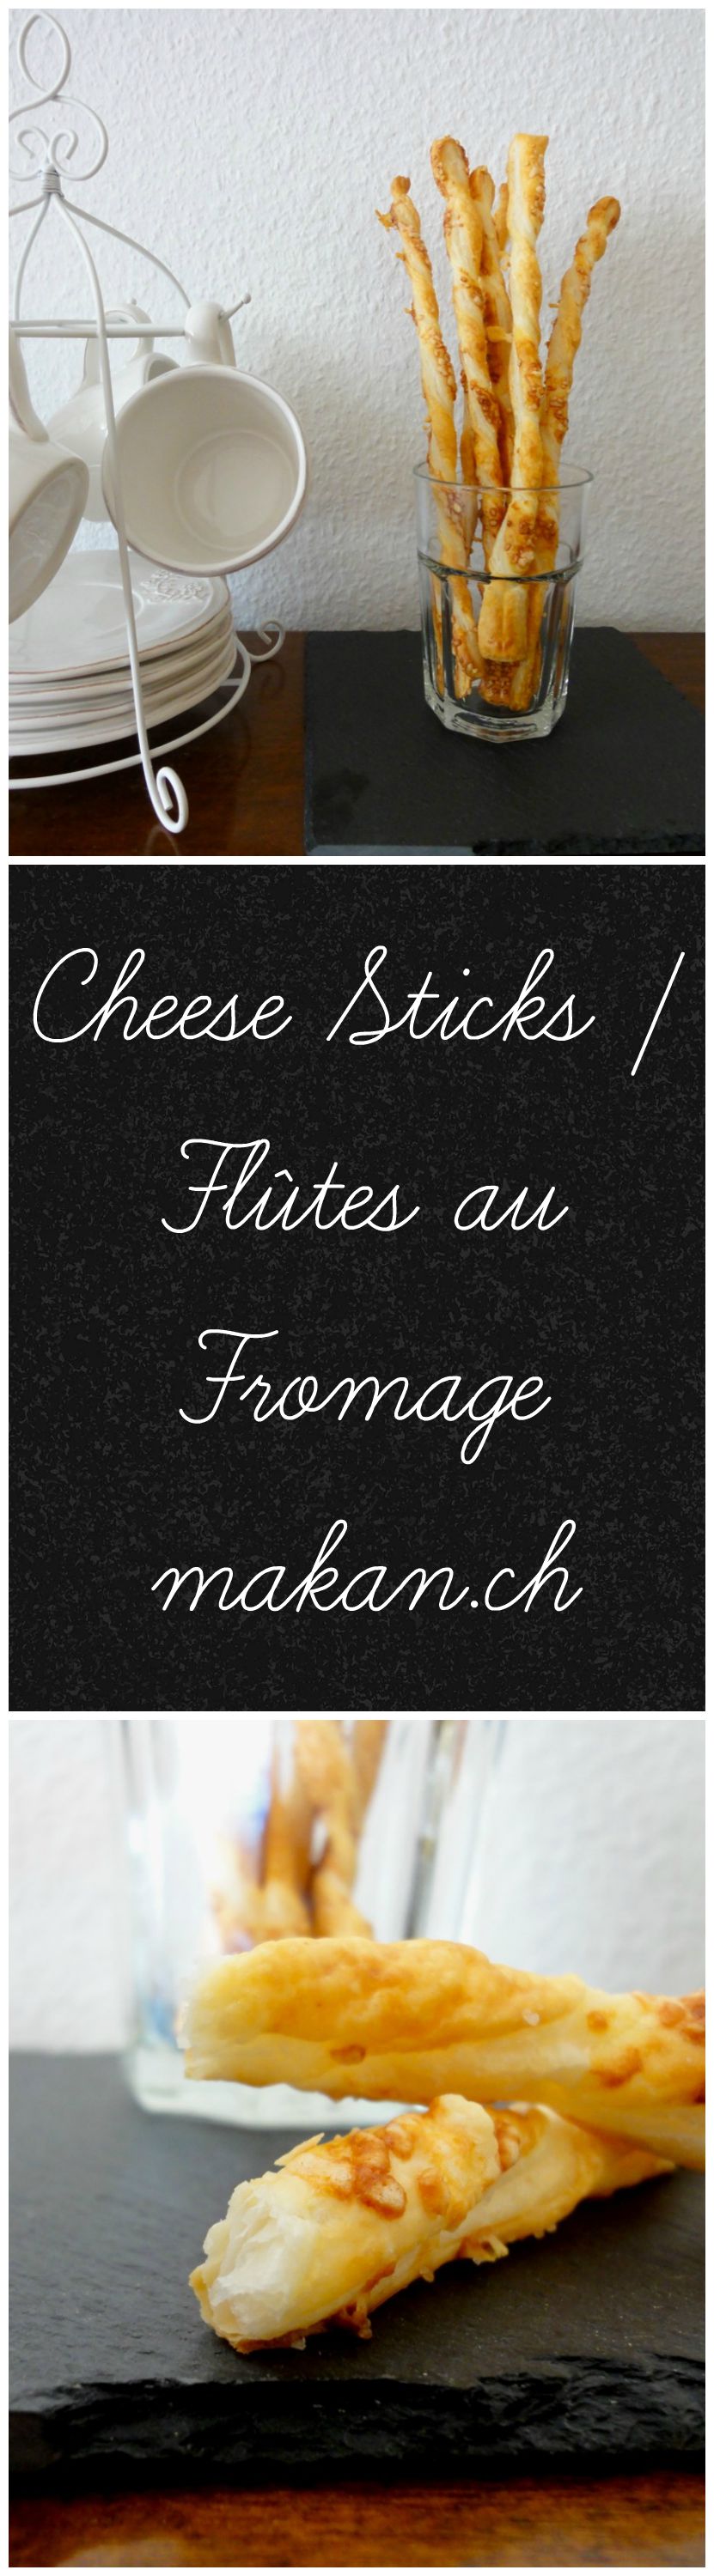
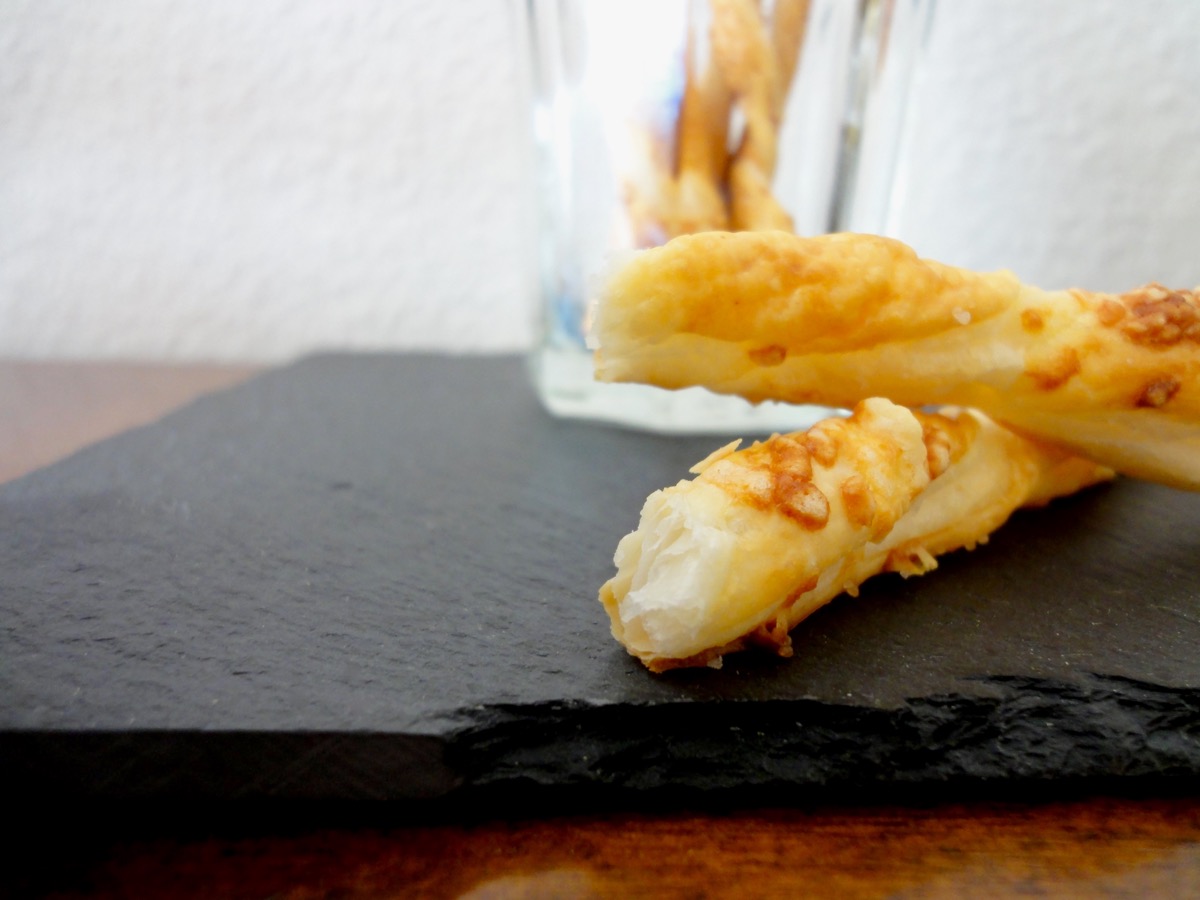
Cheese Sticks / Flûtes au Fromage
Back in 2007, I “learnt” some basic French in college. It was a compulsory subject and one of the best classes because the language teacher just went on and on with his French while the whole class just played. By the end of that class, 3/4 of us could not even count 1-10. Our pronunciation was so bad, I wonder how the kind Sir kept a straight face. We mainly had to learn French because we had to get accustom with culinary terms. That wasn’t too much of a problem, the rest were. To this day, I only know three phrases/questions : je m’appelle Cherry, comment allez-vous? (I had to look up the spelling), and voulez-vous coucher avec moi? which, sadly I learnt from Christina Aguilera in Lady Marmalade. The hubby says, please never speak French. 😀
What does French have to do with cheese sticks? Well, in the title there’s also the French word for it and I use it because that’s what it says on the package of this snack from the grocery store. The one’s from the store have a heavier and denser feel compared to this recipe. It is also so quick and easy to prepare and makes a great Hors d’oeuvre. You can also use various toppings such as poppy seeds, sesame seeds, cumin seeds, bacon, ham, grated parmesan, grated cheddar, grated gruyère, or fleur de sel.
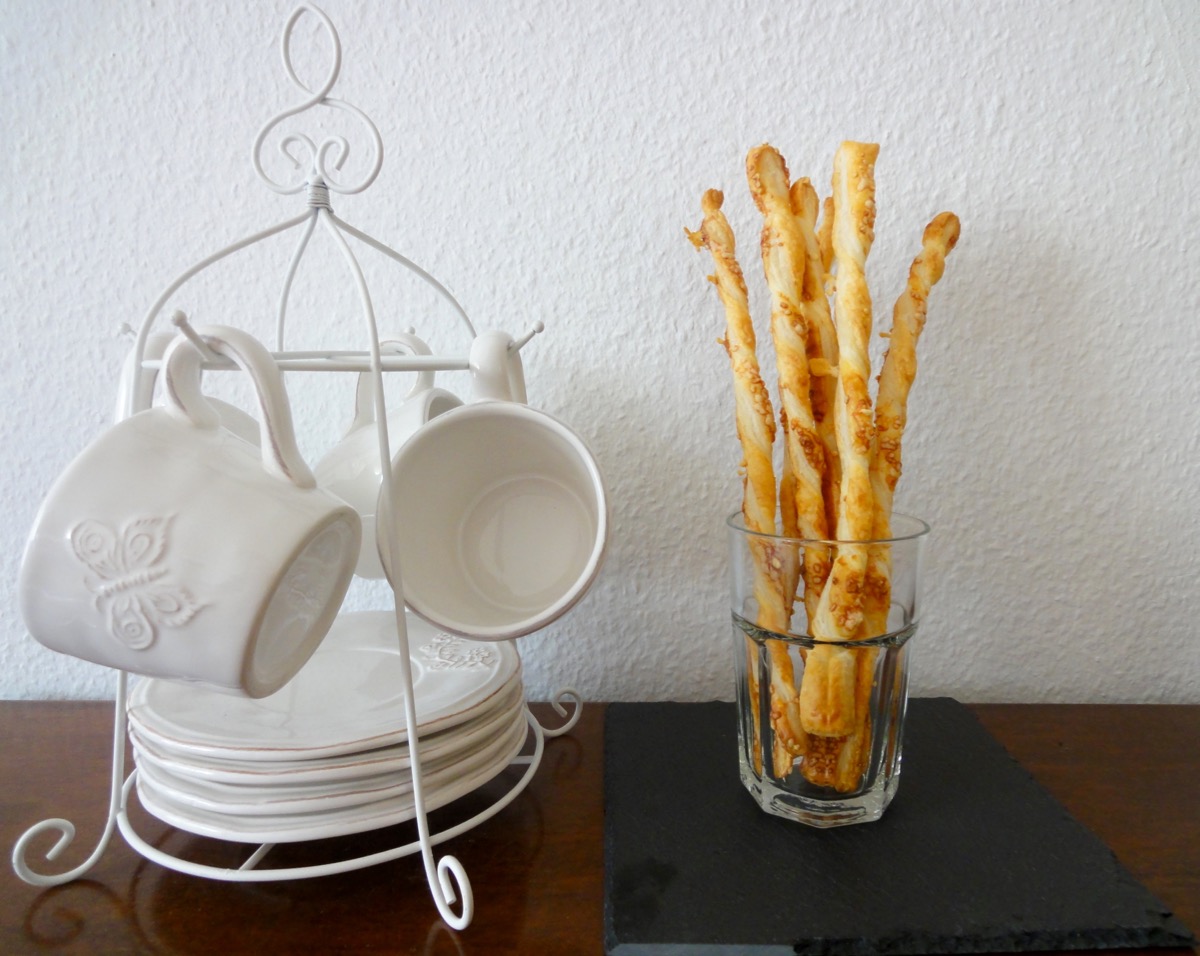
Owh look! I found a new possible spot to take photo’s plus the tea set’s actually handmade in France!
Ingredients
- 1 rectangle/square package (320g) Puff Pastry
Topping
- 1 nos Egg
- 1 tablespoon Water
- To spinkle Salt
- ¼ cup Grated Parmesan Cheese
Directions:
- Take out puff pastry 10 minutes before intended use.
- Pre-heat oven to 220°C (430°F). Prepare baking tray and line with parchment paper.
- Unroll puff pastry and using a pizza cutter (you can use a knife of course) and cut into strips, around 2cm width. With my puff pastry, I managed to get 20 strips.
- Place strips onto baking tray about 1-2cm apart.
- Whisk egg and water for egg wash. Brush strips with egg wash.
- Sprinkle with salt and grated cheese.
- Gently twist the strips. (optional)
- Bake for 8-10 minutes or till golden brown.
- Leave to cool on a wire wrack before enjoying.
Tips:
Bon appetite!
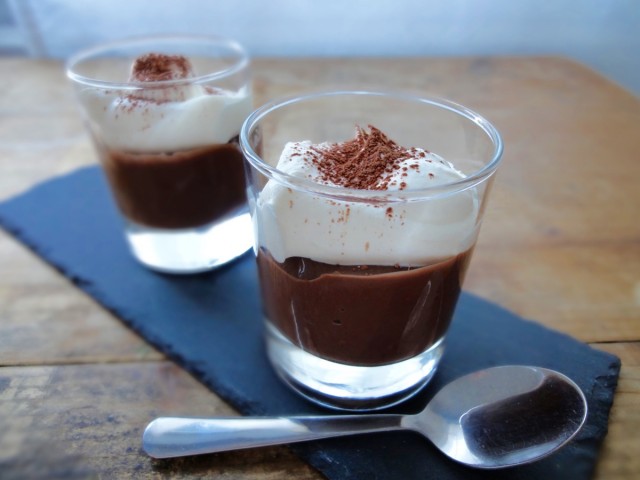
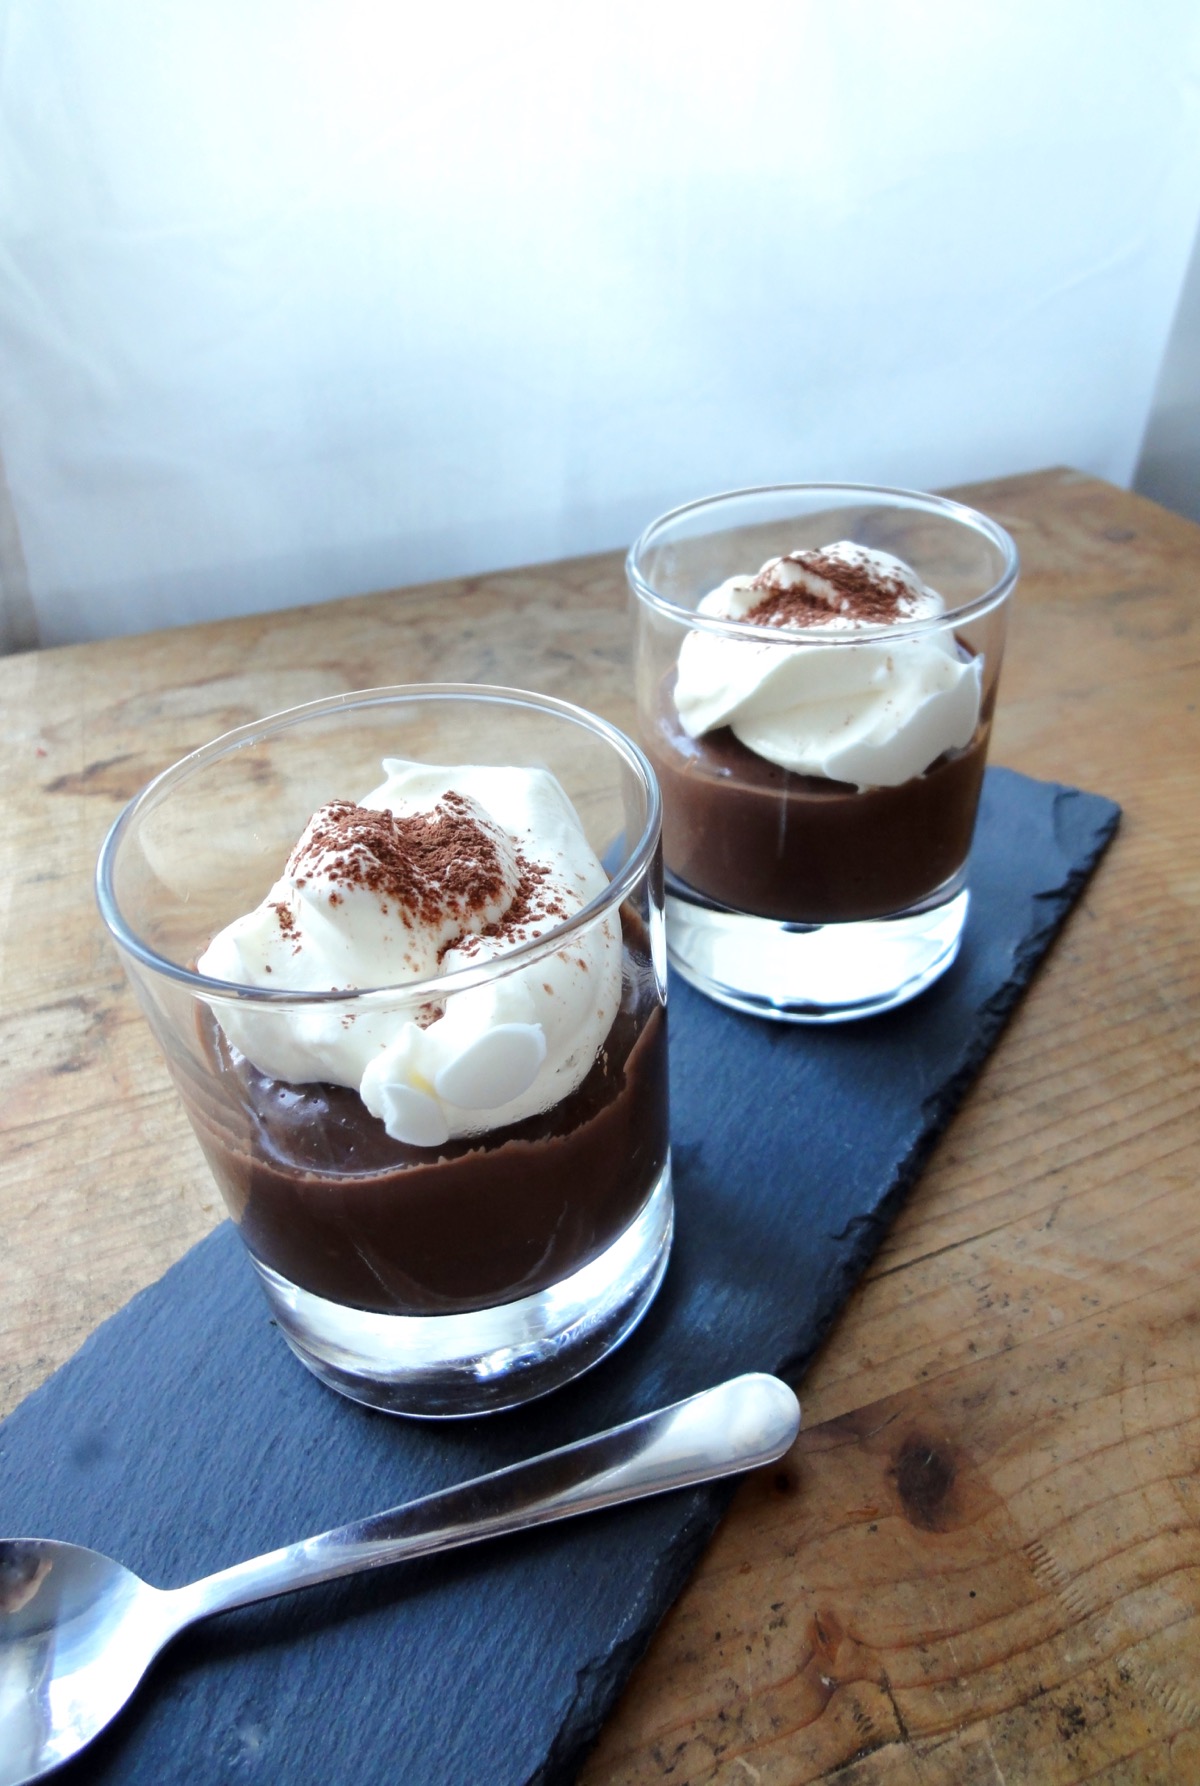
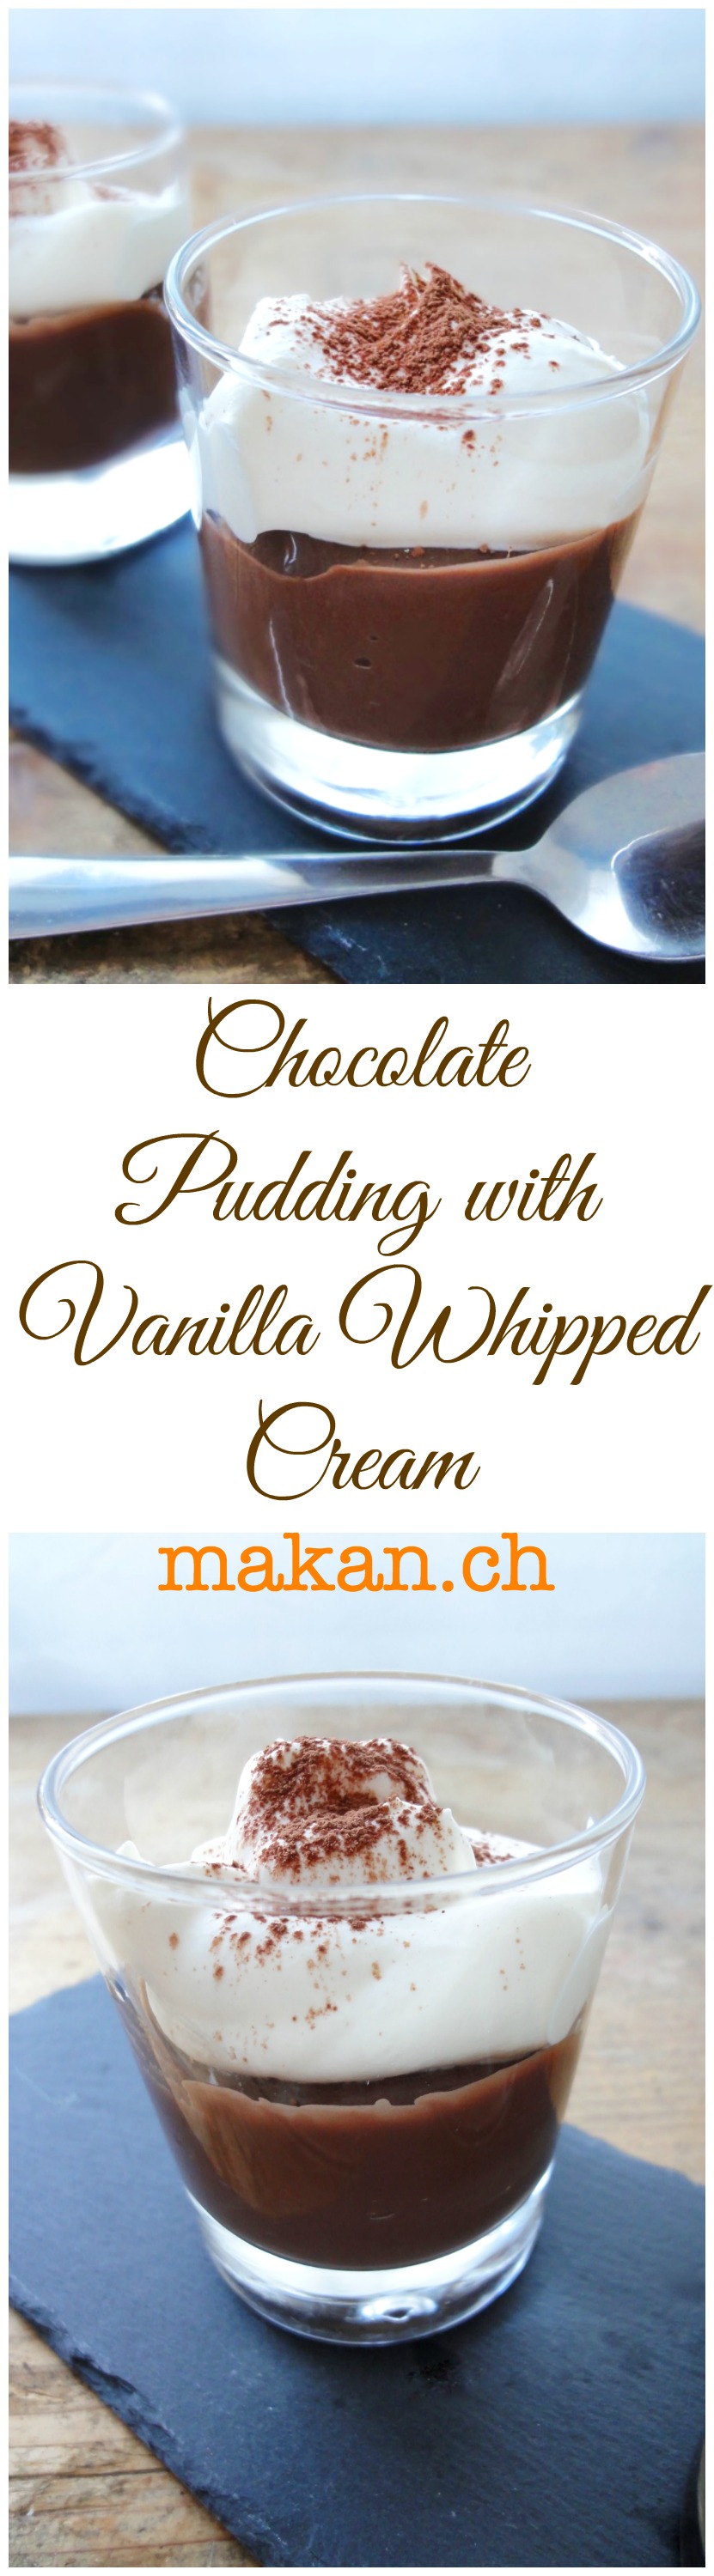
Chocolate Pudding with Vanilla Whipped Cream
My newfound quick dessert to make at home. I’ve always liked pudding, especially those that I saw on American TV – snack pack, and I knew I had to get my hands on those. My mother gave in into buying snack packs for us occasionally.
This pudding recipe doesn’t require eggs and uses cornflour as it’s thickening agent. Top it with some whipped cream and dusted cocoa powder, and you’ve got yourself an awesome dessert. No more buying pudding mixes! I’ve just started with chocolate, but I’m gonna try and experiment with some other flavours in the future. It’s so good that I made this recipe three times in just three days! Of course, not all of it was for me. I had guest with children over the weekend and thought it would be a great dessert for the kids and adults to enjoy.

The pudding is sweet (as all are) but I still do sweeten the whipped cream. It’s a pet-peeve of mine to have unsweetened/unflavoured whipped cream. Probably because of my barista days, where the whipped cream was sweetened and flavoured with vanilla syrup. So, I added some powdered sugar and vanilla extract to the cream and whipped it up. Caramel and hazelnut syrup go well too.
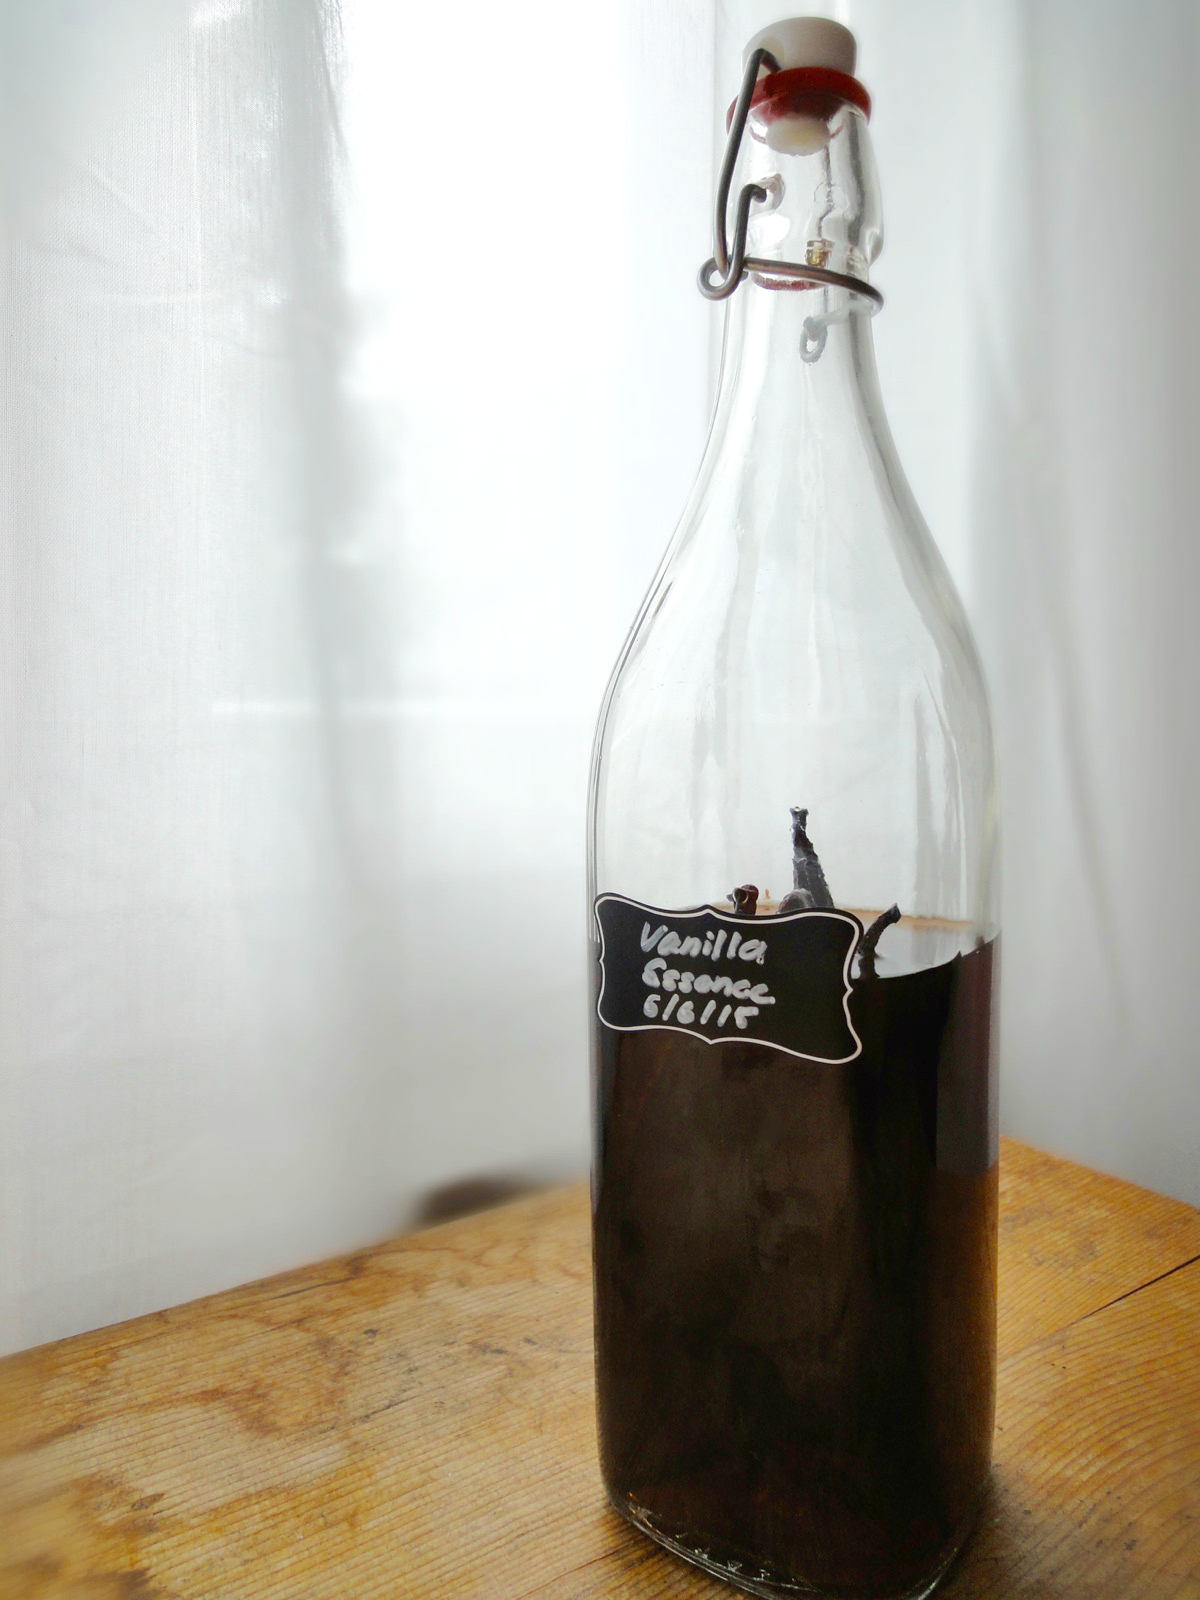
I also use my own vanilla extract which I made in June and by the 8th week it was ready for using. Yes, the label on it is confusing. That’s because growing up we used vanilla essence as it was widely available in stores. So, I got used to calling it essence even though for the past 3 years I have been using extract. Making it a habit to start calling it by it’s true name. Learn how to make your own vanilla extract here.
Chocolate Pudding
- ½ cup Brown Sugar
- ¼ cup Cocoa Powder
- ¼ cup Cornflour
- ⅛ teaspoon Salt
- 3 cups Milk*
- 2 Tablespoons Butter
- 1 teaspoon Vanilla Extract
Vanilla Whipped Cream
- ½ cup Whipping Cream
- 1 Tablespoon Powdered Sugar
- 1 teaspoon Vanilla Extract
Directions:
- Chocolate Pudding
- Add brown sugar, cocoa powder, cornflour, salt and milk into a medium sized pot.
- Mix well with a whisk until there are no lumps.
- Place over medium low heat and stir occasionally (it’s important to cook on medium low – medium heat so that the cornflour cooks)
- Cook for 15 minutes or till it has thicken slightly and it should be able to coat the back of your spoon.
- Simmer for 2-3 minutes while stirring.
- Add butter and stir well until it has completely melted and combined.
- Remove from heat and add vanilla extract.
- Pour pudding directly into jars, pudding cups or a large bowl and cover with plastic wrap (helps prevent skin from forming) and set aside to cool.
- After it has cooled completely, put it in the fridge to chill. (2 hours)
- Vanilla Whipped Cream
- Add whipping cream, powdered sugar and vanilla extract to a large bowl
- Whip till it forms stiff peaks. You can use a hand mixer, stand mixer or if you like a challenge, whisk it manually.
- Top chocolate pudding with a dollop of vanilla whipped cream and dust with cocoa powder before serving.
Tips:
- Conversion Table
- *You can use soy, rice, almond, or quinoa milk. I recently used rice milk and it was just as good.
- I used Cailler cocoa powder
- Pudding stays good about 2-3 days
- Be patient 🙂
Enjoy!
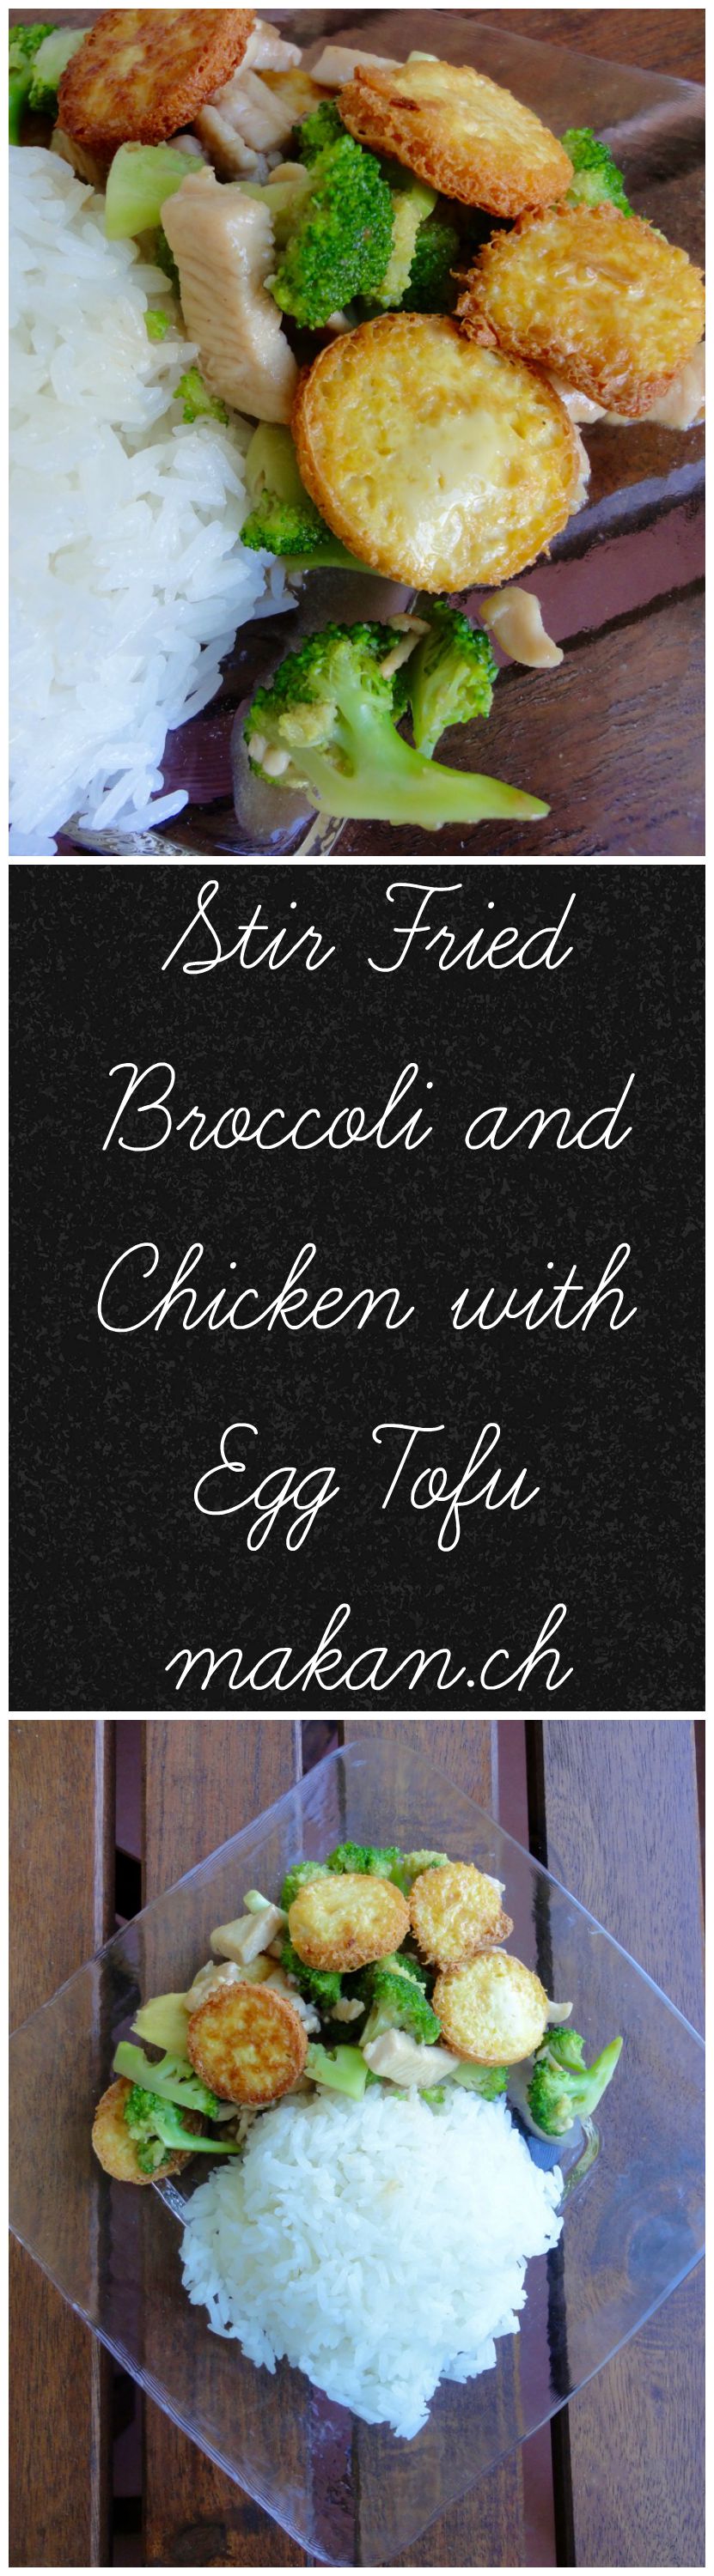
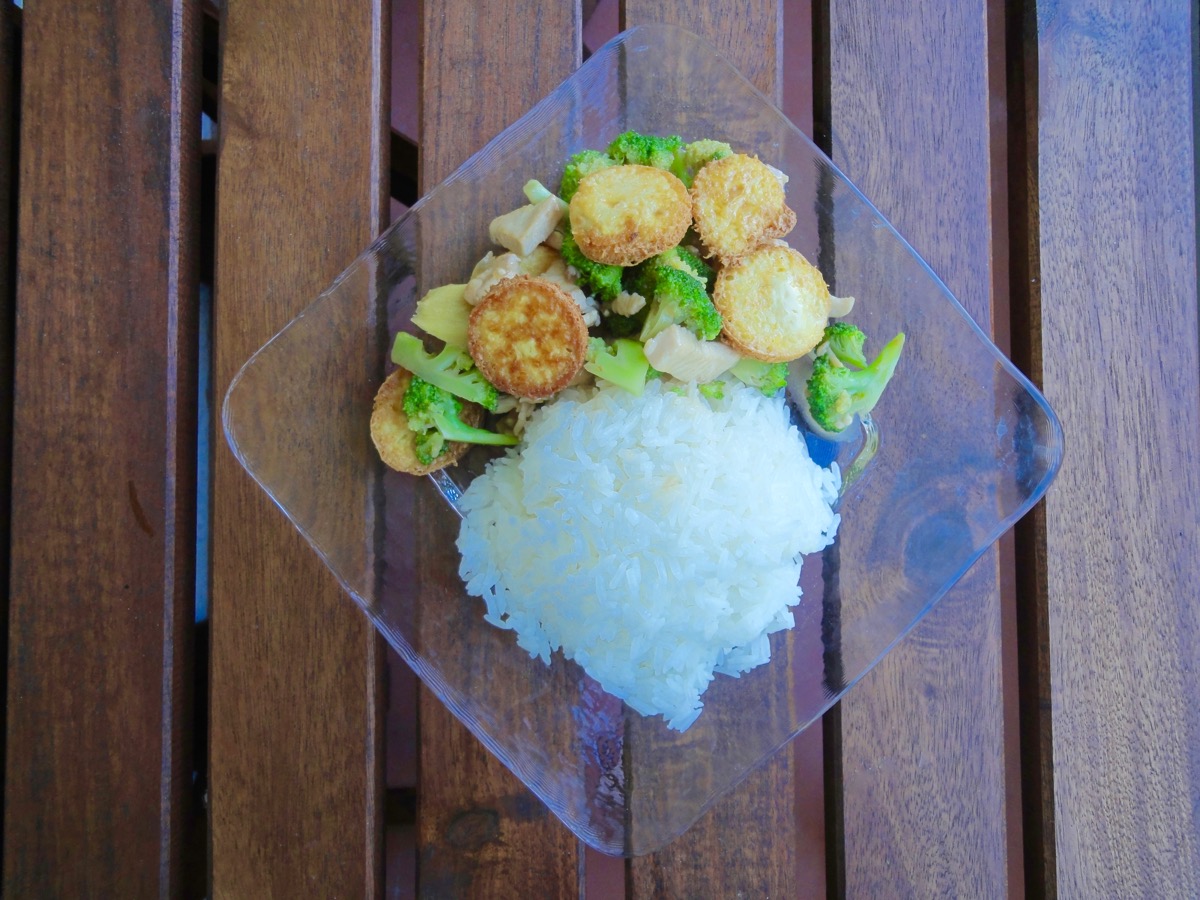
Stir Fried Broccoli and Chicken with Egg Tofu
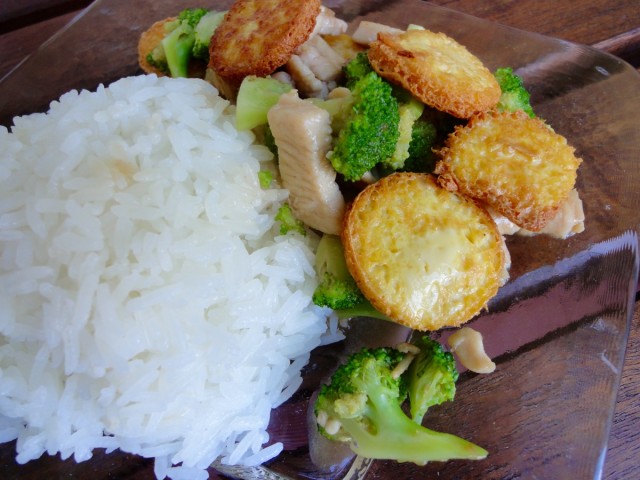
Egg tofu is often called Japanese egg tofu. It’s similar to Chawanmushi, but this one comes in a tube. Frying this tofu is a little bit of a pain as the oil splatters…unless I’m doing something wrong and someone has a trick! A little bit of pain just to eat this? Worth it! At home I will scream like a little girl, but when I used to work at a Sushi Restaurant (I was placed behind the conveyor belt and customers were able to see me cooking), I could not scream when oil splattered especially when cooking gyoza’s, so I had to learn how to suck it up and look like a bad ass.
Anyways, this dish is pretty simple and fast to cook. I also use very little chicken in this, cus the hubby and I love broccoli, so I add more broccoli. We don’t have a good relationship with vegetables (we count eating a bunch of onions,potatoes and even chives as vegetables), so anytime I can add more veggies to a dish…I will.
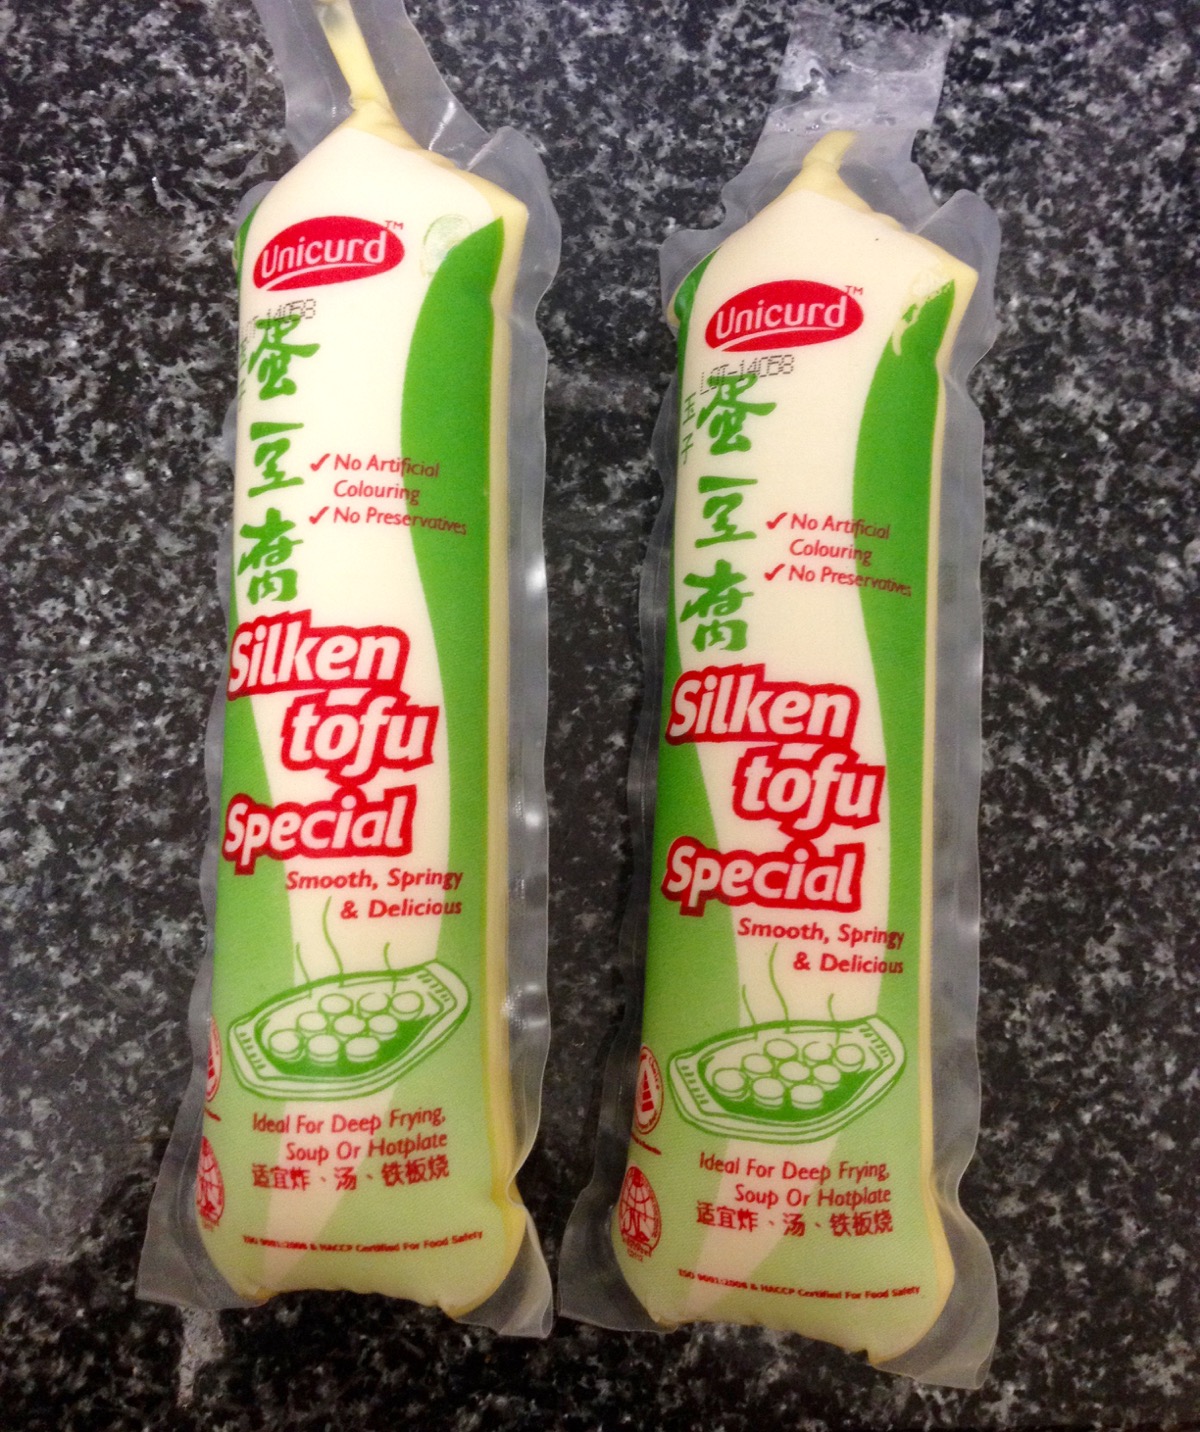
Egg Tofu
Ingredients
- 1 tube Egg Tofu, sliced - 2cm each
- 1 tablespoon Cornflour, for dusting
- Enough for frying Peanut Oil
- 1 breast (c.a 120g) Chicken Breast, diced or sliced
- 2 ½ cups Broccoli, florets (fresh or frozen)
- 1-inch Fresh Ginger, sliced
Marinade for Chicken
- 2 teaspoons Light Soy Sauce
- 2 teaspoons Cornflour
Sauce
- 1 tablespoon Oyster Sauce
- ½ teaspoon Sesame Oil
- 1 tablespoon Shaoxing Wine (Chinese Cooking Wine)
- ¼ teaspoon White Pepper
- 2 tablespoons Water
- 2 teaspoons Cornflour
- To taste Salt
Directions:
- Marinade chicken in marinade. Bring a pot of water to boil (to blanch broccoli).
- Combine ingredients for sauce and set aside.
- Heat up oil in pan. Dust egg tofu in cornflour. Fry till golden brown. Drain excess oil with paper towels. Set aside.
- Remove oil from pan, leaving about 2 tbsp of oil.
- Fry ginger till aromatic, add chicken. While the chicken cooks, blanch broccoli.
- Add sauce to chicken and throw in broccoli.
- Stir fry till sauce thickens.
- Add egg tofu, gently stir as egg tofu is very delicate.
- Serve immediately with steamed rice.
Tips:
Enjoy!
Sorry for the purple hue, it was getting dark.
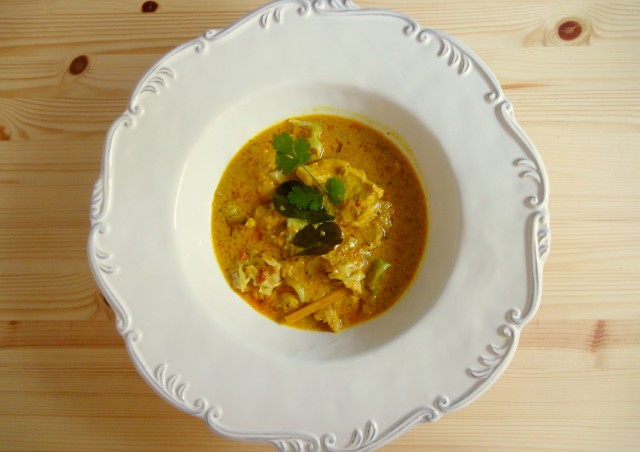
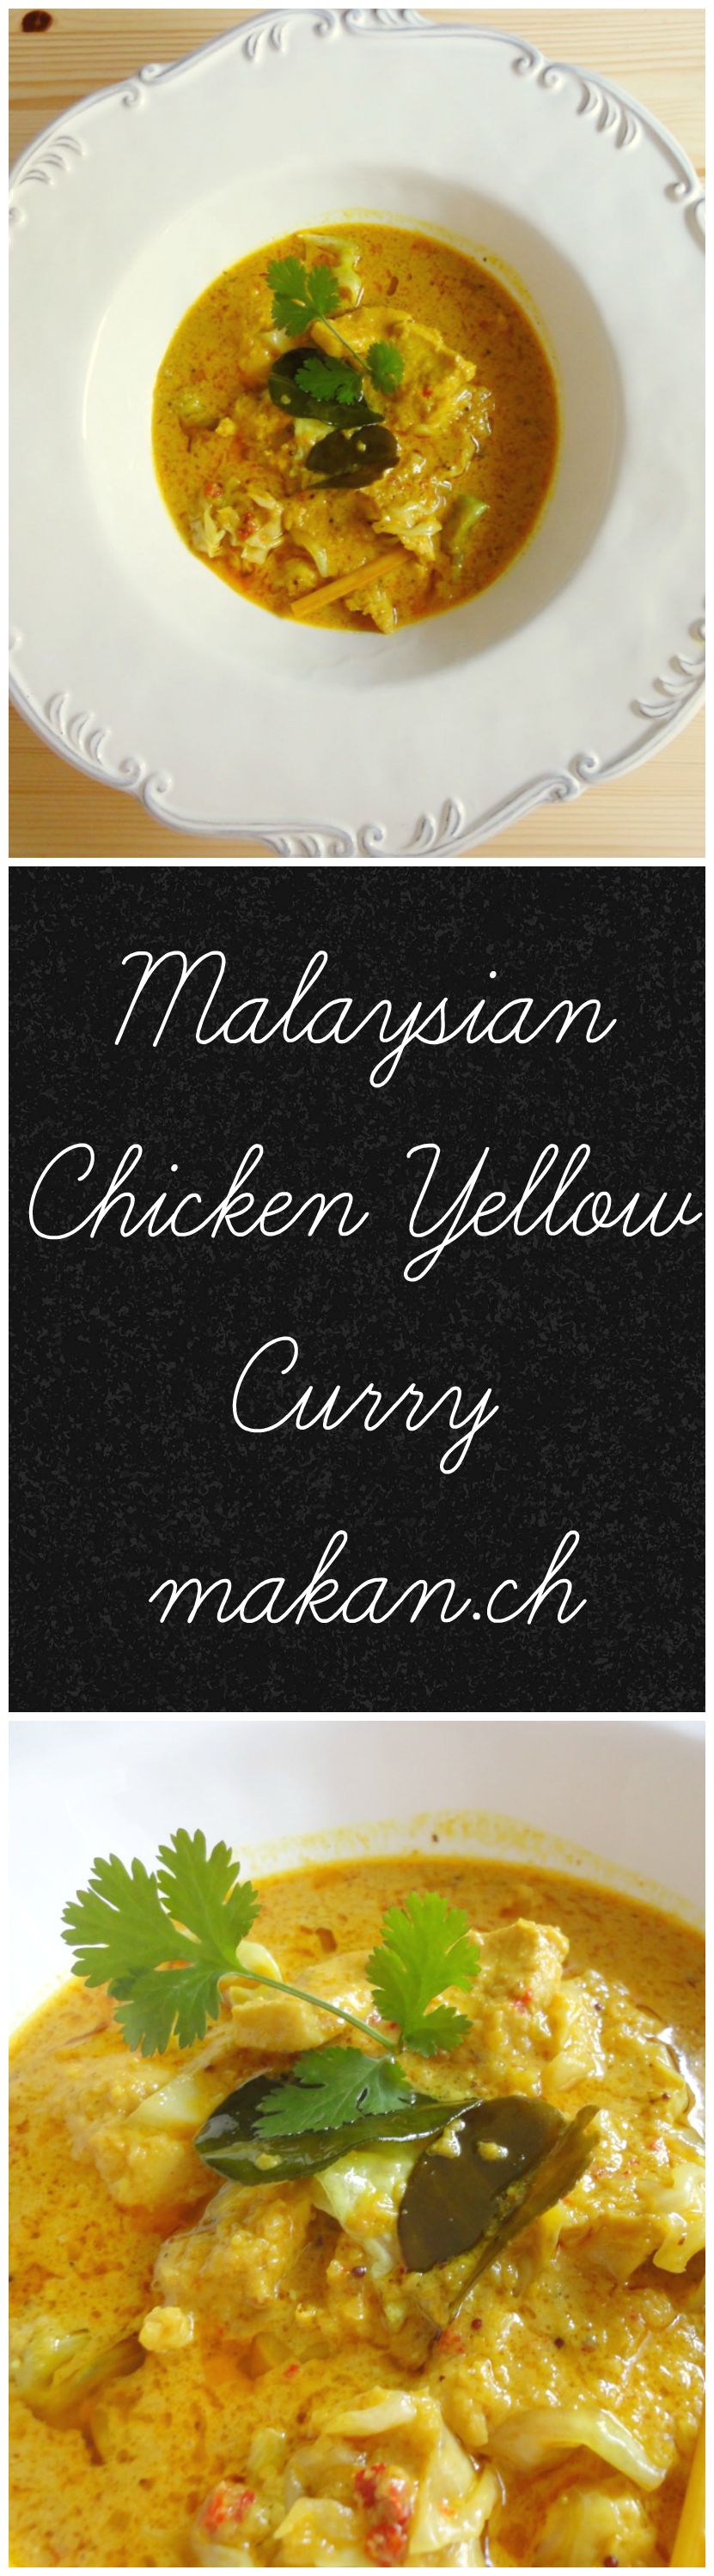
Malaysian Chicken Yellow Curry
Looks like Autumn has begun in Switzerland! Finally some cold days after a very hot summer. But don’t we all just complain about the weather? Whether or not it’s cold or hot, there is always something to complain about. I personally love the cold, that’s because I’m always at home and ready to snuggle up on my sofa with lots of pillows and blankets…and when it get’s colder, I have a great excuse to make some hot chocolate.
As with most Malaysian recipes, there’s no real precise measurement. There’s a word in Bahasa Malaysia which we use for this : agak-agak which means circa, to guess, approximately, more or less, or estimation. For unseasoned cooks, doing it the agak-agak way can turn out either really good, or really bad. I’ve had my fair share of bad dishes (but still edible) due to my bad agak-agakness. Malaysian cooking derives a lot from helping or watching the cooking parent or grandparent in the kitchen. Lucky for me, I use to love standing behind my mother while she cooked (mainly to get the first bite of it) and that has somehow worked out a little for me…I could have done more watching and paying attention.
Anyways, this recipe not an official Malaysian yellow curry. Every family has their own version of a yellow curry. It is also known as masak lemak which means (when directly translated) fattily cooked due to the use of coconut milk. The basics of a masak lemak dish consist of coconut milk, lemongrass and some chilli to spice it up. In this recipe, I also add kaffir lime leaves to give it a nice scent and flavour to the dish. This is totally optional, but you won’t regret it.
For the spice paste, this one is another Malaysian thing you have to learn. Westerners call it, fry till fragrant. But all these spices are already so fragrant before cooking, you might under cook it – resulting in less tasty dishes or just less in every aspect of it. We call it fry till the minyak pecah which means fry till the oil breaks. If that makes sense to you without any explanation then, thumbs up! It’s also quite hard to describe this minyak pecah thing. But I will try! It’s fry till the oil starts separating from the paste and the paste does not look emulsified. It has to look like a Hollandaise sauce that has split. This can take between 15-20 minutes, sometimes even more – depending on how much paste you are frying. If someone else has a better was of explaining this method, do send me an e-mail!
I wish you all the best of luck and hope you cooking this dish.
Ingredients
- 400g / 14oz Chicken
- Half White Cabbage
- 2 cups Thick Coconut Milk
Spice Paste (grounded or blended )
- 3 stalks (while part only ; reserve rest to fry) Lemongrass
- 1 medium sized Yellow Onion
- 2 medium sized Red Onion
- 4 cloves Garlic
- 2-inch Ginger
- 2-inch / 2 teaspoons Turmeric Root / Powder
- 8 pieces Candlenut
To fry
- 1 cup Peanut or Vegetable Oil
- 1 teaspoon Mustard Seeds
- 3 stalks (green part) Lemongrass
- 4 pieces Kaffir Lime Leaves
Directions:
- Cut chicken into small pieces. You can use any part of chicken.
- Shred cabbage into bite sized pieces and clean.
- Set aside
- Spice Paste
- Cut onions into quarters.
- Slice the white part of the lemongrass finely. Reserve the rest of the stalk for frying.
- Peel and slice ginger and turmeric root. You might want to use gloves if using turmeric root as the colour stains nails and fingers for a few days. Alternately, you can use 2 teaspoons of turmeric powder to substitute.
- Add all into food processor or blender together with chillies, and candlenuts.
- Blend till it forms a smooth paste or till you can’t see the fibres from lemongrass.
- Set aside.
- To fry
- In a wok or large pan over medium high heat, add spice paste and green part of the lemongrass.
- Stir fry for 15 minutes or till the paste starts breaking up. *see above text for some explanations*
- Once paste is ready, add mustard seeds and fry for a minute.
- Add chicken and fry in the paste for 2 minutes.
- Add kaffir lime leaves.
- Stir in coconut milk and 1/2 cup water (optional).
- Let it simmer till chicken cooks and the gravy thickens.
- Add in cabbage and simmer till soften.
- Season with salt.
- Serve immediately with steamed white rice or let the curry sit for a few hours before serving. This improves the flavour.
Tips:
- Curry will taste better the next day
- Take out lemongrass stalk and kaffir leaf before serving
- Cups to Grams conversions
Enjoy!
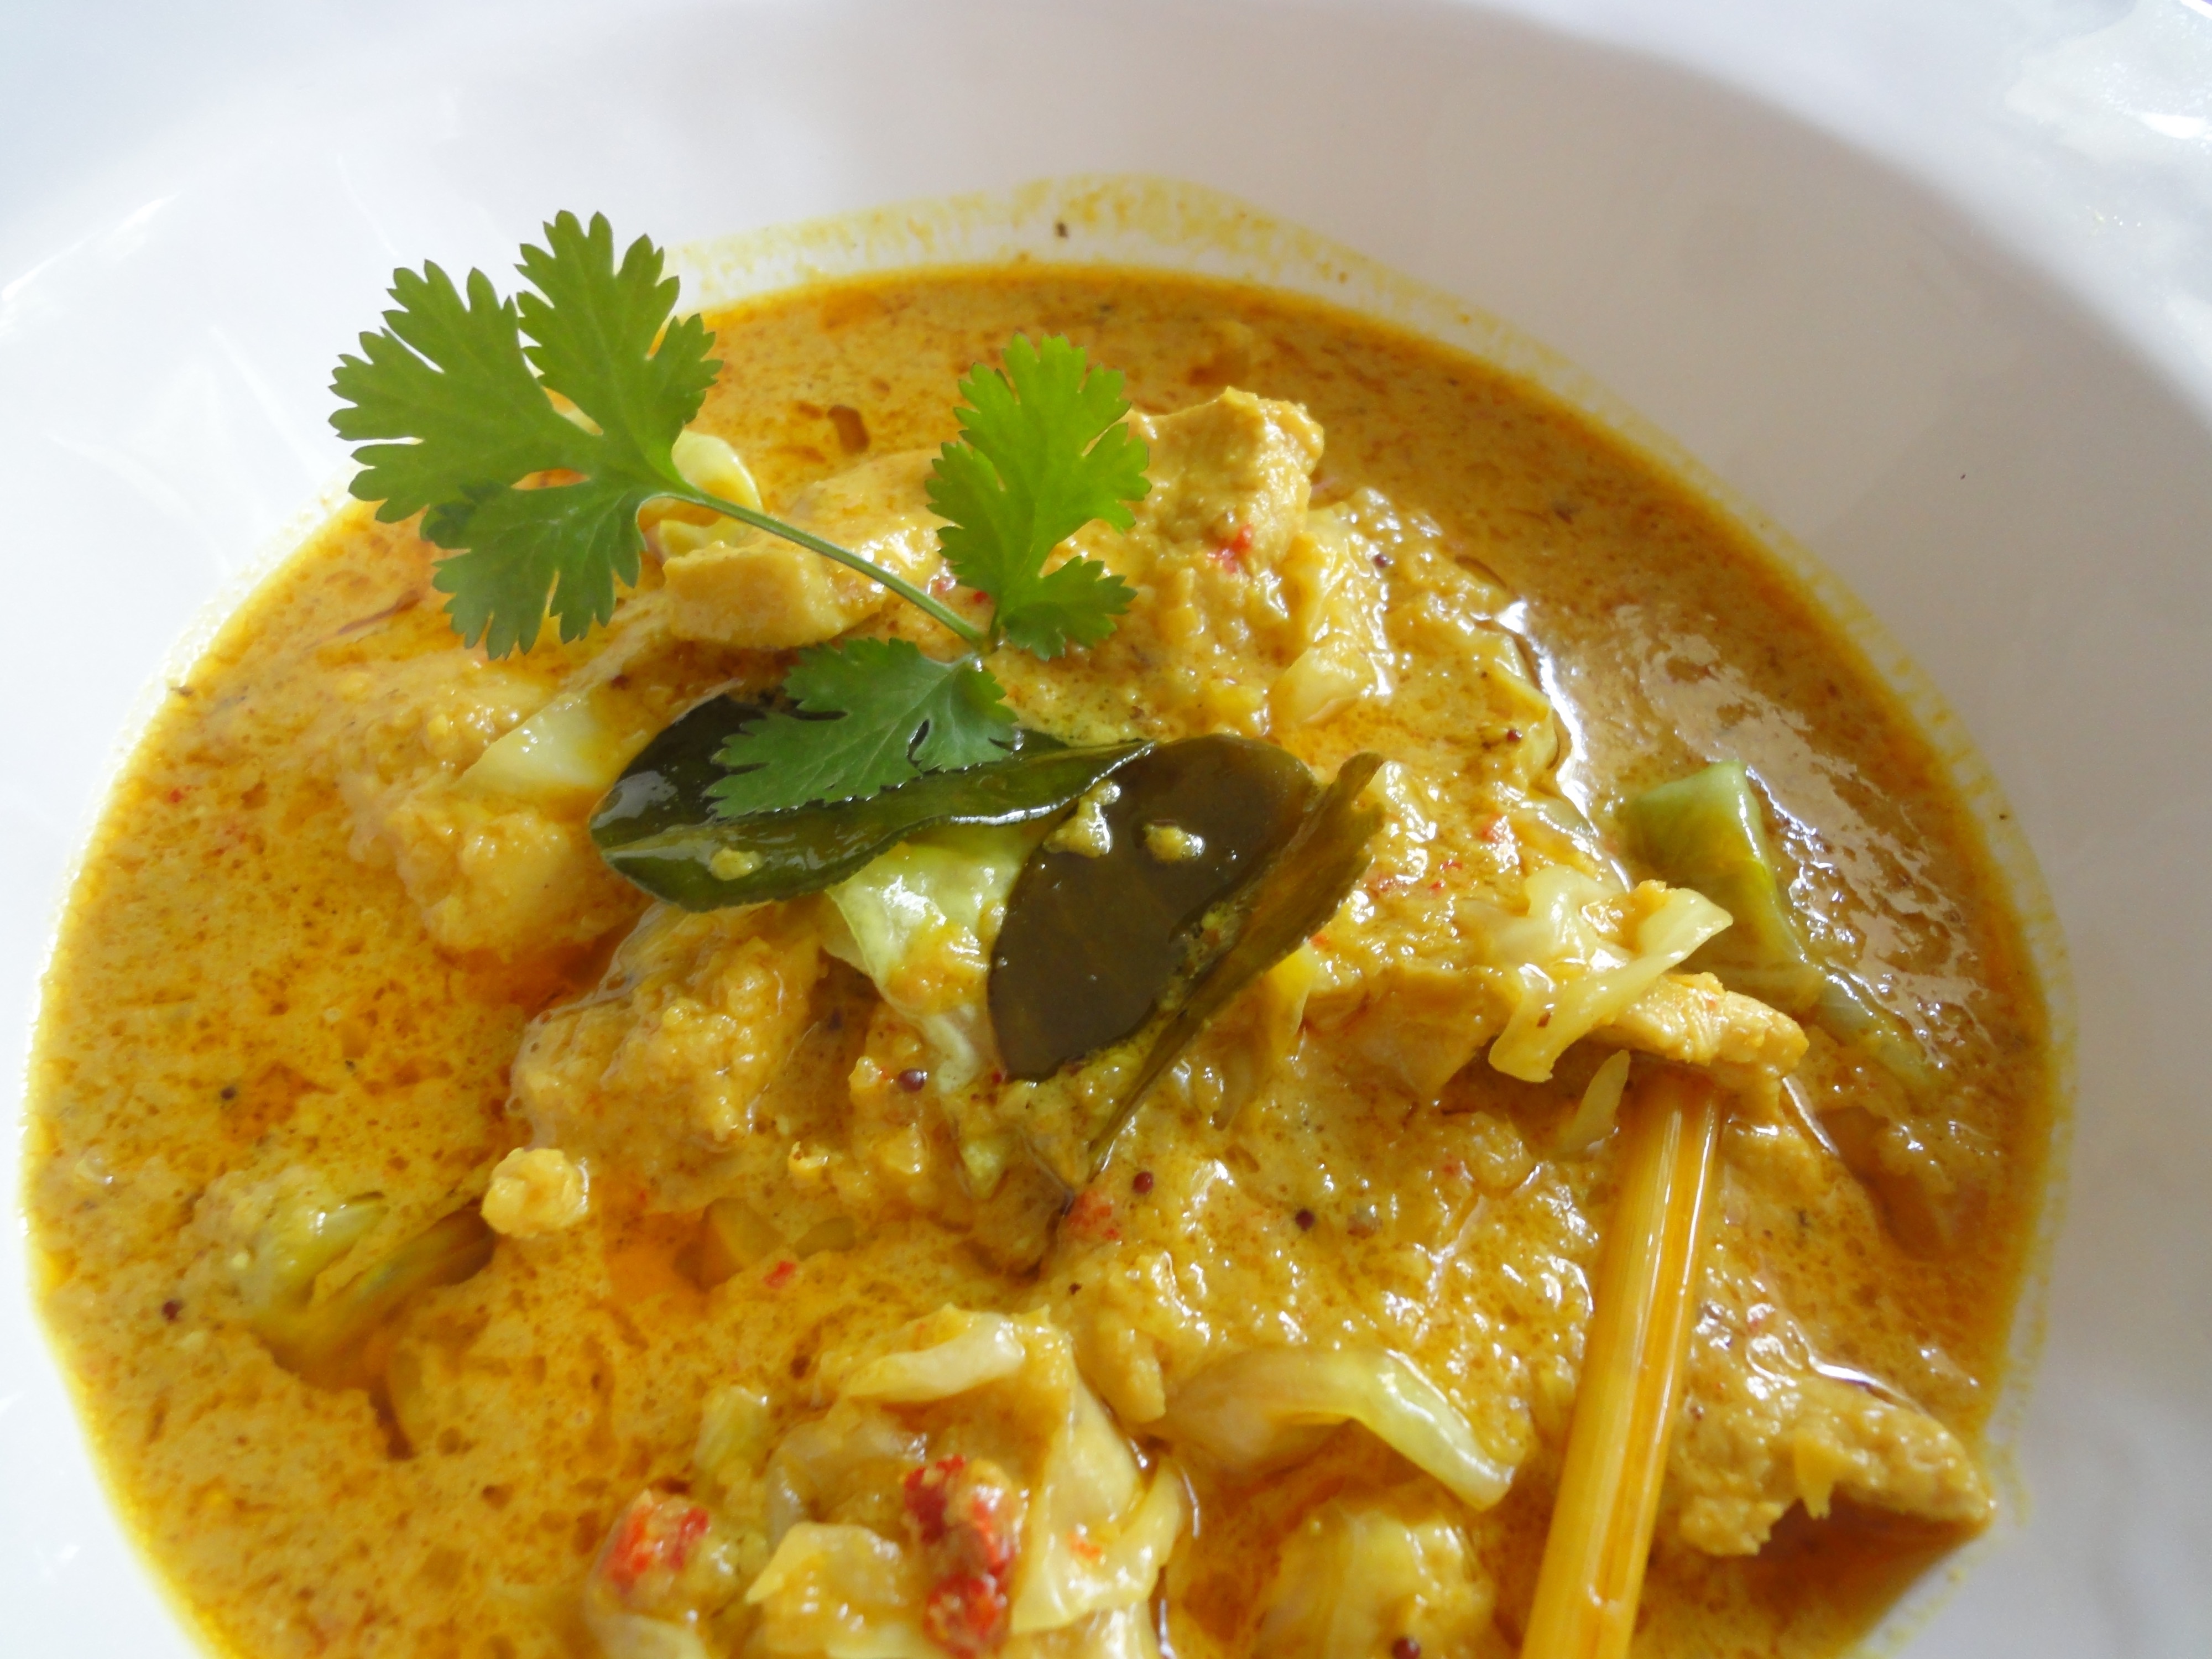

Yellow Curry served with freshly steamed white rice.
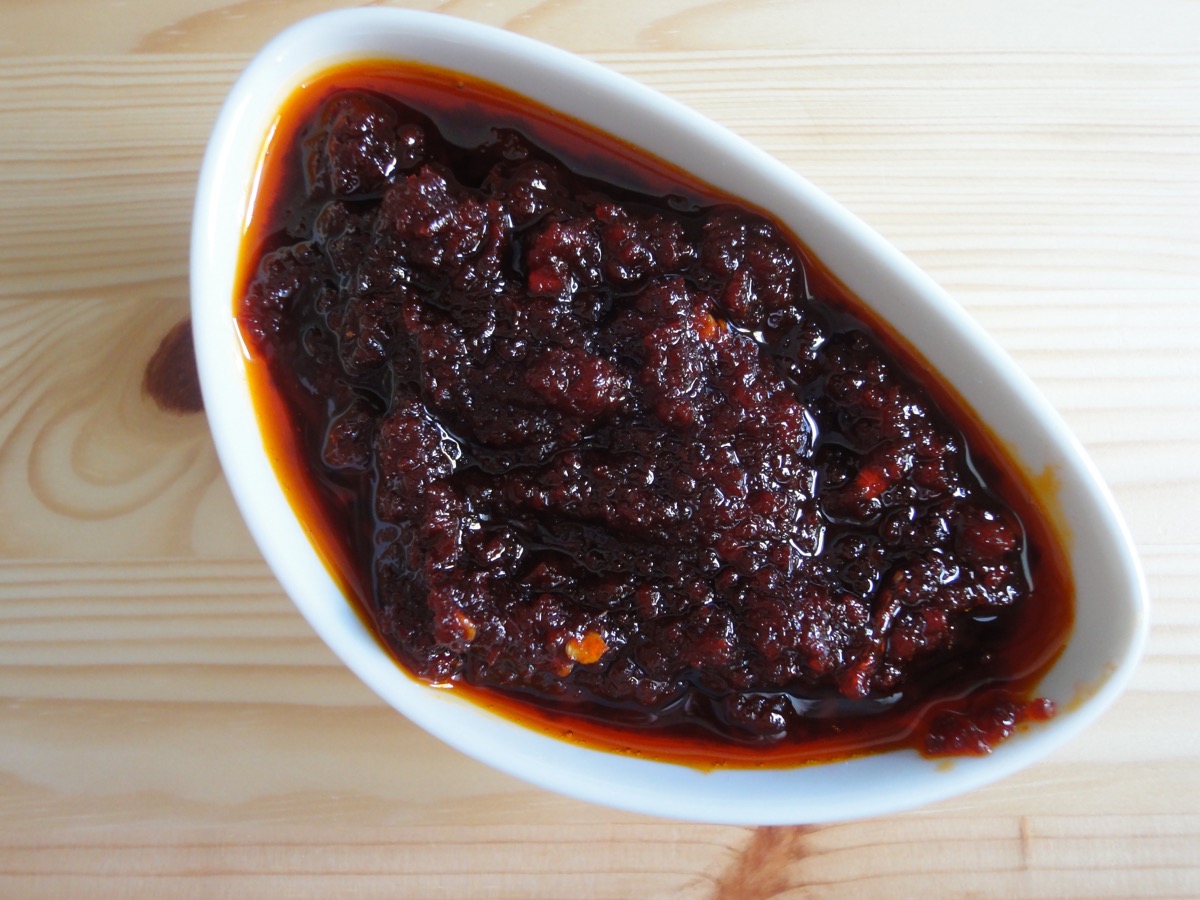
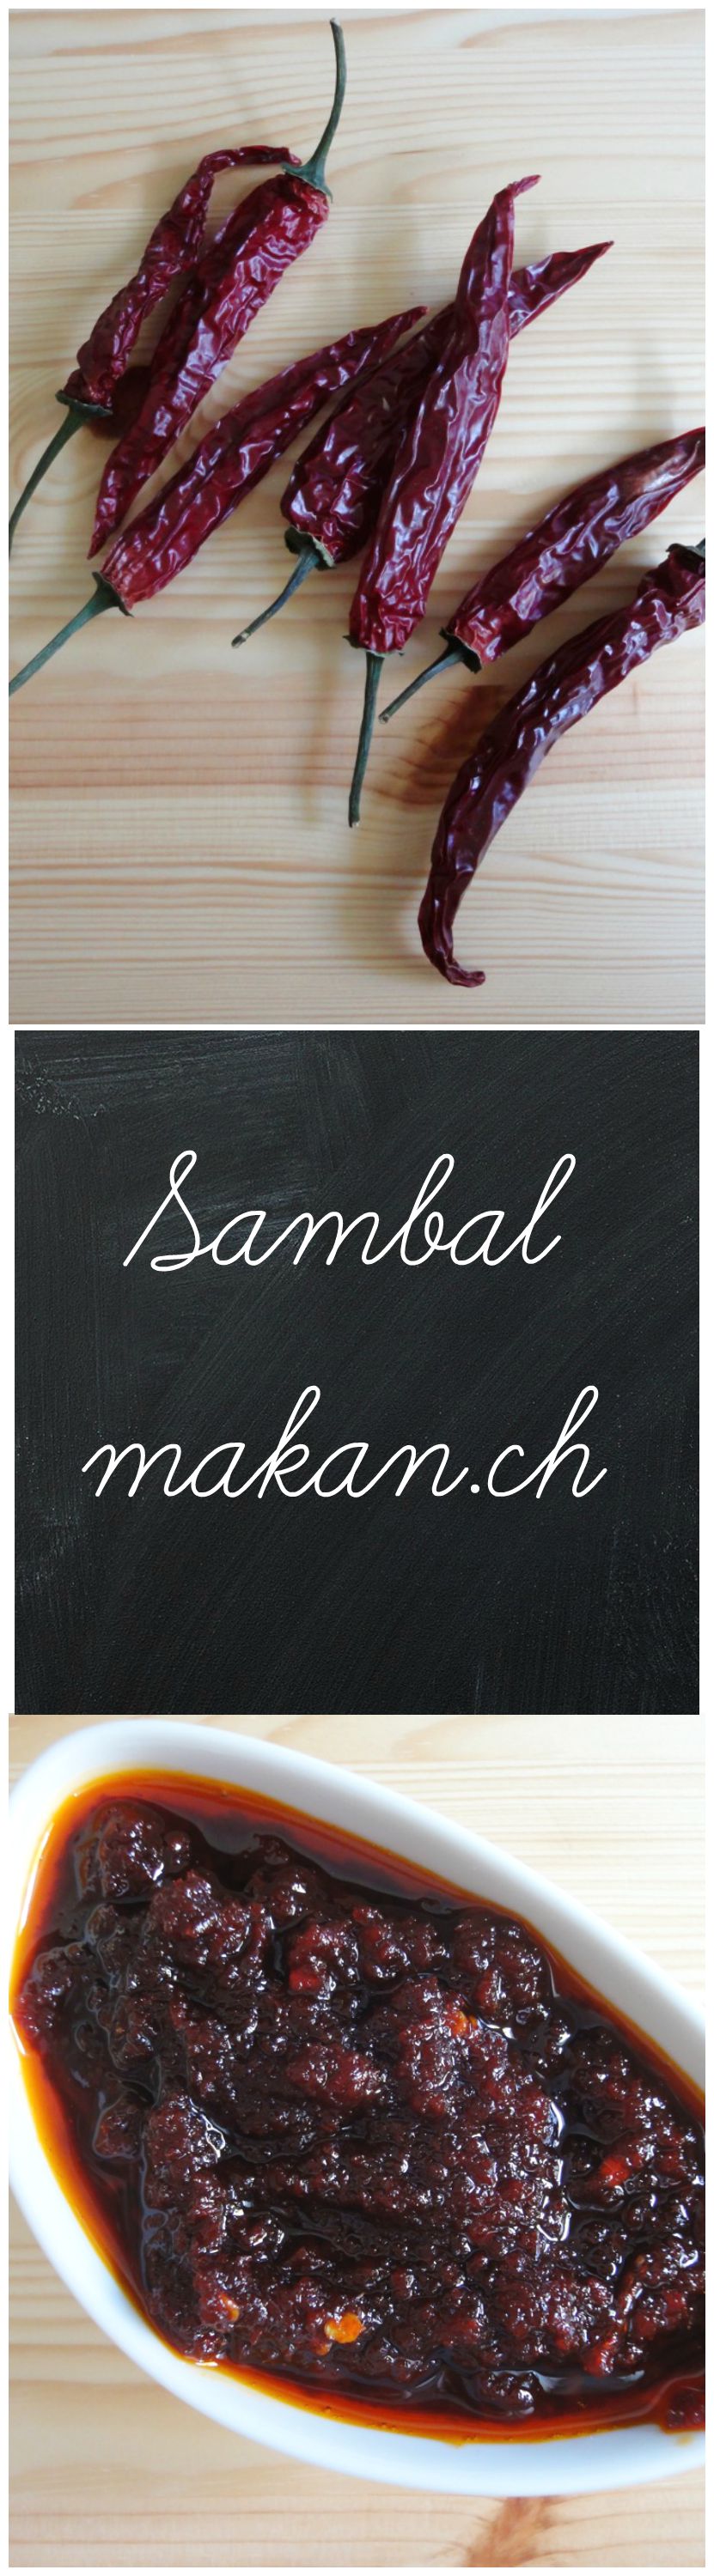
Sambal
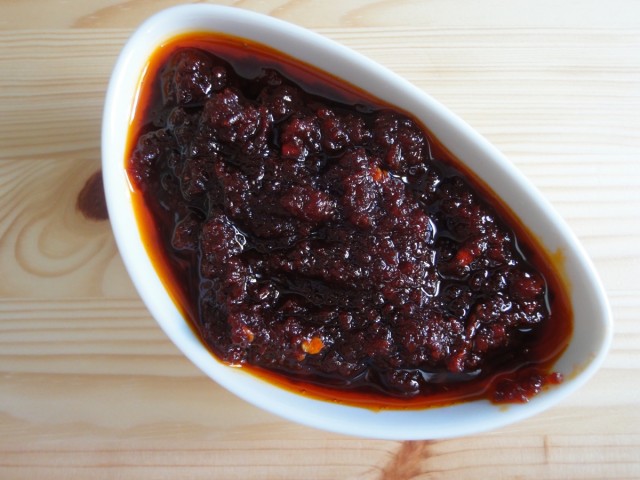
Sambal is a chilli condiment found in Malaysia, Indonesia, Singapore, Sri Lanka and Netherlands. There are many types of sambals such as sambal belacan, sambal goreng, and sambal tempoyak which are common in Malaysia. It can be served raw or cooked. Each household has their own way of preparing sambal. The traditional way of preparing sambal is by using a pestle and mortar, but nowadays using a blender is common and faster.
I use dried chillies, onions and just a teaspoon of roasted belacan (dried shrimp paste). Dried chillies are widely available, but I like making my own chilli ristras to dry my own chillies. It takes me about 2 months to get it fully dried.
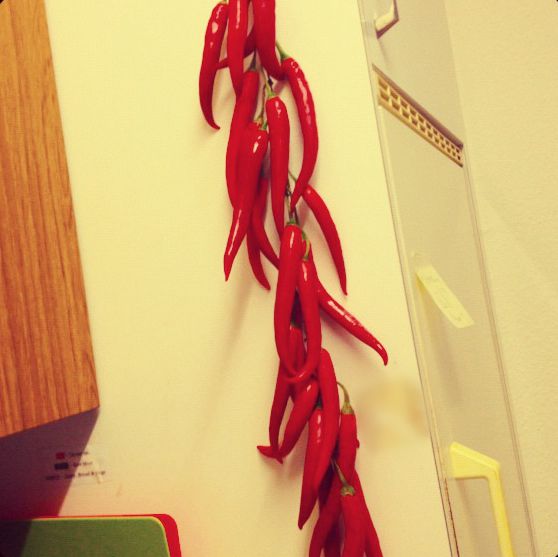
Chilli Ristra : One that I made a long long time ago back in my old apartment.
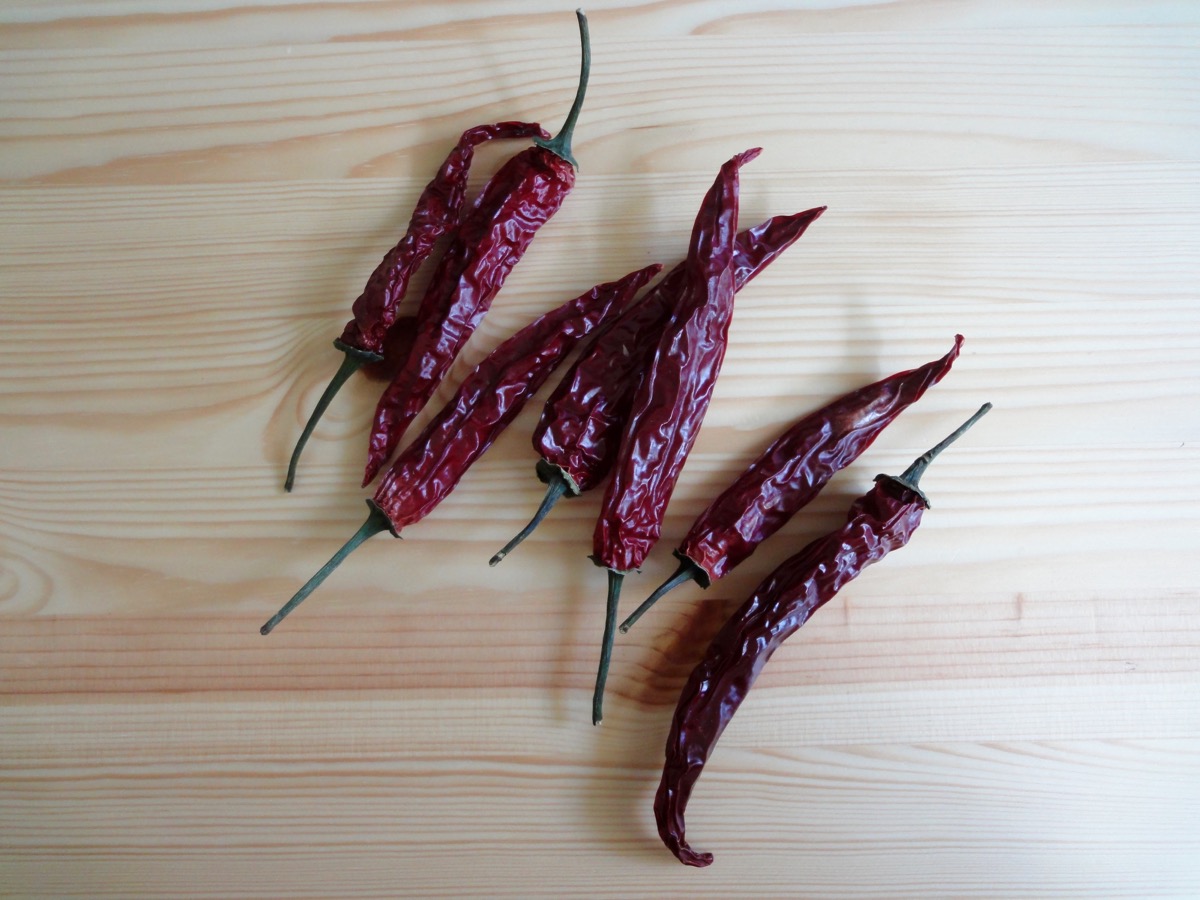
Dried Chillies
Ingredients
- 12-14 medium sized Dried Chillies
- 3 medium sized Onion
- 1 teaspoon Belacan
- To taste Salt
- To taste Sugar
- 1 cup Peanut or Vegetable Oil, for cooking
Directions:
- Bring a medium sized pot of water to boil. Once it starts boiling, remove from heat.
- Cut dried chilli into halves and add to hot water.
- Allow to soak for 10 minutes. Reserve about 3 tablespoons of the water. Strain.
- In the meantime, wrap up belacan in a piece of foil and pop it into the oven for 10 minutes at 180°C.
- Crumble up belacan.
- In a blender, blend onions, chilli, and belacan with the reserved water.
- Blend till lightly course texture.
- Add peanut oil to pan and turn on to medium heat.
- Add chilli paste and fry till the oil separates from the sambal (about 15 minutes) and is darker than what you started with.
- Season with salt and sugar if needed. Sometimes onions are sweet enough, so sugar is not needed.
- Set aside and leave to cool.
Tips:
- Well cooked sambal can be stored in the fridge for about a month (in my experience)
- Always use a clean spoon to scoop out sambal
- Belacan is known as terasi (Indonesian) and kapi (Thai)
Enjoy!!
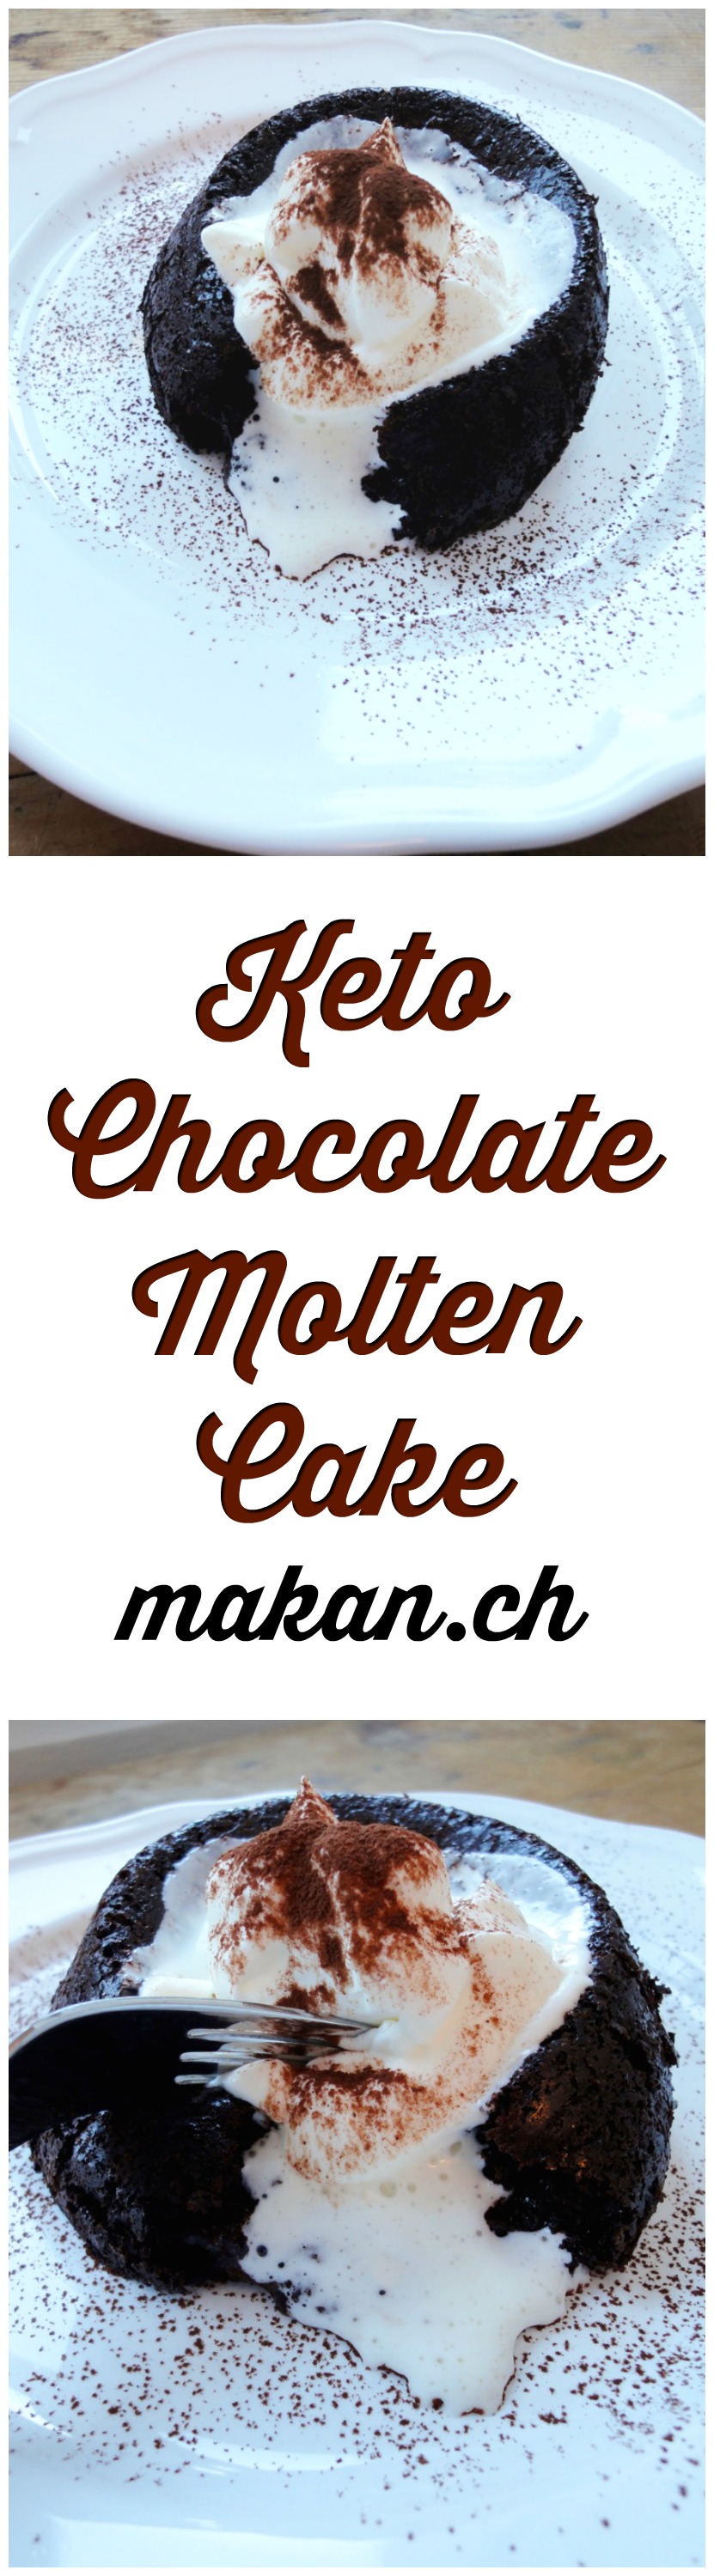
Keto Chocolate Molten Cake
“Only Cherry can find a diet that still lets her eat desserts” – The Husband (2016)
A few posts back I claimed that I won’t be baking anymore sweet treats. I didn’t lie! I just found a loophole. With a whole lot of substituting, researching, shopping, and money, I am still able to bake sweet stuff! Woohoo! However, if you really have sugar addiction and are on a strict no-sugar diet, I do not recommend you do this ‘cheat’. Yes, you do not use real sugar but the sweet taste will take you back to all your delicious sweet treats and the tendency of to submit those cravings are high. If you have good willpower, you may treat yourself.
1st loophole : I found that sukrin (erythritol) is a good substitute for sugar in baking and cooking. It taste’s like sugar, looks like sugar and works like sugar but it is 100% natural, has ZERO calories, doesn’t damage teeth, and it does not cause blood sugar to spike. Please do your own research before purchasing or using a product.
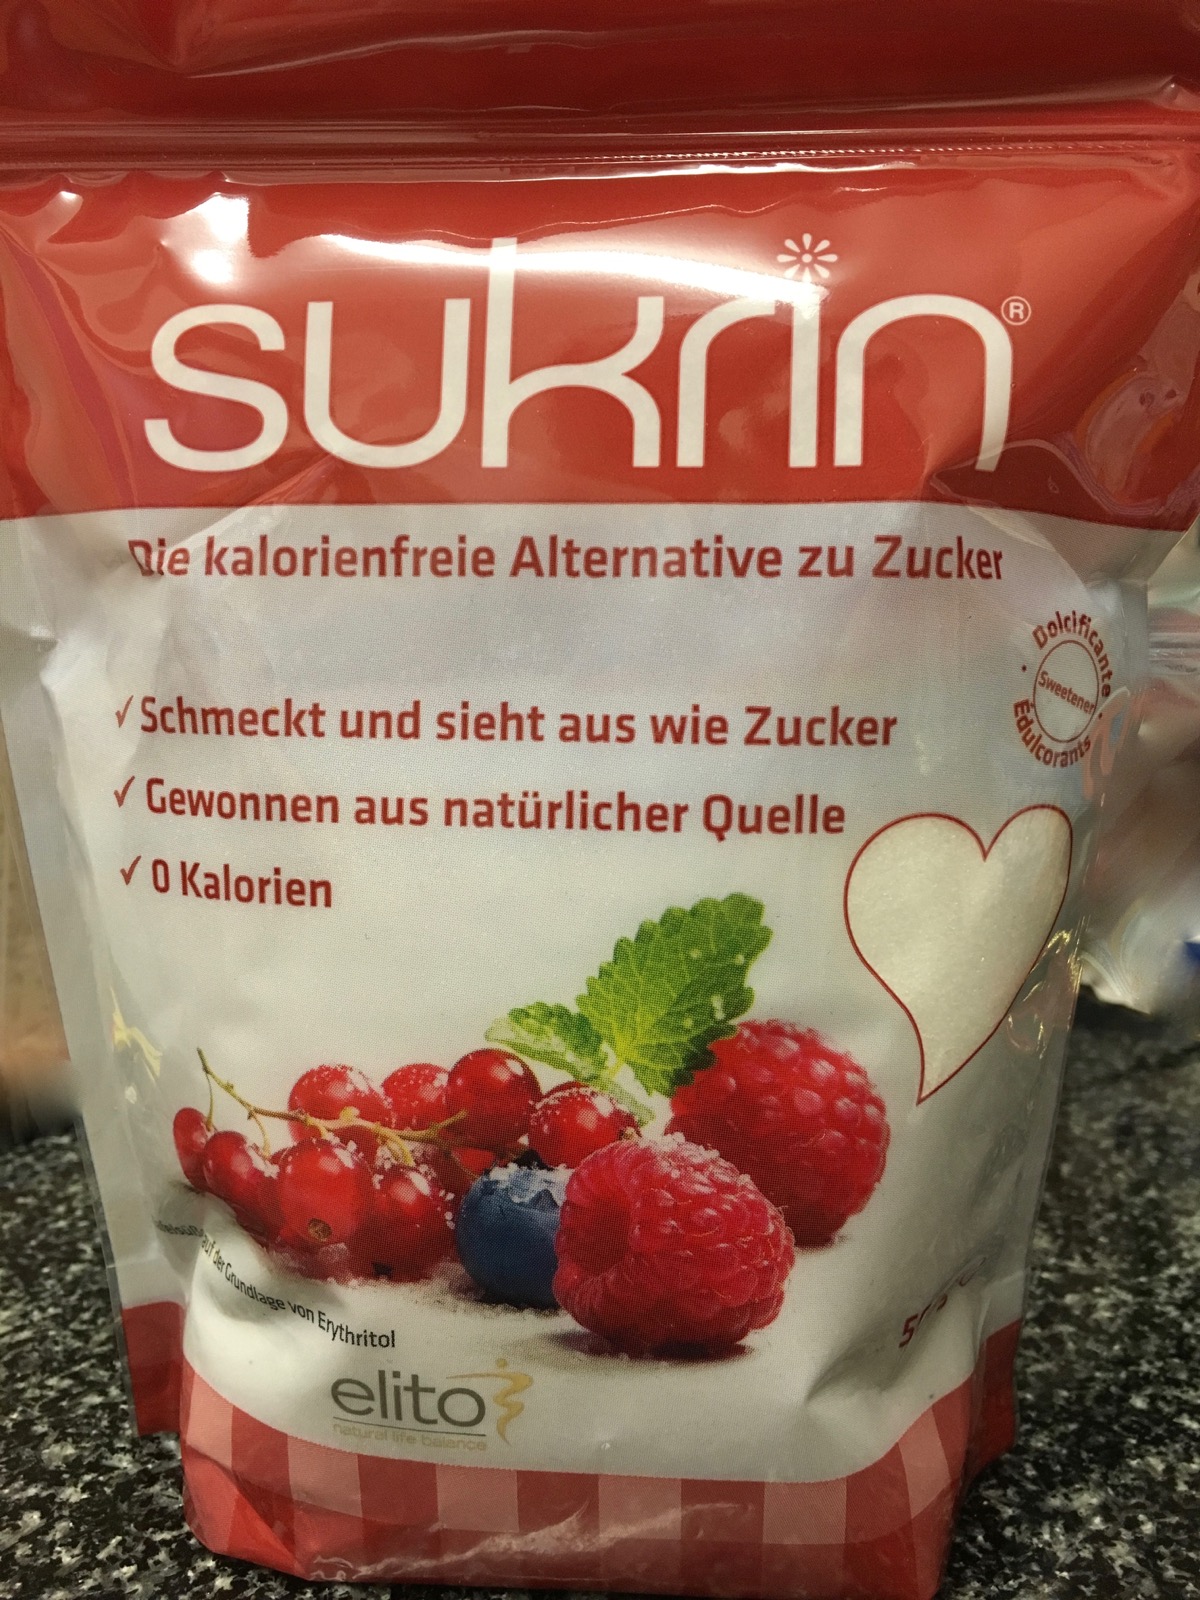
Sukrin: the calorie-free alternative to sugar. Taste and looks with sugar, 100% natural, Zero calories
2nd loophole : There are many recipes that use coconut flour or almond flour as substitutes to all-purpose flour. I have not tried using any of those two flours yet, but I will soon. Or just go flourless for now, like this recipe.
3rd loophole : Find or create sweet treats that have less than 5 grams of carbs per serving. With all the substituting, its very possible to have 5 grams of carbs per serving. If not, just eat a smaller portion.
However, the ingredients needed to create low carb sweet treats are rather expensive compared to if you do not substitute. For example, 1 kilo of sugar costs CHF 1 (in Switzerland) whilst a 500 gram packet of sukrin costs around CHF 14.50 and that’s without delivery. That alone is enough to discourage me from using much of it. I would use it for that biweekly or monthly treat and a little in the morning when I make my cocoa drink. I’m used to drinking Nesquik in the morning but I sadly have to give that up. :'(
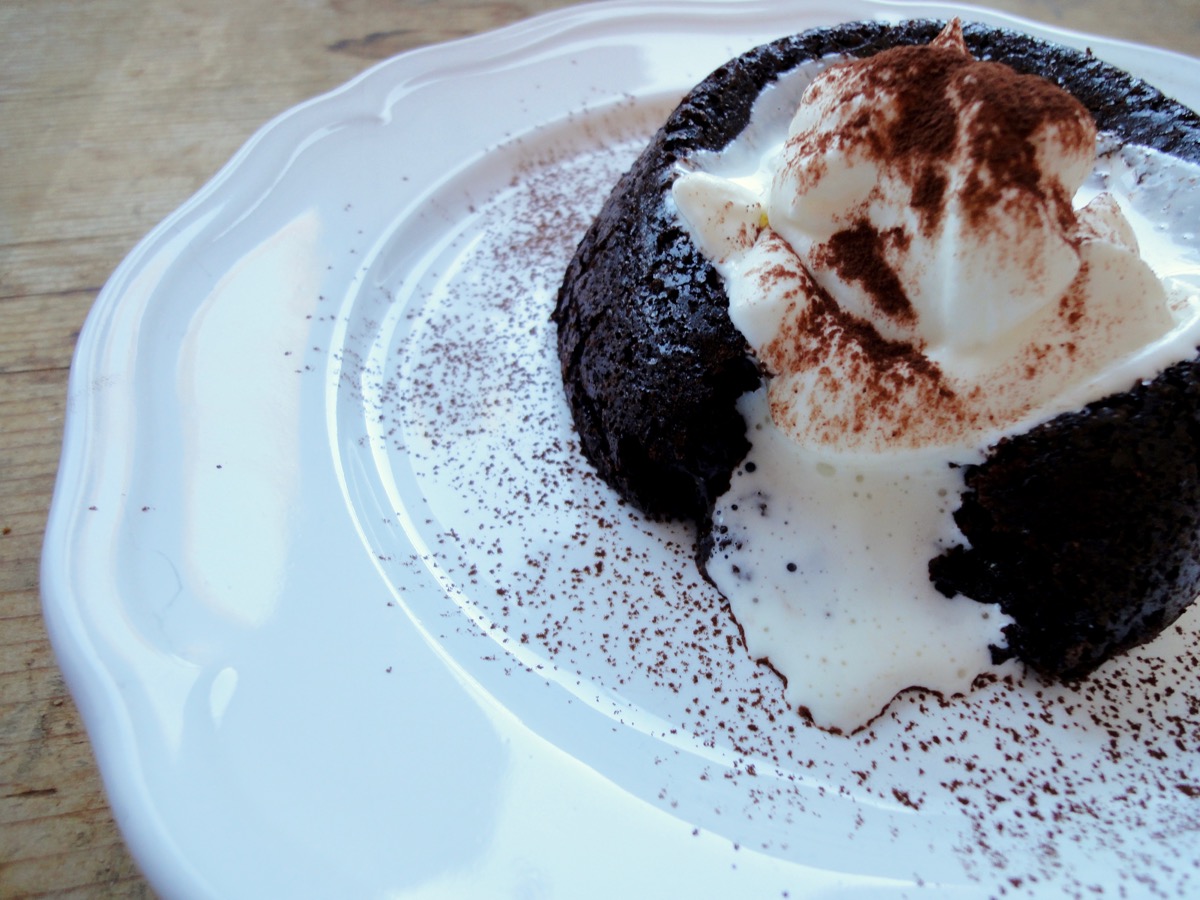
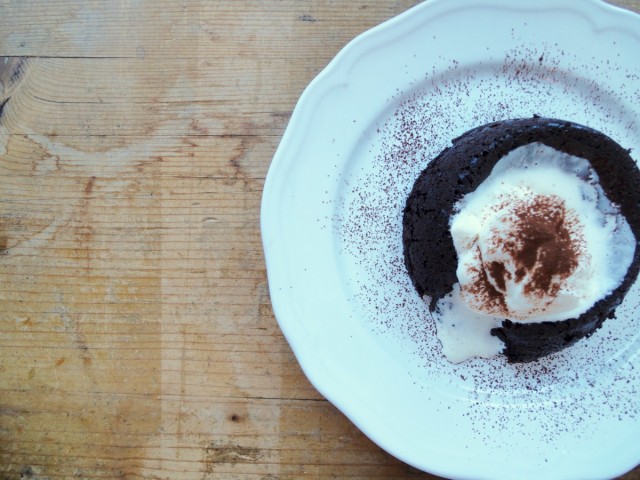
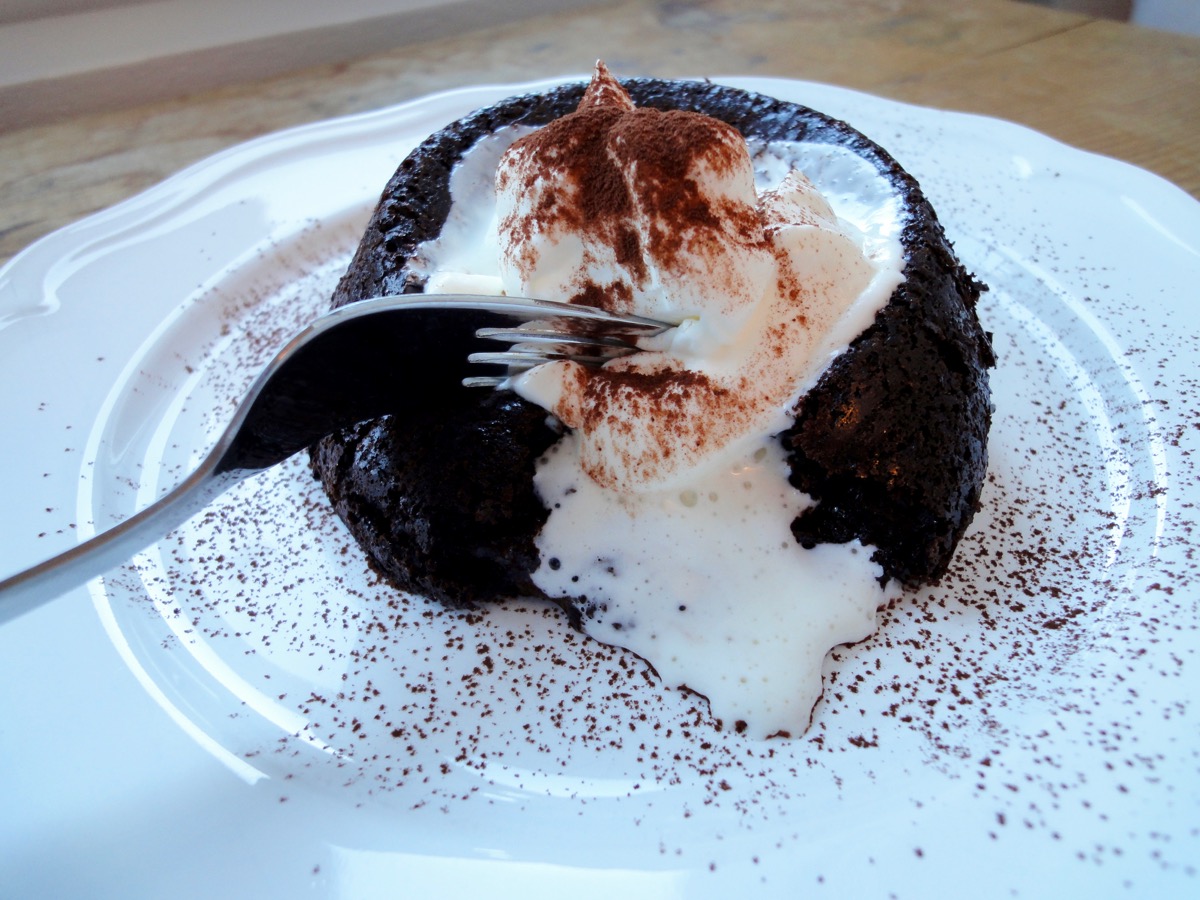
So, here’s that delicious (and a little bitter) keto chocolate molten cake. Recipe adapted from Tasteaholics.
Chocolate Molten Cake
- 4 Tablespoons Unsweetened Cocoa Powder
- 2-4 Tablespoons Erythritol (Sukrin)
- ½ teaspoon Baking Powder
- To Taste Salt
- 2 Egg, medium
- 2 Tablespoons Heavy Cream (35%)
- 1 teaspoon Vanilla Extract
Vanilla Whipped Cream
- ½ cup Heavy Cream (35%), cold
- 2 teaspoons (or according to taste) Erythritol (Sukrin)
- 1 teaspoon Vanilla Extract
Directions:
- Chocolate Molten Cake
- Preheat oven to 175°C (350°F). If using microwave, skip this obviously.
- Spray or butter up your ramekins or heat-proof bowls. Set aside.
- Mix erythritol (sukrin), unsweetened cocoa powder and baking powder. Break up any clumps and set aside.
- In another bowl, whip/beat the crap out of the eggs until it’s frothy and aerated. (the cake is flourless so beating it till frothy and aerated is going to help the cake rise.
- Add the egg, heavy cream, vanilla extract and salt to the cocoa mixture.
- Gently fold in the mixture till combined.
- Pour batter equally into prepared ramekins.
- Bake for 15 minutes or microwave it for a minute (or till it’s cooked, all microwaves are different) In the meantime, prepare whipped cream. See 2nd set of instructions below. It should still be jiggly. If cooked too long, you wouldn’t get that molten effect and you’d just land up with a cake which is also nice.
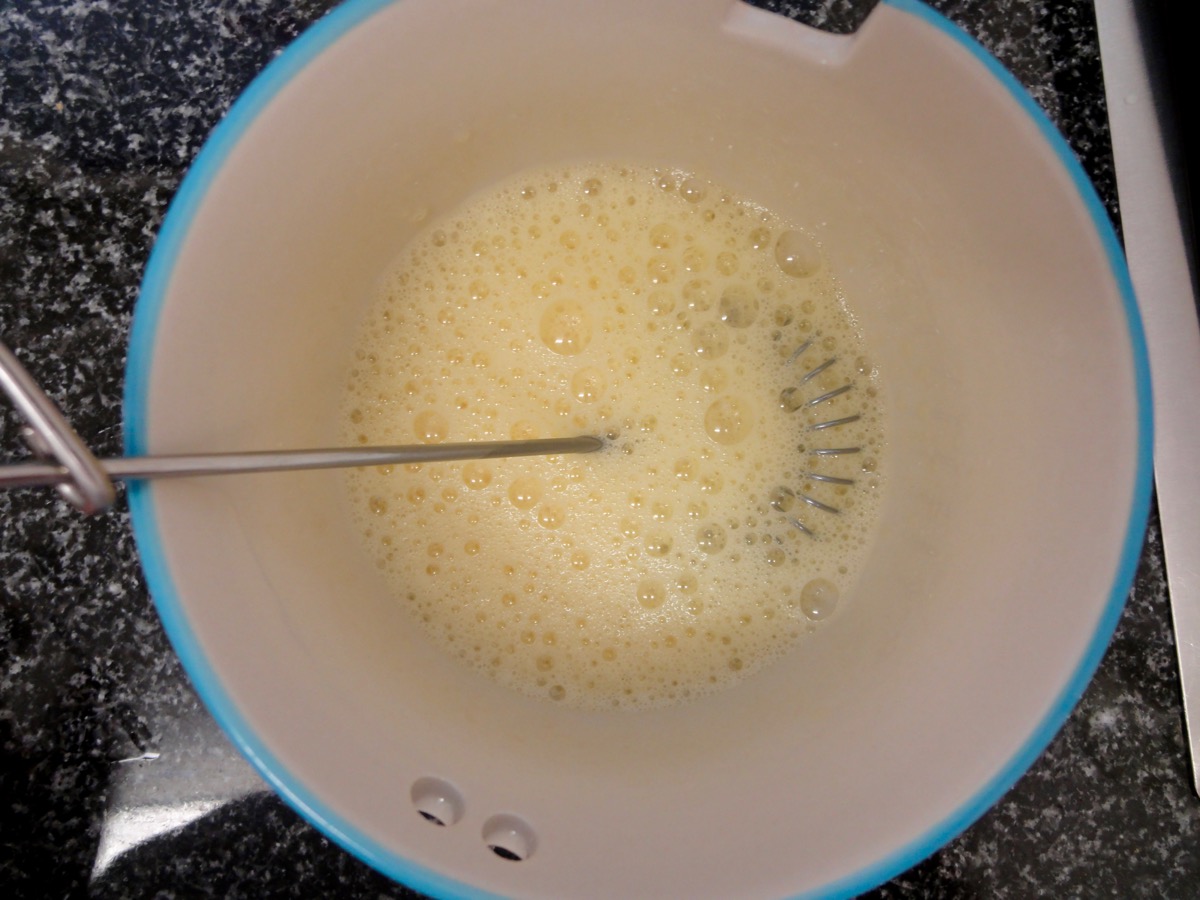
Whisk/Beat till frothy
- Whipped Cream
- Add heavy cream, erythritol (sukrin) and vanilla extract to a large bowl.
- Whip till it forms stiff peaks. You can use a hand mixer, stand mixer or if you like a challenge, whisk it manually.
- Set aside or put it in the refrigerator until needed.
- Assembly
- Carefully run a knife around the edge of each cake, then turn out onto serving plates and serve with a dollop of vanilla whipped cream.
Tips:
- If cooked too long, you wouldn’t get that “lava” effect and you’d just land up with a cake which is also nice.
- Make your own Vanilla Extract!
- Conversion Table
- If you are using MyFitnessPal app to count calories, first copy the recipe URL then go to MyFitnessPal app to Recipes, select Create a New Recipe, then Add from the Web. Paste the URL, match ingredients and that’s it!
- Always match ingredients to the ones you use. Ingredient nutritional facts differ depending on brand.
- Nutrition Facts (based on my ingredients) : Per serving 302 kcal, Total Fat – 25 g, Total Carb – 4 g, Protein – 11 g.
Enjoy and just eat one portion! Don’t be greedy.
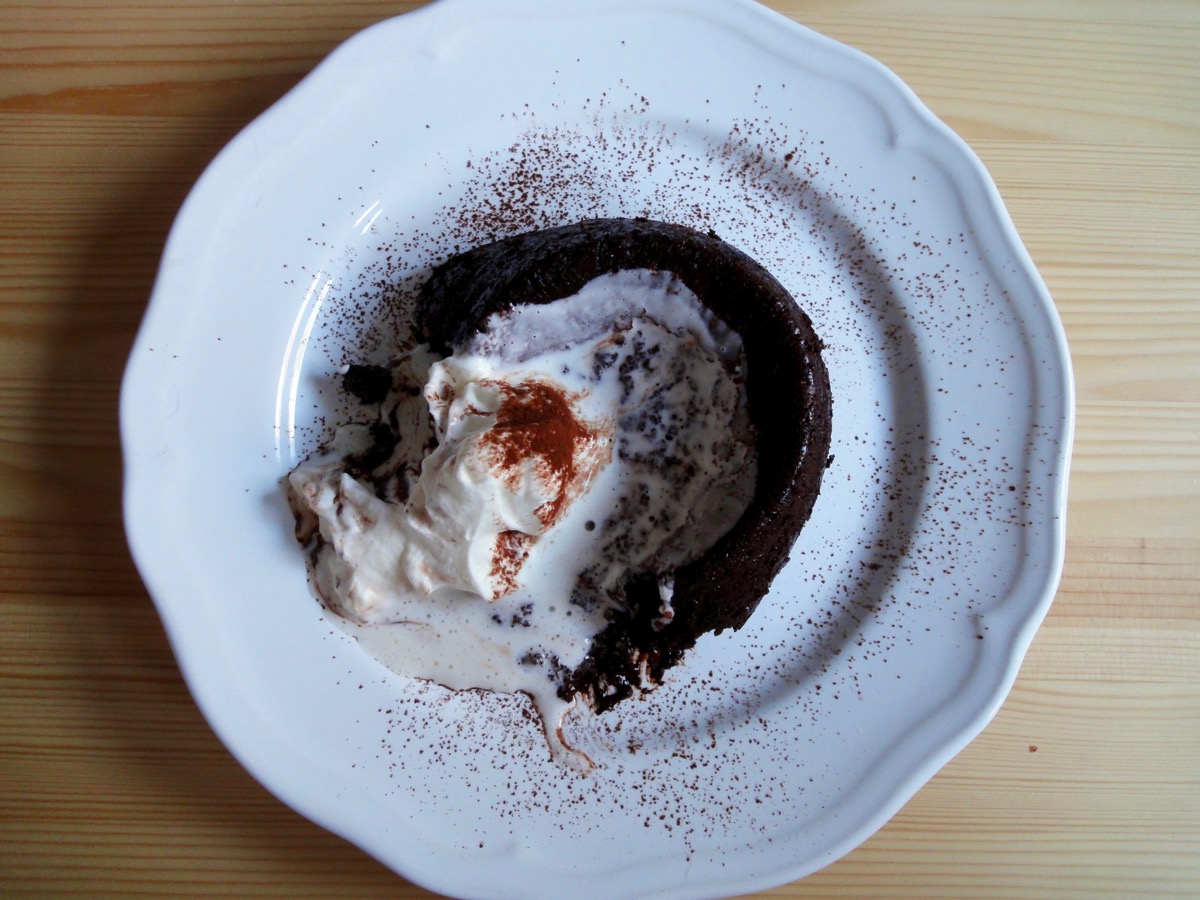
By the time I was done taking photo’s I was left with this mess.
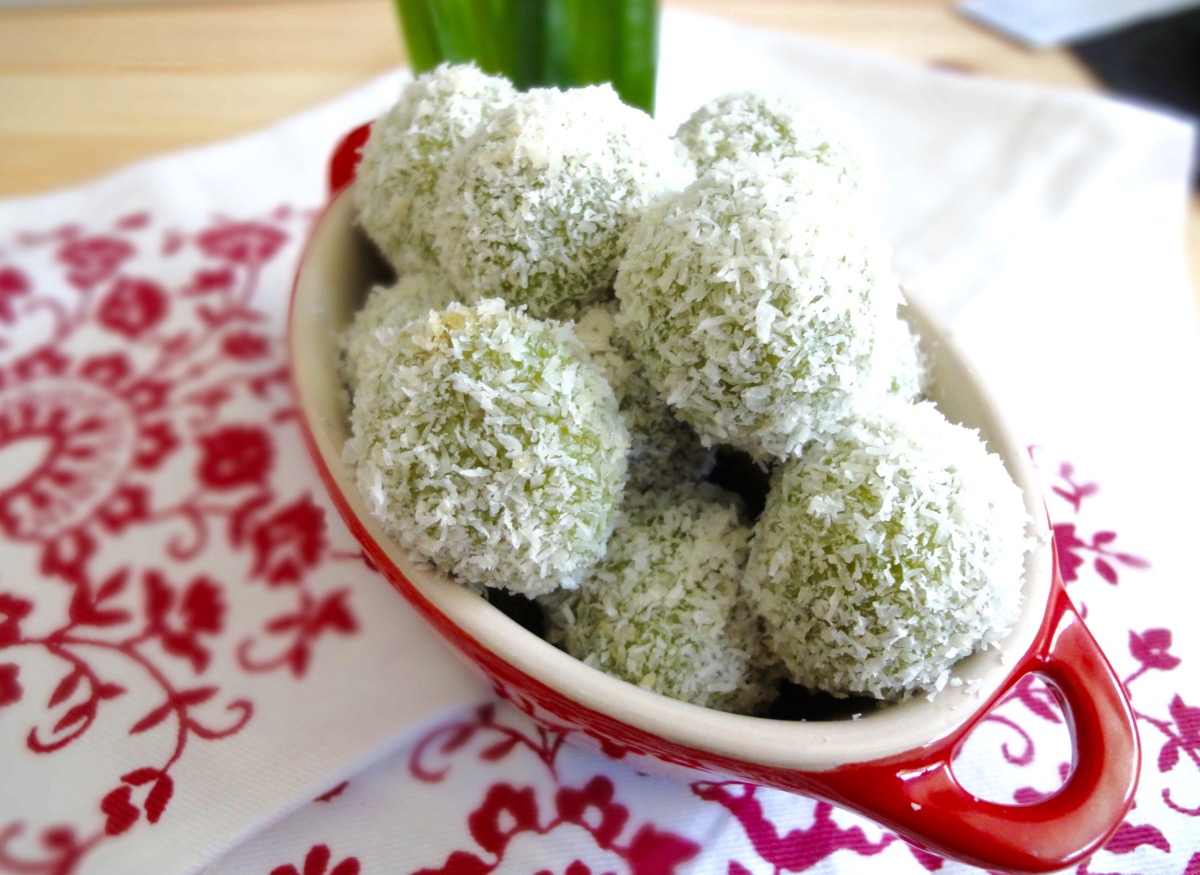
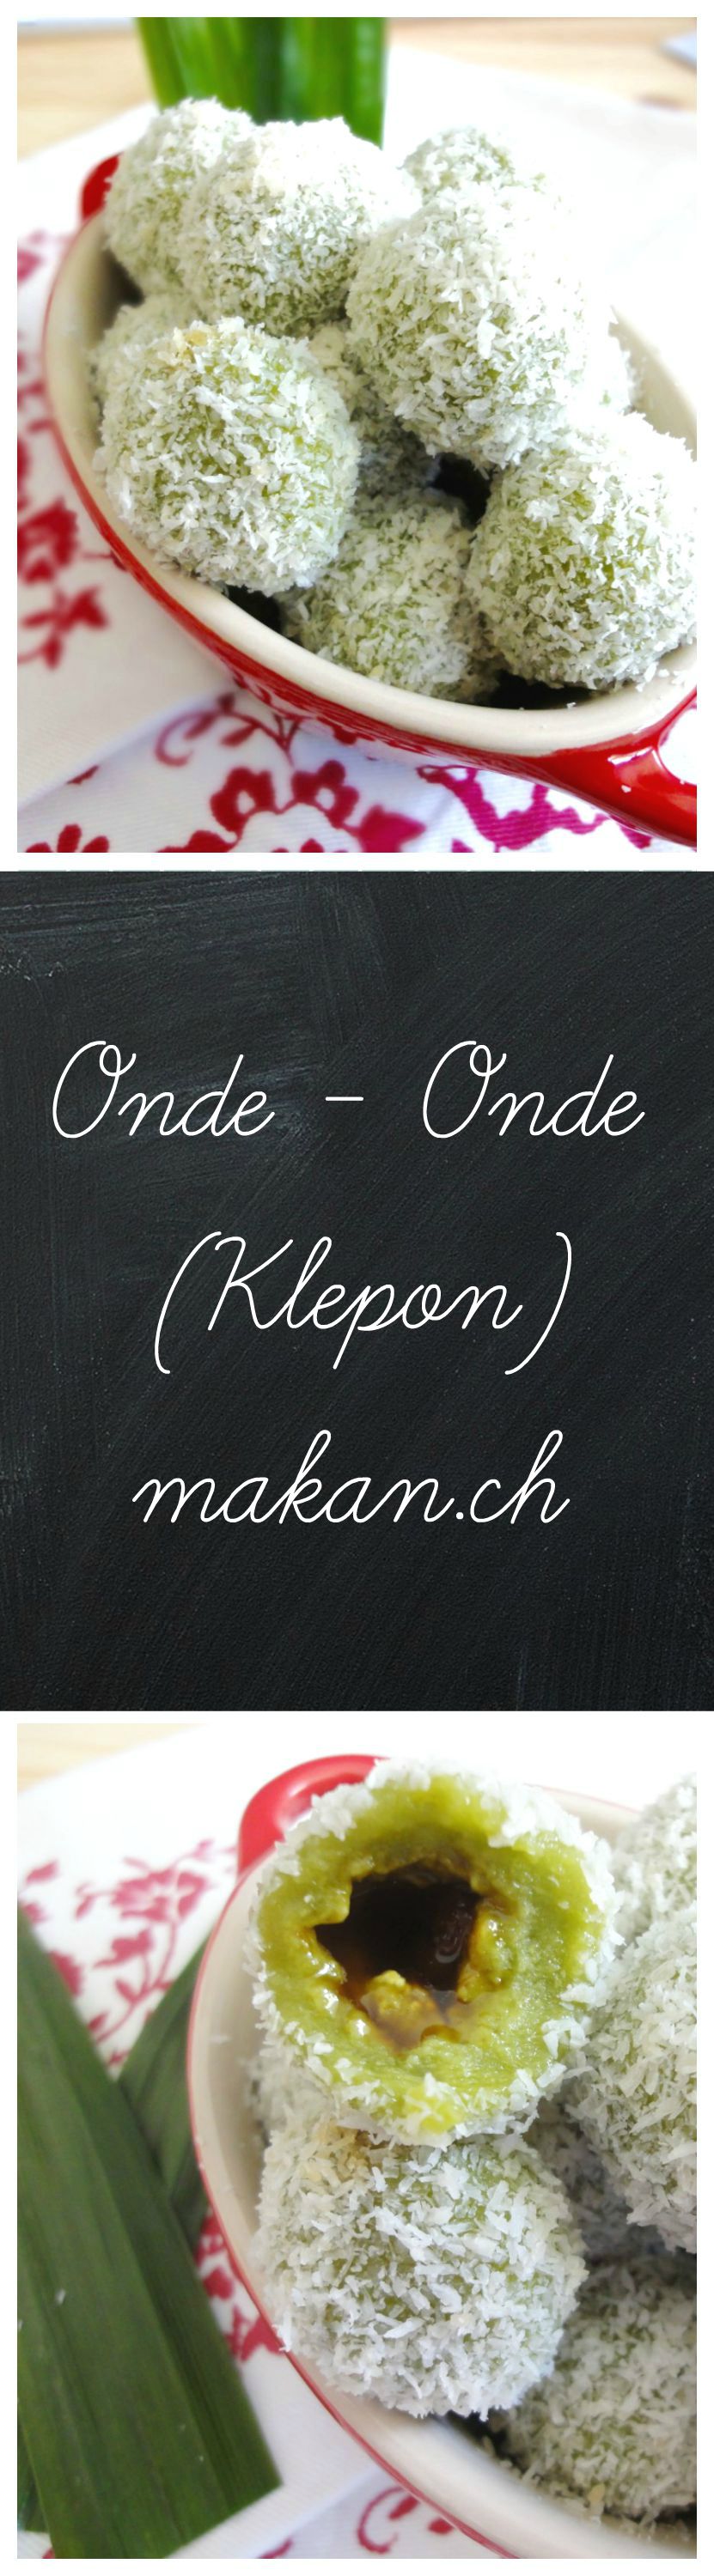
Onde – Onde (Klepon)


Onde-onde, ondeh-ondeh or in Indonesia – klepon is a dessert or tea-time snack made out of glutinous rice flour or sweet potato, filled with gula melaka (coconut palm sugar) and coated with grated coconut. Onde-onde can be found in morning markets, school canteens and sold by Mak Cik’s or Pak Cik’s (aunties or uncles) selling kuih (cakes).
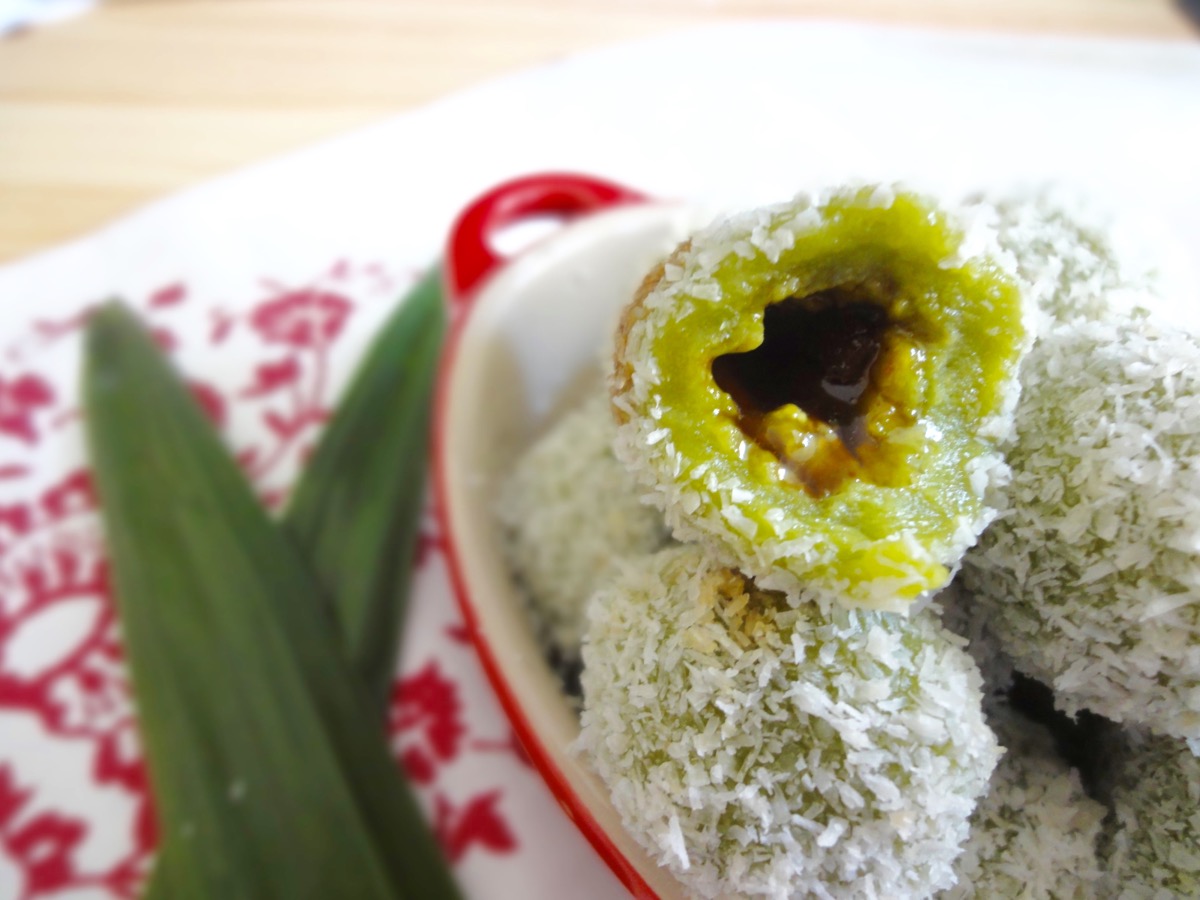
Melted gula melaka inside the onde-onde.
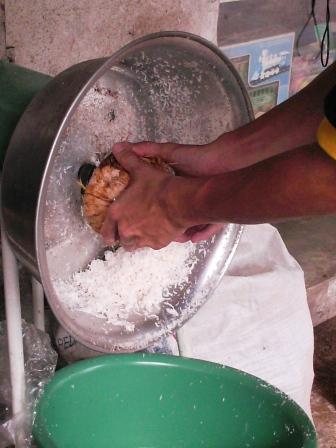
This recipe was requested by my close friend Martin. I can’t remember how the subject came up but he said ‘make onde-onde lah…then put on your website’. So right after I got off the phone with him, I started gathering the ingredients. Lucky for me, I had all of it on hand. The only thing that’s missing is freshly grated coconut. I have yet to find finely grated coconut here, so I used desiccated coconut but steamed it for 30 minutes before using it. This is to rehydrate the desiccated coconut. It does taste and feel different compared to the freshly grated ones, but what to do! Below is a machine used to grate coconut in Malaysia. Here’s a video on how it’s used.
Though I am able to make it at home, I still prefer the ones sold in Malaysian markets. Perhaps I’m a little stingy when it comes to using my gula melaka since I only have limited stock from Malaysia. Of course you do not need to use the ones from Malaysia as most Asian shops sell palm sugar from Thailand or Vietnam.
Recipe adapted from Sea Salt with Food
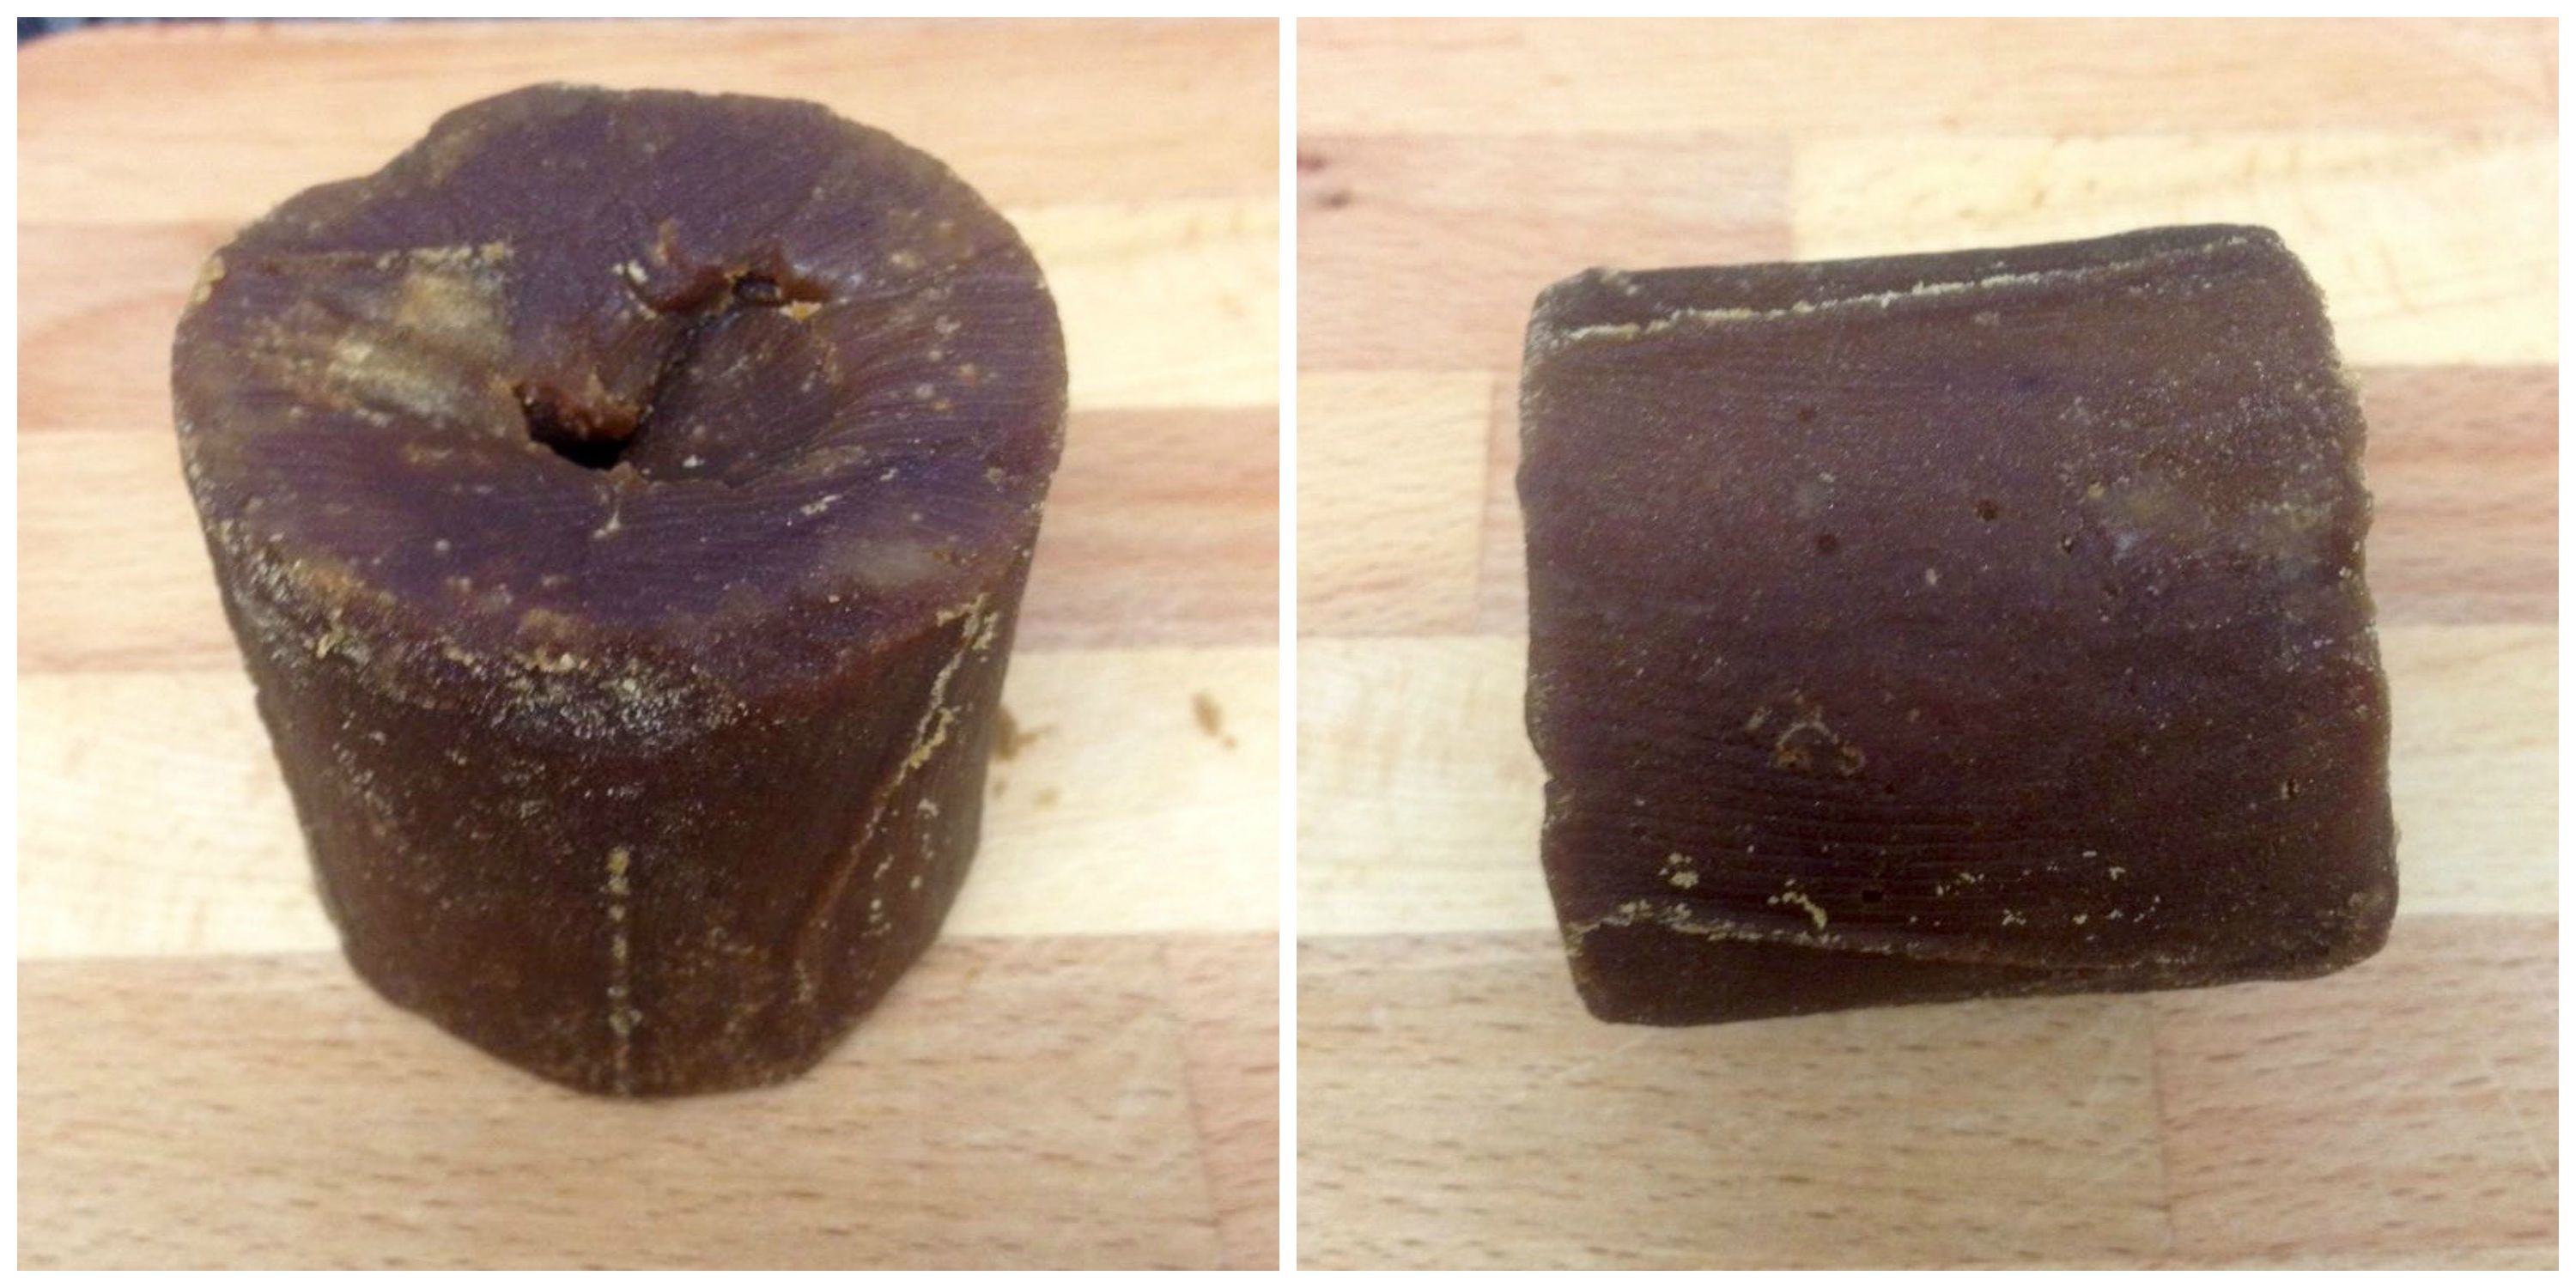
My block of Gula Melaka, about 3 inches high and 2 inches in diameter.
Pandan Extract
- 12 Pandan Leaves
- 1 cup Water
Coconut Topping
- 1 cup Desiccated Coconut / Freshly Grated Coconut
- To taste Salt
Onde - Onde
- 2 cups (204 grams) Glutinous Rice Flour
- 1 cup Pandan Extract
- 1 tablespoon Sugar
- 1 small block Gula Melaka (Coconut Palm Sugar), chopped into small pieces
Directions:
- Pandan Extract
- Wash pandan leaves. Cut pandan into 2 cm strips. (This helps to blend faster)
- Add cut pandan leaves and water into blender or food processor.
- Blend till juices have been extracted. About 3-4 minutes.
- Strain pandan extract with a cheesecloth.
- Coconut Topping*
- Mix desiccated coconut and salt in a heat proof bowl.
- Steam for 30 minutes.
- Onde – Onde
- Mix glutinous rice flour with pandan extract (you may not need all) and sugar until it forms into a dough.
- Roll dough into small balls (about 1 tablespoon each).
- Flatten dough and fill the centre of dough with gula melaka (about 1/4 – 1/2 teaspoon).
- Seal the gula melaka with the dough and gently roll it to form a ball.
- Bring a medium sized pot of water to boil.
- Boil the onde-onde in batches. Do not overcrowd the pot.
- When the onde-onde floats to the surface, use a slotted spoon to remove.
- Coat the onde-onde in steamed grated coconut immediately.
- Allow onde-onde to cool before serving.
Tips:
- You can get palm sugar from any Asian shop.
- If you do not have fresh pandan leaves, you can use pandan extract or flavouring.
- Store onde – onde in a container and enjoy within 2 days.
- Do not refrigerate, it will become very hard.
- 1 cup glutinous rice flour = 104 grams
- Cups to Grams conversions
* If using freshly grated coconut, you can skip this step.
Enjoy!