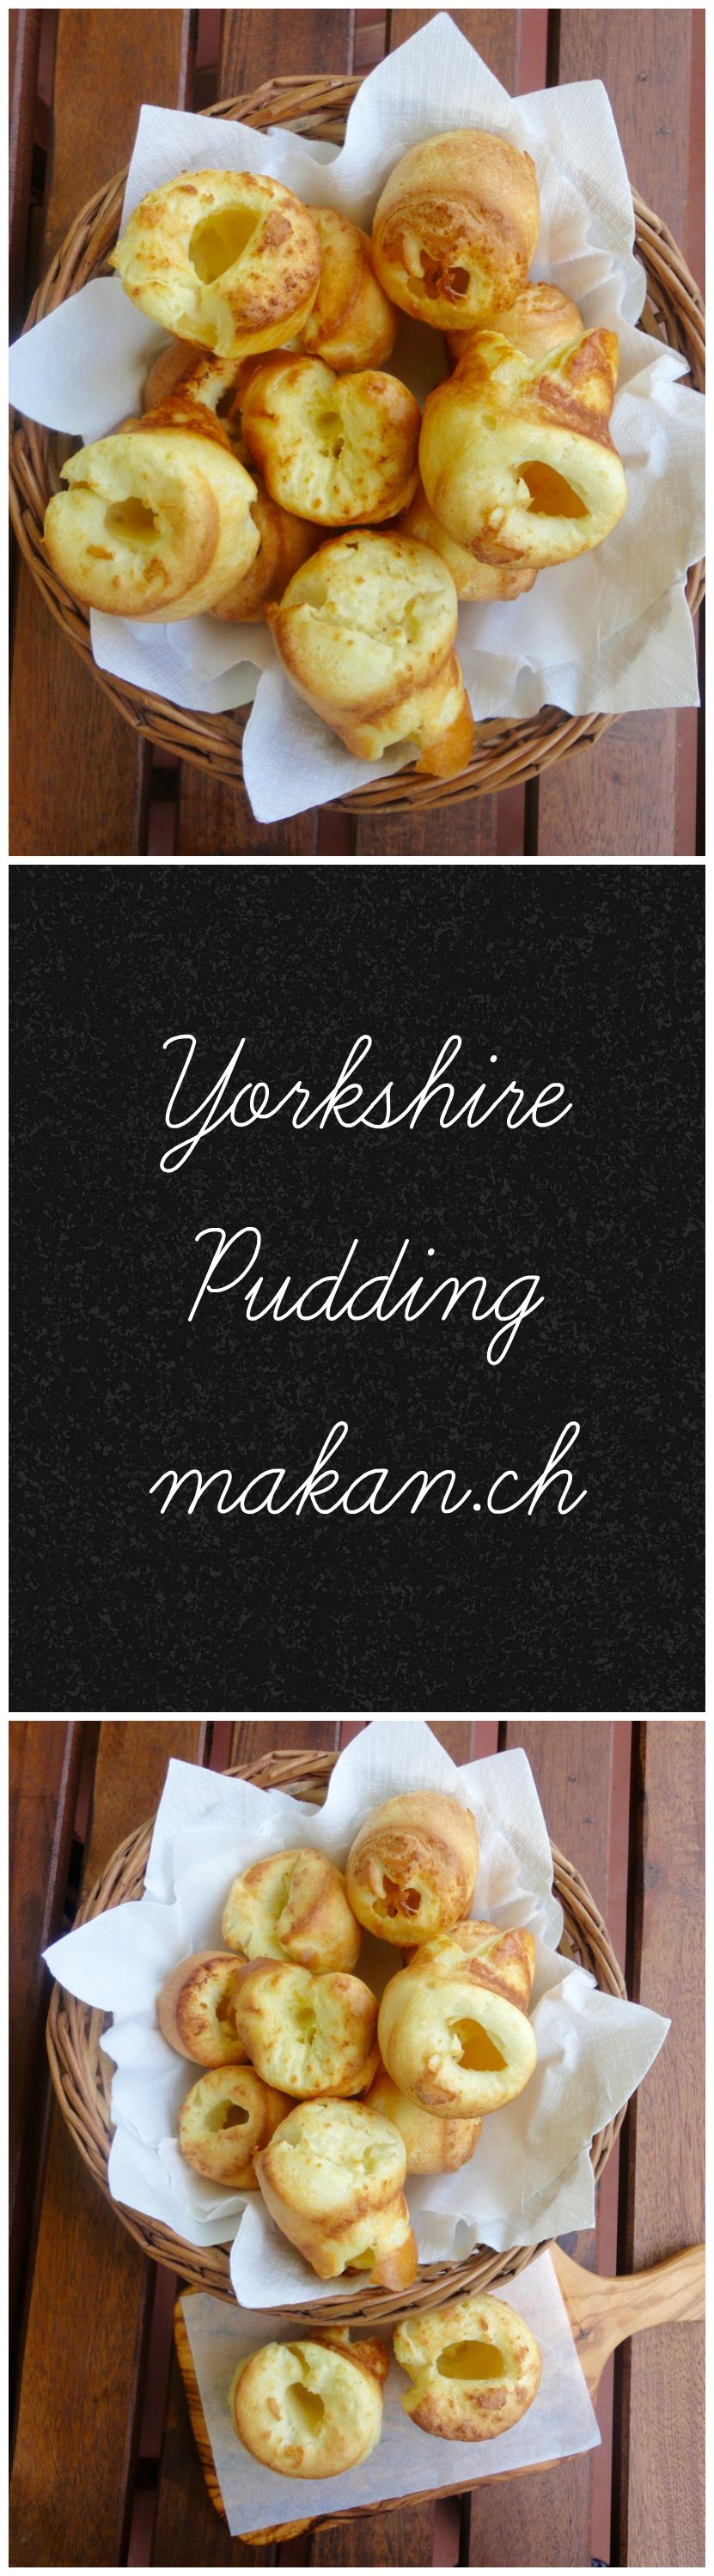
Yorkshire Pudding

Yummy and easy, a traditional Sunday roast companion. But I’m no rich woman to have red meat on a weekly basis. I really wanted to try these out, so I went on Google mode and I was finally happy with one (after 3 times of baking horrible ones). I make these as my ‘quick’ lunch and eat it with some brown gravy.
Adapted from Nanna’s Yorkshire Pudding Recipe. There are only 2 things I have tweaked in this recipe which is using butter instead of shortening because I simply love butter, and instead of using hot water at the end, I use ice cold water. Keep a close eye when using butter as butter burns faster than shortening. I use a 12 hole muffin pan from IKEA (drömmar). You can use a regular muffin pan or of course, a Yorkshire pudding pan.
Ingredients
- ¾ cup Milk, cold
- ¾ cup All-Purpose Flour
- 1 nos Egg
- ½ teaspoon Salt
- 1 tablespoon Cold Water
For Baking
- 1-2 teaspoons per muffin cup Butter or Shortening
Directions:
- Preheat oven to 220°C.
- In a big measuring cup, whisk together egg and milk together till frothy. Add salt and flour slowly while whisking. Try to incorporate as much air as you can. Keep in the fridge till ready to use.
- Add butter to muffin pan and put it in the preheated oven. Keep a close eye on it as butter burns fast.
- While it’s in the oven, take out the batter and add the ice cold water. Whisk vigorously.
- Just as the butter is smoking a little – about 3 minutes, take it out and immediately pour the batter equally (about half full) into the muffin pan.
- Return to oven and bake for 20 minutes or till golden brown.
- Serve immediately.
Tips:
Enjoy!


Kuih Makmur Sabah , Peanut Cookies

When directly translated it means prosperous cake. Don’t know much about it being prosperous but it certainly is a hit during festivities in Malaysia. It’s also not a cake, but a delicate peanut cookie made with ghee or clarified butter that melts in your mouth.
I was inspired to make this from a long forgotten Morale studies teacher in the primary school I attended. She used to bake and sell these festive cookies during our annual school bazaar with the help of some students.
This recipe is fantastic and it produces such tasty and delicate cookies. (A bit self praising here…sometimes you just have to!)
Ingredients
- 4 cups All-Purpose Flour
- 1 cup Ghee or Clarified Butter
- 1½ cups Roasted Peanuts, salted or unsalted
- 1 cup Sugar
- 1/8 teaspoon Salt (if using unsalted peanuts)
For Coating
- ½ cup Milk Powder
- 1 cup Icing Sugar
Directions:
- Coating
- In a plate, combine powdered milk and powdered sugar. Set aside.
- Cookies
- Pre-heat oven to 160°C. And prepare at least 2 baking trays with parchment paper.
- Dry fry (without oil) flour in a pan on medium heat for a few 4 minutes – not till its brown. This is done to make the flour fluffy. Set aside and cool.
- In a food processor, blend peanuts and sugar till fine grain consistency.
- Add ghee and flour and mix till it starts forming a dough.
- Take dough out and knead a little on a clean and lightly dusted with flour surface. If the dough feels dry, add more ghee. Do not over knead.
- Use a melon spoon to form balls for uniformed shape and size. Place balls on baking tray – it does not have to be spaced out much like normal cookies as these do not expand in size.
- Bake for 20 minutes.
- Allow balls to cool for about 10 minutes but still warm.
- Roll each ball gently in milk and powdered sugar coating.
- Cool completely.
Tips:
Enjoy!
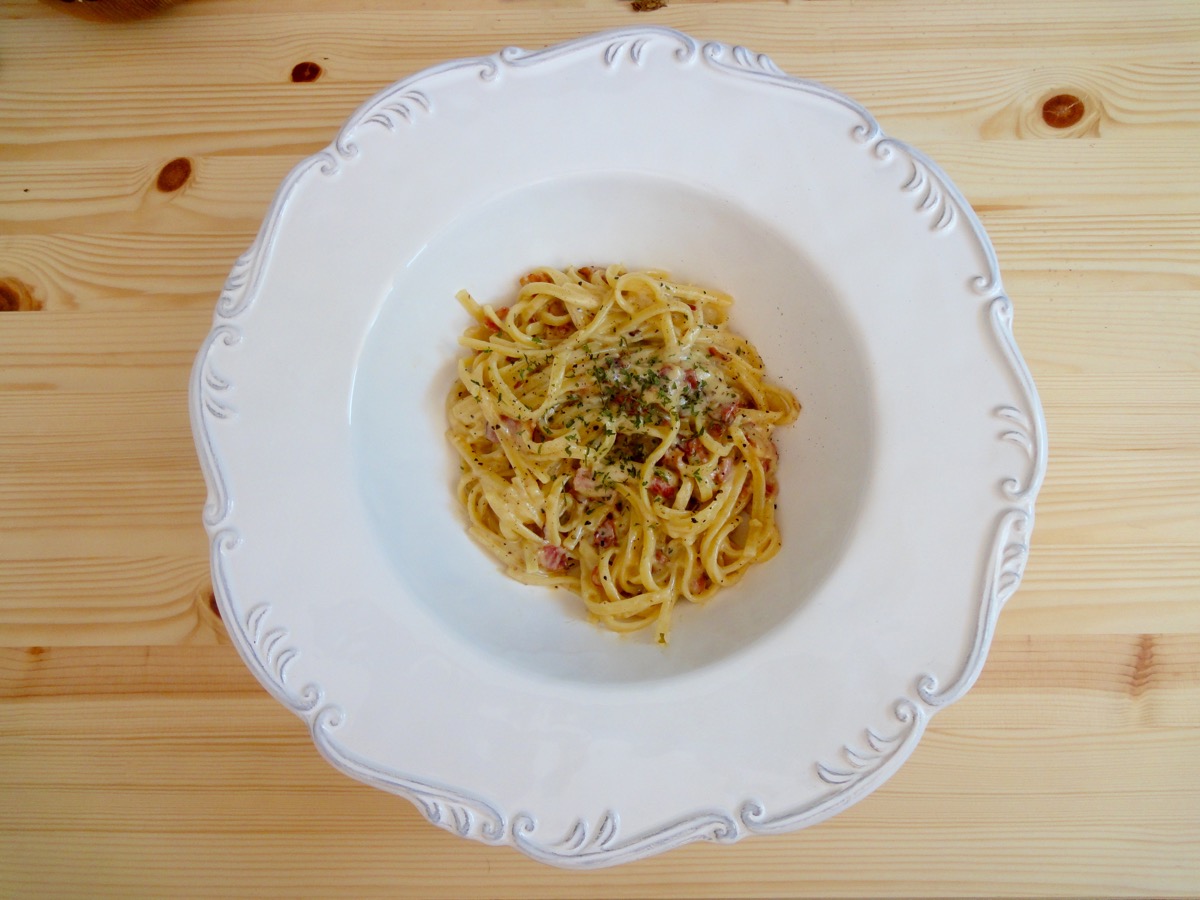
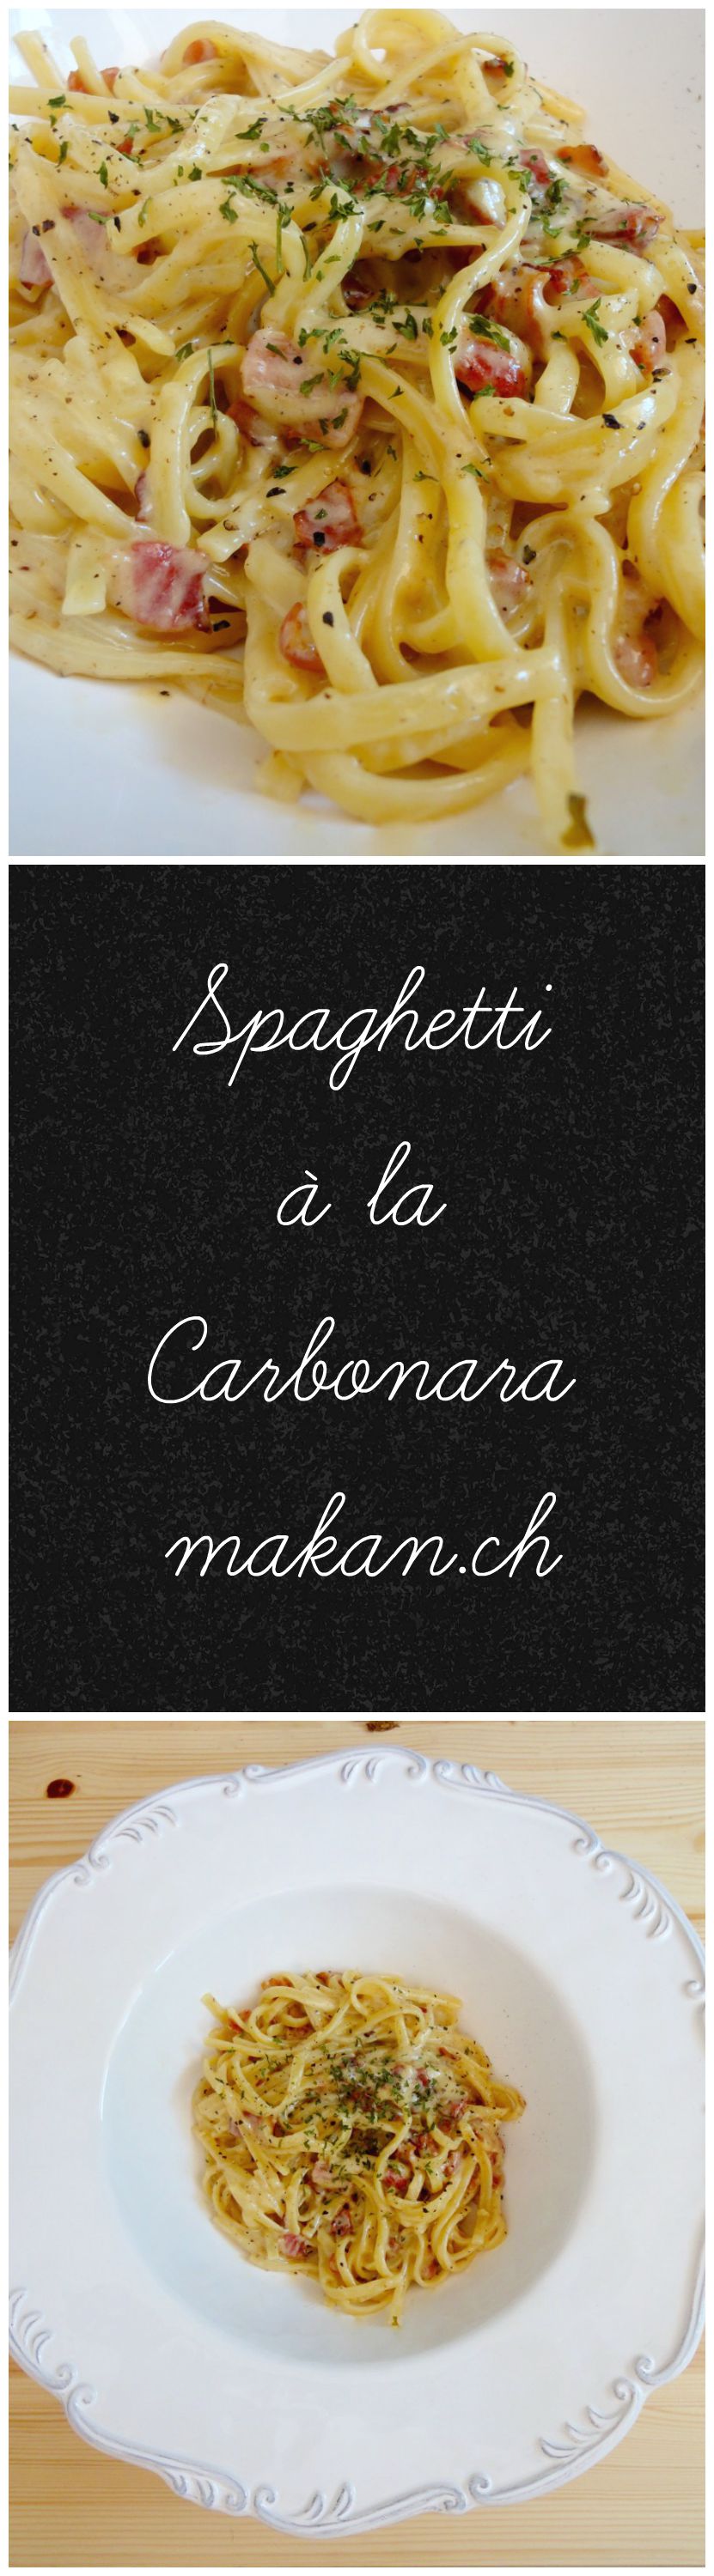
Spaghetti à la Carbonara

…the cheaper version…
My husband won my heart with his carbonara on our first christmas as a couple and when he still cooked for me. Ever since, we both have been constantly trying to improve our carbonara. We’ve watched videos, read multiple blog entries, and ate at some restaurants in pursuit of finding the best carbonara.
On a day when I have more spending money, I will post an authentic Spaghetti à la Carbonara recipe. As for now, we shall do with the cheaper but still tasty and satisfying version of Spaghetti à la Carbonara.
Ingredients
- 2 portions Spaghetti
- 1½ cups Bacon, cut into small pieces
- 2 cloves Garlic, crushed
- 4 nos Egg Yolks
- ½ cup (+/-) Parmesan Cheese or Grana Padano
- To taste Salt & Freshly Ground Pepper
For Boiling
- Enough for boiling Water
- To taste Salt
Directions:
- Cook spaghetti in a pot with salted water until al dente. Set aside about
1/21/4 cup of the water. Drain. - Meanwhile, cut bacon and fry in pan.
- Once bacon starts to get crispy, add garlic and stir for a minute. Do not let it brown.
- Season with salt and lots of black pepper.
- In a separate large bowl, whisk parmesan and egg yolks.
- Using water from boiled spaghetti (still hot, about
1/21/4 cup), pour in slowly while whisking the egg mixture. - Add cooked spaghetti and bacon. Mix.
- Serve immediately.
Tips:
Enjoy!
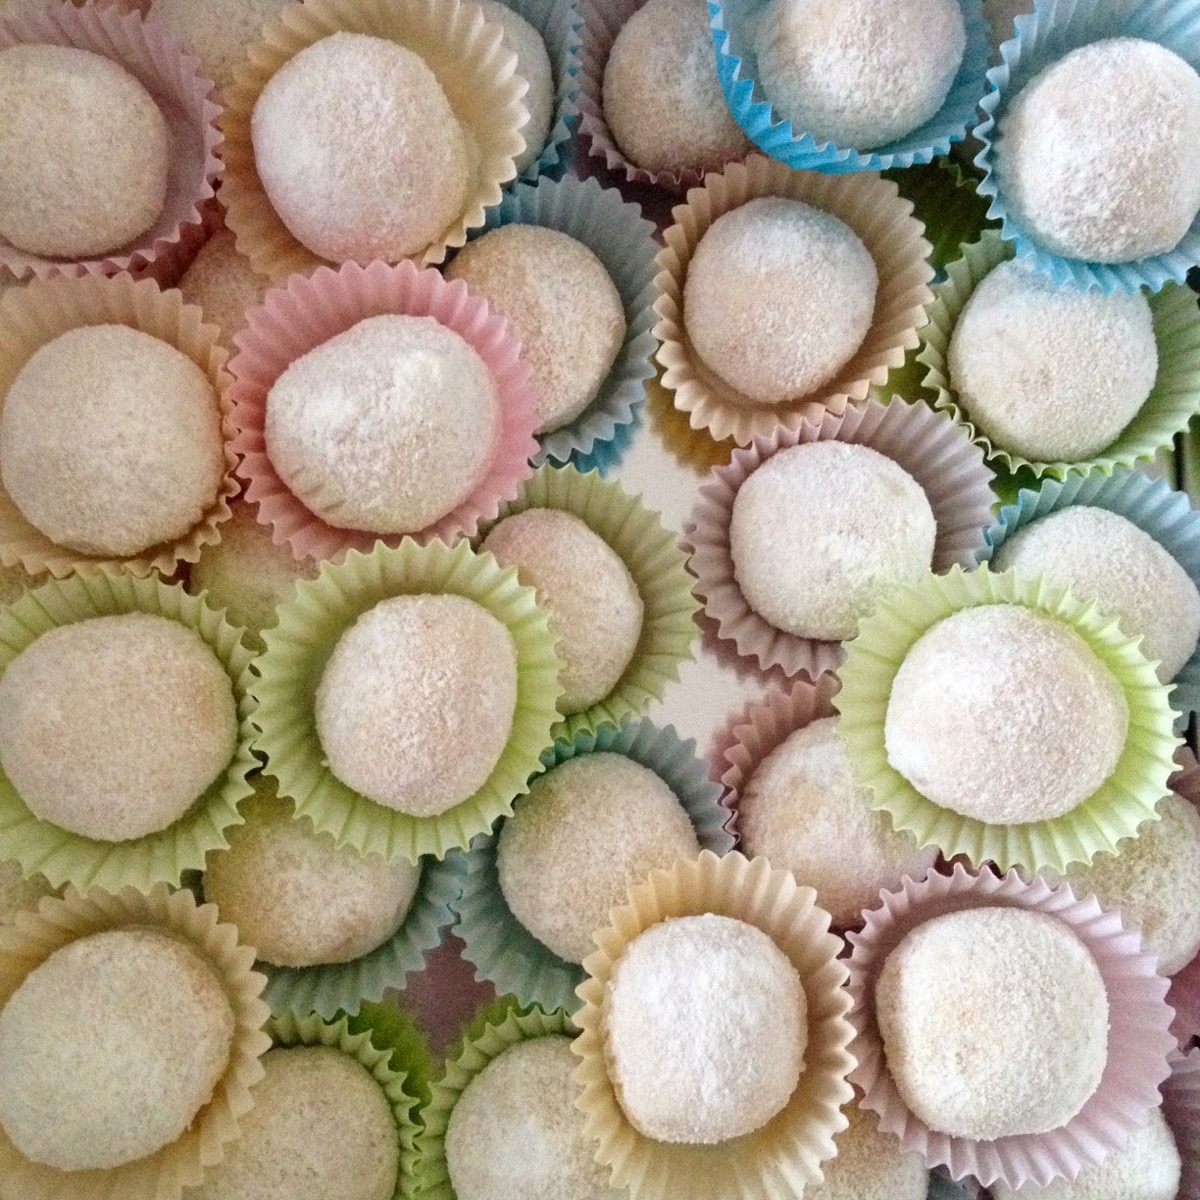
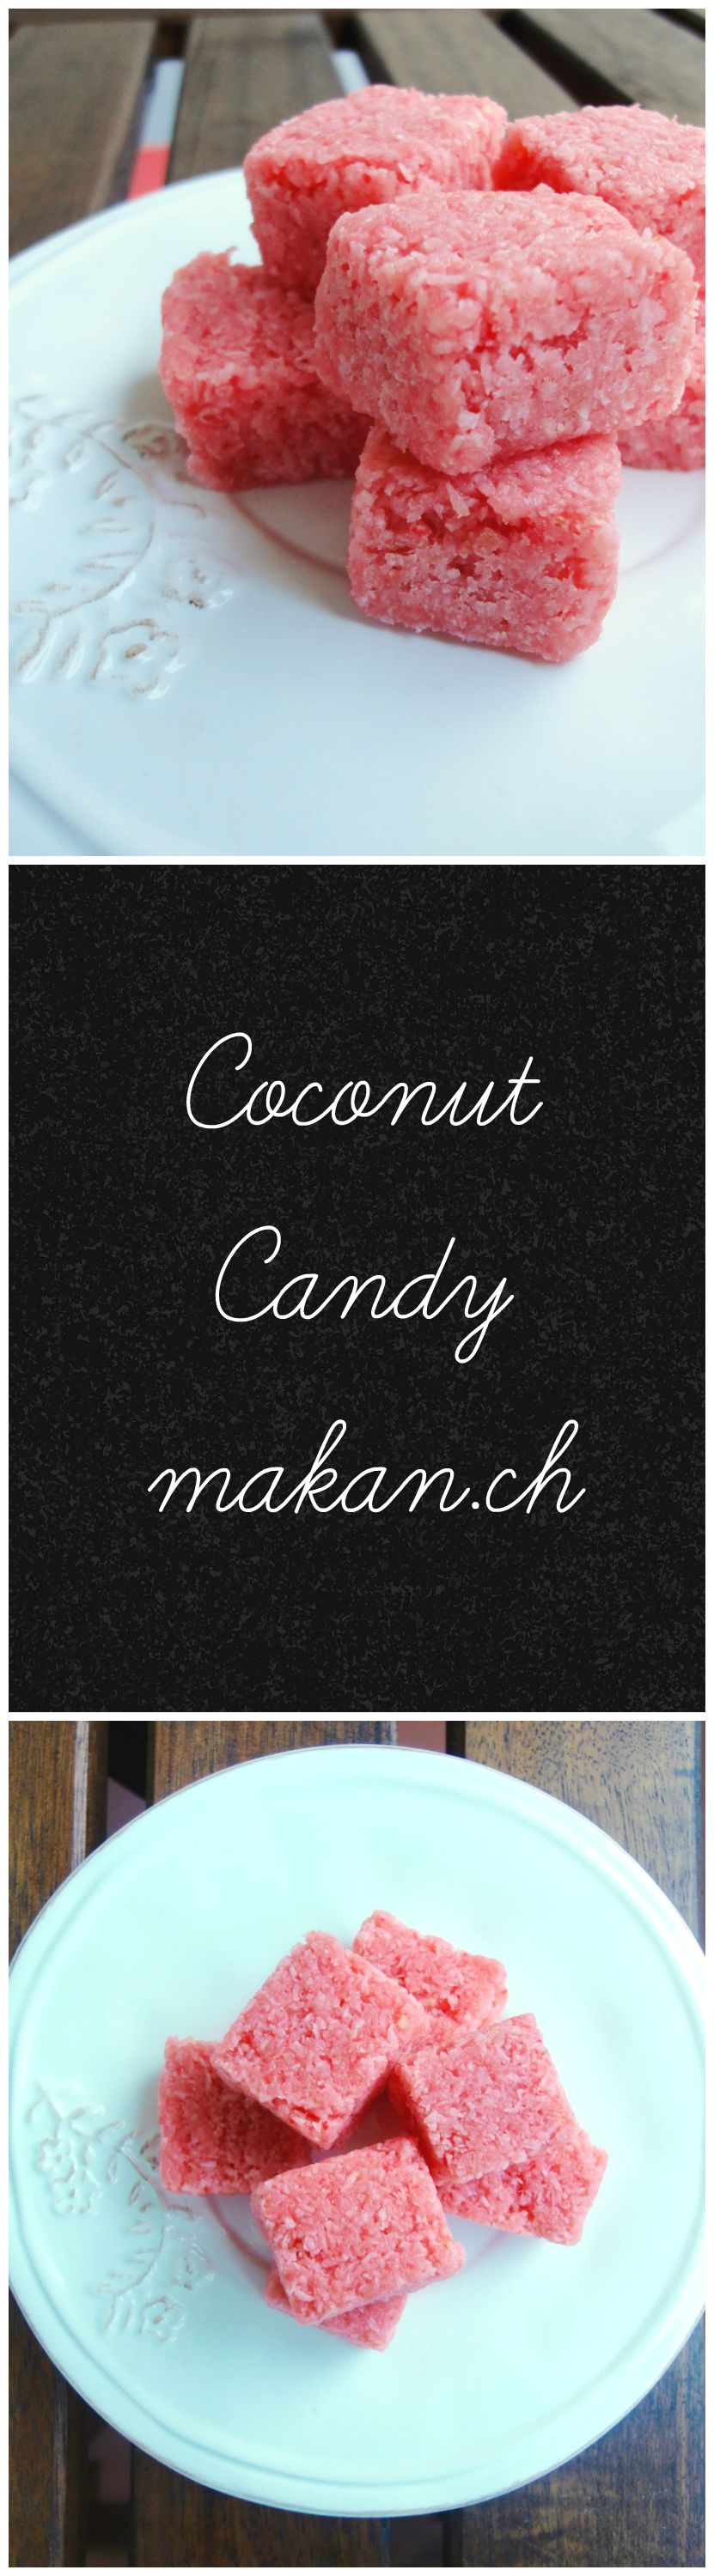
Coconut Candy
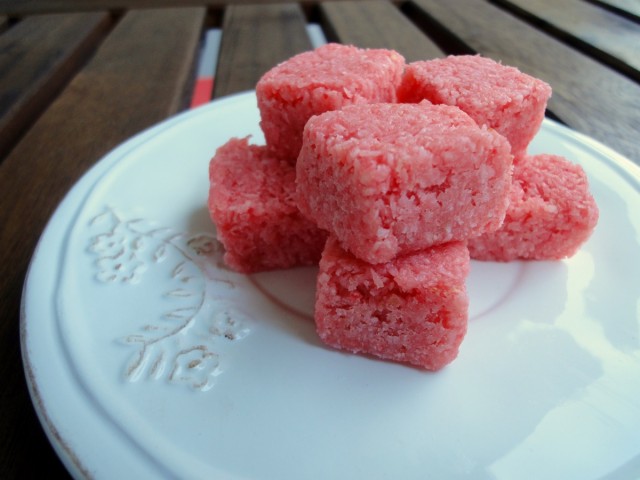
A childhood favourite of mine. My mother had a friend whom we called Aunty Rita. See, in Malaysia when we call someone aunty or uncle, it doesn’t mean that we are related to them. We call them aunty or uncle because they are substantially older than us and it’s just proper. So, every time my mother brought me along to visit Aunty Rita (which was at least once a week), she would always have coconut candy somewhere in the kitchen. Before I left home for college, she made me a batch and ever since, whenever I returned for a holiday, a few days later…Aunty Rita would give a call to ask us to collect her coconut candy. So, thank you Aunty Rita for the years of coconut candy.
Normally, you would use freshly grated coconut for the candy but it’s not available here so I have substituted it with desiccated coconut. Recipe adapted from Roti & Rice .

Ingredients
- 2⅓ cups Desiccated Coconut
- ½ cup Sugar
- ½ cup Sweetened Condensed Milk
- ½ cup Milk
- 1 tablespoon Butter
- 2 teaspoons Vanilla Extract
- Red or Green Food Colouring
Directions:
- Line and grease a 7 x 5 inch (18cm x 13cm) pan or rectangular container with baking sheet.
- Melt butter in a non-stick pan on low heat. Add milk and sugar. Let dissolve.
- Add coconut, condensed milk, vanilla extract and food colouring.
- Stir consistently till coconut clumps together. This would take around 20 minutes.
- Transfer candy to prepared pan. Level the surface and press down firmly with baking sheet or a scraper. Set aside to cool.
- After 30 minutes, cut candy into cubes with a greased knife.
- Cover and leave to set overnight in fridge.
Tips:
- Use freshly grated coconut if available
- Cups to Grams conversions
Enjoy!
Crispy Jalapeño Cream Cheese Wontons

Jalapeño and cream cheese? A match made on earth! I call these wontons as I use wontons wrappers, original wontons are filled with minced pork and prawns. These are such an easy and tasty appetiser or snack!
I would fry these not long before serving, as the wonton wrappers would get limp due to the cream cheese. You can make it a few hours before hand, but be sure to cover it with a damp paper towel to not dry out the wonton wrappers. The wrappers are sealed with a mixture of cornflour and water to ensure it does not open up while frying. Make sure that the wonton wrappers are gently held, to not make holes or tears.

Ingredients
- ½ cup Jalapeños, chopped
- 1 cup Cream Cheese
- To taste Salt
- 25 Wonton Wrappers
- For frying Peanut Oil
Directions:
- Mix cornflour and water. Set aside. This is used for sealing the wonton wrappers.
- Mix jalapeños with cream cheese and salt.
- Take one wonton wrapper and fill it with about 2 tsp of jalapeño cream cheese mixture.
- Dip a finger in cornflour mixture and run it across the wrapper. Fold to make a triangle or desired shape.
- Gently press out any air pockets from the inside to avoid it the wontons from bursting while frying.
- Deep fry till golden brown.
Tip:
- Keep a good eye on the wontons while frying. They tend to get bubbly inside even with pressing out air pockets.
- You can try to bake these but the one’s that I have tried so far have not produced good results as to frying them.
- Add bacon…lots of it.
- Cups to Grams conversions
Enjoy!

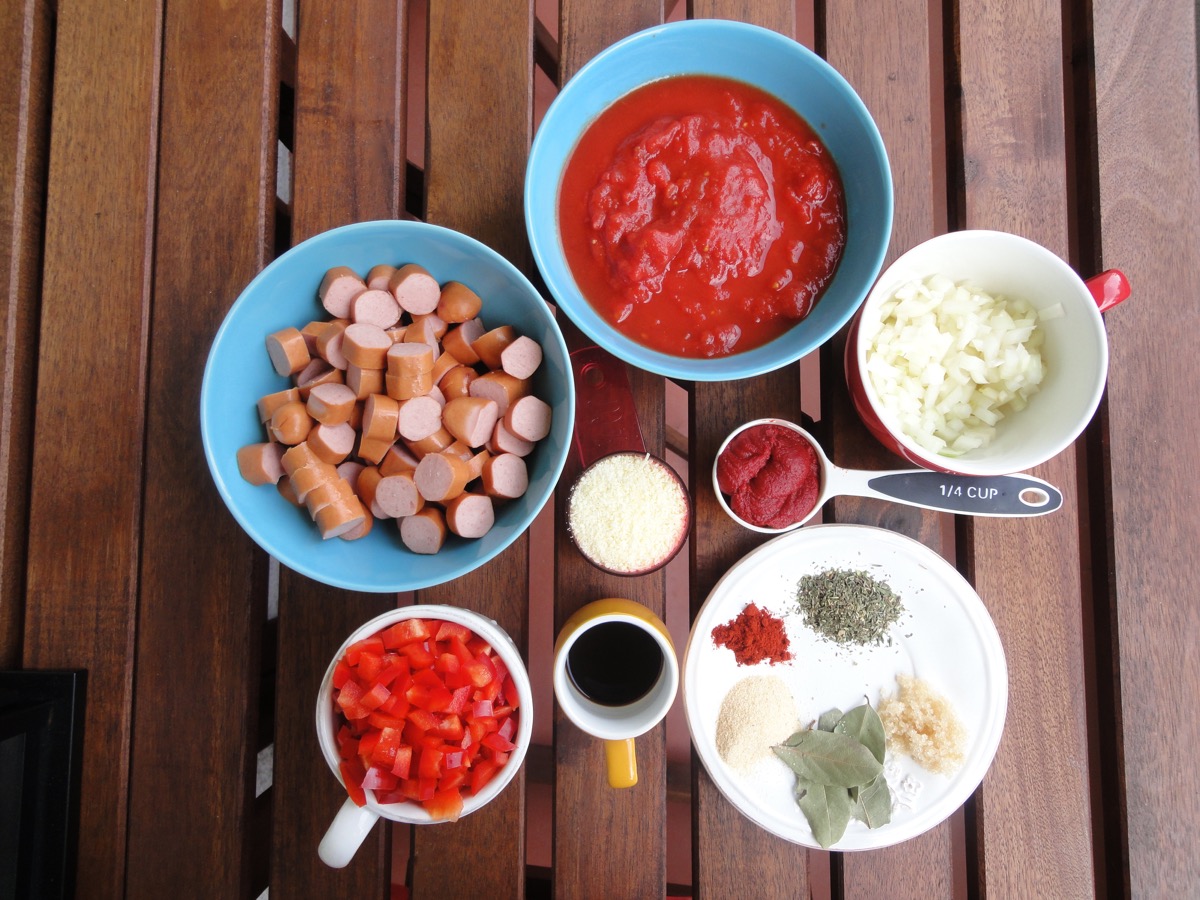
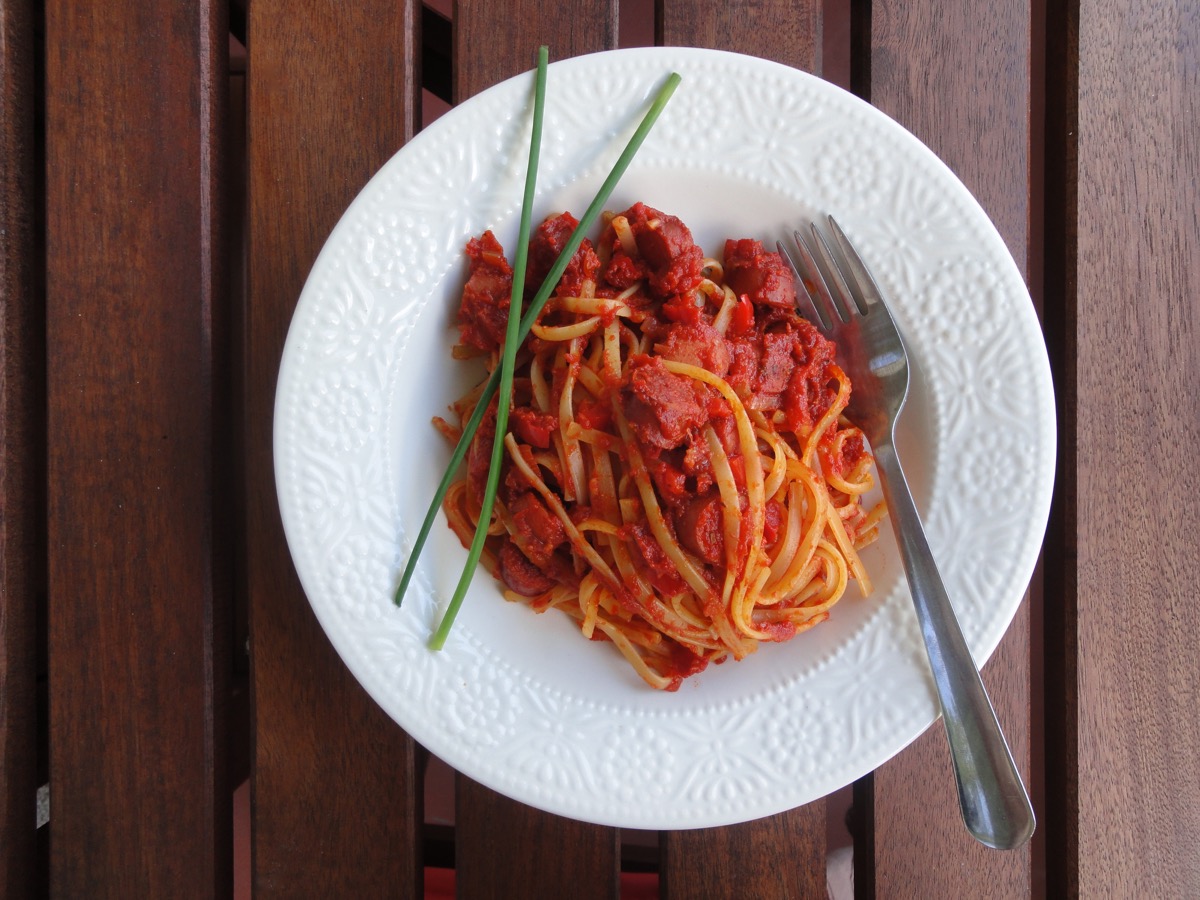
Spaghetti with Hotdogs

…and hidden veggies!
My siblings and I grew up eating our mother’s hotdog spaghetti. She made hers with ketchup and lots of oregano. We hardly ate spaghetti but she made this on lazy days as her’s was easy to whip up.
Mine on the other hand is made from canned tomatoes and tomato paste. In the beginning I used to use spaghetti sauce from the jar, but it got too expensive and I was getting sick of the taste. It’s more of a kids meal but whose to say adults can’t enjoy em’? Great for sneaking in some vegetables like red bell peppers, and carrots. When making spaghetti sauce, it’s best if you make it a few hours ahead to allow the flavours to develop.
Ingredients
- 2 portions Spaghetti
- 4 pieces Hotdogs
- 1, medium sized Onion, chopped
- 3 cloves Garlic, minced
- 1 cup Red Bell Pepper (optional)
- 1 can (400g) Crushed Tomatoes
- ¼ cup Tomato Paste
- 2 tablespoons Worcestershire Sauce
- 4 pieces Bay Leaf
- 1 tablespoon Oregano
- ¼ teaspoon Smoked Paprika Powder (optional)
- ½ cup Parmesan Cheese
- 1 tablespoon (add more if very sour) Brown Sugar
Directions:
- Heat up a pan with some oil or butter. Brown hotdogs.
- Add onions, red bell peppers and bay leaves. Stir until the onions soften.
- Mix in canned tomatoes, tomato paste, garlic, herbs, and Worcestershire sauce.
- Stir until slightly reduced, about 5 minutes. Add in brown sugar. You can add more if the sauce if too sour.
- Add in parmesan cheese and mix well. Remove from stove and cover. Set aside.
- Boil spaghetti according to package.
- Mix spaghetti with sauce.
- Top with more cheese!
Tips:
Enjoy!
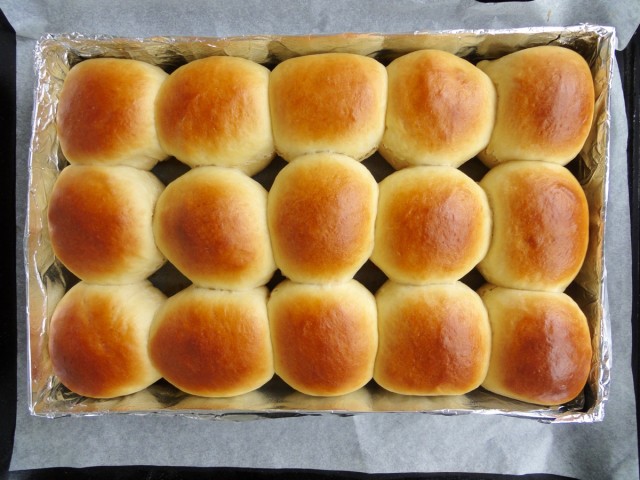
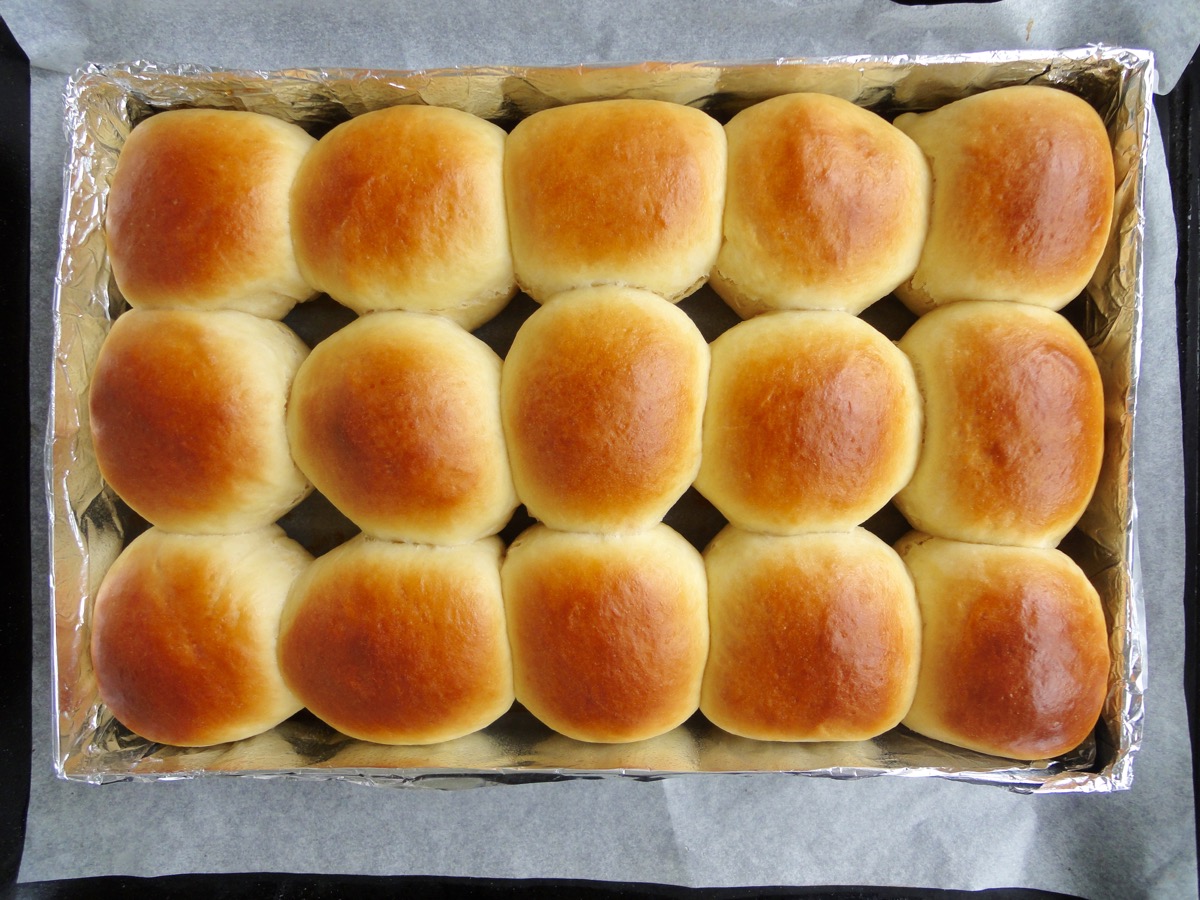
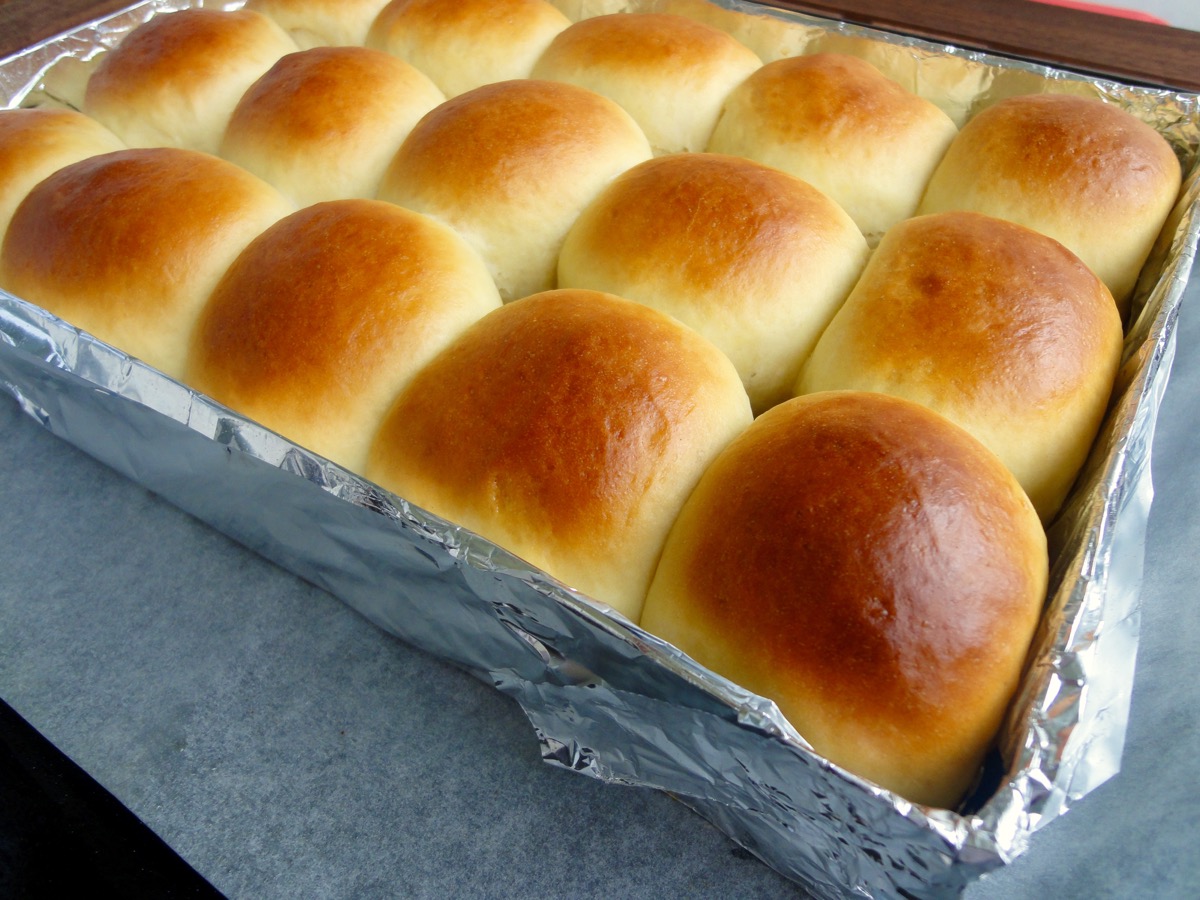
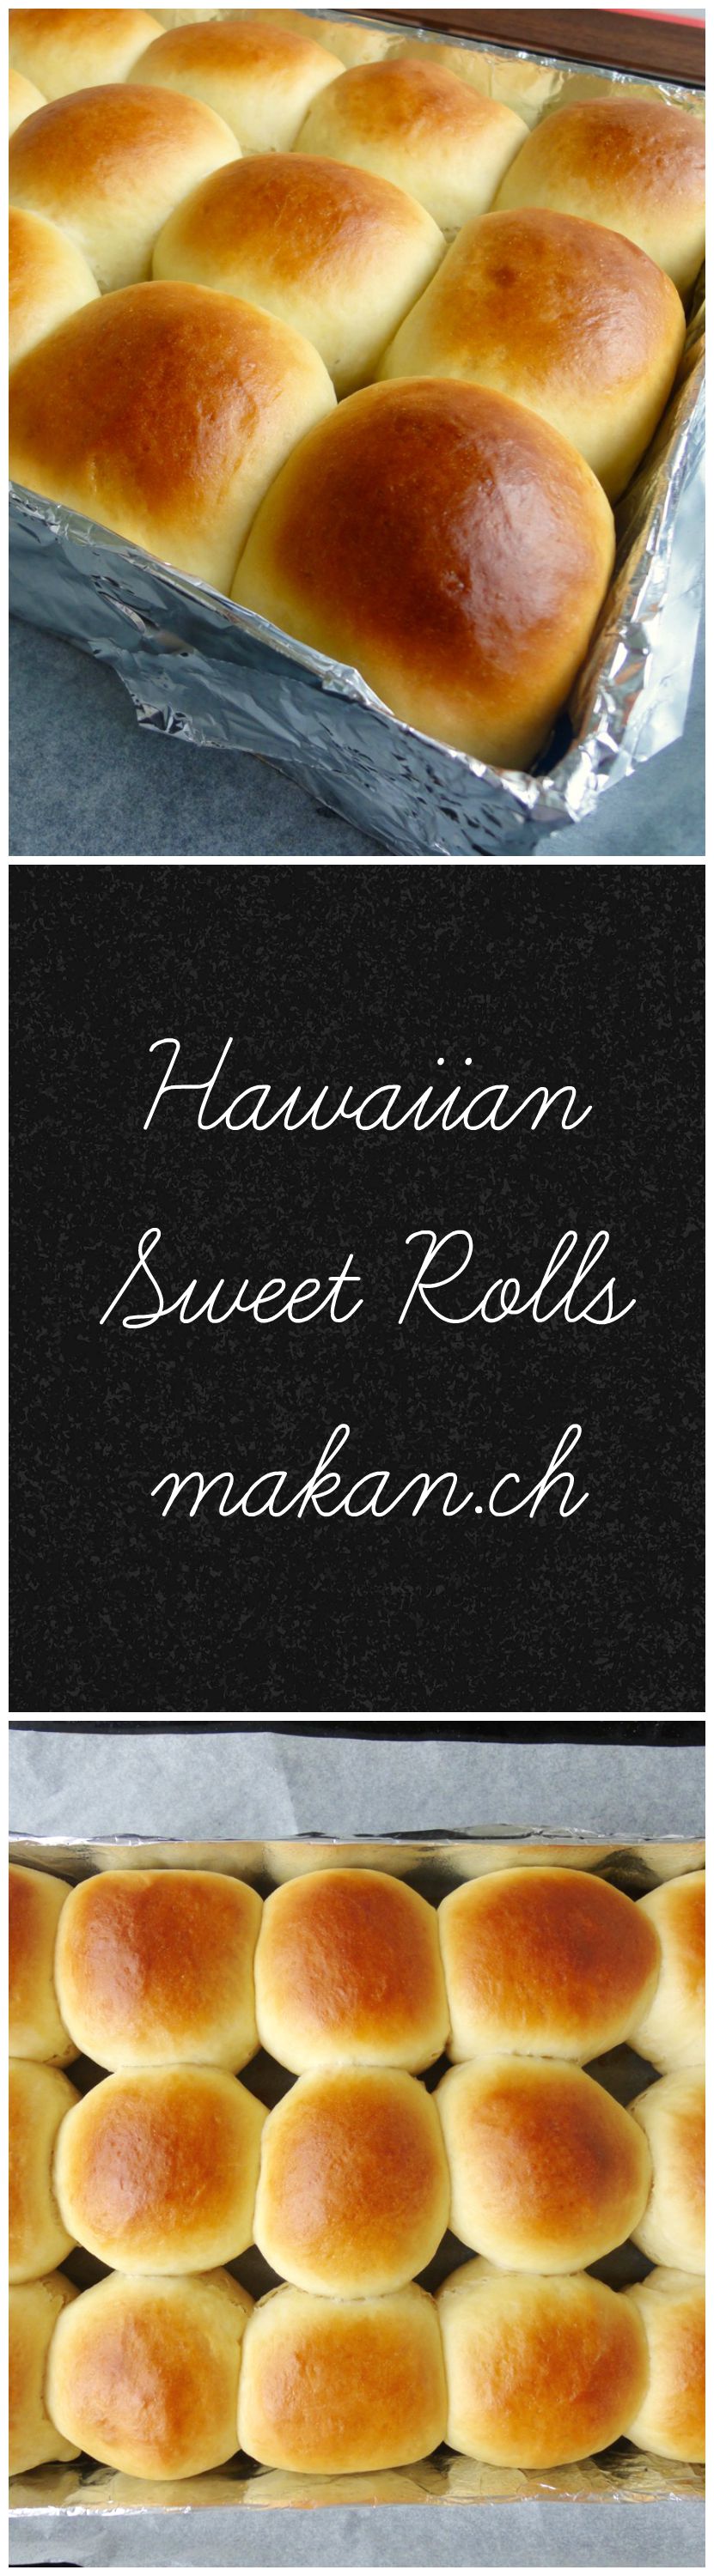
Hawaiian Sweet Rolls
No, I’m not from Hawaii and have never been to Hawaii but I am from a large island in a tropical country surrounded by sweet pineapples, tasty coconuts and palm trees.
Anyways, I kept seeing Hawaiian sweet rolls being repinned on Pinterest, so I looked it up and found this recipe from Handle The Heat and tried it out. Amazing rolls! The taste is so similar to rolls (or buns) made from where I am from. I had to lower the sugar amount from the original recipe so my hubby would eat it too. Recipe adapted from Handle The Heat.
Ingredients
- ½ cup Pineapple Juice (room temp.)
- ½ cup Milk, warmed (45°C)
- 4 tablespoons Butter, melted and cooled
- 2 Eggs, lightly beaten
- 4 tablespoons Sugar
- 1½ teaspoons Salt
- 2¼ teaspoons Dry Yeast
- 4½ cups All Purpose Flour
Egg Wash
- 1 Egg
- 2 tablespoons Water
Directions:
- In small sauce pan, heat up milk, sugar and butter.
- Transfer to mixing bowl, add yeast and 2 cups of flour. Attach the dough hook to mixer and mix on medium low speed for a minute.
- Add salt, pineapple juice, eggs and remaining flour.
- Knead on medium high speed for 5 minutes, until a soft and smooth dough forms.
- Place dough in a lightly greased bowl, cover with a damp kitchen towel and let rise for an hour or till it has doubled in size.
- Spray a 13 x 9-inch (33 x 22 cm) baking pan with cooking spray.
- Place dough on counter top. You do not need to flour it as the dough is not sticky.
- Divide dough into 15 pieces. Roll pieces into balls and place in prepared pan.
- Cover with damp towel and let it rise for another 30 minutes or till double in size.
- In the time being, preheat oven to 190°C.
- Prepare egg wash. Whisk to combine.
- Brush rolls with egg wash and bake for 20 minutes or until golden brown.
Tips:
Happy baking, enjoy!
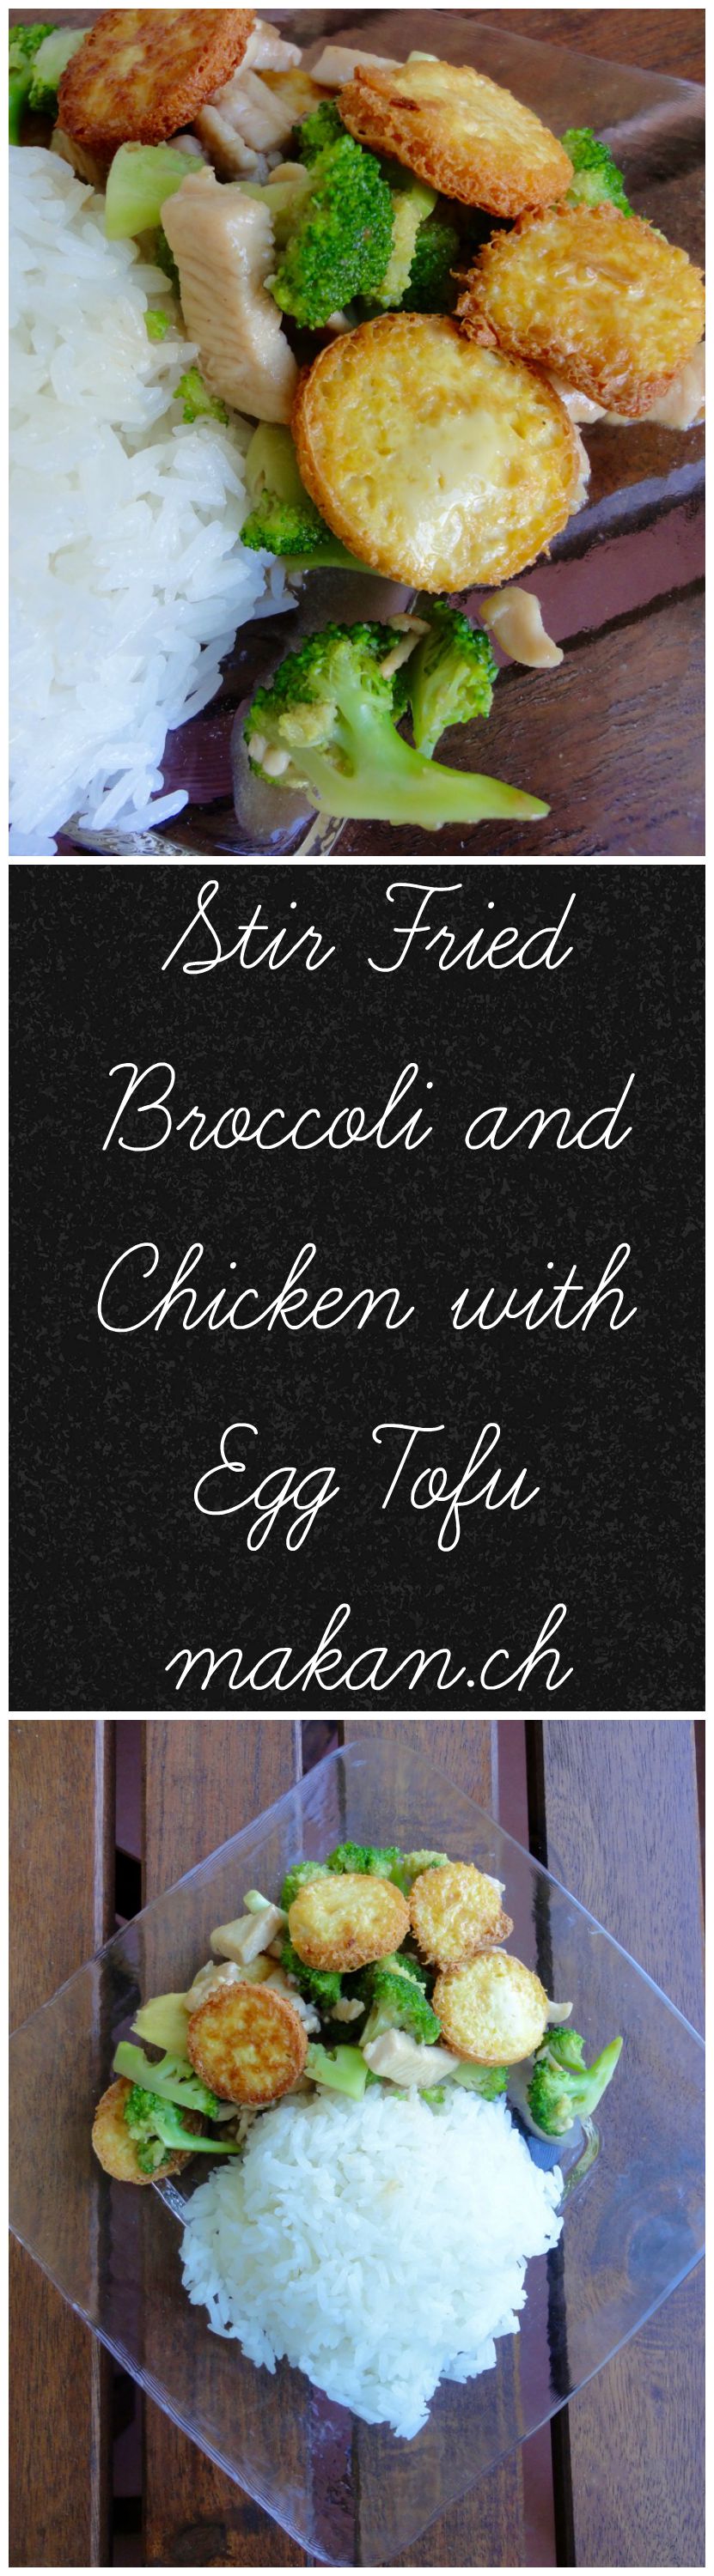
Stir Fried Broccoli and Chicken with Egg Tofu
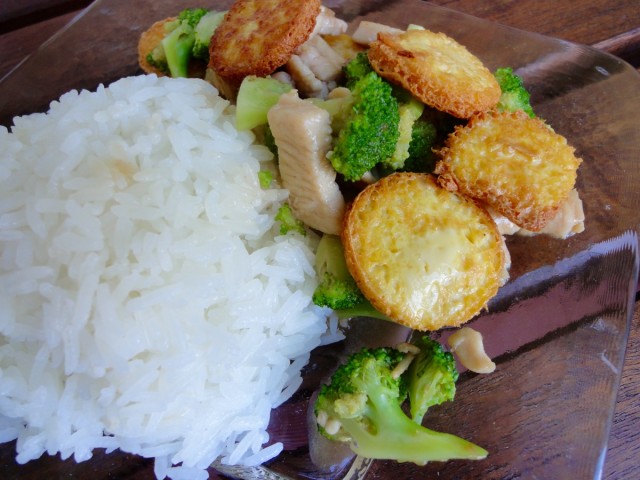
Egg tofu is often called Japanese egg tofu. It’s similar to Chawanmushi, but this one comes in a tube. Frying this tofu is a little bit of a pain as the oil splatters…unless I’m doing something wrong and someone has a trick! A little bit of pain just to eat this? Worth it! At home I will scream like a little girl, but when I used to work at a Sushi Restaurant (I was placed behind the conveyor belt and customers were able to see me cooking), I could not scream when oil splattered especially when cooking gyoza’s, so I had to learn how to suck it up and look like a bad ass.
Anyways, this dish is pretty simple and fast to cook. I also use very little chicken in this, cus the hubby and I love broccoli, so I add more broccoli. We don’t have a good relationship with vegetables (we count eating a bunch of onions,potatoes and even chives as vegetables), so anytime I can add more veggies to a dish…I will.
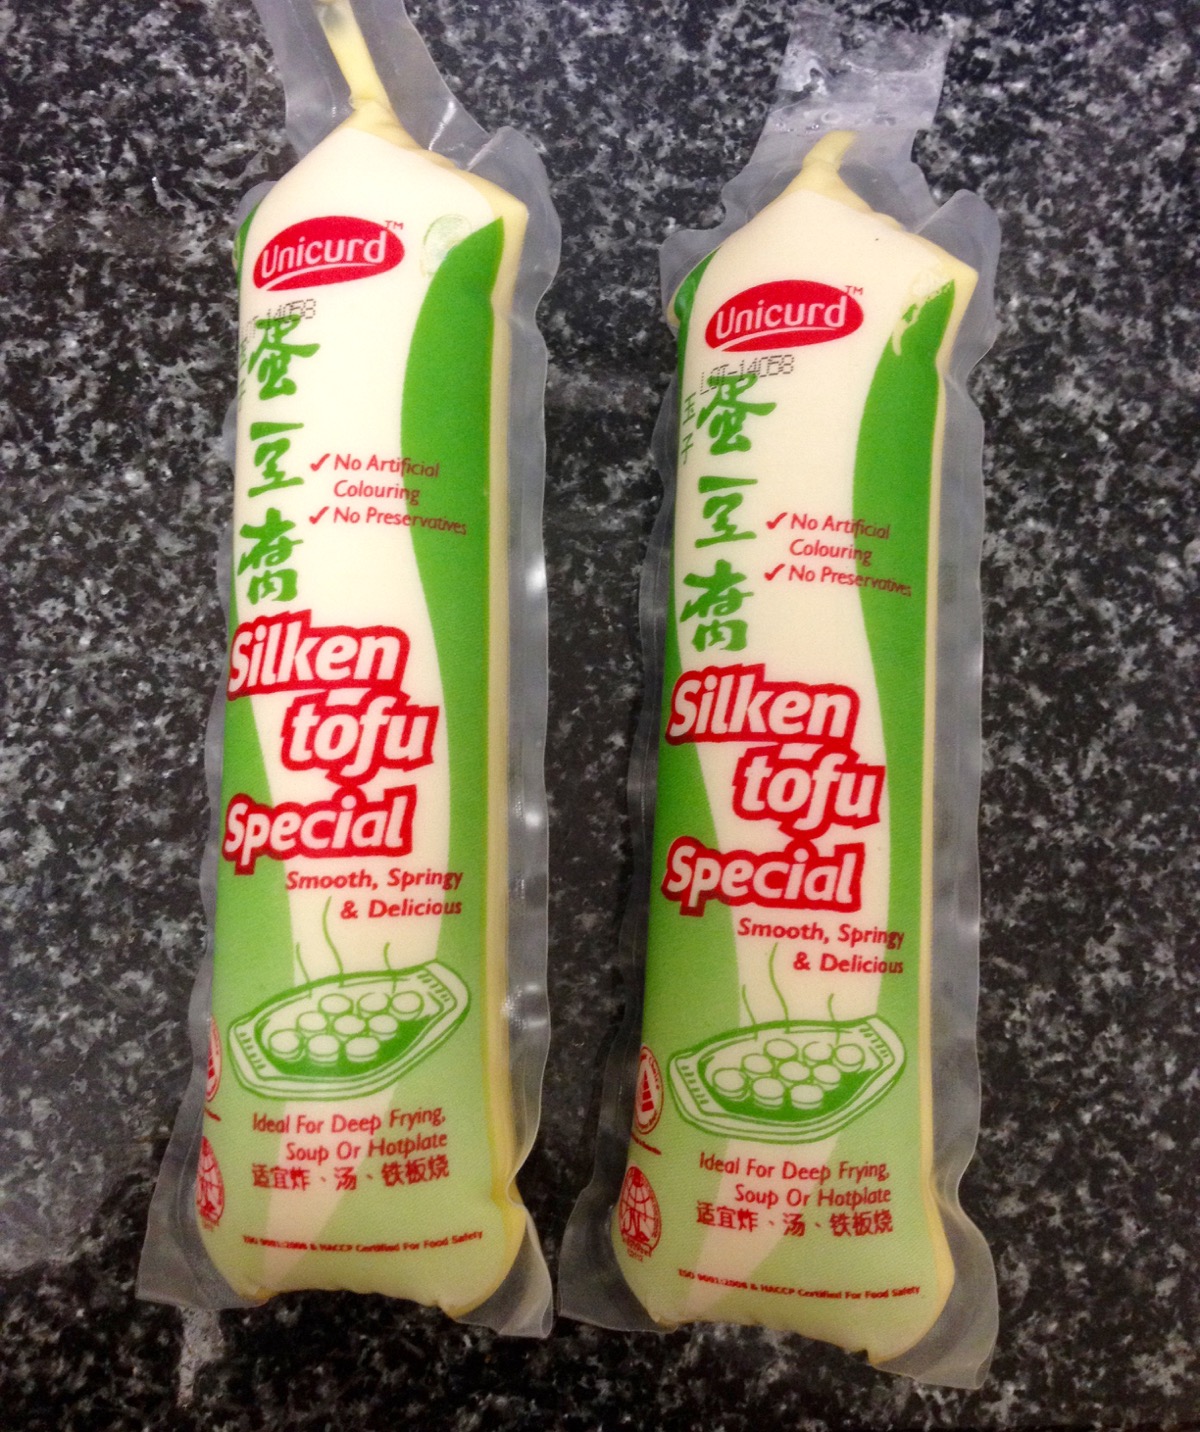
Egg Tofu
Ingredients
- 1 tube Egg Tofu, sliced - 2cm each
- 1 tablespoon Cornflour, for dusting
- Enough for frying Peanut Oil
- 1 breast (c.a 120g) Chicken Breast, diced or sliced
- 2 ½ cups Broccoli, florets (fresh or frozen)
- 1-inch Fresh Ginger, sliced
Marinade for Chicken
- 2 teaspoons Light Soy Sauce
- 2 teaspoons Cornflour
Sauce
- 1 tablespoon Oyster Sauce
- ½ teaspoon Sesame Oil
- 1 tablespoon Shaoxing Wine (Chinese Cooking Wine)
- ¼ teaspoon White Pepper
- 2 tablespoons Water
- 2 teaspoons Cornflour
- To taste Salt
Directions:
- Marinade chicken in marinade. Bring a pot of water to boil (to blanch broccoli).
- Combine ingredients for sauce and set aside.
- Heat up oil in pan. Dust egg tofu in cornflour. Fry till golden brown. Drain excess oil with paper towels. Set aside.
- Remove oil from pan, leaving about 2 tbsp of oil.
- Fry ginger till aromatic, add chicken. While the chicken cooks, blanch broccoli.
- Add sauce to chicken and throw in broccoli.
- Stir fry till sauce thickens.
- Add egg tofu, gently stir as egg tofu is very delicate.
- Serve immediately with steamed rice.
Tips:
Enjoy!
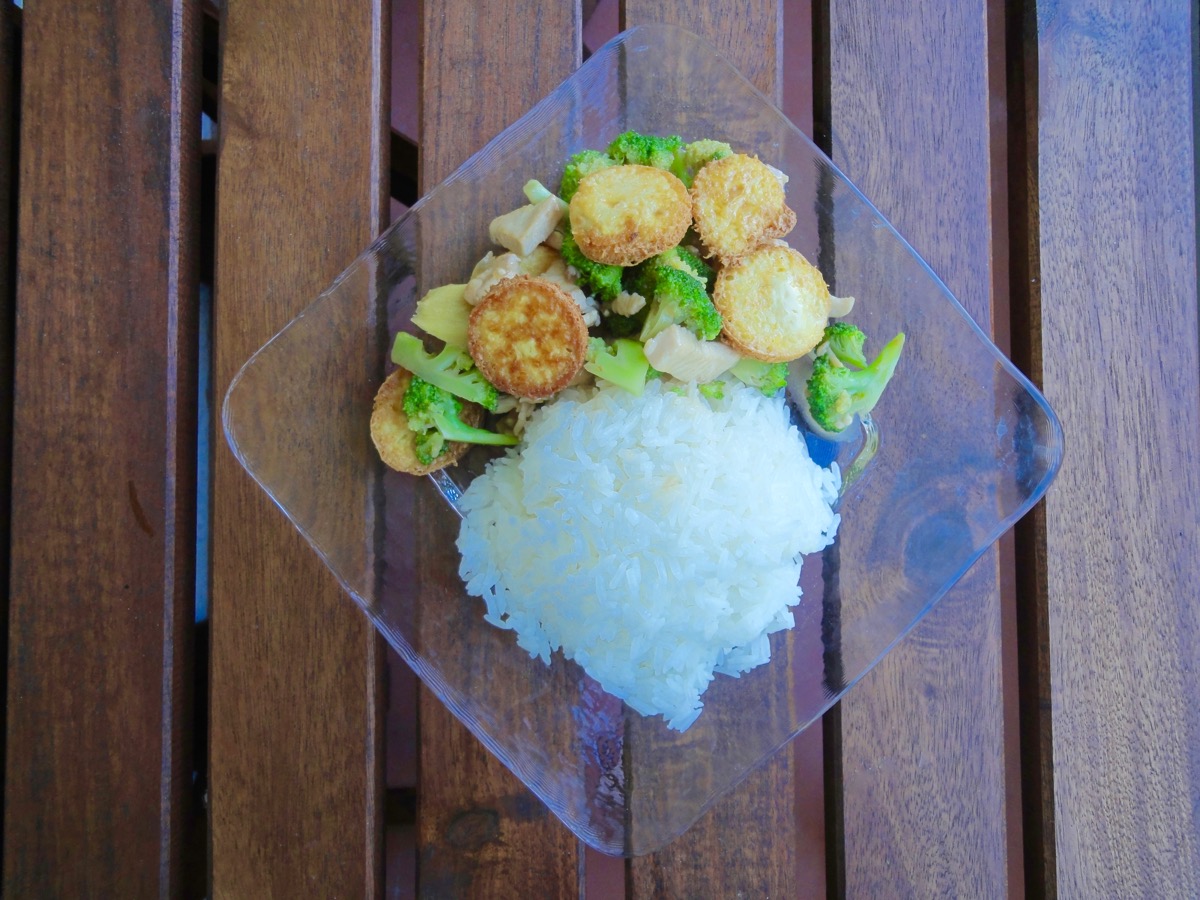
Sorry for the purple hue, it was getting dark.
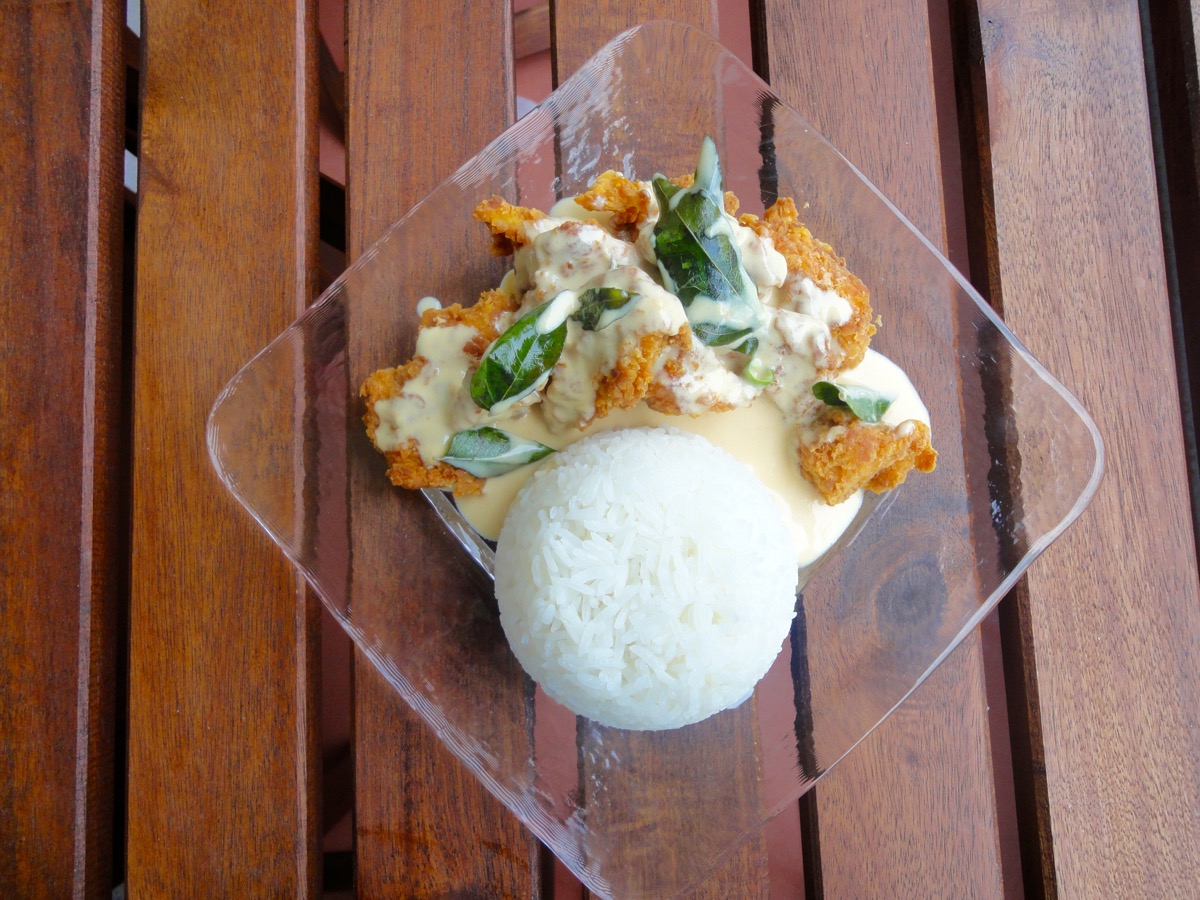
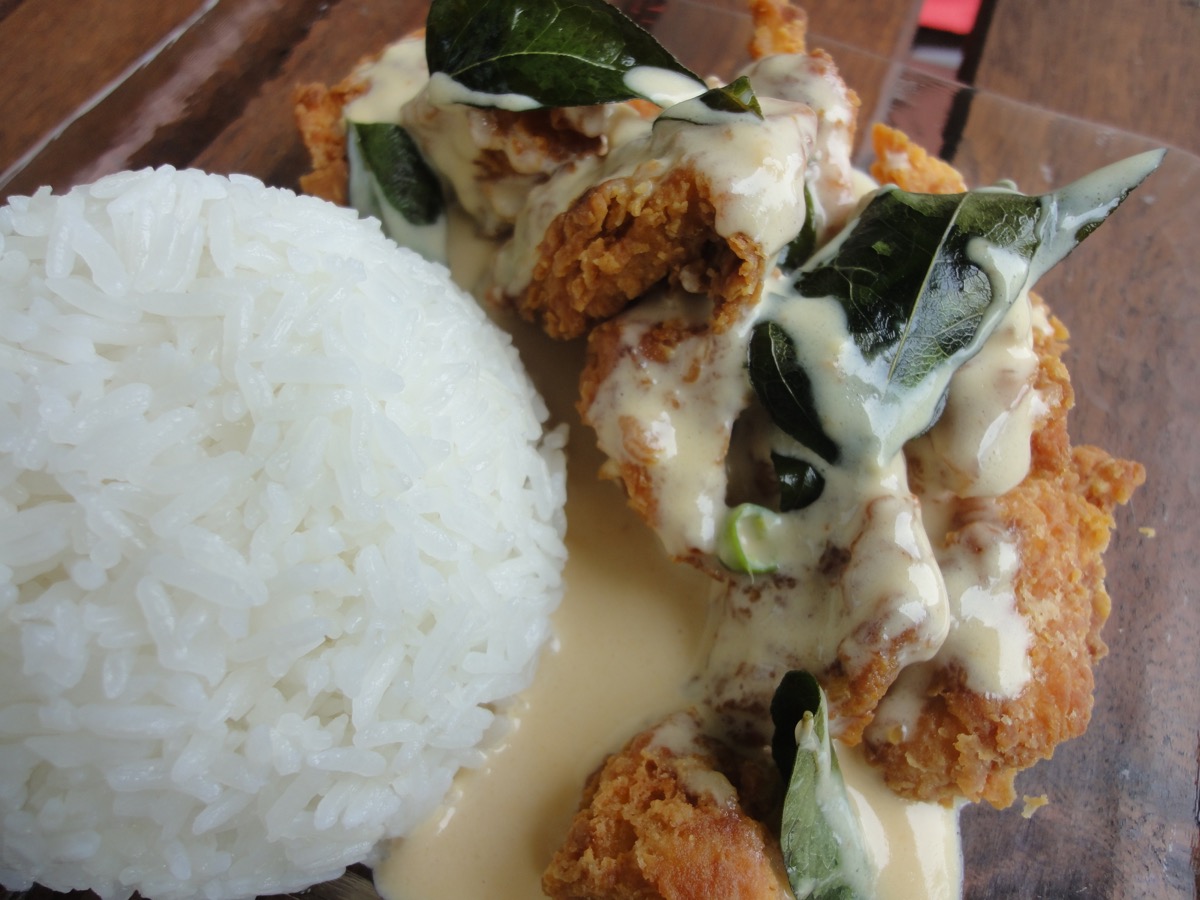
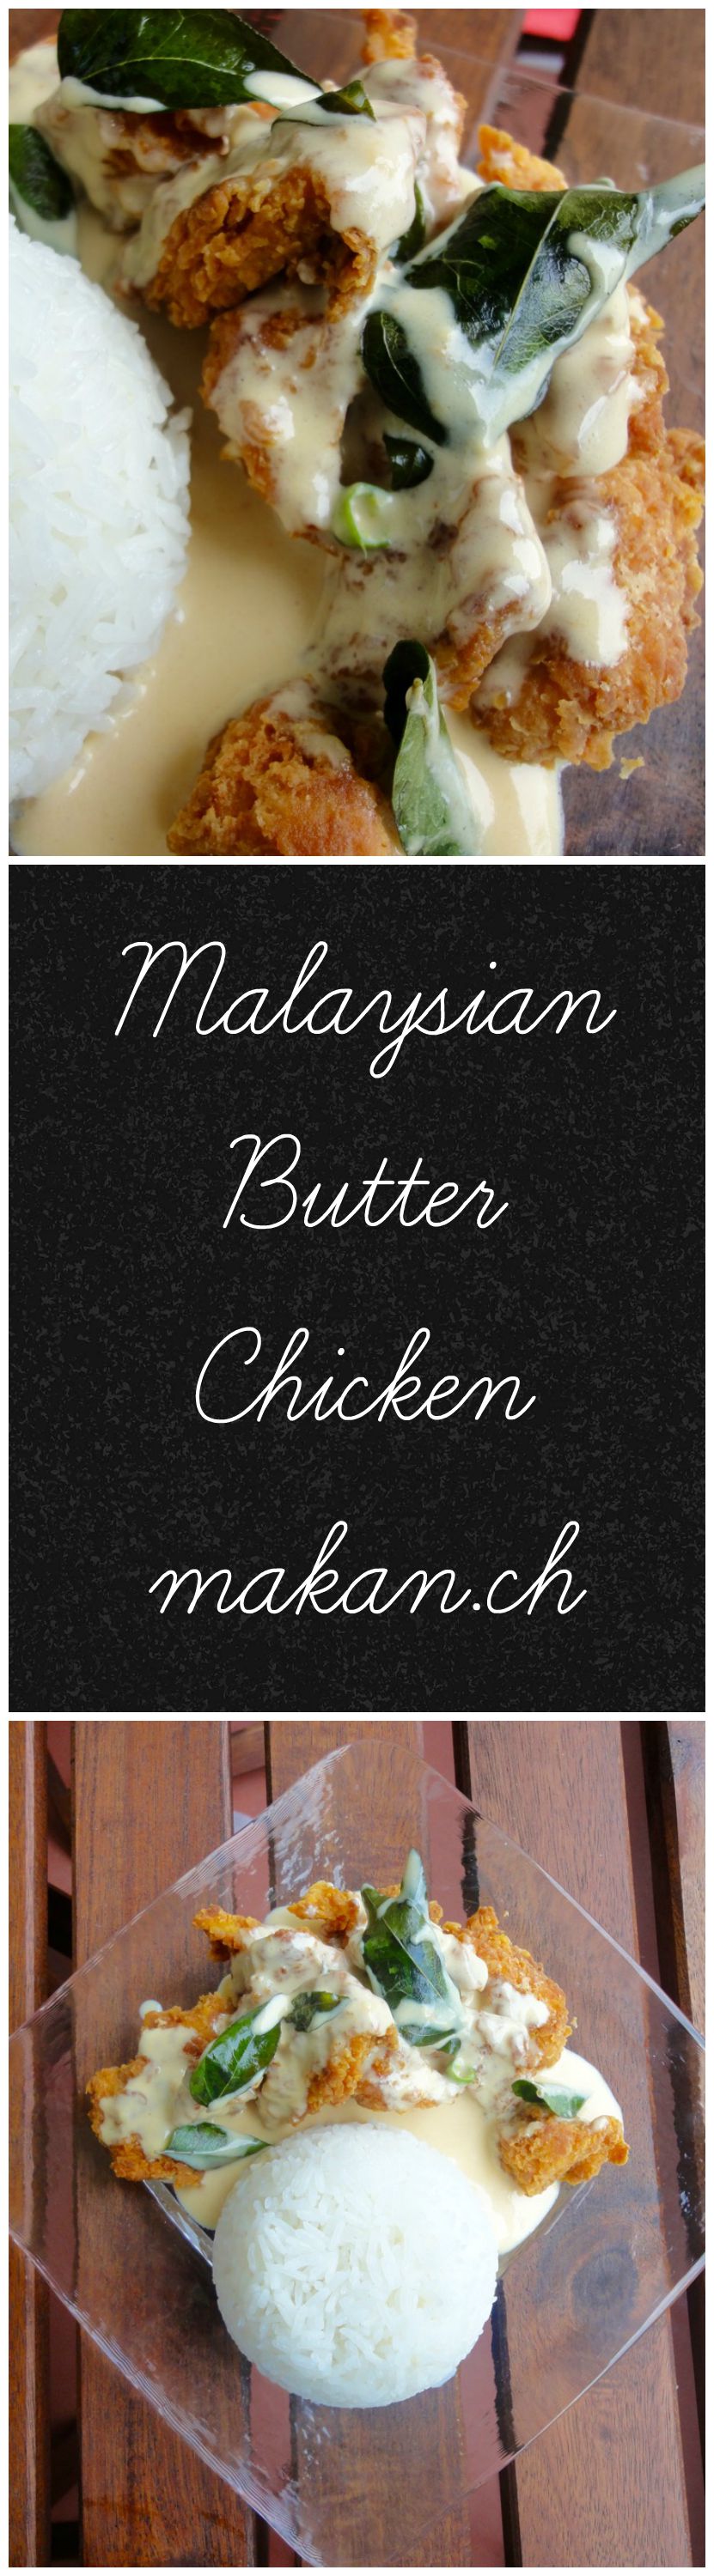
Malaysian Butter Chicken

Ahh yes, butter chicken. The favourite. Nope, it’s not the normal butter chicken you find at Indian Restaurants. This is a special one. It’s creamy, spicy and simply delicious. The first time I ate this, I was about 16 at a restaurant called Strawberry Fields Cafe in Malaysia. At first, I thought it was disgusting as it used evaporated milk for the sauce. Evaporated is normally used in desserts and to use it in a hot savoury dish was alien to me. But boy was I glad I ordered it after much convincing from a friend. When the waiter placed it in front of me, I got scared as it had a ton of small green chillies (chili padi). I put up a brave front, and took my first bite. OMG. Heavenly. It was love at first sight. Not as spicy as I thought it would be given the amount of chilli on it, i’m guessing the milk in it helped? Still, I gobbled it down and if I could have licked my plate at the Cafe, I would have.
7 years later, butter chicken came back to my mind. I was afraid the hubby would not take to it as he was new to eating more spicy food and to mix it with milk…but it very quickly went away after he took his first bite. He loved it and has requested that it be cooked for his birthday every year.
Hopefully you will love this recipe as much as we do!
Ingredients
- 400 grams (16oz) Chicken Breast, cut into pieces
- 2 Tablespoons Curry Powder
- ½ teaspoon Salt
- ¼ teaspoon White Pepper
- 1 Egg, Whole
- 1 ½ cups Flour
- 1 Tablespoon Corn Flour
- Enough for frying Peanut Oil
Sauce
- ¼ cup Butter
- 1 ¾ cups (410ml/can) Evaporated Milk
- 2-3 sprigs Curry Leaf
- 2-3 pieces (according to taste) Birds Eye Chilli (green/red)
- To taste Salt & Pepper
Directions :
- Chicken
- Marinate the chicken in curry powder, salt and pepper for at least an hour. If short of time, 15 minutes will do.
- Beat an egg and mix well with the chicken pieces.
- Heat up enough oil in a pan or wok for frying.
- Coat chicken pieces in flour and fry till golden brown. Keep aside.
- Sauce
- In a separate pan, heat up butter.
- Add curry leaves and fry till fragrant.
- Mix in evaporated milk and reduce heat. Let simmer till slightly thickened.
- Add chillies and continue to simmer till thickened.
- Mix in chicken and serve immediately with steamed rice, veggies of your choice or a simple cucumber and pineapple salad.
Tips:
- I prefer using peanut oil for this as the chicken pieces stay crunchy till serving time.
- Fried chicken pieces are also great on it’s own, which is known as popcorn chicken.
- Cups to Grams conversion
Enjoy!
Blueberry Muffins
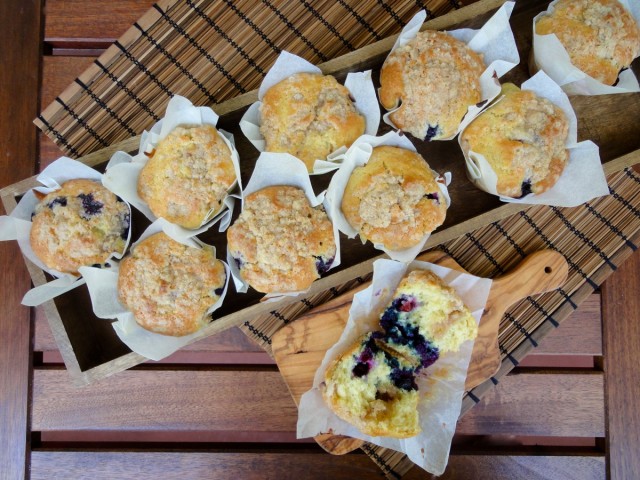
Blueberries are in season! What better way to use it than making homemade muffins? Well, there’s cheesecake but it’s summer and muffins are lighter than cheesecake. These are absolutely great for a hearty breakfast and for tea time.
Muffins to me aren’t supposed to look pretty. They are meant to look big and chunky, with an adorable top. These muffins are moist, buttery, not too sweet and has a little crunch on the top.
This post is dedicated to my sisters baby, whom she and her husband call, blueberry as a pet name. I’m really glad to get a niece and I can’t wait to get some super adorable dresses for her. I’ve already got 4 rascal nephews whom I love to bits and miss a lot! It’s sad that I am not able to see my nephews and niece growing up, but thanks to our modern technology, I’m not all that left out.
So little Blueberry, I’m sorry Aunty Cherry can’t be there to see you during the first year of your life. I do hope you grow up to be a kind, loving and respectful girl. Always remember your Aunty Cherry who is half way around the world from you. Don’t let the boy cousins bully you! Love, Aunty Cherry.
This recipe is adapted from Little Sweet Baker .

Fresh Blueberries from Italy!
Ingredients
- 2 ½ cups Flour
- 1 tablespoon Baking Powder
- 1 teaspoon Baking Soda
- ½ teaspoon Salt
- ½ cup Butter, melted
- 1 cup Sugar
- 2 nos Eggs
- 1 cup Buttermilk
- 1 tablespoon Vanilla Extract
- 1 ½ cups Fresh Blueberries or Frozen
Topping
- ¼ cup Brown Sugar
- 2 tablespoons Flour
- 3 teaspoons Butter, melted
- ¼ teaspoon Cinnamon, powder
- To taste Salt
Directions:
- Preheat oven to 220°C and line a muffin tray.
- Mix ingredients for topping in a small bowl and leave to chill in fridge.
- Set aside about 2 tbsp of flour to coat blueberries. This will keep the blueberries from sinking to the bottom while baking.
- In a large bowl, sift flour, baking powder, baking soda and salt.
- In another bowl, mix the melted butter with sugar.
- Add eggs one by one then the vanilla extract and buttermilk.
- Add wet ingredients to the flour mixture using a spatula until moist.
- Gently fold in coated blueberries into the mixture.
- Scoop muffin mixture into muffin pan.
- If only making 10 muffins, pour some water into the 2 remaining holes. This will keep the muffins moist while baking. If making 12, then put some water in a small heatproof bowl in the oven.
- Bake for 5 minutes at 220°C, then reduce the heat to 190°C for another 15-25 minutes or until a thin skewer inserted into the centre of the muffin comes out clean. I like my muffins a bit more brown on top, so I left it in for 25 minutes.
Tips:
Enjoy!

