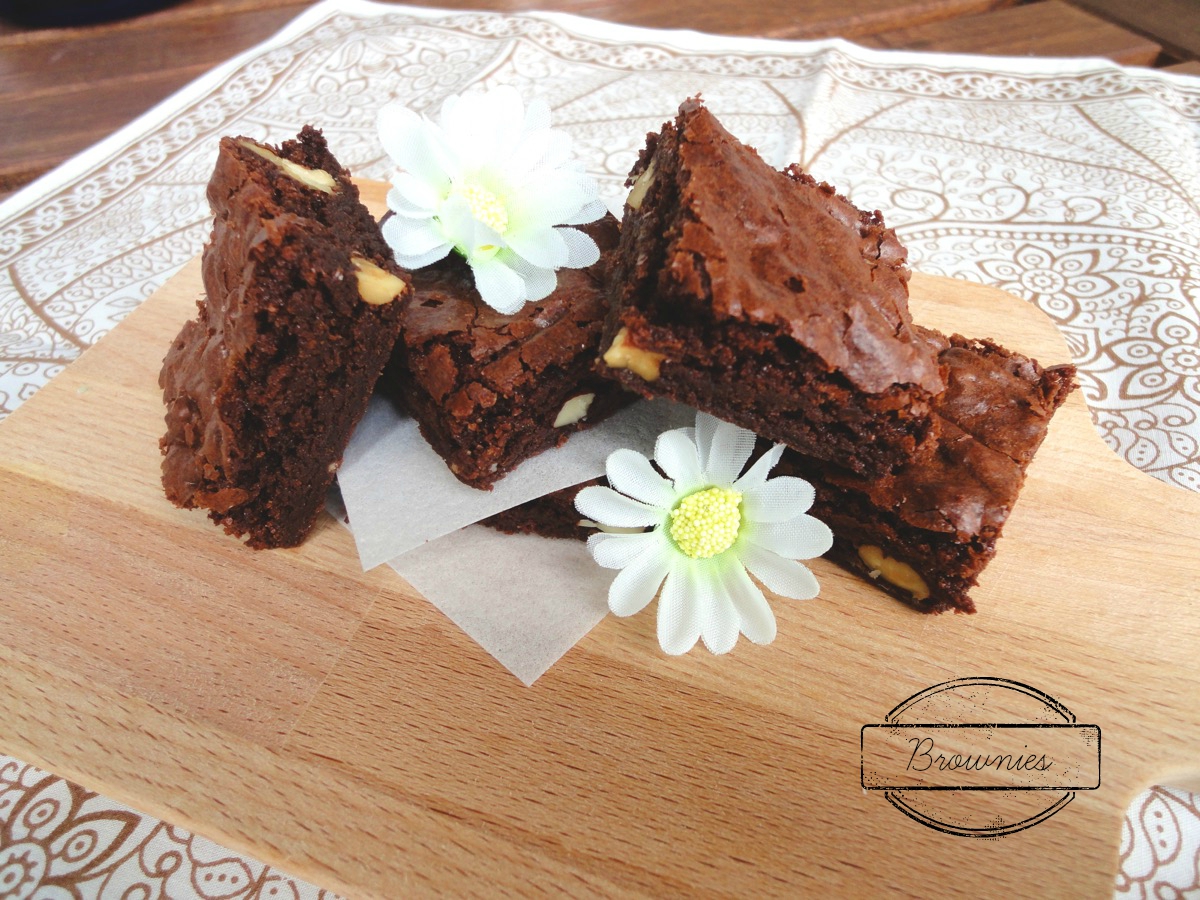
Brownies

Brownies have been another long time favourite. Many people have their own preferences to how they like their brownies ; be it cakey, fudgy, chocolaty, nutty, aromatic or just plain old brownies. To me there is no right or wrong in making brownies.
So here’s a brownie recipe that’s quite fudgy, very chocolaty, and nutty…plus an additional fake flower prop. Didn’t what I was thinking about when I took the photo and only edited it after I ate all the brownies.
Recipe adapted from My Sweet Journals.
Ingredients
- 9 ounces (250g) Dark Cooking Chocolate
- 1 cup Butter
- 1 cup Brown Sugar
- 3 nos Eggs
- 1 teaspoon Vanilla Extract
- 1 cup All Purpose Flour
- ¼ cup Cocoa Powder
- 1 teaspoon Baking Powder
- 1 teaspoon Salt (if using unsalted butter)
- ½ cup Walnuts, toasted
Directions:
- Prepare a 9 x 9-inch square baking pan. Line with parchment paper and grease it.
- Preheat oven to 180°C (350°F)
- Toast walnuts.
- Melt butter and chocolate in a double boiler, microwave or if you are lazy like me, just over the stove on low heat (be sure not to burn it). Mix well.
- Sieve flour, baking powder, and cocoa powder.
- Once butter and chocolate have melted, take it off heat.
- Mix in brown sugar, vanilla extract, salt (if using unsalted butter) and eggs (one at a time).
- Using a spatula, fold in flour mixture and toasted nuts.
- Pour into prepared baking pan.
- Bake for 30 minutes or until your cake tester comes out clean.
Tips:
Enjoy & Happy Baking!

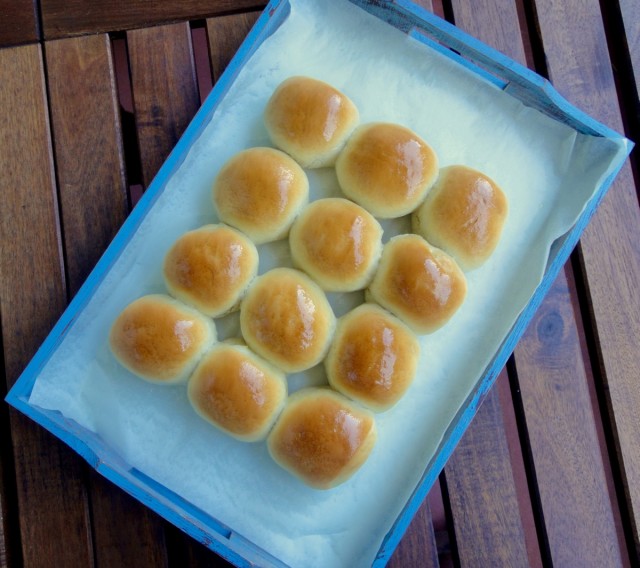
Lion House Dinner Rolls
I’ve always liked bread rolls. They are simply yummy, fluffy and buttery, but baking bread has always been something that scares me till now, even with some years of home baking. Even though it’s scary, I just love the smell of bread baking…there’s just something in it that makes it oh-so-very fulfilling. Then of course, to scarf it down in minutes with the occasional tongue burning and slather it with luscious butter.
Pinterest has been my bible ever since it began. Life, has never been the same again. Thanks to it, I found out about this precious dinner roll. I don’t make it as often as I wish for because it’s quite a big batch and I do not own a larger freezer YET, to freeze the rolls for another day. The freezer that comes with the built-in fridge is like a shoe box and it’s always filled. But when I make these rolls, I separate the dough into two. One gets baked into dinner rolls and the other half, into chocolate cinnamon rolls. Yay, yeast party!
For this recipe, I like to start off using my stand mixer and once all the ingredients have been mixed, it goes onto the counter top to be kneaded. Reason being, my mixer is not able to hold that much dough.
Recipe adapted from the Lion House Cookbook.
Ingredients
- 2 cups Warm Water (45°C / 110°F)
- 2/3 cups Dry Milk Powder
- 2 tablespoons Dry Yeast
- ¼ cup Sugar
- 2 teaspoons Salt
- 1 Egg
- ⅓ cup , plus extra for brushing Butter, softened
- 5 - 5½ cups All Purpose Flour
Directions:
- In a large bowl of a stand mixer, mix in sugar, yeast, water and milk powder. Let it sit for 5 minutes till slightly frothy.
- Add in 2 cups of flour, butter, salt and egg. Mix on low with stand mixer (when available – if not mix and hand knead).
- Gradually add the rest of the flour (you may not need all the flour) until well mixed.
- Continue kneading for 5 minutes on medium speed or by hand. I use hand because my mixer can’t hold that much dough.
- The dough should be soft, not too sticky and not stiff.
- Lightly oil a large bowl and cover with a damp tea towel or plastic wrap and allow to rise for an hour or till doubled in size in a warm place.
- Prepare a baking tray and line with parchment paper. Set aside.
- Once dough has risen, lightly flour countertop and divide dough into equal balls or desired shape.
- Place on a lined baking tray, cover with a damp tea towel and leave to rise again for 30 – 45 minutes or till doubled in size in a warm place.
- Pre-heat oven to 190°C (375°F).
- Bake rolls for 20 minutes or till golden brown.
- Brush with some melted butter as soon as it comes out from the oven.
Tips:
Enjoy!
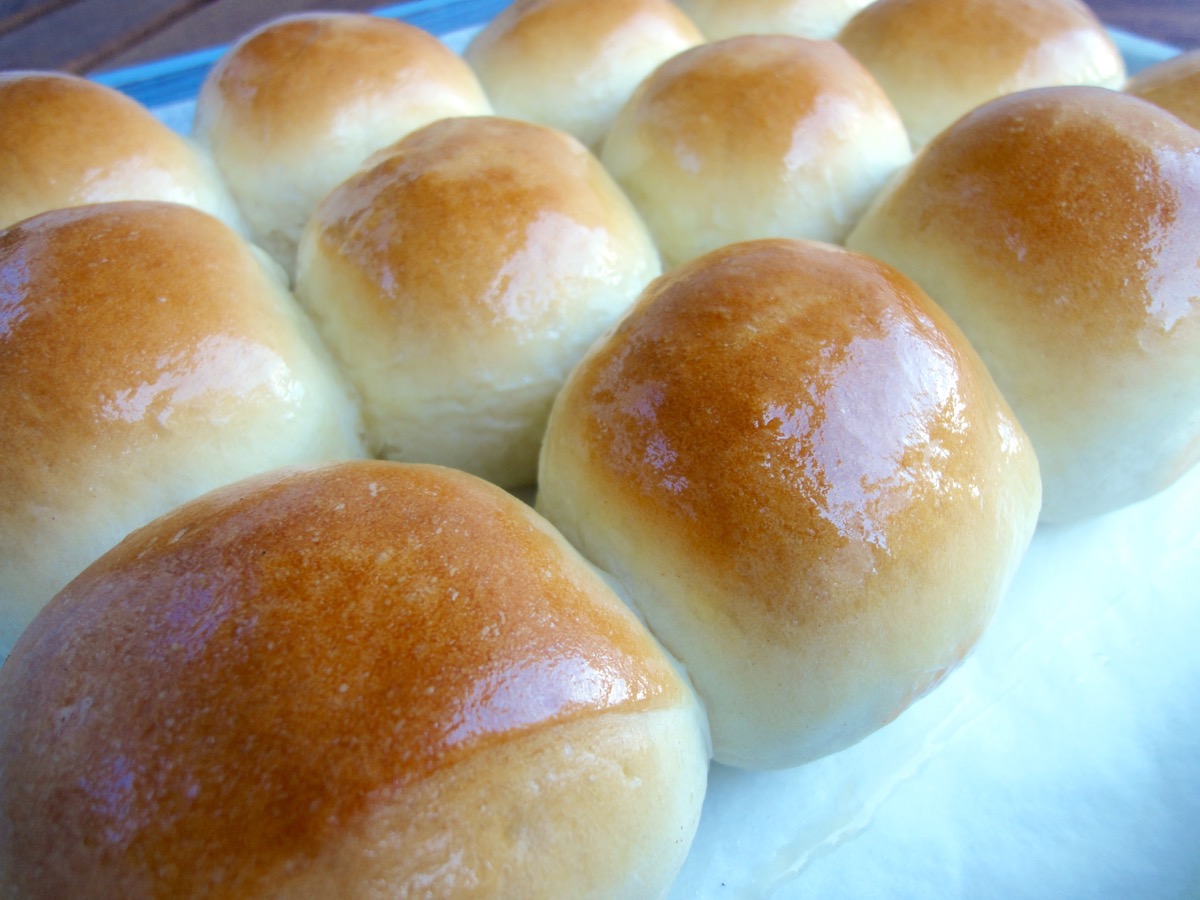
Shine from the melted butter
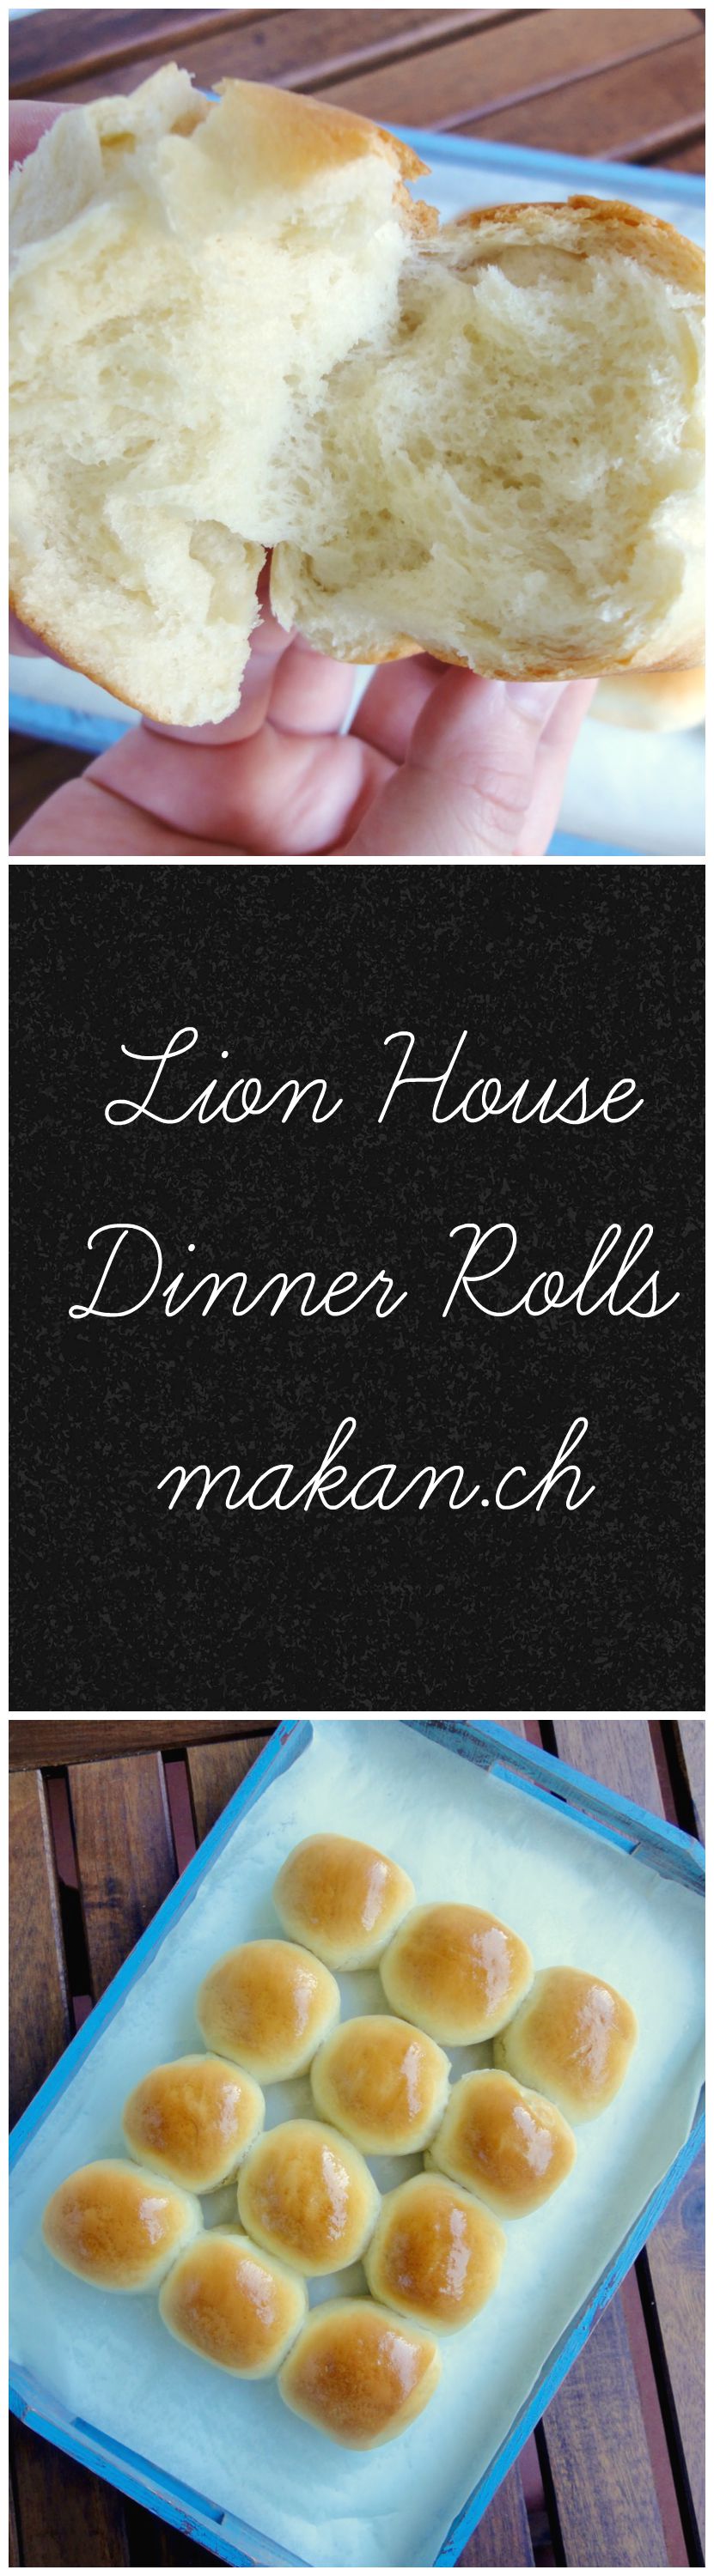
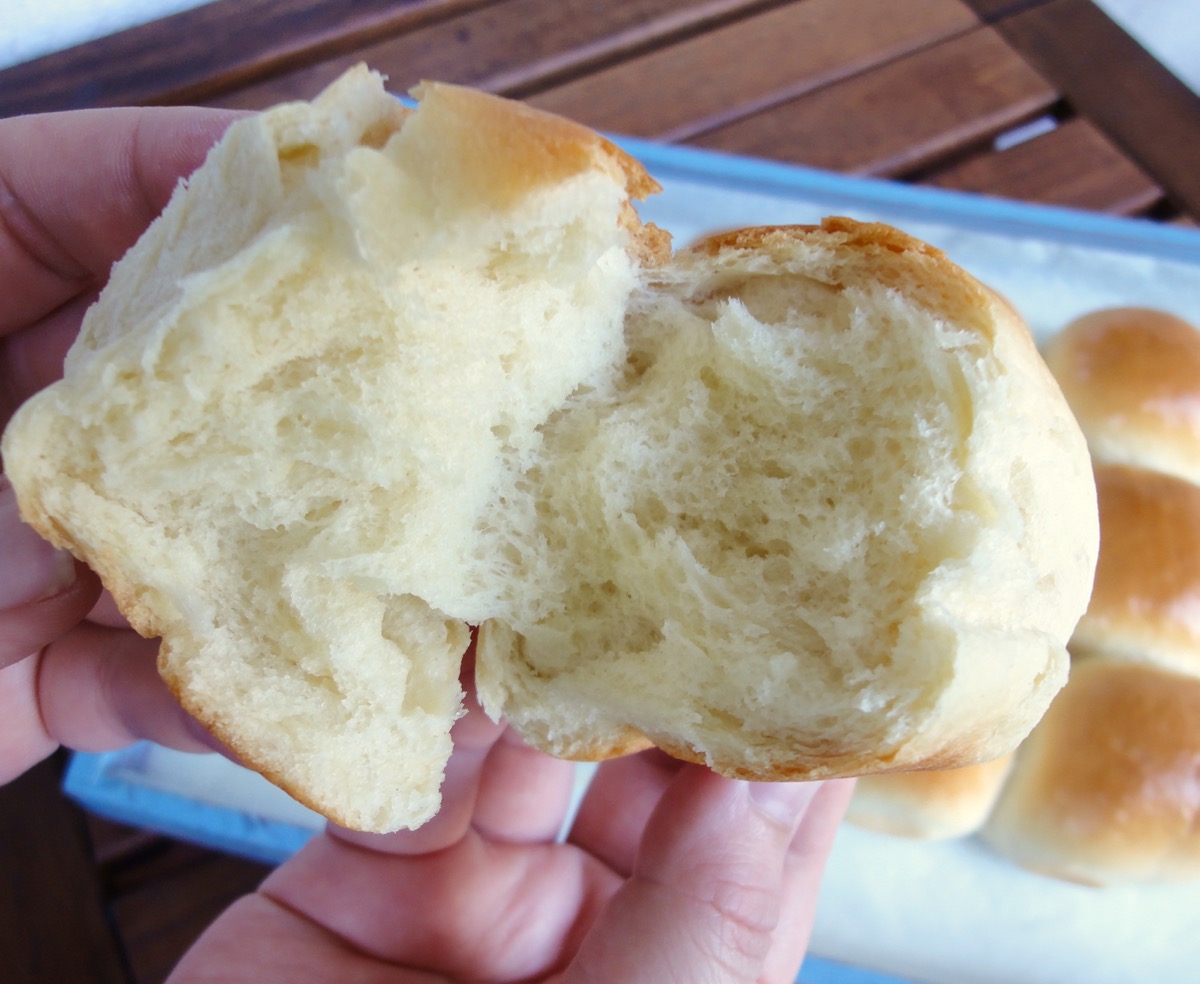
See how fluffy it is!
Apple Crumble
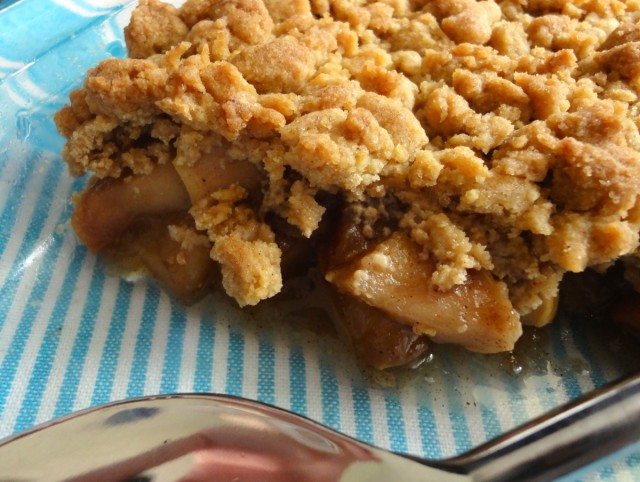
Apple crumble is one of my comfort food go-to’s. I enjoy eating it throughout the year with whatever apples I can get. This time though, I made this particular one because I mistakenly ordered a large bag (2.5 kilos) of cooking red apples. There was no name on the apple bag other than Grade 2 cooking apples. It was not too sweet, a little tart and crispy.
I was shuffling between making apple jam, apple butter or apple crumble…obviously went with the crumble because I have 4 types of jams in the fridge and that’s gonna take me some time to finish it off. Most recipes don’t require the apples to be cooked prior to baking, but I personally like cooking the apples prior so that it really gets infused with the spices but not too long that it gets too soft.
This recipe keeps for up to a week in the fridge and is great eaten hot or cold!

Apple Crumble
Apple Filling
- 6 large Cooking Apples
- ¼ - ½ cup (depending on sweetness) Brown Sugar
- 6 sticks / 1 tablespoon (powder) Cinnamon
- 4 pieces Star Anise
- 4 pieces Clove
- 2 pods Cardamon
- 1½ teaspoons Nutmeg
- 2 tablespoons Water
- 2 teaspoons Cornflour
- To taste Salt
Crumble
- 1 cup Flour
- 1 teaspoon Baking Powder
- ½ cup Butter, cubed
- ½ cup Packed Brown Sugar
- ¼ teaspoon Cinnamon Powder
- ¼ teaspoon Salt
Directions:
- Apple Filling
- Set aside apple filling aside.
- Take 1 teaspoon of water and mix it with the cornflour. Add to apple filling and mix well.
- Cook on medium high for 15 minutes.
- Add to a saucepan or pot. Except for the cornflour, mix in all the apple filling ingredients.
- Core and cut apples into 1 inch chunks.
- Crumble
- Remove and combine more by hand.
- In a food processor, add all the ingredients and pulse until large crumbs are formed.
- Assembly & baking
- Pre-heat oven to 190°C.
- In a 9 x 9-inch glass or ceramic baking dish, add the apple filling.
- Pour crumble evenly over the filling.
- Bake for 30 minutes.
- Serve immediately with vanilla ice cream, cream, or even custard.
Tips:
Happy baking & enjoy!
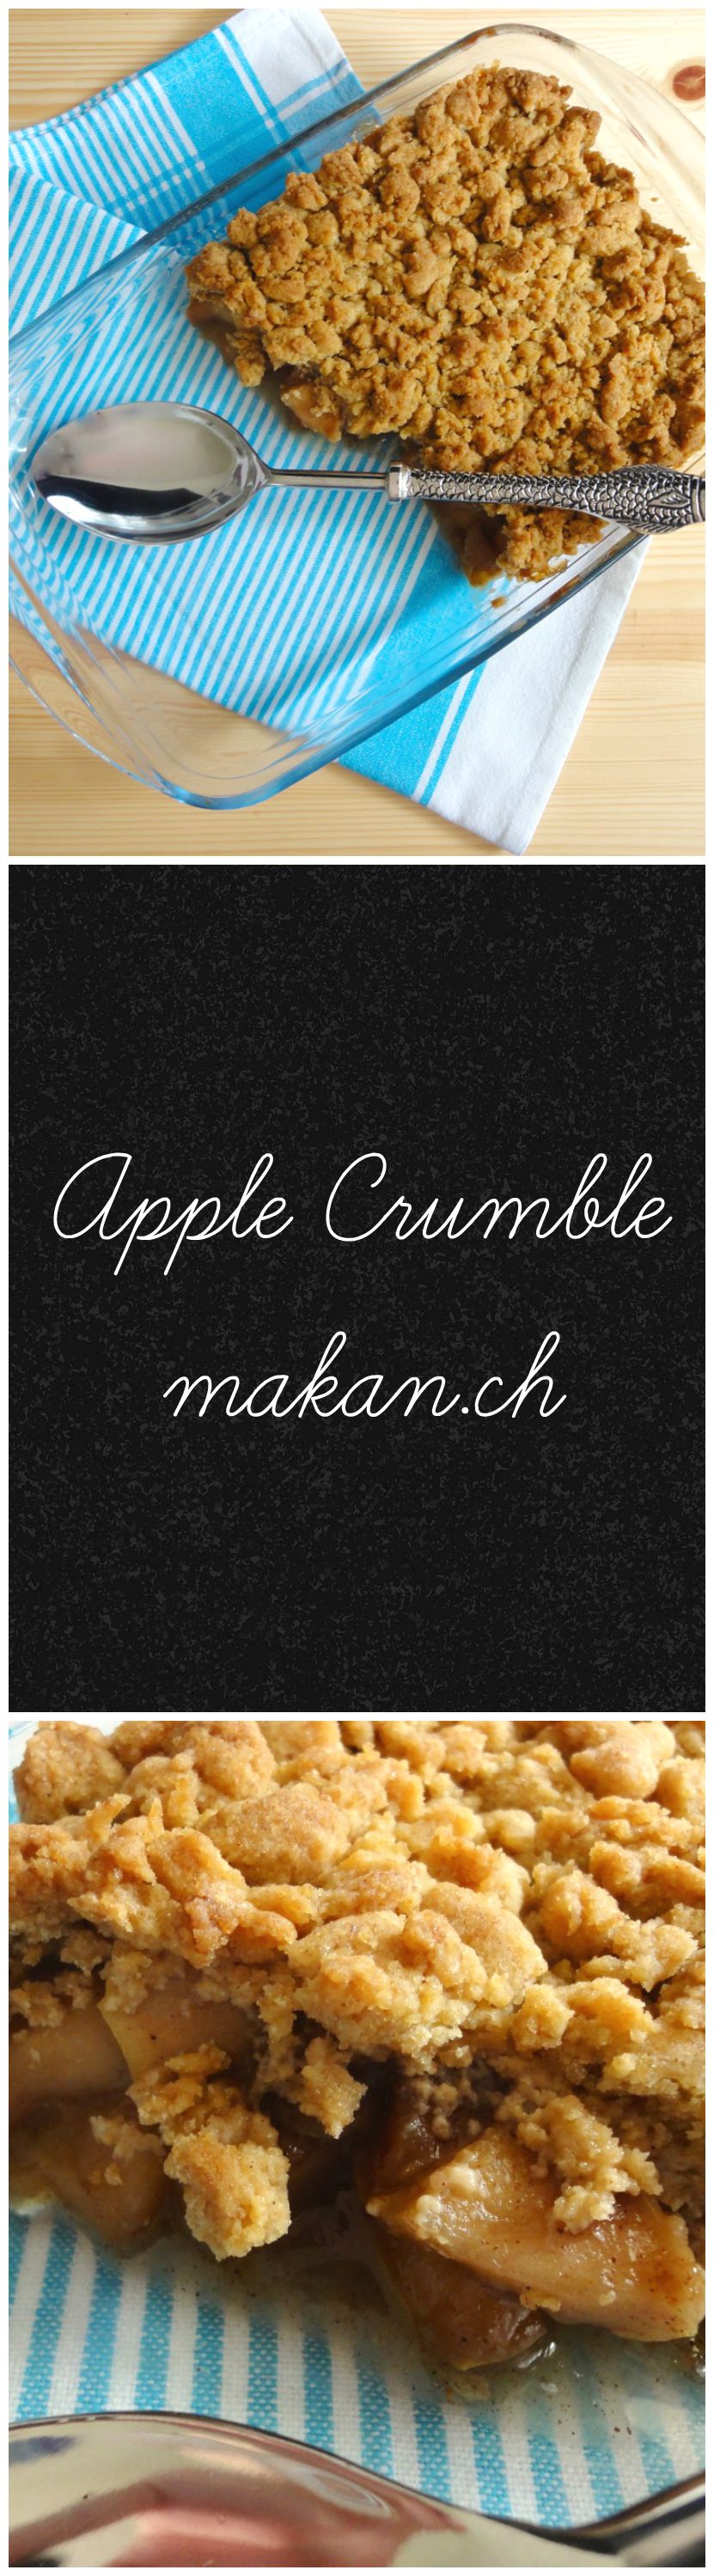
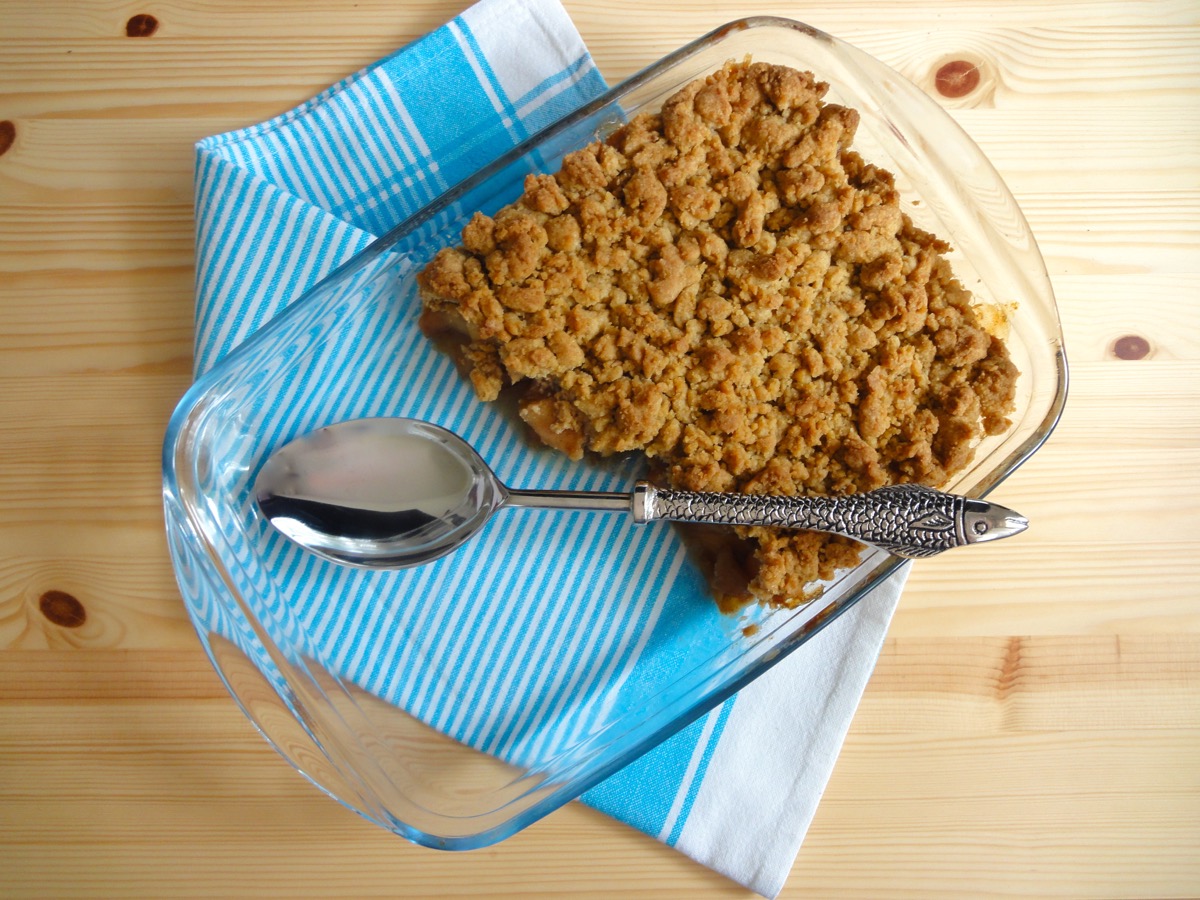
Apple Crumble with my new fishy serving spoon!
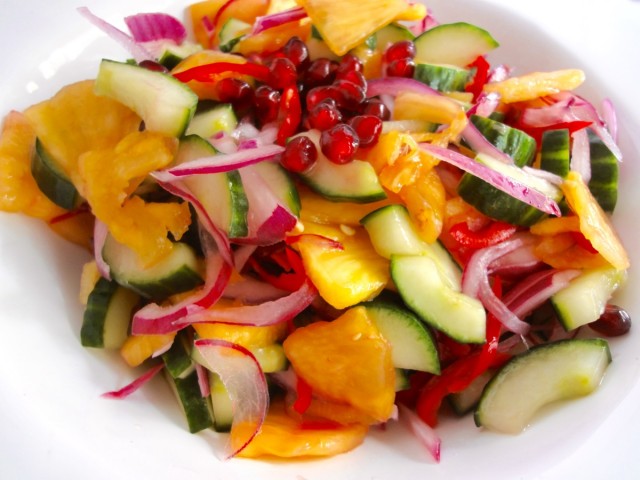
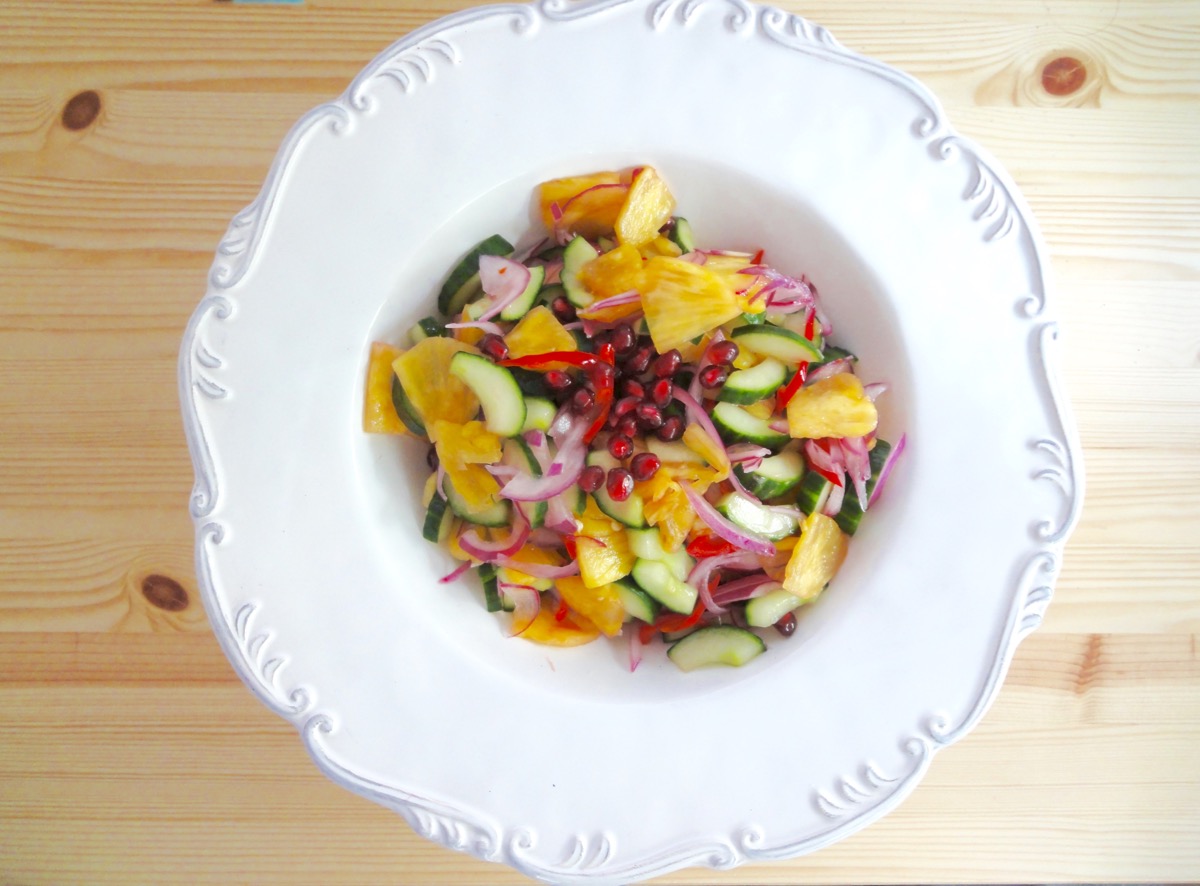
Spicy Cucumber & Pineapple Salad (Kerabu)
Kerabu means food that is made from cuts of cucumbers or vegetables seasoned with salt, chillies, etc. Yes, I got it out of the Bahasa Malaysia dictionary.
This past 2 weeks have been really hot in Switzerland, and I’m from a tropical country! I barely wanted to cook anything that involved standing in front of the stove. Moreover, I had guests over on Saturday (luckily it was cooler) and cooked butter chicken, so I paired this cold salad with it. It’s very refreshing with just a hint of spiciness.
For this recipe, I used some pomegranate because it caught my eyes while I went on my weekly grocery shopping. By the time I was done getting the gem-like seeds out, I looked like I had Unicorn tears all over me (according to the hubby). I made a mistake of wearing a white top. Lesson learnt. Plus, pomegranate gives the salad an awesome colour boost.
Ingredients
- 1 Cucumber, deseeded and diced
- ½ Pineapple, diced
- 5 tablespoons Pomegranate
- 1 medium Red Onion, thinly sliced
- 2 (or according to taste) Red Chillies, thinly sliced
Lime Dressing
- 3 tablespoons Lime, Key Lime or Kalamansi
- 2 tablespoons (or according to taste) Sugar
- To taste Salt
Directions:
- Mix limes with sugar and salt. Let dissolve.
- Combine all ingredients with lime dressing.
- Chill for an hour, toss it a few times in between.
- Serve.
Tips:
Enjoy!

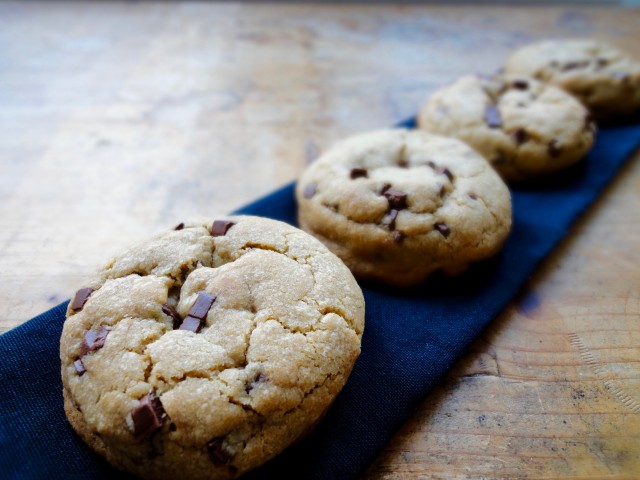
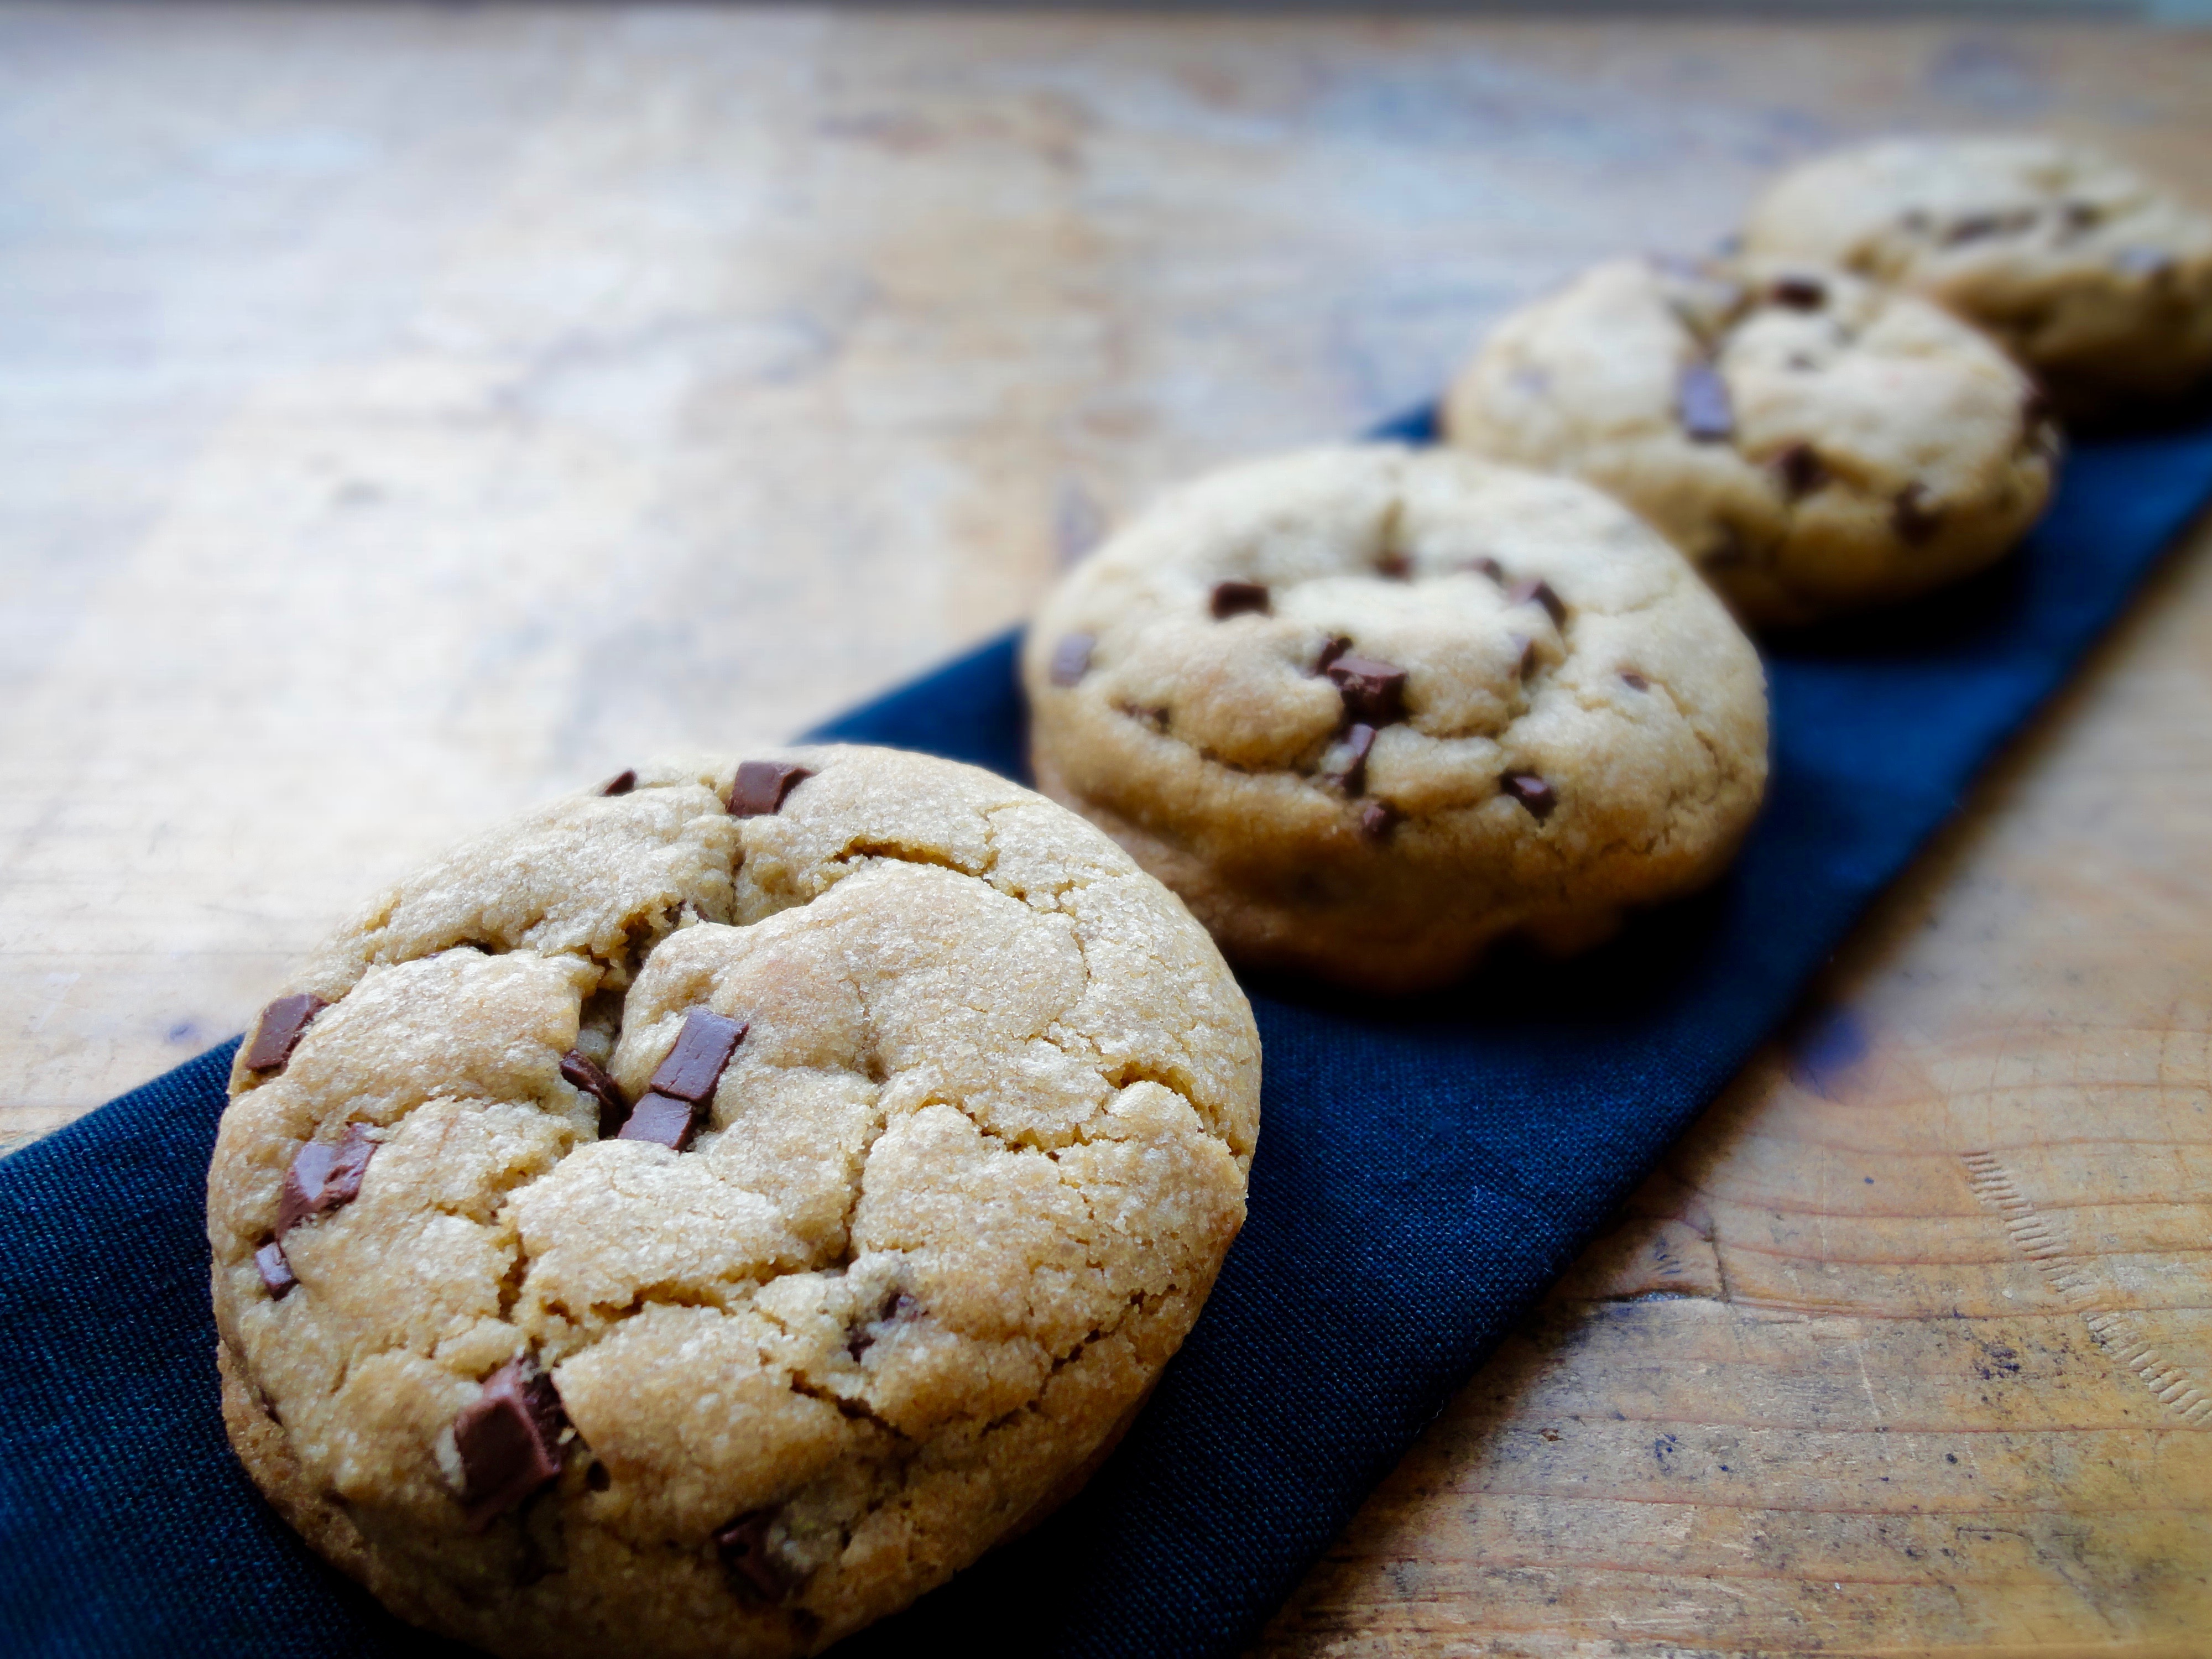
Soft Chocolate Chip Cookies
Cookies have always been a favourite of mine and have been baking homemade cookies since 14 years old. At that time, I used to just bake them free style. No measurements and ingredients got mixed in not at it’s proper order. There was even once a few years ago, where I baked a batch of cookies just before a flight back to college where I totally forgot to add sugar until the chocolate chips were mixed in. To my surprise, it created a wonderful crunch and flavour to it that my roommate at that time gobbled up the whole jar of cookies before I could even get all my bags back into the room. Sadly, till today I have not been able to recreate those cookies. I guess, my free spirited baking has been overthrown by preciseness in baking recipes.

The product of this recipe has made me not want to eat anymore manufactured cookies again! I just love everything about it and the aroma it releases…is heavenly. A special ingredient I add is a butter-vanilla flavouring vial from Dr. Oetker which I can get in my local grocery store. Of course, if you do not have this with you, it can be substituted with 2 teaspoons of vanilla extract. I also make my own brown sugar at home since it’s not easily available in here. Best part about this recipe is that you can just use a wooden spoon to mix the ingredients.
The chocolate chips are square morsels!
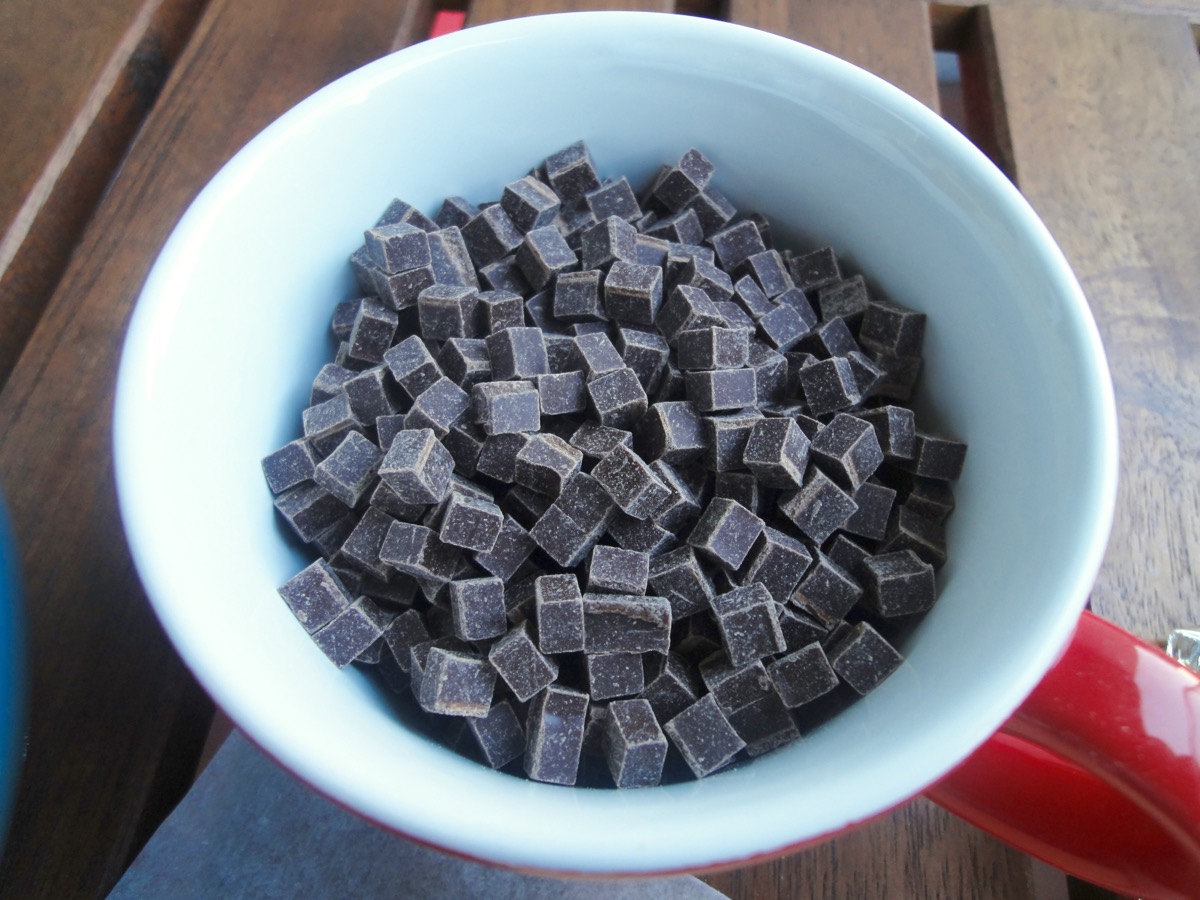
I’m guessing ‘Only in Switzerland’, chocolate chips are square!
Ingredients
- 2 cups All-Purpose Flour
- ½ teaspoon Baking Soda
- ½ teaspoon Salt
- ¾ cup Butter, unsalted
- ½ cup Packed Light Brown Sugar
- ½ cup Sugar
- 1 nos Egg
- 1 nos Egg Yolk
- 2 teaspoons Vanilla Extract
- 1 cup Chocolate Chips
Directions:
- Sift flour and baking soda and keep aside.
- Melt butter in a pot (do not boil)- big enough to mix in all the other ingredients.
- Mix in sugars and salt. Set aside to cool down.
- Once cooled, add vanilla extract and eggs one by one while mixing.
- Add in the flour and baking soda mixture and mix to slightly combine.
- Lastly, add the chocolate chips.
- Scoop ¼ cup of dough and roll it into a ball. Repeat till dough is finished.
- Place dough on a plate and cover it with cling wrap.
- Chill the dough for 30 minutes.
- Preheat the oven to 165°C and prepare baking trays with parchment paper.
- Place dough balls onto prepared baking trays. Do not place the dough too close to each other, ideally it should be about 3 inches apart.
- Bake for 16 – 18 minutes.
- Allow cookies to cool for 10 minutes on trays before transferring to cooling racks.
Tips:
- If you wish to have crunchy cookies instead of soft, simply bake it 5 minutes longer and use regular white sugar instead of brown sugar.
- Cups to Grams conversions
Guten Appetit !
Chicken Congee / Chicken Rice Porridge

Congee or rice porridge is a common ‘sick people’ or baby food. It’s tasty and easy to digest. When I was young, my go-to sick food was chicken porridge or KFC mashed potatoes. When you have a cough, the doctor will advice to not have oily foods, but I will still add sesame oil to my porridge (while my mother looks away). That’s like the best part about porridge!! Tons of heavenly sesame oil.
Other than it being a ‘sick people’ or baby food, porridge is also eaten for breakfast or actually anytime you wish to. Nowadays, I cook it on my lazy days and on cold winter days. The ginger in it gives out a nice warm feeling in the tummy. However, if using as baby food, you normally do not add any seasoning to it. So just plain porridge with a choice of protein and veggies all blended together.
Most Chinese restaurants in Malaysia cook it on request, some even specialise in it. You can even buy instant porridge in cups or packets where you just need to add boiling water to it.
So what is rice porridge? It’s just plain white rice that has been boiled with lots of water until the rice breaks down and becomes thick and gooey. You can also use your own choice of meat, such as chicken, pork or fish. It’s also a great way to use up leftover rice if you do not feel like having fried rice. The basic condiments are spring onions, julienned ginger, fried onions. Other condiments (when available) include pork or chicken floss (rousong), pickled mustard plant (zha cai), and fried chinese crullers (char kway). For added seasoning, add sesame oil, light soy sauce, and white pepper.
There are two ways I use to cook rice porridge. The first is by cooking it manually over the stove top in a large pot. The second is by using the rice cooker, so all I need to do is mix in the ingredients and press a button and stir every now and then.
In Switzerland, I have yet to see a Chinese restaurant have porridge on their menu. That’s basically not a problem, but when I am sick…porridge is all I crave for. But I do not want to be standing and stirring at the stove while I am sick. I use to also not really want to cook porridge because I am the only one who used to eat it. My husband always had the notion that my rice porridge was sweet, like grits or oats. It took me 3 years to convince him to even have a spoon of it. Now, he loves it! He even eats more servings than I do and requests it all the time.

Ingredients
- 1½ cups White Rice (jasmine), washed
- 8 cups (+/-) Water
- 2 pieces Chicken Breast, sliced
- 2-inch Ginger, sliced
- To taste Salt & White Pepper
- 2 tablespoons Sesame Oil
Condiments
- Spring Onions
- Fried Onions
- Ginger, julienned
- Salt & White Pepper
- Sesame Oil
- Light Soy Sauce
Directions for rice cooker:
- Wash rice till water runs clear in rice pot.
- Add water, ginger, chicken, sesame oil, salt, and pepper.
- Press cook. This will take about an hour.
- Stir occasionally to prevent rice from sticking to the bottom.
- Once rice has broken down, you can adjust the thickness of the porridge. If it’s still too watery, cook it longer and if it’s too thick, add more water.
- Add choice of condiments. Serve.
Directions for stove top:
- Follow directions above, just use a large pot.
Tips:
- Do not fill rice cooker with water exceeding ¾ of the pot. You can always start with less water than the required and add the rest later.
- You may not need all the required water. Reduce or add water depending on the consistency you prefer.
- If using already cooked rice, use a ladle to break up any rice clumps first.
- If using fish, add it after the porridge has been cooked. Gently stir it in and cook porridge again till fish is cooked, about 4-5 minutes.
- 1 cup rice = 185 grams
- Cups to Grams conversions
Enjoy!


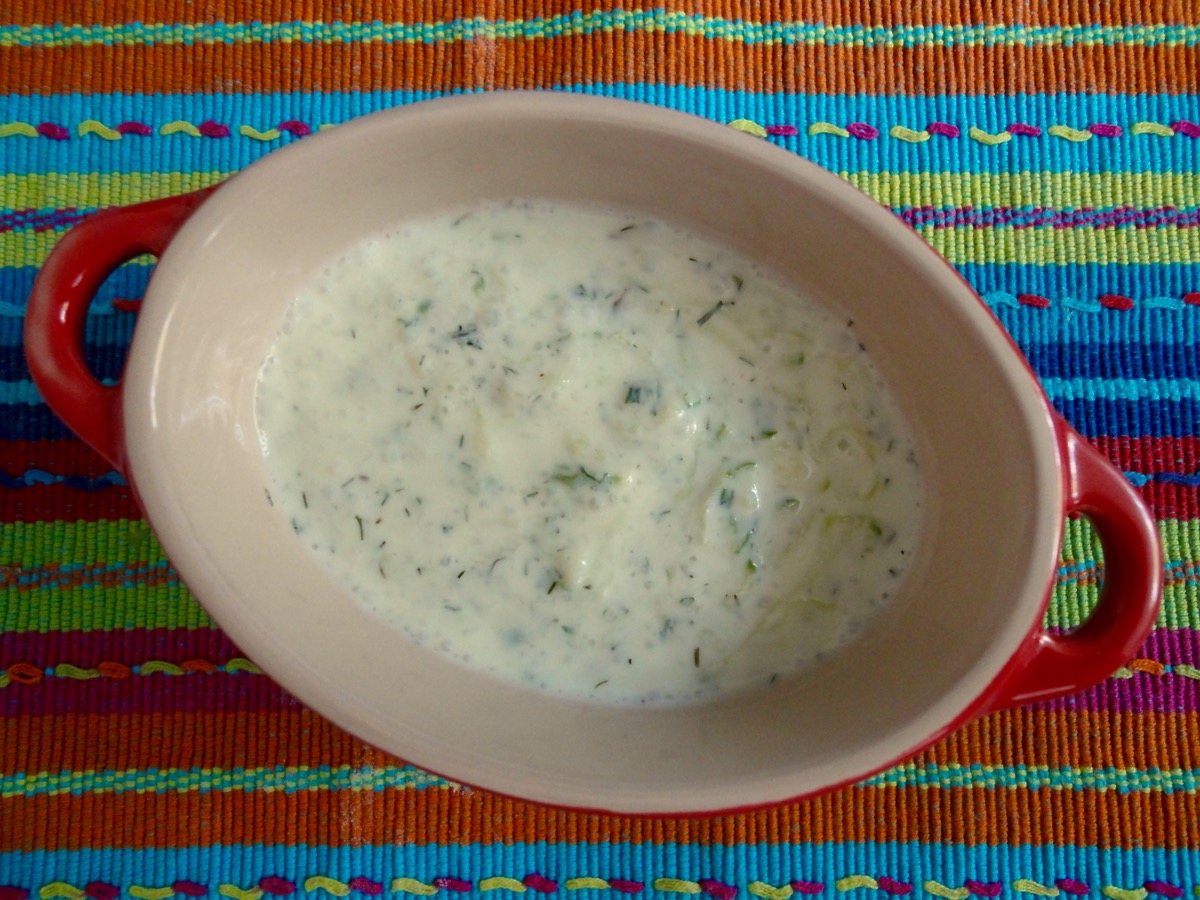
Tzatziki Sauce

A quick cold yogurt sauce great for Kebabs, Pita Bread with Falafel, or sandwiches.
Back in my Uni days, my friend Ling and I used to frequent a Kebab house that baked the best chicken wings ever! It was super crispy, juicy and tasty. Ling use to pair her wings with yogurt sauce and she introduced it to me. I loved it instantly! Ling also had a way to eat wings…with a fork and knife. On top of that, she actually spent time de-boning it before eating it. Her way was genius as you could then fill the wings up with the yogurt sauce! Like a stuffed chicken wing.
She was my eating, shopping, b*tching and sometimes snuggling/sleeping companion. We used to also spend lots of time watching trailers together. So Ling Ling, this is for you!
Ingredients
- ½ (about 6-inches) Cucumber
- 1 cup Yogurt or Greek Yogurt
- 1 clove Garlic, minced
- ½ tablespoon Dill, dried or fresh
- 1 tablespoon Fresh Mint, chopped
- 1 teaspoon Sugar
- To taste Salt
Directions:
- Cut cucumber lengthways, use a teaspoon to deseed.
- Use food processor to grate cucumbers.
- Mix cucumbers, yogurt, garlic, dill, chopped mint, salt and sugar.
- Refrigerate for 2 hours before serving.
Tips:
Enjoy!
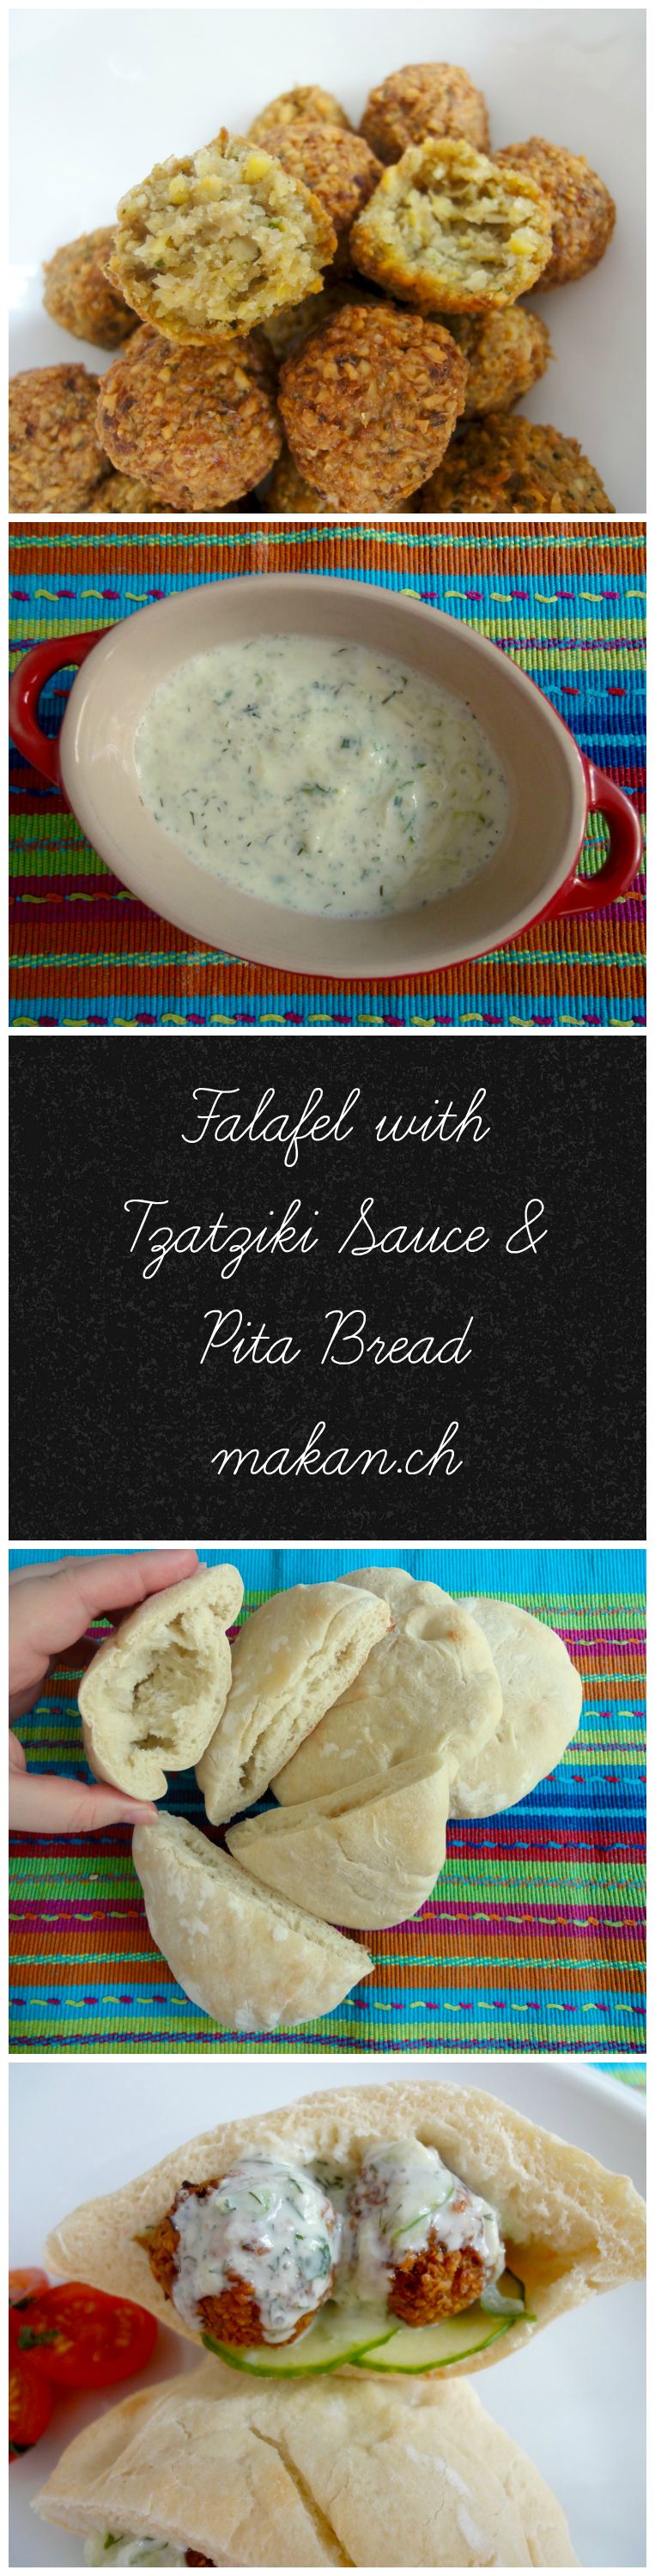
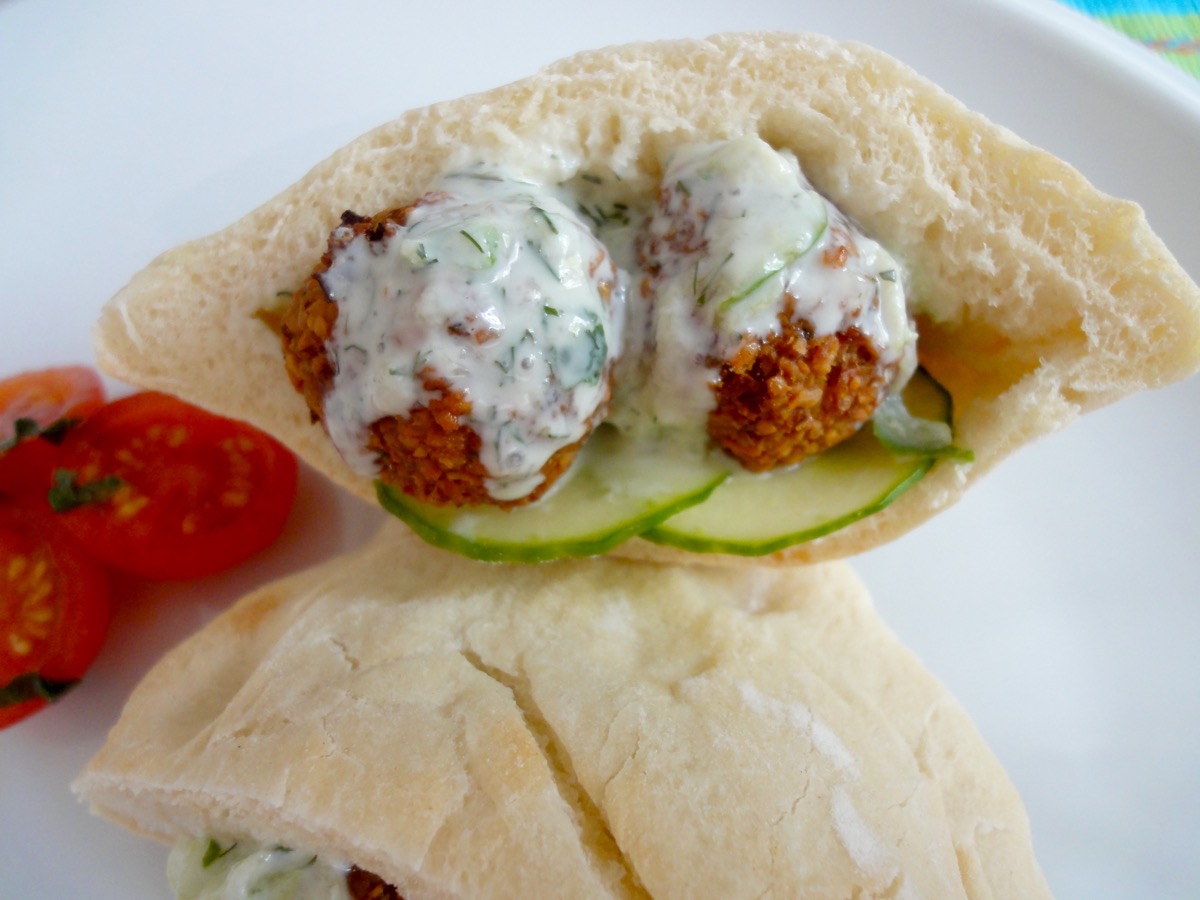
Pita with Falafel and Tzatziki Sauce
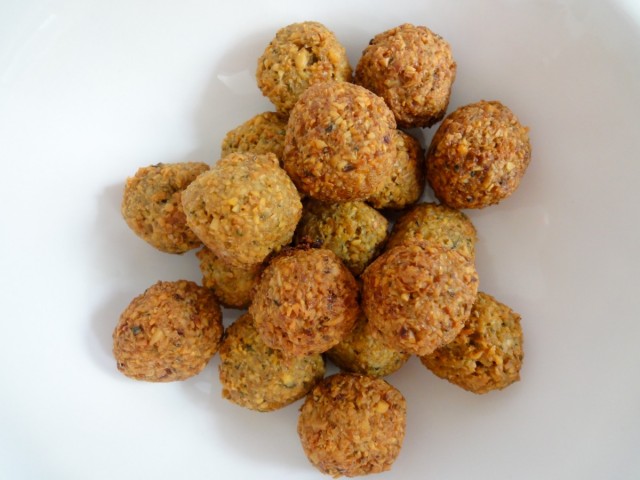
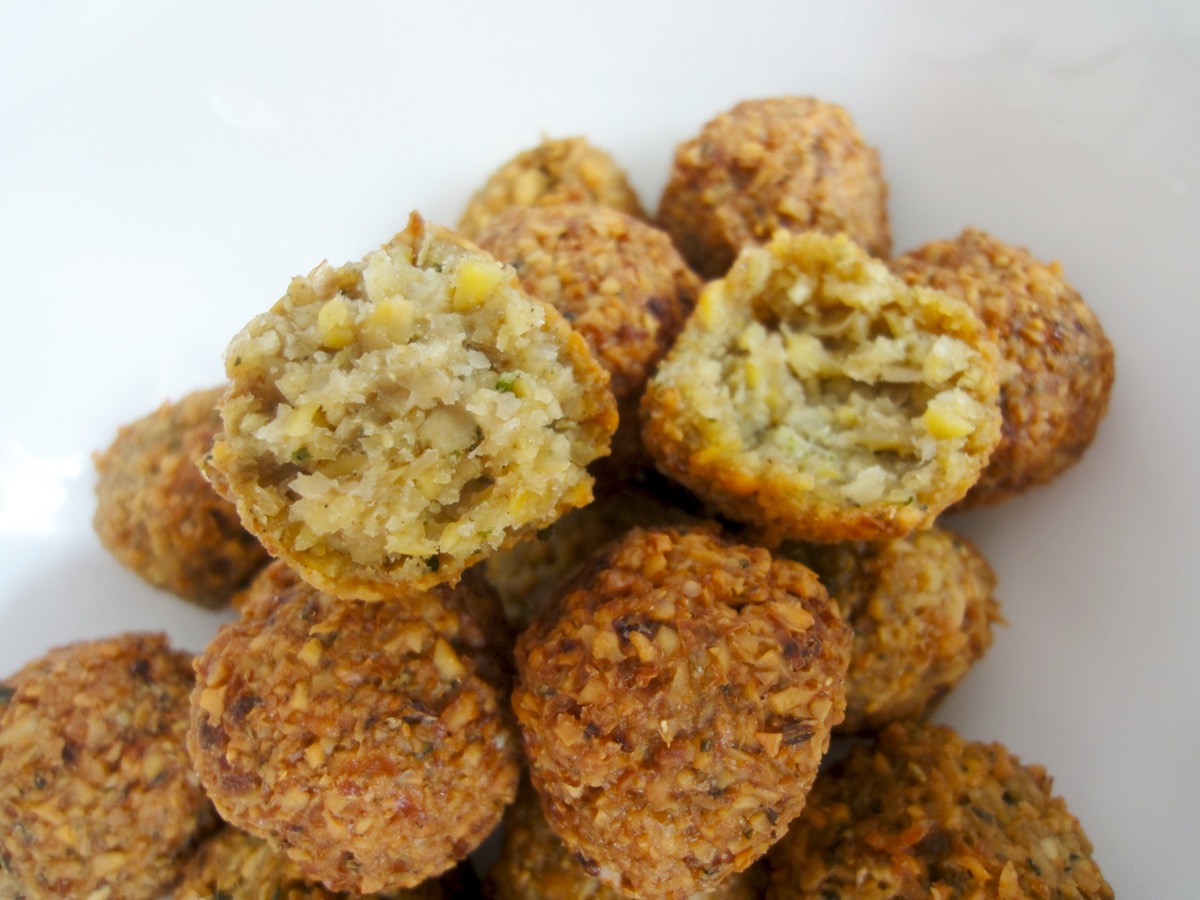
Falafel
Most homemade products are better than ready-made ones or commercial ones. As for Falafel, I like it homemade or from a Kebab house. The first time I made Falafel, I did not have a big food processor. I had a tiny one meant for maximum 2 medium onions. My good friend was with me at that time and we spent a good 45 minutes blending the chickpeas with the other ingredients. The end product was nice and tasty but it didn’t taste much like Falafel. Instead, it tasted like Marsala Vadai (an Indian snack made from Chana Dal). Our guess was we added too much cumin seeds to our mixture. We still gobbled it up with some tortilla’s and had a good laugh about it.
I prefer using dried chickpeas (soaked overnight) instead of the canned ones and it gives the Falafel a better texture. I find canned chickpeas too mushy for Falafel, so it shall be reserved for Hummus. This recipe can last about 3 days in the fridge and up to 6 months in the freezer.
Use Falafel for stuffing pita bread with tzatziki sauce or just a snack on it’s own.
Ingredients
- 1½ cups Dried Chickpeas (to be soaked overnight)
- ½ cup Onion
- ⅓ cup Coriander
- 4 cloves Garlic
- 2 teaspoons Salt
- 2 teaspoons Cumin Powder
- 1 teaspoon Cumin Seeds (optional)
- 2 teaspoons Coriander Powder
- ½ teaspoon Black Pepper
- ½ teaspoon Smoked Paprika Powder
- ½ cup Gram Flour (Chickpea Flour)
- For frying Peanut Oil
Directions:
- Soak chickpeas overnight in a large bowl of salted water. Make sure there is enough water as the chickpeas will expand up to double it’s dried size.
- Drain chickpeas and rinse.
- Roughly chop onions, garlic, and coriander.
- Add all ingredients to food processor and blend till chickpeas resemble small grains and slightly pasty. Over blending will result into Hummus. You might have to use a spatula in between to mix ingredients so it blends evenly.
- Transfer to a sealable bag or container and refrigerate for 2 hours.
- Add frying oil to pan or wok and heat it up to medium high.
- Scoop out Falafel and shape into balls or desired shape. I use about 1 tablespoon per ball.
- Deep fry on medium high heat till golden brown.
Tips:
- Store falafel (uncooked) in a zip lock bag and freeze for up to 6 months
- 1 cup chickpeas = 152 grams
- Cups to Grams conversions
Enjoy!
Pita with Falafel and Tzatziki Sauce
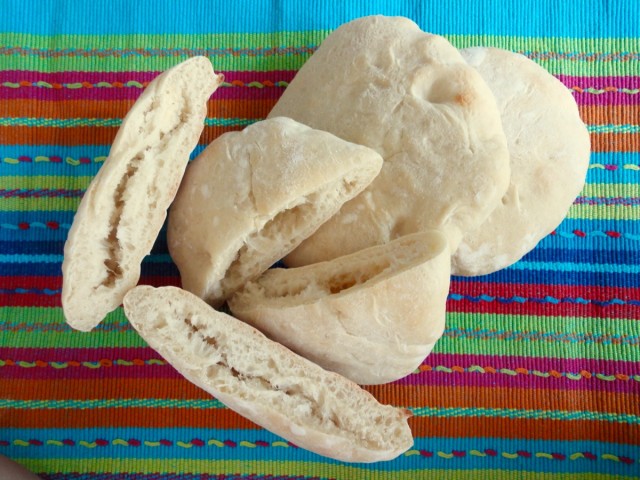
Pita Bread
Making pita bread at home is not that difficult, but it is a little time consuming unless you have a bread maker. Well, what bread isn’t really time consuming anyways? I use my stand mixer for this recipe.
The results are absolutely lovely! It beats the ones sold at the grocery store here. Unless of course you fancy dry, hard, and commercial tasting pita bread…
Pita’s may be used to dip in sauces or dips such as hummus and curries, or to stuff sandwich fillings in such as Falafel, egg salad, tuna and chicken salad. For those that did not puff up (pocket-less), it can be cut and baked to make pita chips.
The ones I made here rose a little too much. We are currently experiencing an absolutely hot summer and I accidentally left it out to rise too long. It was still yummy…just a wee bit fluffy.

Ingredients
- 3 cups All-Purpose Flour
- 1¼ cups Warm Water (45°C)
- 1½ teaspoons Dry Yeast
- 1 teaspoon Sugar
- 1½ teaspoons Salt
- 1 tablespoon Olive Oil
Directions:
- Combine yeast, sugar and 1 cup of water. Let proof for 5 minutes or until frothy.
- Using a stand mixer, mix all ingredients together using a dough hook.
- Knead for 5 minutes on medium high . If dough looks very dry, add water bit by bit.
- Transfer to counter top and hand knead till dough is soft.
- Place dough in an oiled bowl and cover with a damp towel.
- Let rise for an hour or till doubled in size in a warm place.
- Place dough on counter top. Divide into 8 equal pieces.
- Gently roll the dough into a balls.
- Flour counter top well.
- Use a rolling pin to roll dough into a 6-inch circle.
- Cover with a damp towel for 15 minutes, till slightly risen.
- Meanwhile, pre-heat oven to 260°C (500°F).
- Place pita’s on rack, about 4 at a time and bake for 5 minutes till puffed and slightly browned.
- Remove from oven and place pita’s in a paper bag. Seal.
- Once pita’s have cooled down and soften in paper bag, it’s ready to be served.
Tips:
- Step 10: Ensure there is enough flour on the counter top so that when pita’s rise, it will not stick to countertop.
- If you do not have a paper bag, you can cover pita’s with a clean damp towel.
- Paper bags should not be scented. I once used a Lush paper bag because that was all I had on hand…I had Lush scented pita’s.
- Cups to Grams conversions
Happy Baking!
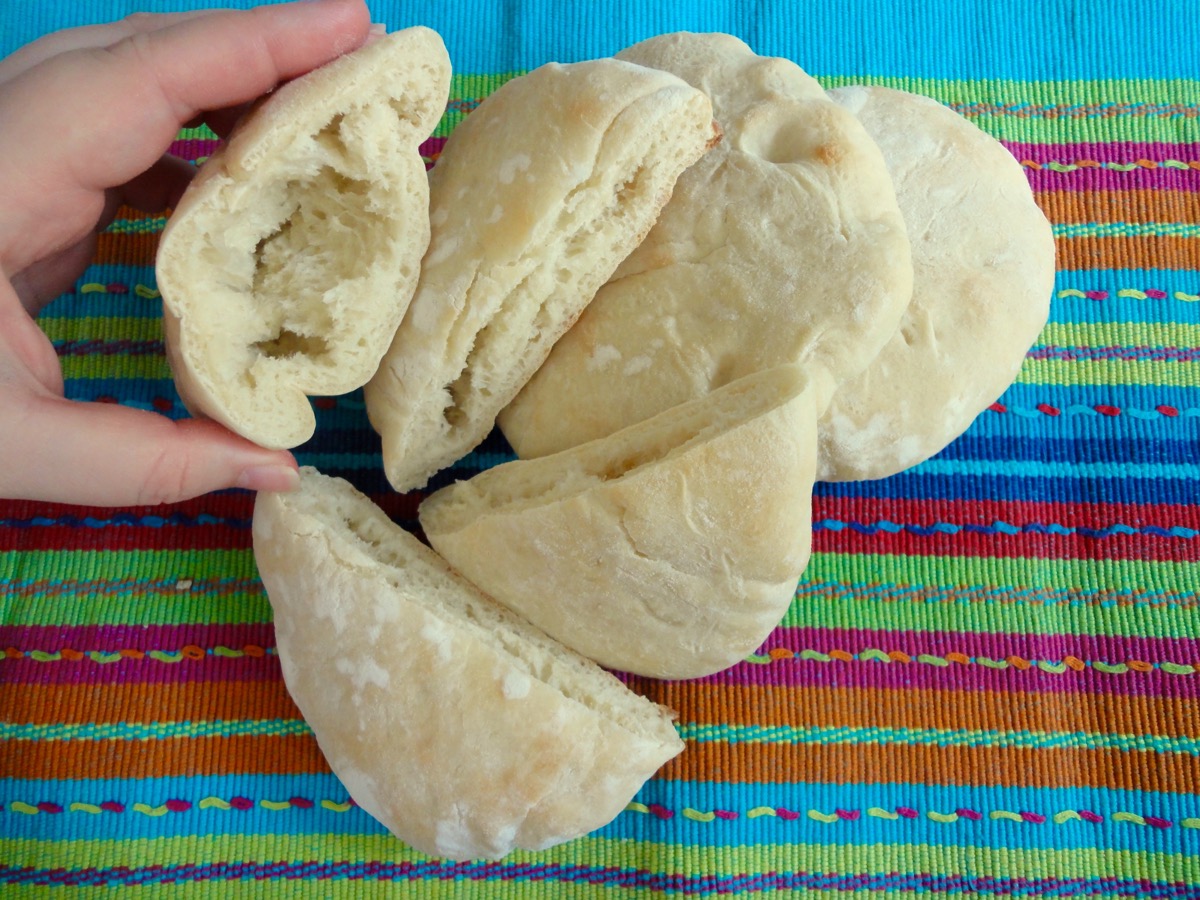
Pita Bread Pocket
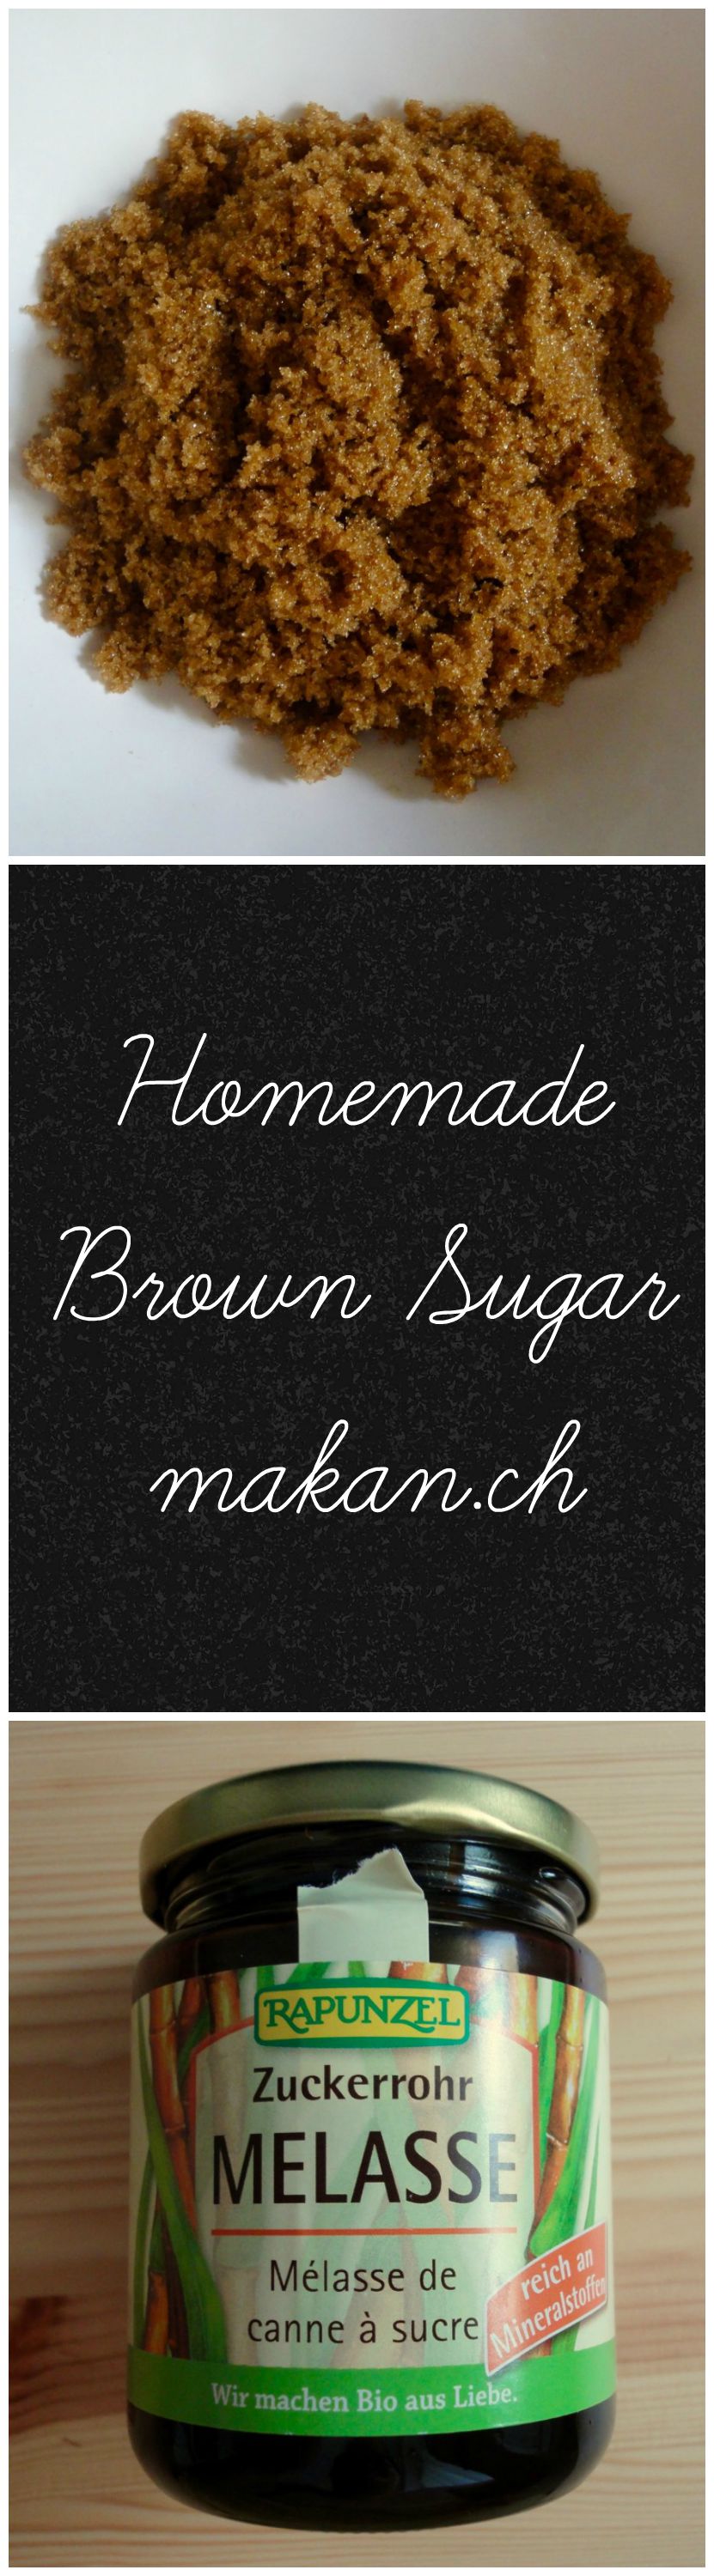
Homemade Dark Brown Sugar
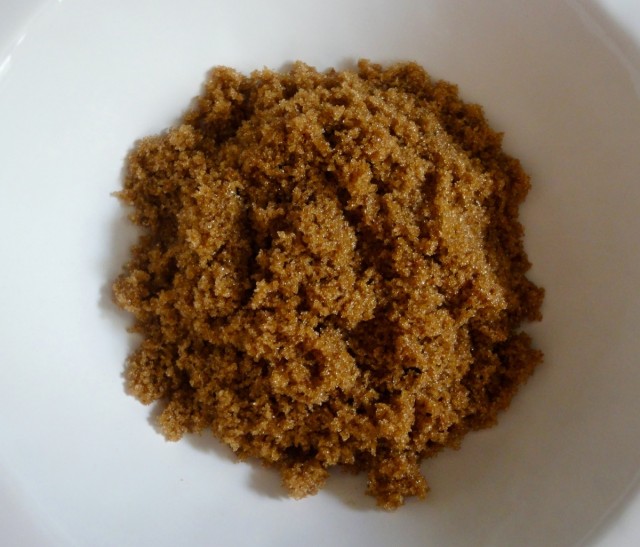
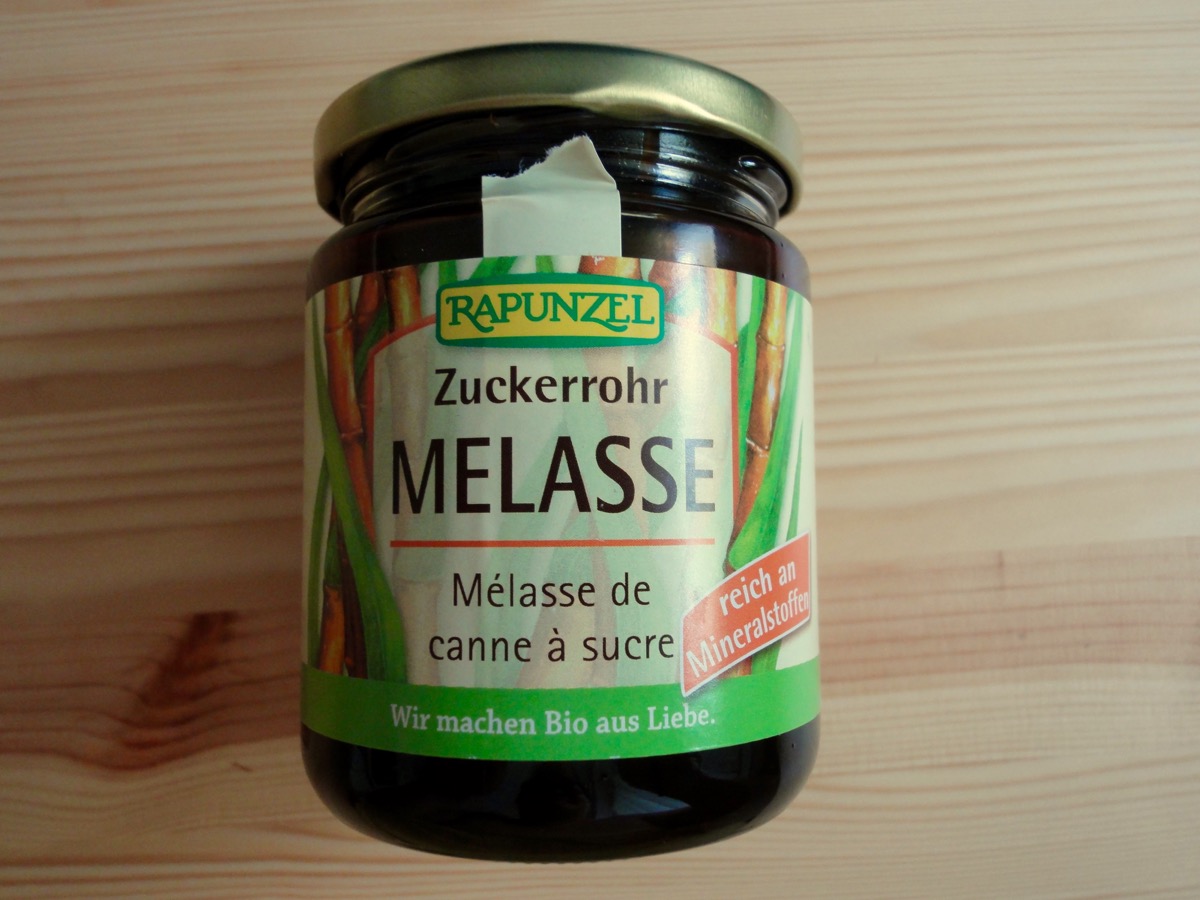
Many recipes call for brown sugar, especially cookies. But in Switzerland, you can’t easily get soft packed brown sugar in grocery stores…and even if they have it, it’s pricy. Since brown sugar is just regular white sugar with molasses, why not make it at home? The other part was finding molasses! In the regular stores, the only have Tafelmelasse which is a molasses spread for bread. It’s very thick and syrupy, almost like a different grade of maple syrup. I tried that one out but the robust taste of molasses was greatly missing. So I went to Alnatura which is a Bio Shop (Organic) near me and found Zuckerrohr Melasse (Blackstrap Molasses). So all you need is plain white sugar and molasses, blitz it up in a food processor and you are all set!
Ingredients
- 1 cup Sugar
- 1 tablespoon Molasses
Directions :
- Add ingredients to food processor.
- Blend until combine.
- Store in an air tight container.
Tips:
- For light brown sugar, reduce blackstrap molasses to half.
- Blackstrap molasses is also known as treacle.
- Cups to Grams conversions
Enjoy!