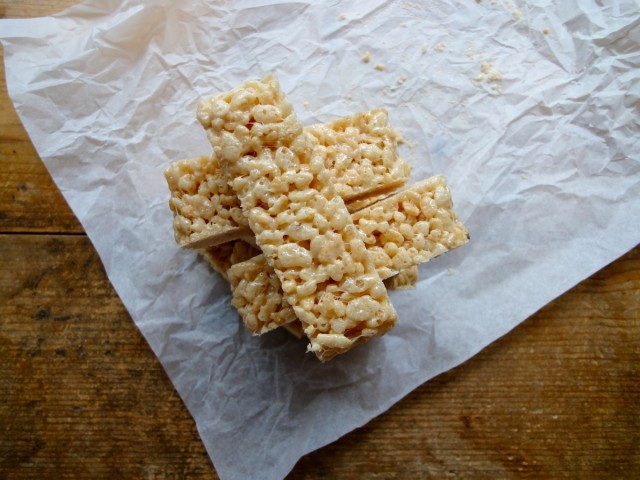
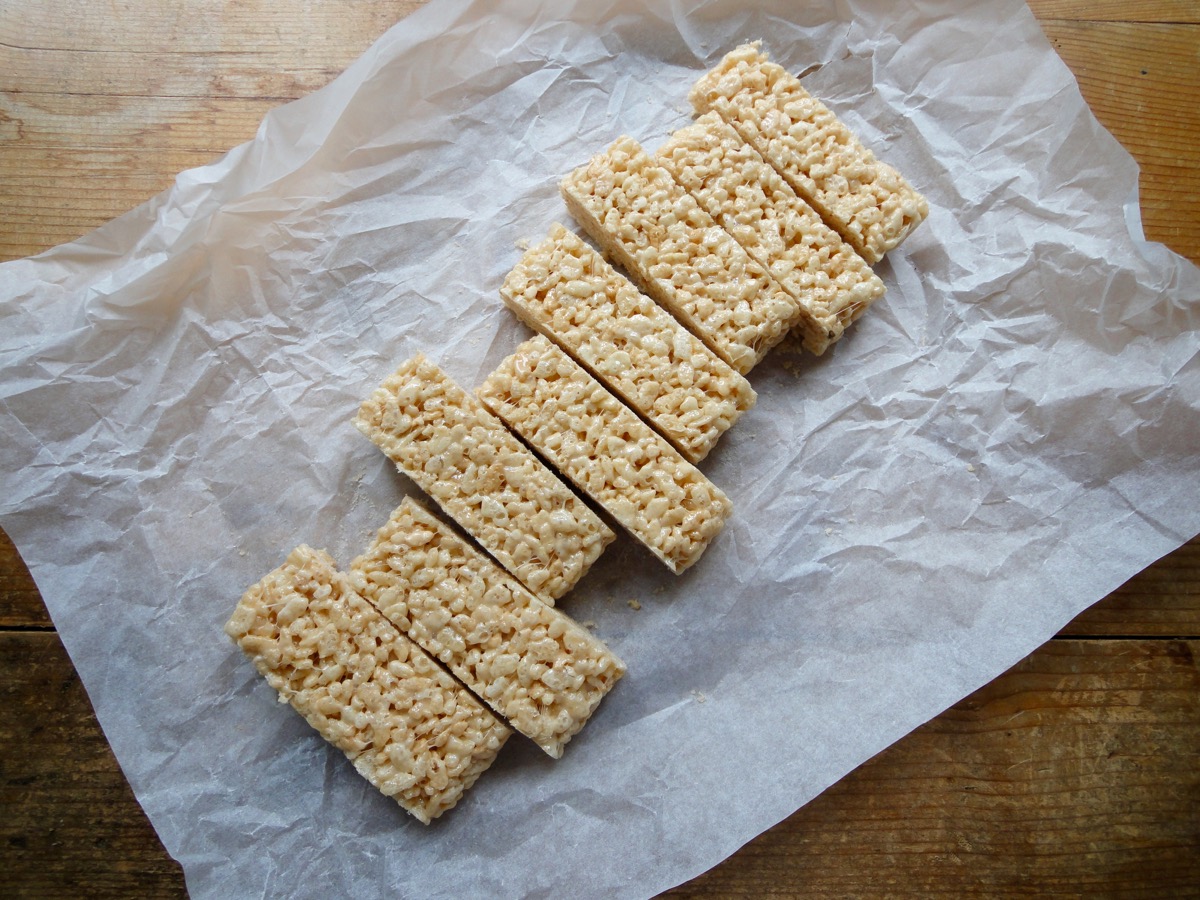
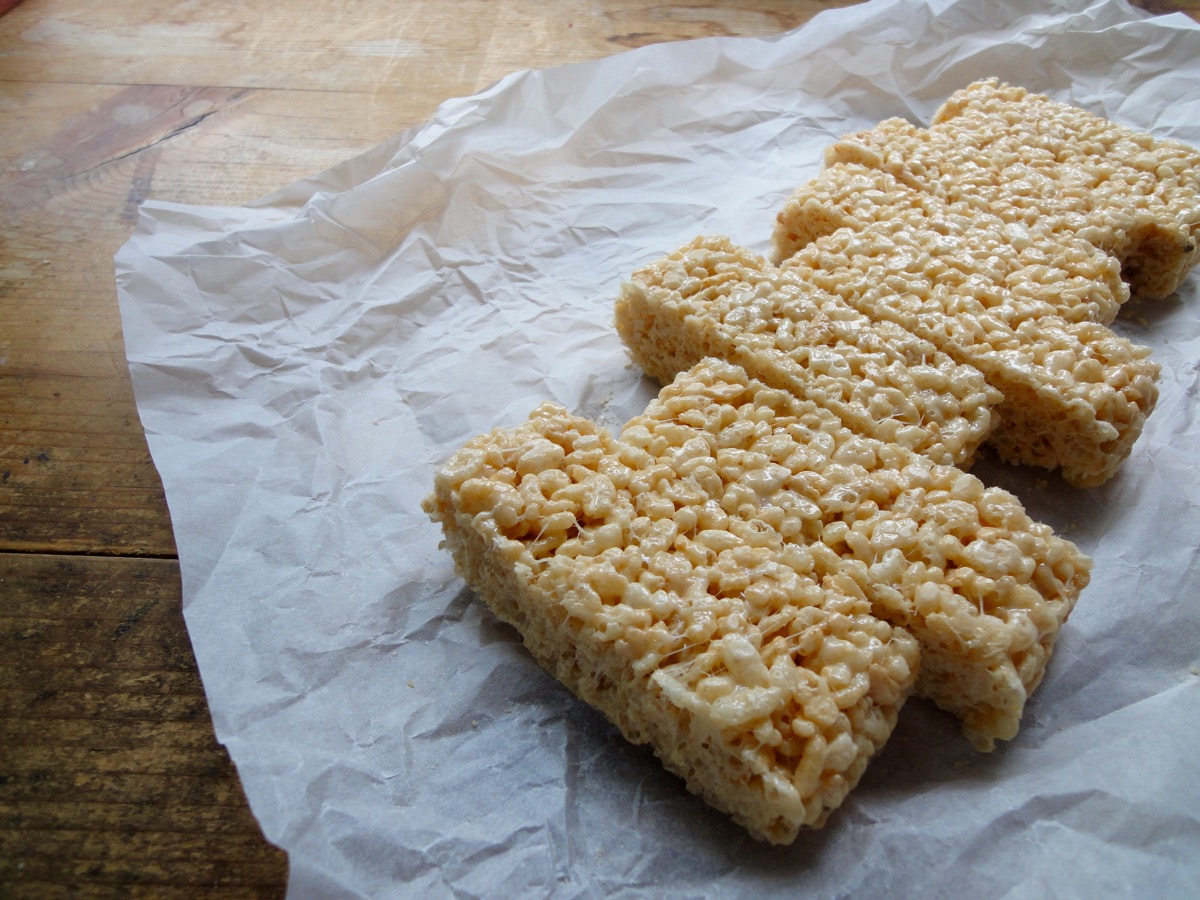
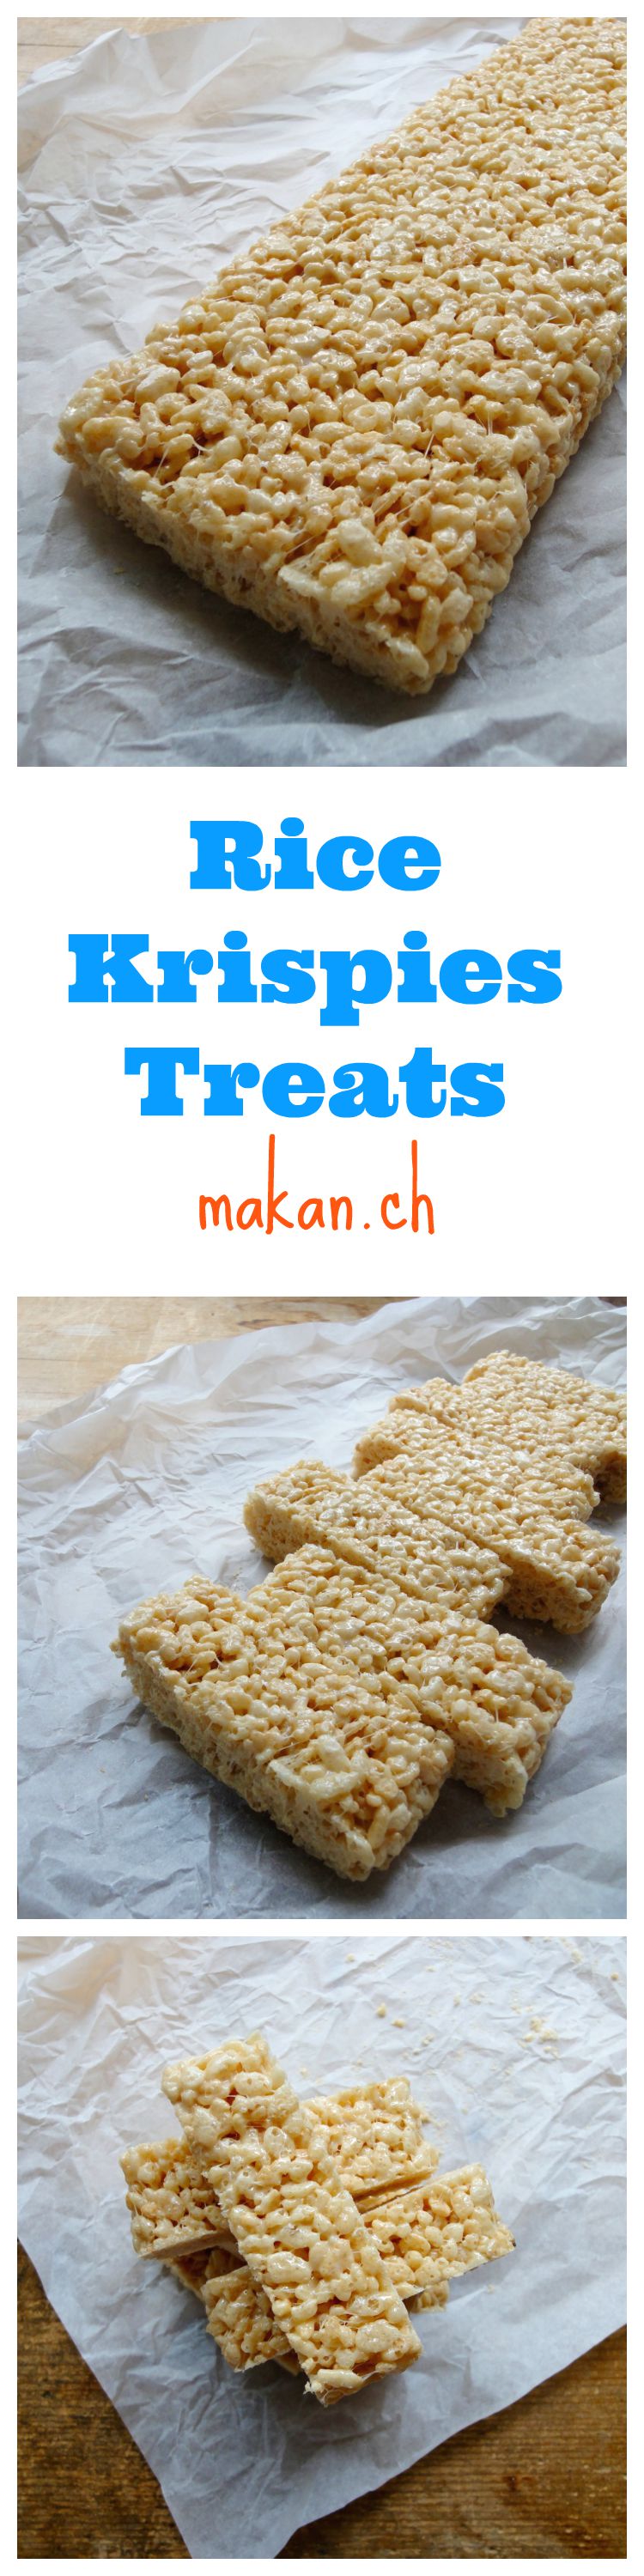
Rice Krispies Treats
These sweet treats used to be sold in Switzerland, now I can’t find them anywhere! I was first introduced to these treats back in Malaysia. My siblings and I loved these treats that were sold in blue packets. I’ve been really missing it recently and decided to make my own batch. They are so great that I actually finished the whole batch in a day. I was supposed to leave one for the hubby, but I ate it up 😛
So here it is, rice krispies treats to be made at home. Recipe adapted from Kelloggs The Original Treats ™

Ingredients
- 1 ½ Tablespoons Butter
- 5 oz / 140 grams Marshmallows
- 3 cups Rice Krispies
- 1 teaspoon Vanilla Extract
Directions:
- In a large non-stick pan, melt butter on low heat.
- Add marshmallows and stir until completely melted.
- Mix in vanilla extract and remove from heat.
- Add rice krispies, stir well until well coated.
- Transfer to parchment paper (in the middle)
- Using another parchment paper or the same, press down the rice krispies and shape it into a rectangle. Size and shape depends on you.
- Allow to cool for 45 minutes. Cut and serve.
Tips:
- Conversion table
- 10 large Marshmallows = 3 oz = 85g
- 20 large Marshmallows = 6 oz = 170g
- 30 large Marshmallows = 9 oz = 250g
- 40 large Marshmallows = 12 oz = 350g
- 1 large Marshmallow = 10 miniature Marshmallows
- 10 large Marshmallows = 1 cup miniature Marshmallows
- 1 – 10oz bag miniature Marshmallows = 2 cups miniature Marshmallows
- You can also use a 13 x 9 x 2-inch pan coated with cooking spray to mould the treats. I use parchment paper as there’s less mess and one less dish to wash.
- You can also microwave the butter and marshmallow. In microwave-safe bowl heat butter and marshmallows on HIGH for 3 minutes, stirring after 2 minutes. Stir until smooth. Follow steps 4 onwards.
Enjoy and happy treating!

Crispy Roasted Chicken Legs


Autumn is here! It has been pretty gloomy in Switzerland the past few days, and I love it! The perfect setting to have a lazy day spent curled up on the sofa watching TV series. Unfortunately, all my series that I watch alone only start returning in a week or two. So, I started to iron the piled up laundry, fold shirts with my shirt folder, pair socks and of course to put it where it belongs. It took a whole day, because it was about a months worth of laundry! 🙁 I wanted to clear out my pantry too, but never got to it. Perhaps next week!
The hubby who has also been sick the past few days (I have recovered) requested for some roasted chicken legs, since I have not roasted chicken legs for quite some time. I normally use chicken legs for claypot chicken rice or chicken chops. So, I just thawed three chicken legs (one for me, two for hubby) marinated it and popped it into the oven while I made the side dishes : mashed potato and green beans with browned butter and almonds. Recipe to follow.
It’s really simple and yummy! Also crispy! Fast to put together and most of all, you do not need to precisely follow the recipe. The measurements I have here are just an estimation of what I put in. Feel free to add your own choice of herbs and spices.
Ingredients
- 4 Chicken Legs
Marinade
- 2 teaspoons Garlic Granules
- 2 teaspoons Smoked Paprika Powder
- 2 teaspoons Oregano, fresh or dried
- 2 teaspoons Thyme, fresh or dried
- 1 teaspoon Black Pepper, freshly ground
- 1 ½ teaspoons Salt
Directions:
- Clean chicken legs and dry with paper towels.
- Place chicken legs in a sealable bag or container, add marinade and evenly cover the chicken legs with it.
- Seal bag or container and allow chicken legs to marinate for at least an hour.
- After chicken has marinated, pre-heat oven to 180°C (350°F) and prepare a baking tray with parchment paper. Scrunch up the ends of the parchment paper to avoid fat from chicken legs spilling onto baking tray.
- Roast for an hour. Check chicken legs by inserting a knife to the thickest part of the leg. Make sure the juices run clear and there is no sight of pinkness in the chicken. If still uncooked, continue roasting at 180°C (350°F) for another 15 minutes.
- Remove from oven and serve.
Tips:
- Conversion table here
- Rosemary goes very well with chicken, add if you want.
- If you have any balance chicken legs, shred it up and toss it in the fat that’s left on the baking tray, refrigerate and use it for chicken sandwich or salad the next day.
- For nutritional information, please visit my Yummly page and scroll to the bottom of the recipe.
- If you are using MyFitnessPal app to count calories, first copy the recipe URL then go to MyFitnessPal app to Recipes, select Create a New Recipe, then Add from the Web. Paste the URL, match ingredients and that’s it!
- Always match ingredients to the ones you use. Ingredient nutritional facts differ depending on brand.
Enjoy!
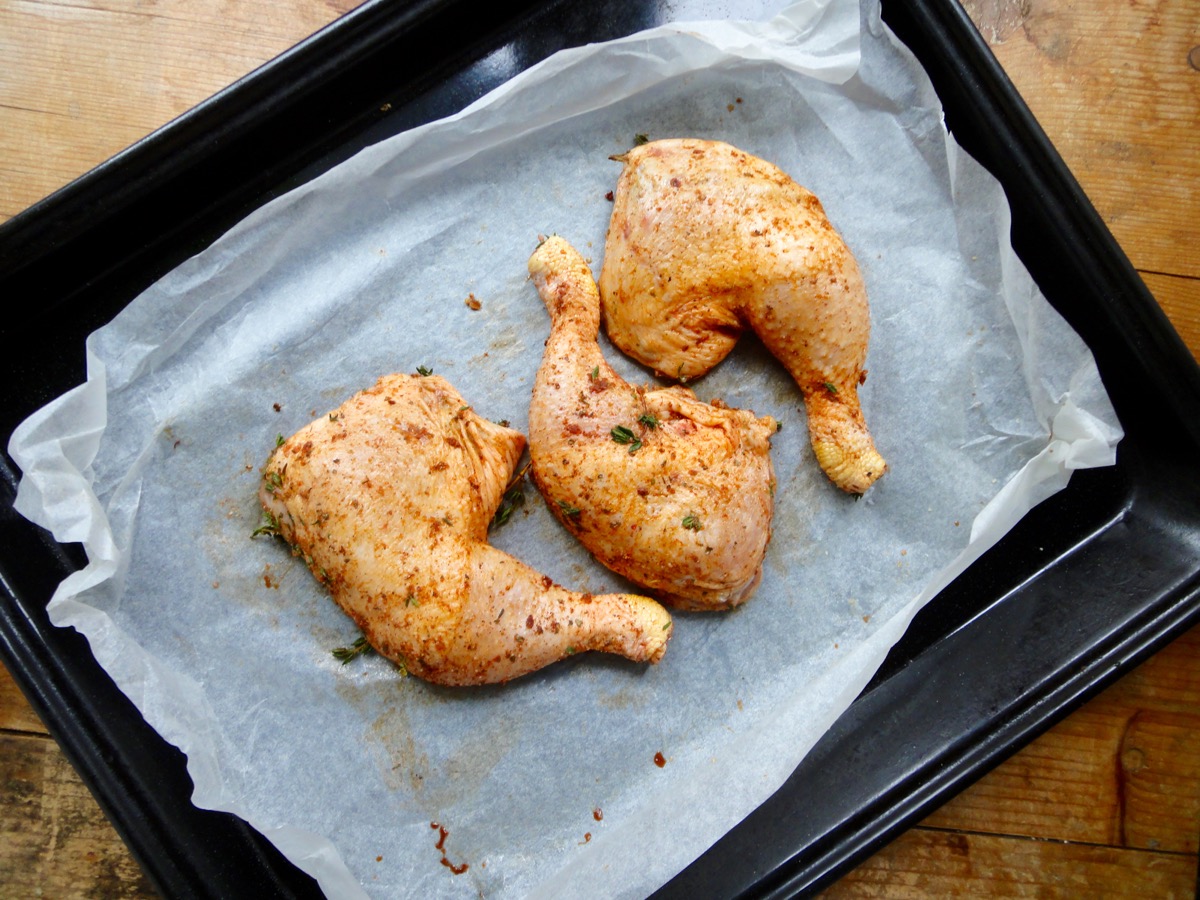
Before roasting
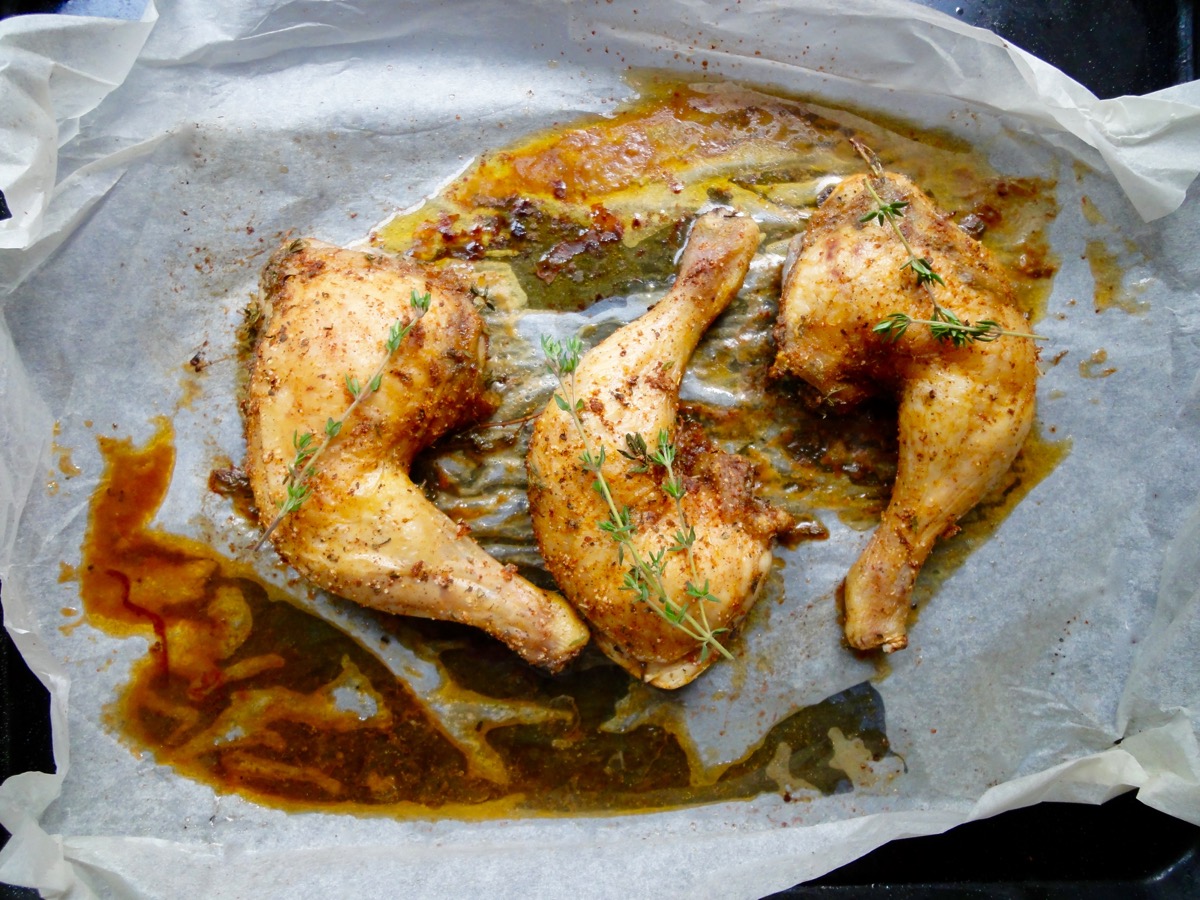
After roasting
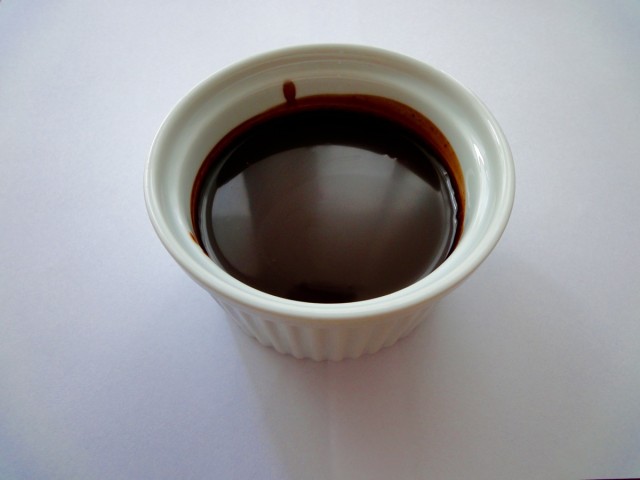
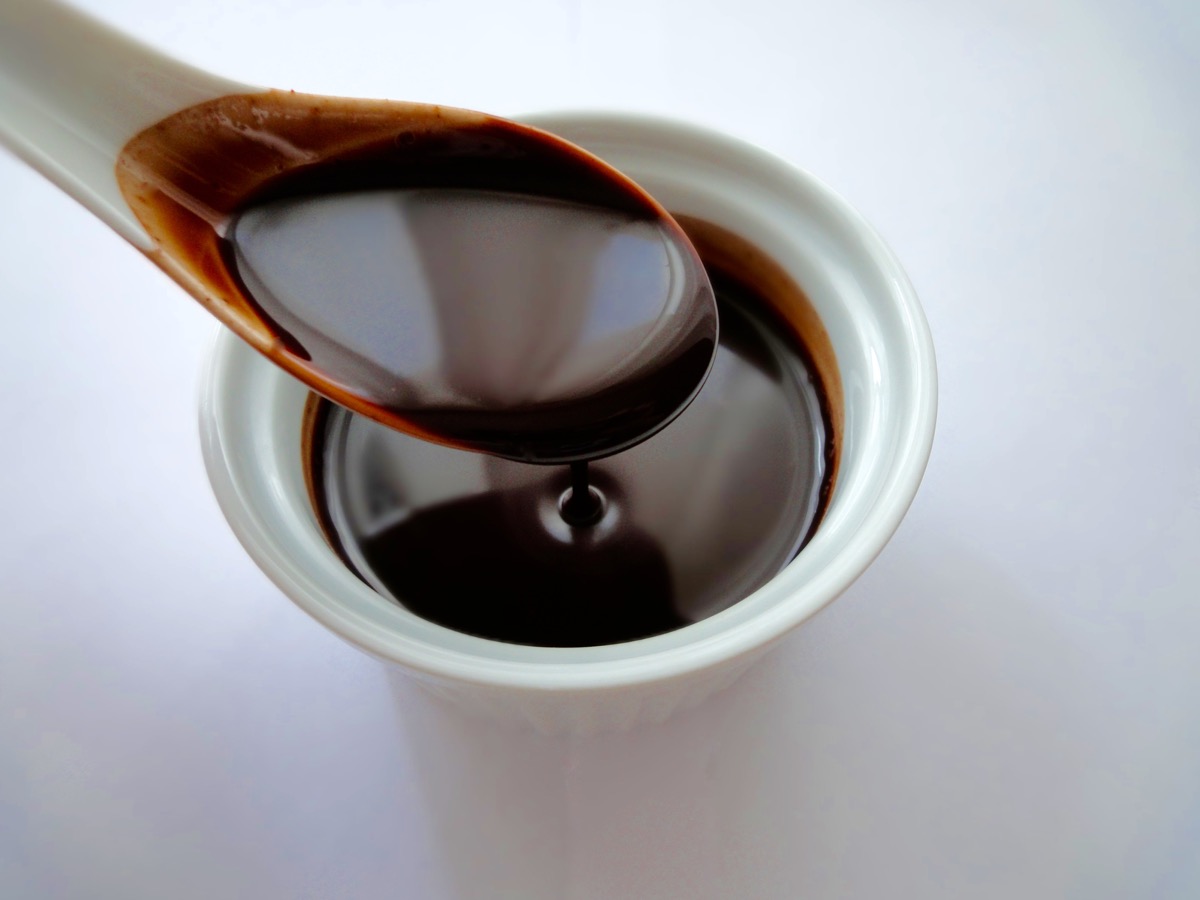
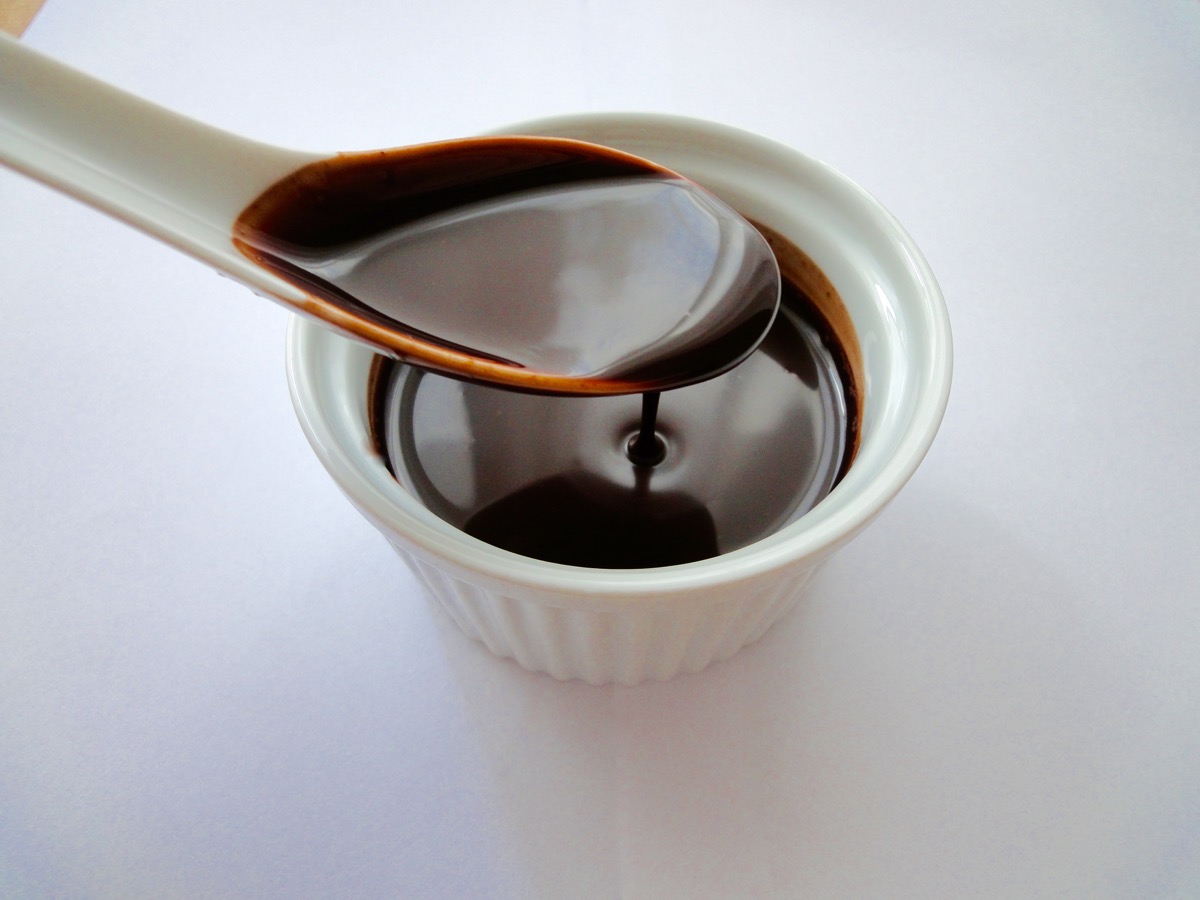
Homemade Chocolate Sauce
When you live in the land of chocolates, you’d expect there to be every single chocolate product to be at it’s best. Chocolate sauce does not fall under that category. I might be wrong, but it’s kinda difficult to find chocolate sauce here that does not blow a little hole in your pocket for one tiny tube unless you just use a dollop of it at a time…but when it comes to chocolate, savages like me do not know of a limit. If I could have ice cream with chocolate sauce everyday I would! As an adult, I have the freedom to do so…and have done it before…it did not turn out well. Yup, I had a tub ( 1.5 litres) of chocolate ice cream everyday topped with cornflakes. I did this for over a week when I was 18 years old and my pants got way too tight, I had to get new ones for work. It was a new found freedom and I probably thought it would not be such a big deal. Lesson learnt. But now as an even older adult, I have learnt to control my intake of ice cream….probably because I never have space in my freezer which is like a shoe box. Hehehe..
Anyways, chocolate sauce is easier to make than I have even anticipated. It also is very economical to make. All you need is good quality cocoa powder ( I use Cailler), sugar, water, vanilla extract or beans and a pinch of salt! It taste’s like the a store bought one just without the added preservatives. Don’t be too scared of the sugar amount, store bought ones probably contain more than that.
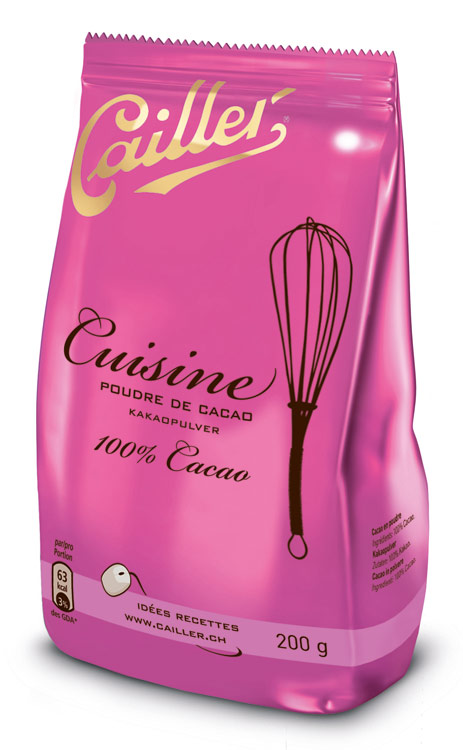
Cailler Cocoa Powder
Ingredients
- ¾ cup Cocoa Powder
- 1 ¼ cups Water
- 1 ½ cups Sugar
- 1 ½ teaspoons Vanilla Extract or Vanilla Bean Paste
- A Pinch Salt
Directions:
- Use a large pot – at least one that can hold 2 litres (chocolate sauce will expand when boiling)
- Combine all the ingredients except vanilla extract / bean paste in pot and mix.
- Boil over medium high heat.
- Stir constantly with a whisk until it boils.
- Continue boiling for 4-5 minutes.
- Add vanilla extract or bean paste. Mix.
- Remove from heat and allow to cool.
- Once completely cool, transfer to a clean jar or bottle.
Tips:
- Conversion table here
- Sauce will be thin and watery even after cooking, but once it has cooled down and chilled, it will thicken.
- Chocolate sauce keeps for up to 2 months in the fridge.
- Use as you would with store bought chocolate sauce/syrup.
Enjoy!
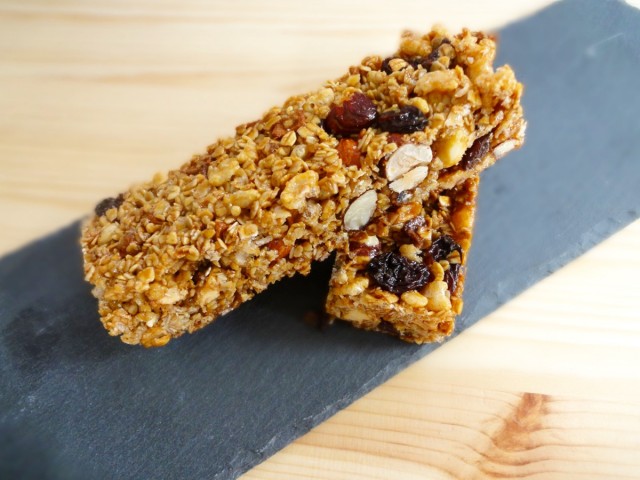
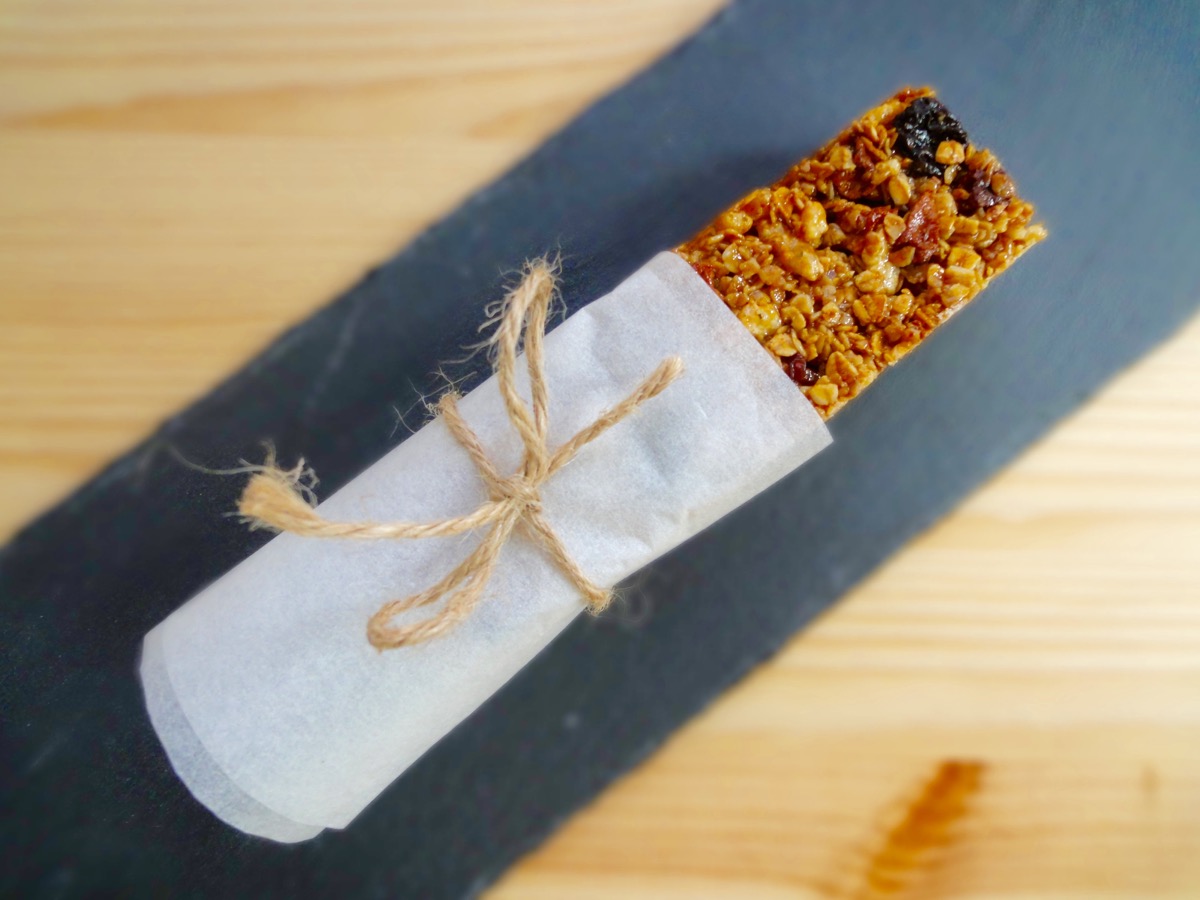
Muesli Bars
Homer Simpson once said that from now on he will only eat food that comes in a form of a bar. I too like eating stuff that comes in bars, from snickers, mars, milky way, muesli, and most of those breakfast bars. The only thing is that, it’s very expensive! Yes, it is very convenient, but sometimes, it’s just too sweet! And i’ve got a sweet tooth. I’m not saying that making it at home would use less sugar, but at least you can control how much you actually need to it to stick together and not add more sugar to it for it to taste nicer.
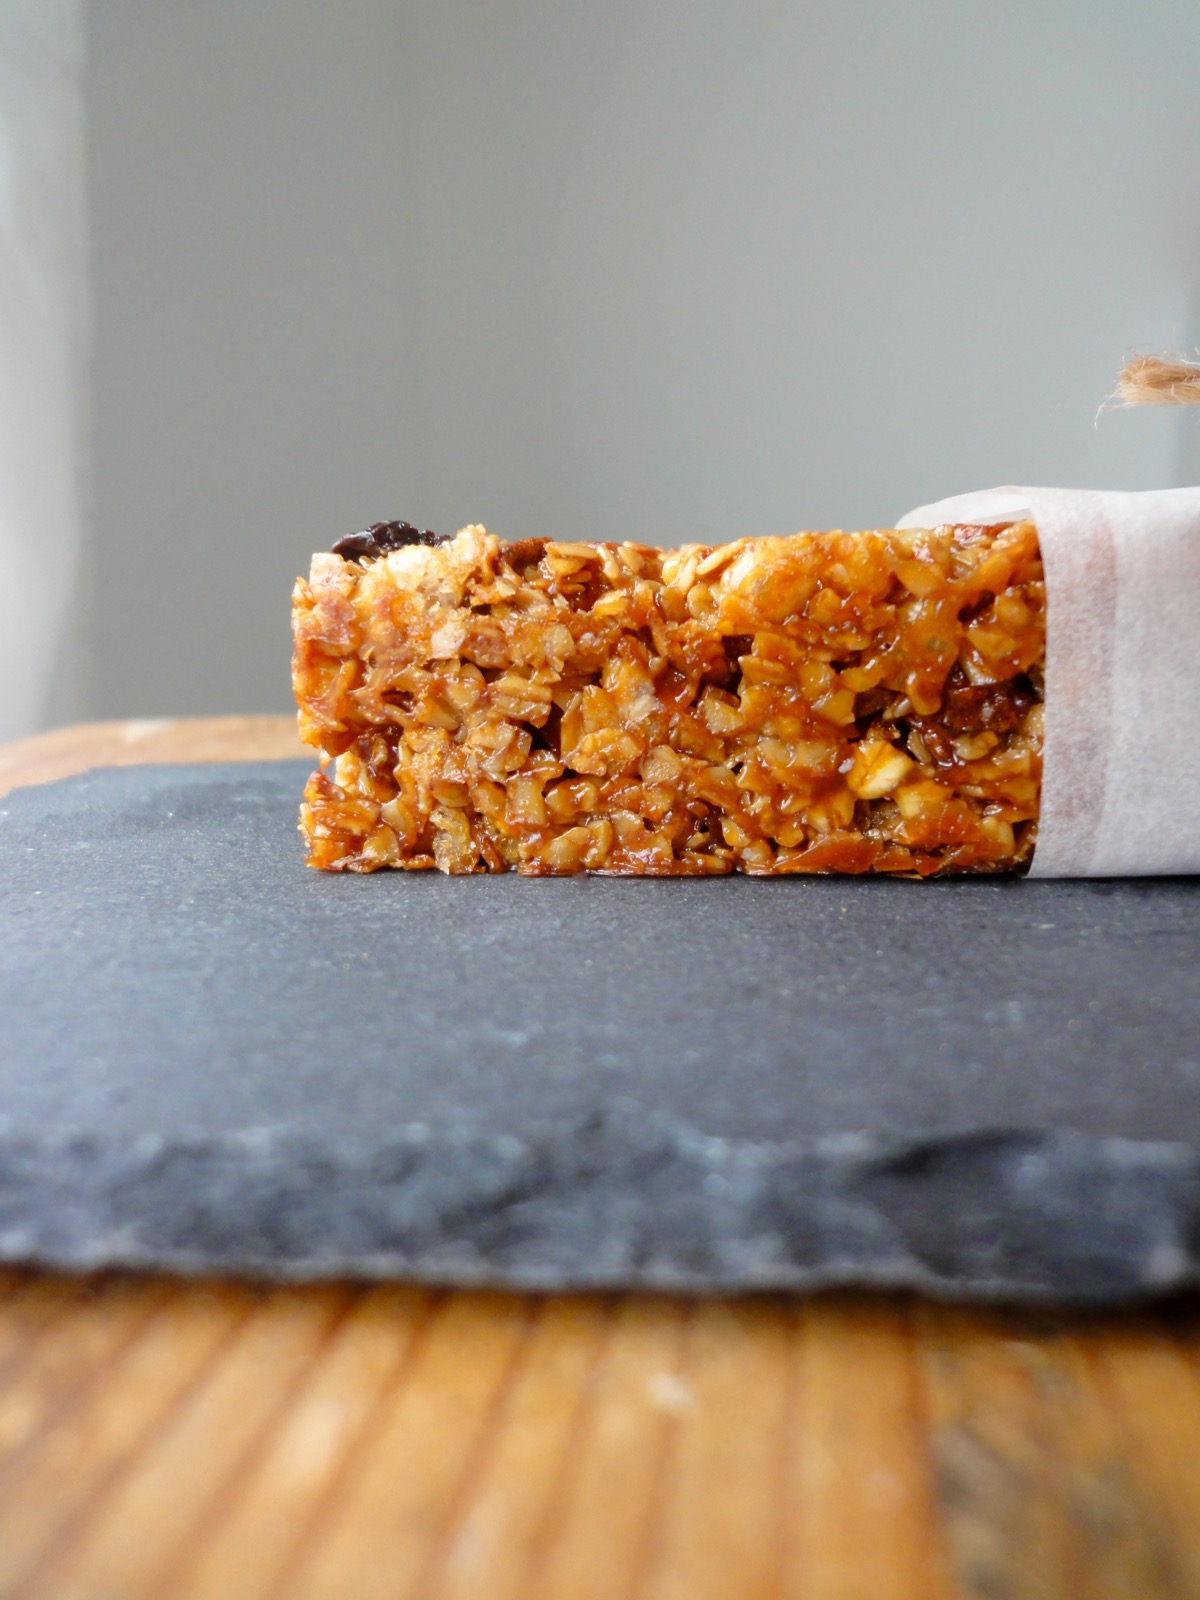
For this recipe, I used whatever I had on hand such as oats, rice puffs, mixed nuts, dried fruits, fancy molasses – this one was just stored in the fridge for a couple of months because I bought the wrong one and never used it, beet syrup – I misread the label, I thought it was golden syrup because it was labeled as Goldsirup aus Zuckerrüben (gold syrup from sugar beets), and butter. The original recipe calls for honey and white sugar, but I used up my honey over the week because of my cold and sore throat. Plus, I don’t quite like the strong honey taste in food. It was very easy to make and I was glad I could finally use up my fancy molasses so I could use the jar it came in. I can’t vouch that using fancy molasses and beet sugar syrup is healthier than using regular white sugar and honey. It does however change the taste of it and I actually really like it, plus it turned out not too sweet.
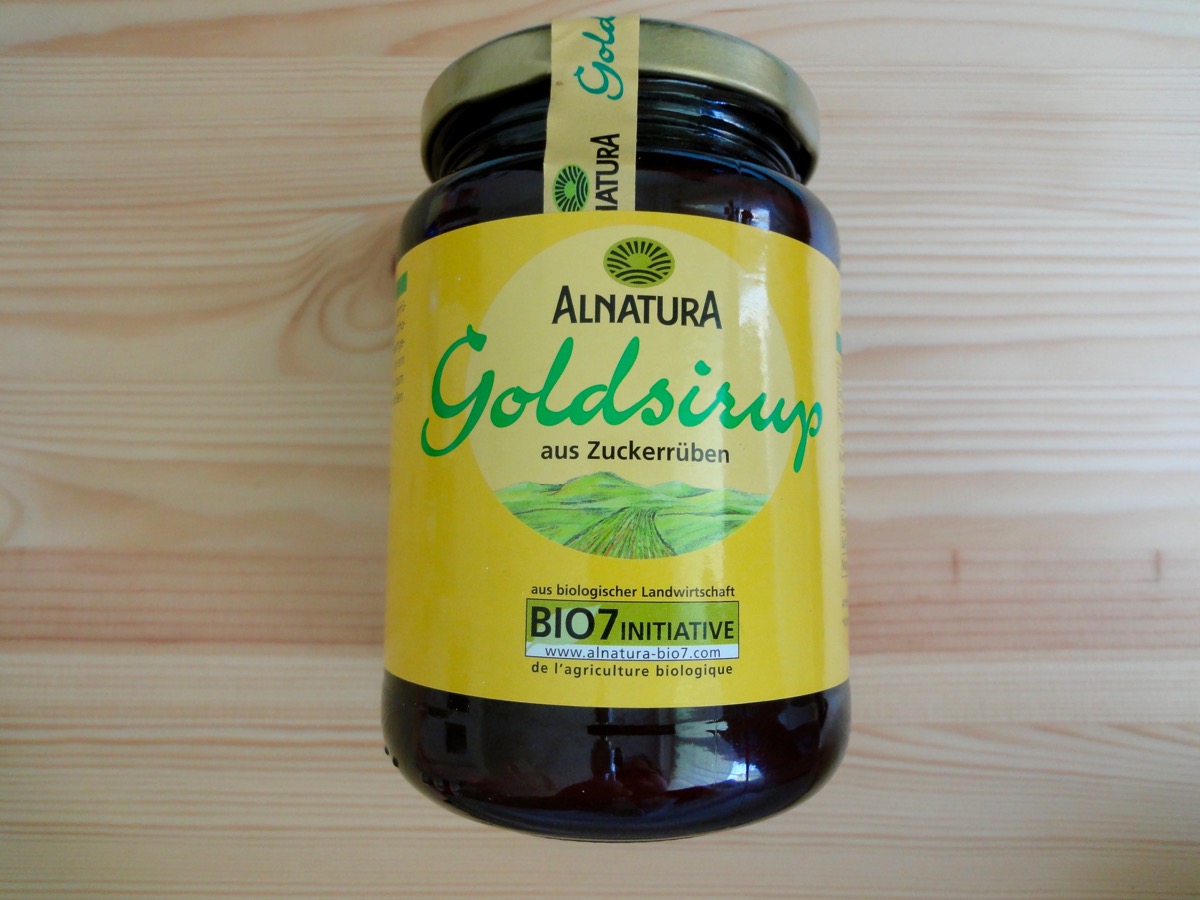
Goldsirup aus Zuckerrüben (Gold syrup from sugar beets) from Alnatura
Another great thing about making your own muesli bars is that you can customise it as you like. I started off with the basic mixed nuts and fruits. Once I’m done eating this batch I will try out others. It’s a good way to clear my cupboard from small quantities of nuts, fruits, and cereal.
Ingredients
- ½ cup + 1 Tablespoon (125 grams) Butter
- ½ cup Golden Syrup (see tips)
- ¼ cup Sugar (see tips)
- 2 ½ cups Rolled Oats
- 1 ¼ cup Rice Krispies
- 2 cups Mixed Nuts & Dried Fruits
Directions:
- Pre-heat oven to 180°C (350°F) and line a 31cm x 22cm (12 x 8-inch) baking pan with parchment paper and grease well.
- In a large and deep non stick pan or pot, melt butter, golden syrup and sugar on medium heat.
- Mix well and let it boil for 4-5 minutes or till it slightly thickens.
- Remove from heat and add oats, mixed fruits, nuts, and rice krispies.
- Mix well and make sure the ingredients are well coated.
- Pour mixture into prepared pan and flatten with a spatula or a scraper. Press firmly to ensure the mixture sticks together.
- Bake for 20 minutes or till golden brown.
- Remove from oven and let the muesli cool off in the baking pan for an hour.
- Remove from baking and cut into 20 slices. Or as your hearts desire.
Tips:
- Feel free to use any nuts or dried fruits.
- Use any cereal such as corn flakes, cheerios, smacks, or honey bsss pops (honey stars).
- You can substitute golden syrup for honey, fancy molasses, or corn syrup.
- You can substitute sugar for any choice of sugar such as raw sugar, muscodavo or demerara. I used beet sugar syrup.
- You can omit sugar.
- Store in an air tight container for up to 2 weeks.
- If you have picky eaters, mince up dried fruit.
- Try coating it in chocolate for extra yumminess and calories!
Enjoy and happy baking!
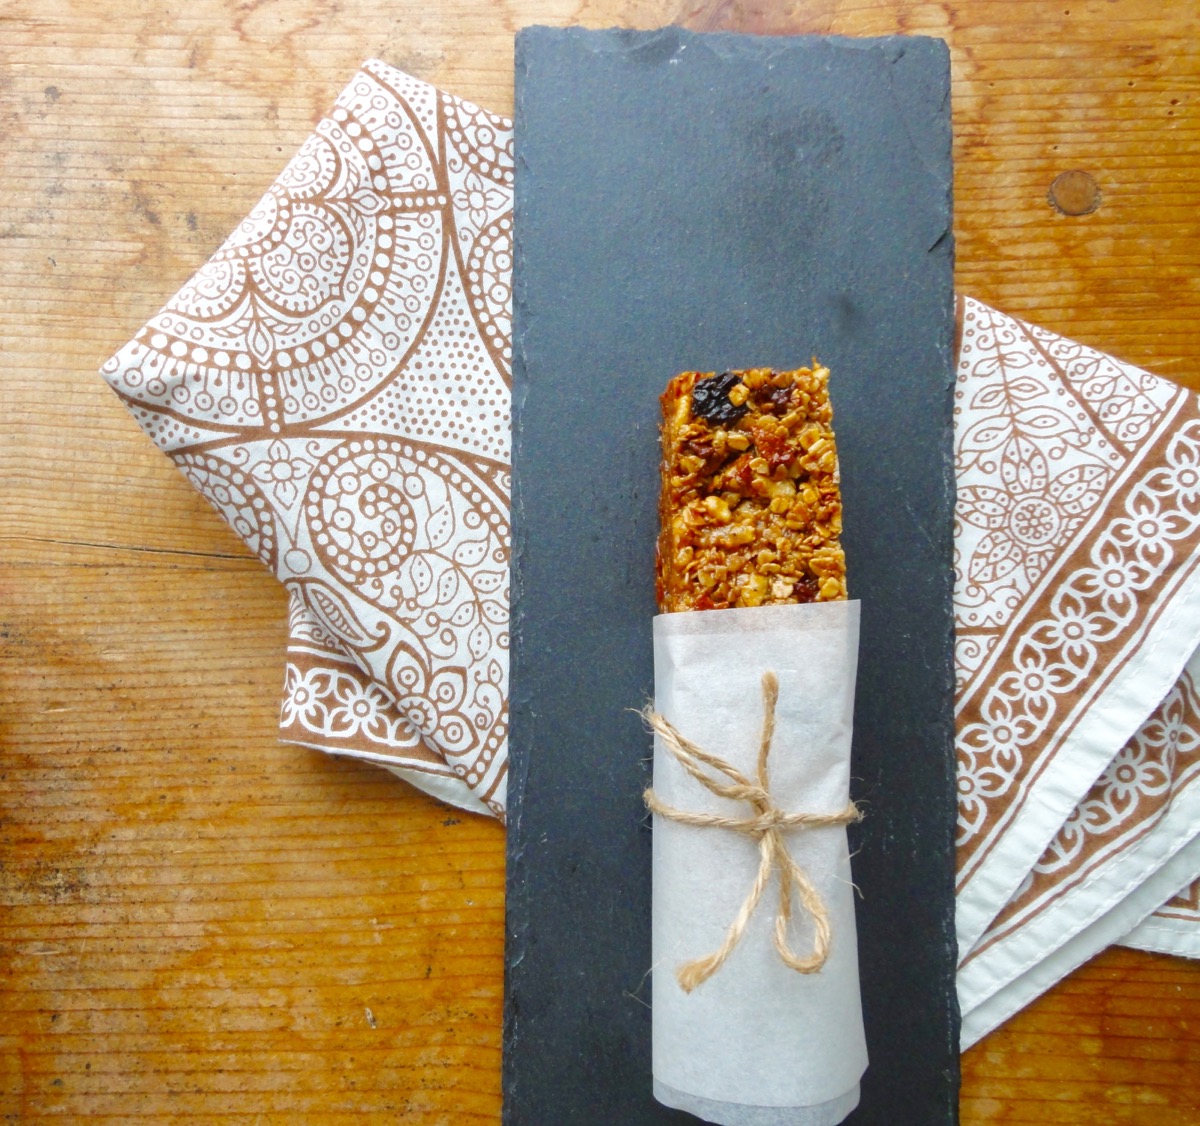
Photo submission got accepted by foodgawker!

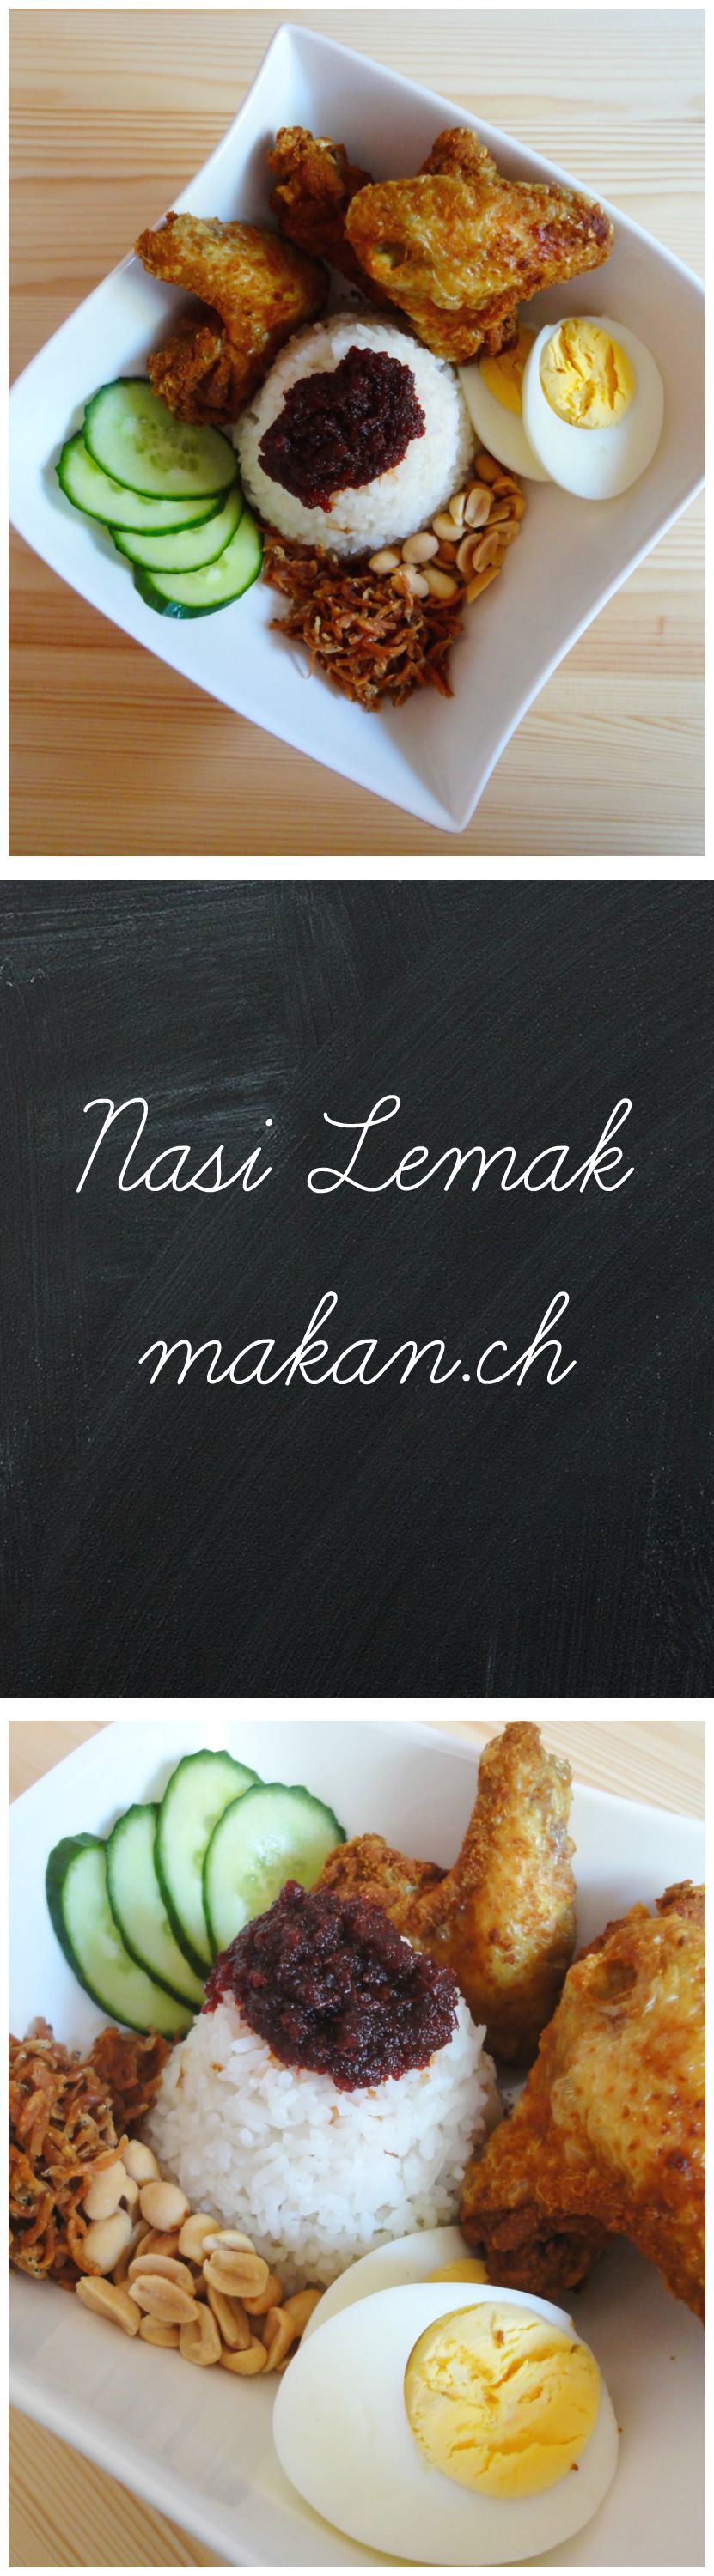
Nasi Lemak
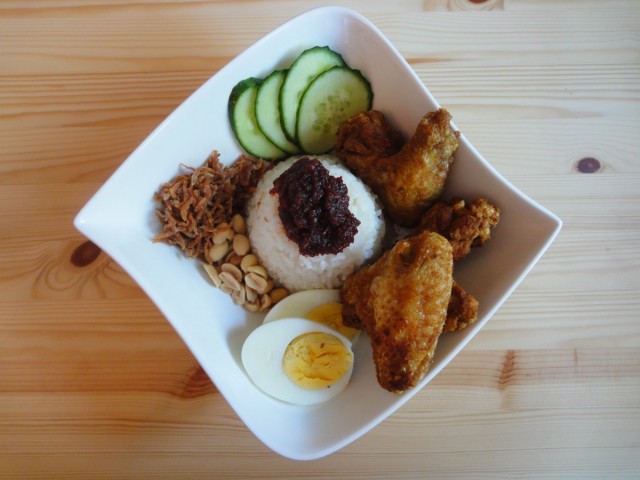
A definite treasure in the heart of a true Malaysian. If you have ever been to Malaysia, Nasi Lemak is one of the many foods you MUST have! Nasi Lemak is also Malaysia’s national dish…and as a Malaysian that lives abroad, having Nasi Lemak really cures the homesickness or it can just have the total opposite effect and make you more homesick. Either or, having Nasi Lemak really makes a Malaysian happy. It’s frowned upon if you are a Malaysian and you do not like Nasi Lemak…and if you are one, please kindly throw your IC and passport away ?.
So what is this Nasi Lemak? It literally means fatty/oily rice. Why fatty/oily rice? Because the rice is cooked in delicious creamy coconut milk together with pandan leaves and lemongrass. It is traditionally served with sambal, fried ikan bilis (dried anchovies), cucumber slices, roasted peanuts and a boiled egg which is then wrapped up in a banana leaf and then formed to look like a pyramid. If you have Nasi Lemak as a heavier meal, it is common to add some fried chicken, fried fish, and meat rendang.
When do you eat Nasi Lemak? ANYTIME! Breakfast, lunch, tea-time, dinner and supper! It’s very common when you visit a mamak that you see about 4 packets of Nasi Lemak on your table throughout the day. There are also Nasi Lemak shops or vendors who only sell Nasi Lemak. That’s how much we love our Nasi Lemak.
Writing about it makes me want to have a plate of it right now!
Anyways, this entry is dedicated to the 52nd Malaysia Day which is held on the 16th of September every year to commemorate the establishment of the Malaysian federation which is the joining of Malaya, North Borneo (Sabah), Sarawak, and Singapore (till 1965). I was not in time to post it during the national day which was on the 31st of August, so Malaysia Day is just as good.
May Malaysians always live in unity and harmony. Let’s put aside all our differences and use it for our benefit to make Malaysia a great country once again.
My Nasi Lemak consists of sambal, fried baby ikan bilis, cucumber slices, roasted peanuts, boiled egg and turmeric chicken. I get my baby ikan bilis from my hometown, simply because it’s the best! Sorry, this snobbiness with seafood came naturally being born on an island 😀
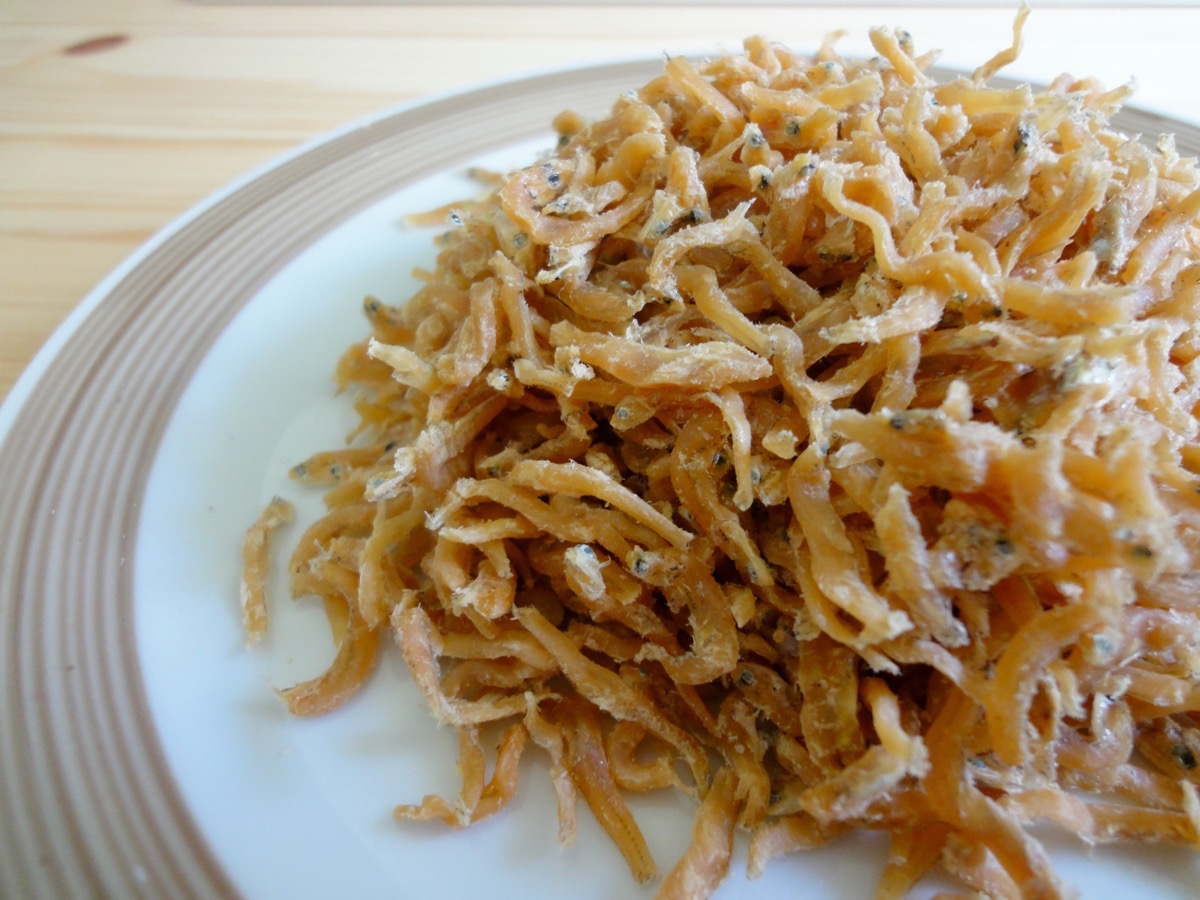
Baby Ikan Bilis – Baby Dried Anchovies
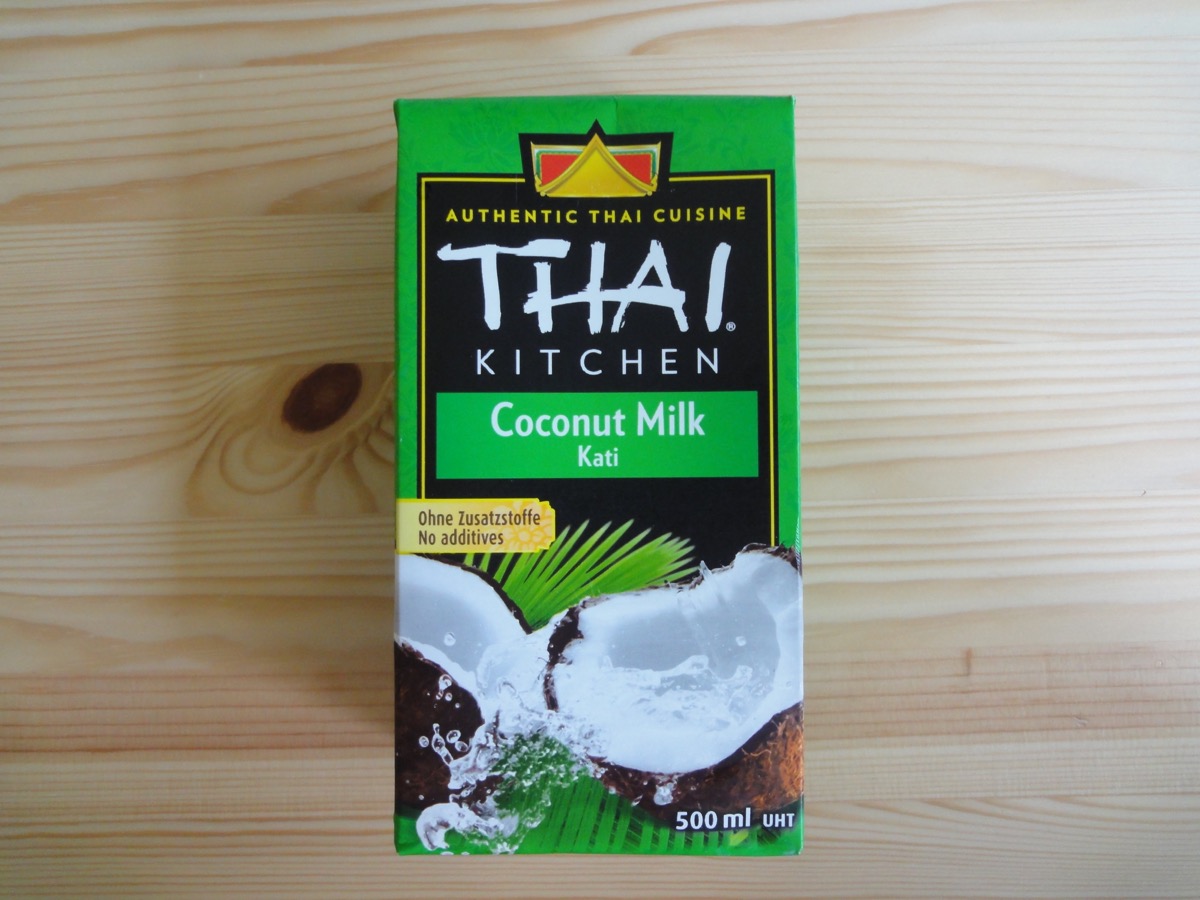
Coconut Milk found in grocery stores here

Coconut Rice
- 2 cups Rice, washed
- 1 cup Thick Coconut Milk (santan)
- 1 cup + 1 tablespoon Water
- 4 Pandan Leaf, knotted
- 2 stalks Lemongrass, bruised
- To taste Salt
Turmeric Chicken
- 6 pieces Chicken Wings
- 2 teaspoons Turmeric
- 2 teaspoons Salt * I like it salty
- 1 teaspoon White Pepper, powder
Condiments
- Sambal
- Cucumber Slices
- Hard Boiled Egg
- Roasted Peanuts
- Fried Ikan Bilis (anchovies)
Directions:
- Coconut Rice
- Wash and clean rice.
- Add rice, coconut milk, water, pandan knots, lemongrass and salt to rice pot. Cook.
- Once rice is done, fluff it up.
- Remove pandan knots and lemongrass before serving.
- Turmeric Chicken
- Clean chicken wings.
- In a bowl, add turmeric, salt and pepper.
- Marinade chicken for at least 30 minutes.
- Heat pan to medium high and add oil.
- Fry chicken wings till crispy. About 15-20 minutes.
- Nasi Lemak
- On a serving plate, add coconut rice, turmeric fried chicken and choice of condiments.
- Serve and enjoy!
Tips:
- Cups to Grams conversion
- Sambal recipe
- Add banana leaf onto serving plate for a more traditional feel.
Enjoy!
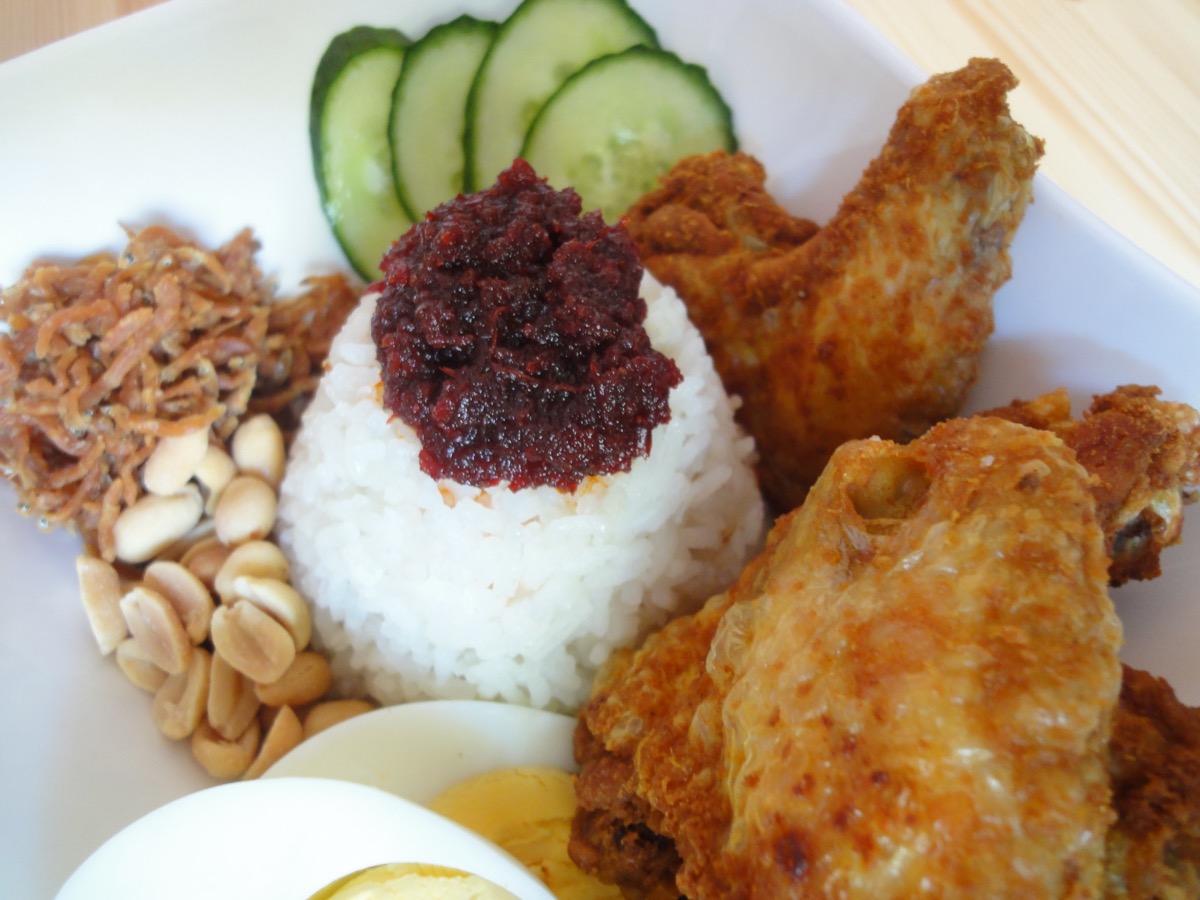
Complete plate of Nasi Lemak
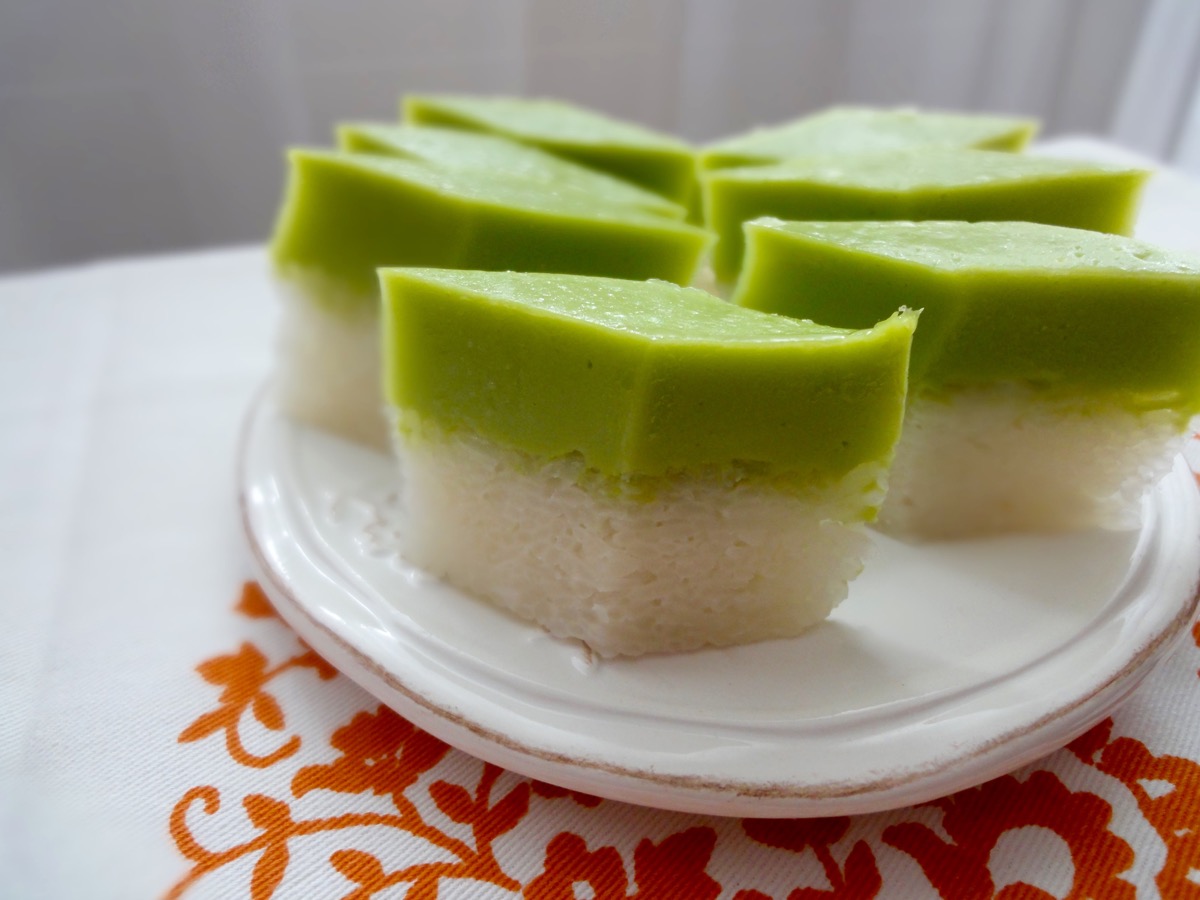
Kuih Seri Muka
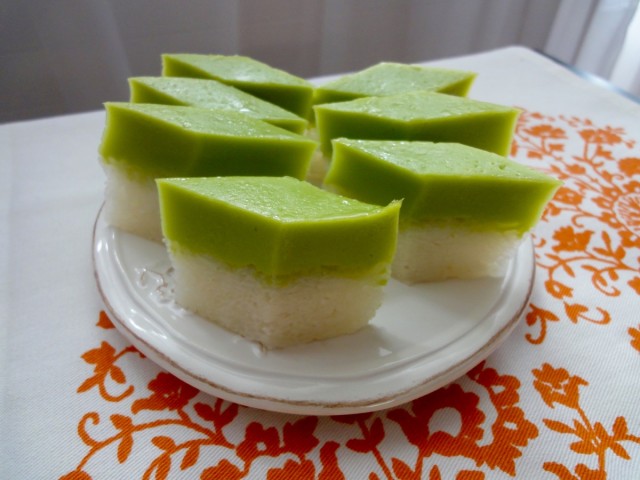
Seri muka is a Malaysian steamed layer cake (kuih) which consist of a glutinous rice (thai sweet rice – sticky rice) layer steamed with coconut milk and a sweet pandan custard layer to finish off. It’s green layer comes from the pandan leaf, but some do add green colouring. I prefer to stick with the natural green the pandan leaf gives out once blended.
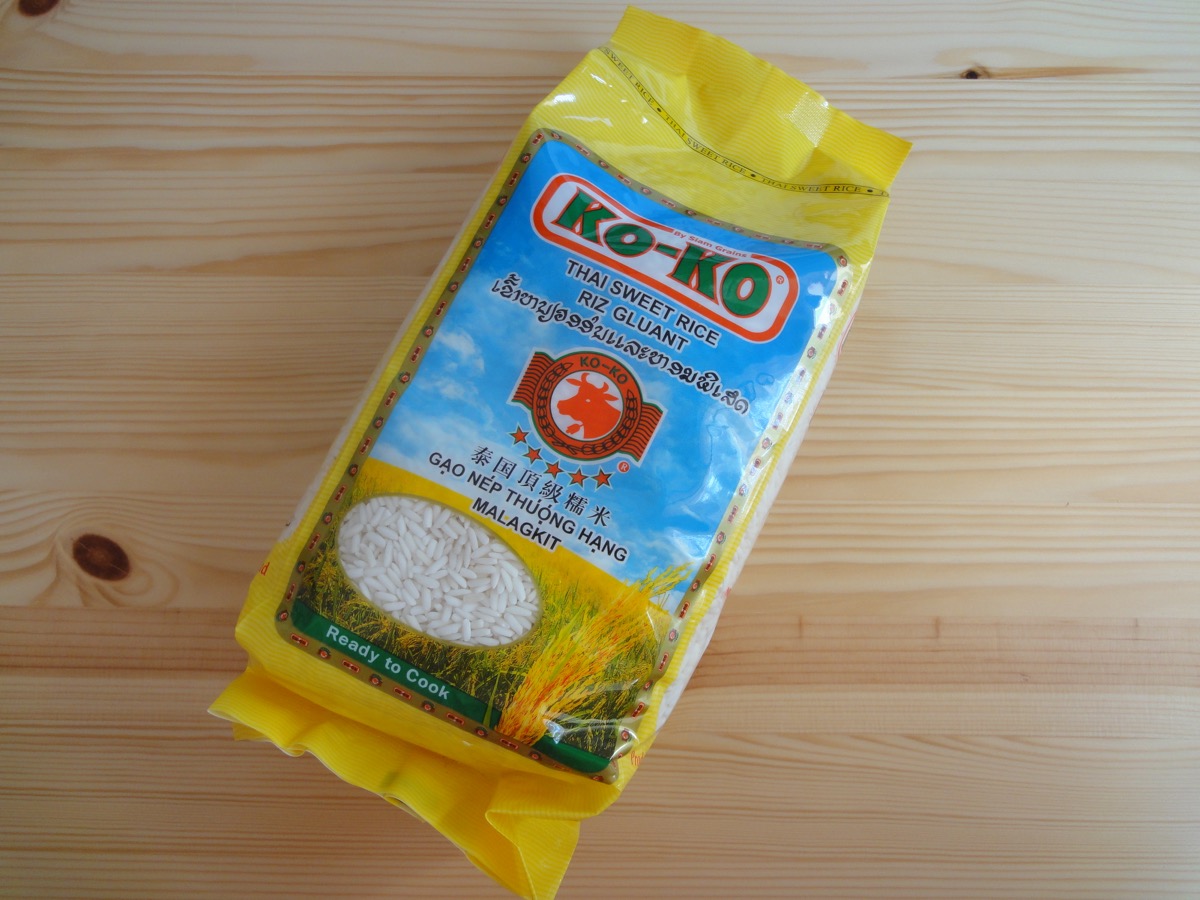
Glutinous Rice/Nasi Pulut/Thai Sweet Rice that is available in an Asian shop near me
Kuih means cakes in Malay. Seri Muka translates to radiant face or pretty face. So this is a pretty face cake. 🙂 I’m guessing what it’s called seri muka is because of the smooth top layer it has after it has been steamed. However, I seem to not be able to get that 100% smooth surface. There always seems to be a large bubble spot on it. Other than that, it actually is quite smooth.
This kuih is found in morning markets, school canteens, cake stands and just about every place that has a person selling kuih’s. It is eaten as a dessert, a snack, or at tea time.
Recipe adapted from Sea Salt with Food’s Kuih Seri Muka. I have tried and read number of recipes and this one has so far been a good replica.
Glutinous Rice Layer
- 400 grams Glutinous Rice
- 150 ml Coconut Milk
- 100 ml Water
- 1 teaspoon Salt
- 3 Pandan Leaves, knotted
Pandan Custard Layer
- 150 ml Pandan Juice, see tips
- 5 Tablespoons Cornflour
- 3 Tablespoons All Purpose Flour
- 3 Eggs, large (53g +/- per egg)
- 200 ml Coconut Milk
- 140 grams Sugar
- A Pinch Salt
Directions:
- Glutinous Rice Layer
- Soak glutinous rice with water for at least 1 ½ hours prior to using. Drain.
- Prepare a 9-inch round or square cake pan and spray with cooking spray or line with plastic wrap.
- Mix coconut milk, water, salt and the rice. Pour it into cake pan, topped with the pandan knots.
- Steam for 30 minutes.
- After 30 minutes, fluff up the rice and remove pandan knots. Then, using a greased spatula, flatten the steamed rice. Make sure there are no holes/air bubbles and gaps in the rice, especially the sides.
- Steam for another 10 minutes.
- Pandan Custard Layer
- Combine pandan juice, coconut milk, all purpose flour, cornflour, and sugar. Mix well.
- Add eggs and whisk well then strain into a medium sized metal bowl or pot.
- Place pandan mixture over simmering water (double boiler or bain-marie)
- Stir continuously and cook till custard starts to thicken. (15 minutes)
- Pour pandan custard into glutinous rice layer, give it a little tap (for air bubbles) and continue to steam for 30 minutes.
- Remove kuih seri muka from the steamer and allow to cool completely before cutting into rectangles or diamond shapes.
Tips:
- Pandan Juice: Take 10 pandan leaves and cut them (to make blending easier). Blend with 200ml water. Strain with cheesecloth.
- Wrap steamer cover with a cloth tightly. This is to prevent water droplets from dropping.
- Glutinous rice layer has to be hot while pouring in the pandan custard layer, otherwise it will not stick to each other.
- Cups to Grams conversions
- 1 cup glutinous rice flour = 104 grams
- If you do not have fresh pandan leaves, you can use pandan extract or flavouring.
- Store kuih seri muka in an airtight container once it has completely cooled down. Consume within 24 hours.
- Do not refrigerate, this will make the glutinous rice layer to become very hard.
Enjoy!

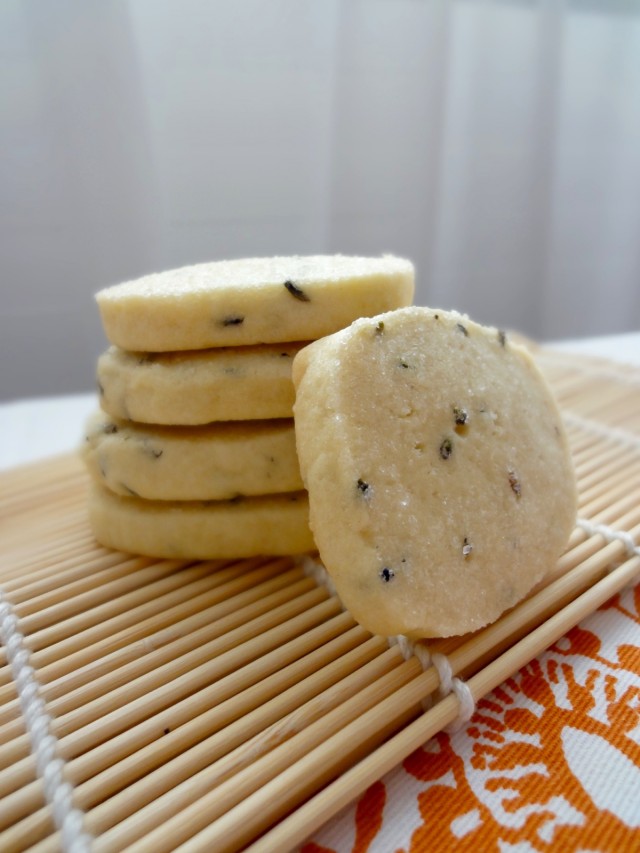
Lavender Biscuits
Never have I thought that lavender could be eaten. All the while I thought it was just for potpourri, decoration, essential oils, room deodoriser, car freshener and stuff like that. However, not all lavender can be consumed. It’s best to get ones that are guaranteed pesticide free which can be found in tea shops. In Switzerland, I get my lavender buds from a tea shop called The Queen Camellia Tea House which is in Lucerne. Though, few weeks ago I went again to find some but they did not have stock of it because of some crop problems. They import theirs from France. A lady there suggested we look at a nearby Reformhaus (a health food shop) as they would have it there.
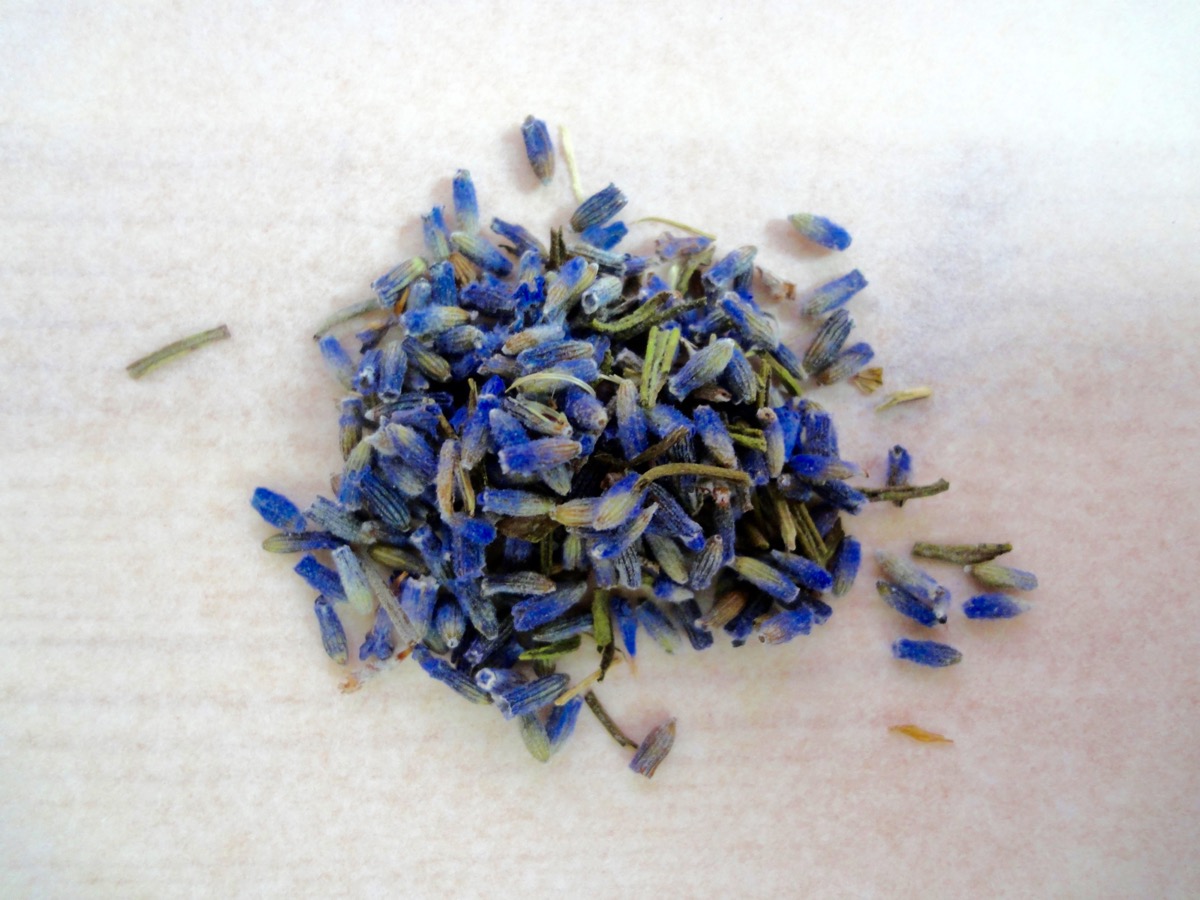
Dried Lavender
I first heard about lavender biscuits during Kate Middleton’s first pregnancy. There was a tabloid article that mentioned she was munching on lavender biscuits as it helps with morning sickness. Don’t know how true that was but I cared more about those lavender biscuits. After nearly 3 years, I finally decided to give it a go. It was really lovely. Since I did not have prior experience cooking with lavender, I thought I might expect some overly pungent lavender smelling biscuits. But no! With the right amount, it’s really really good. The smell is heavenly when baking and it taste’s very special.
Recipe adapted from Bakingdom’s Tea Time Shortbread Cookies
Ingredients
- 1 cup Butter, softened
- ¾ cup Powdered Sugar
- 1 nos Egg
- ½ teaspoon Vanilla Extract
- 2 ¼ cups All Purpose Flour
- 2 tablespoons Dried Lavender Buds
- ½ teaspoon Salt
- ¼ cup Sugar, for dipping
Directions:
- In a large bowl, cream softened butter together with sugar and salt till light and fluffy.
- Add in vanilla extract and egg. Beat till incorporated.
- Add in flour and lavender buds. Mix till combined.
- Divide dough into two and form into logs. Wrap dough in plastic wrap or parchment paper. Dough will be a little sticky and soft (like it needs more flour, but do not), once chilled it will become solid.
- Chill for an hour in the fridge.
- Pre-heat oven to 150°C (300°F). Line two baking pans with parchment paper.
- Remove chilled dough, unwrap and cut into slices about 1/2 – inch thick.
- Dip one side of the dough in sugar.
- Place biscuits (sugar side up) on prepared baking pans, about 2 inches apart.
- Bake for 20 minutes. Biscuits will look pale, so resist baking them longer otherwise it would be too hard.
- Place on wire rack to cool before serving and storing.
Tips:
- Try and stick to 1/2 – inch thickness, otherwise baking time has to be adjusted accordingly.
- If the dough gets too soft while slicing, refrigerate for 10-15 minutes.
- The biscuit itself is not that sweet, so I would not decrease the sugar.
- Store in an airtight container up to a week.
- Dough can be frozen up to 3 months.
- Cups to Grams conversion
Enjoy!


Spinach & Ricotta Cannelloni

Don’t mix this one up with Canolli (the Italian dessert).
I’ve always been intimidated by Cannelloni. Firstly, it took me numerous times to finally remember the name. I kept on saying Callenoni. Just like when I was younger, I just could not pronounce yellow…I kept on saying lellow. My mother probably found it cute though! Lucky for me I had a neighbour, who was probably a teenager or in her early 20’s that taught me the correct pronunciation. I remember her sitting me down on her bed and kept on repeating yellow. Finally, one day I managed to say yellow. Great accomplishment. 🙂
Secondly, it looked difficult and a whole lot of work. It ISN’T! I did cheat a little, but it’s super easy.
Cannelloni is a cylinder pasta that has been stuffed with either minced meat (ragù), spinach and ricotta or fish, laid on tomato sauce (marinara/sugo) then topped with béchamel (besciamella) sauce and baked. It’s similar to American-Italian, Manicotti.
In this recipe, I used Barilla’s Arrabbiata (spicy marinara) sauce.
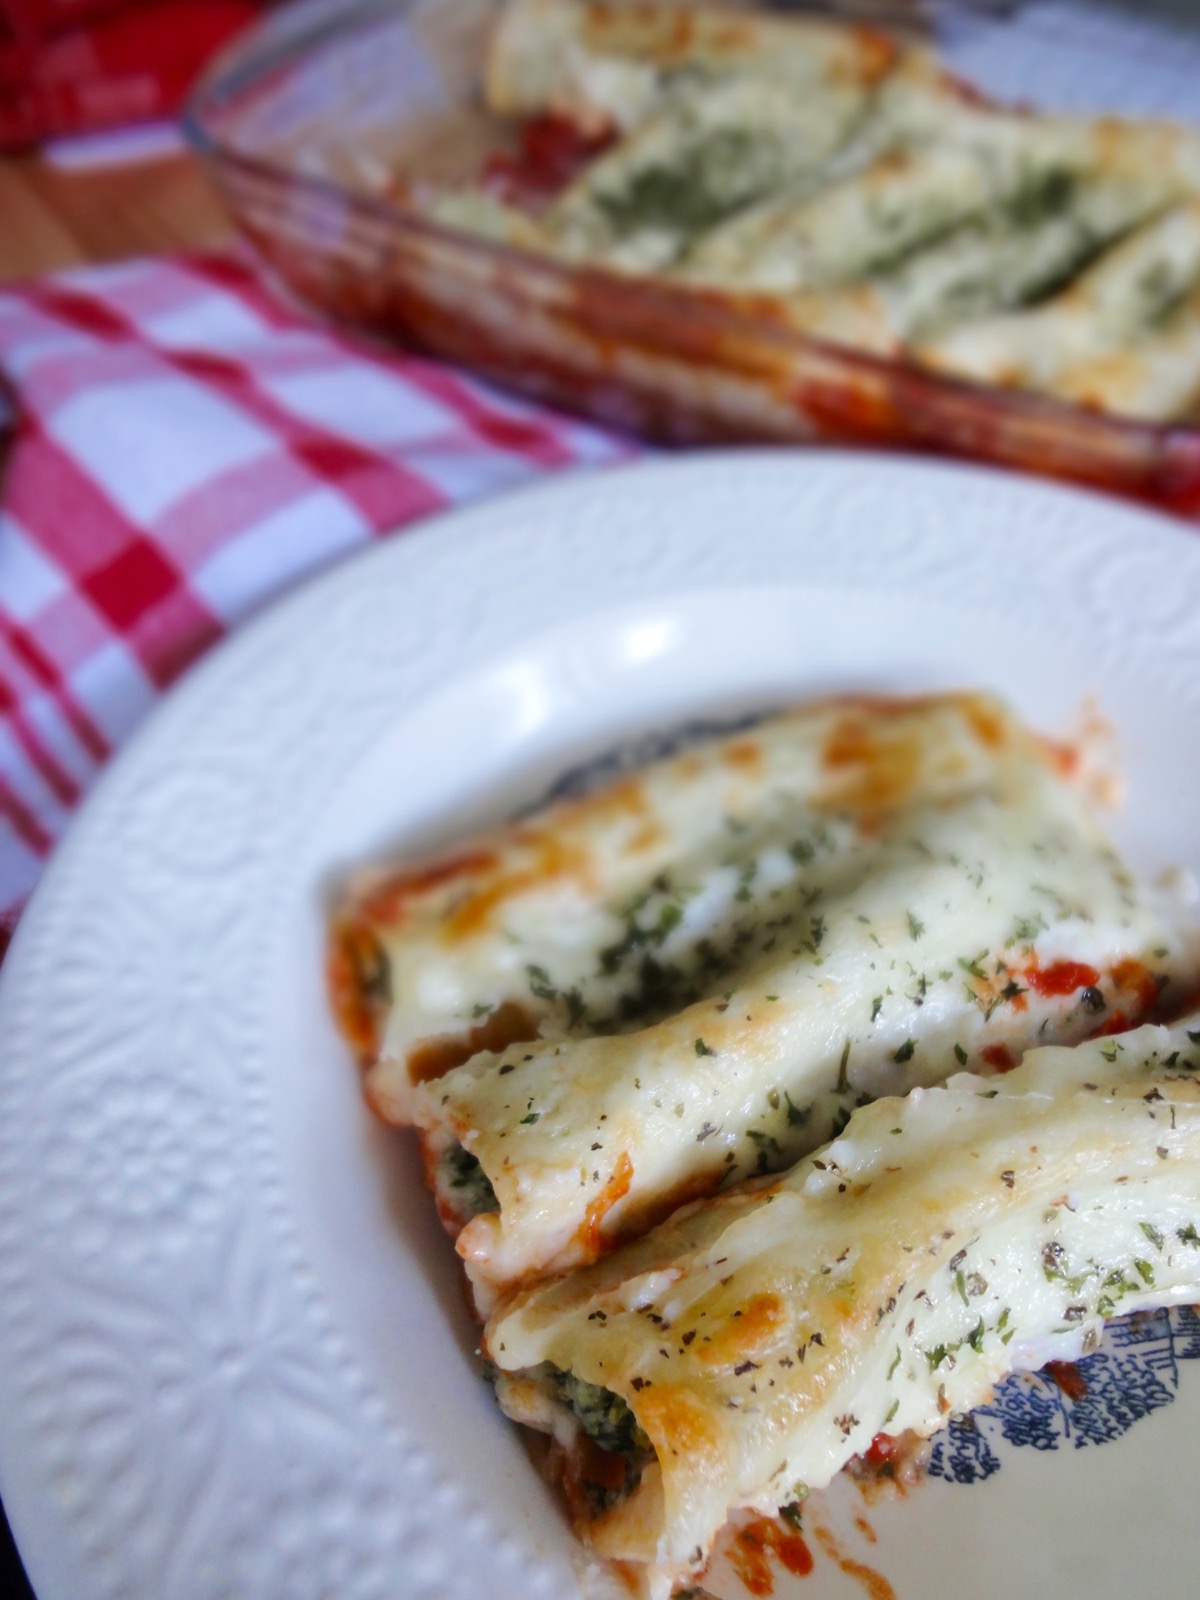
Spinach & Ricotta Cannelloni
Ingredients
- 12 tubes Cannelloni
- ½ jar (200 grams) Marinara Sauce
- ½ cup Mozzarella, grated
- For garnish Parsley
Spinach & Ricotta Filling
- 2 Tablespoons Olive Oil
- 250 grams Ricotta
- 240 grams Spinach, thawed
- 1 medium Onion, chopped
- 70 grams Parmesan, grated
- To taste Salt
- To taste Pepper
Béchamel
- 25 grams All Purpose Flour
- 25 grams Butter
- 300 ml Milk
- A pinch Nutmeg
- 2 pieces Cloves
- 1 piece Bay Leaf
- To taste Salt
Directions:
- Spinach & Ricotta Filling
- Thaw spinach.
- Sauté onions. Add spinach and continue sautéing for 2-3 minutes.
- Add ricotta, parmesan and seasoning. Mix well.
- Set aside.
- Béchamel
- Pierce the halved onion with cloves and bay leaf (oignon pique).
- Lightly toast flour in a medium sized pot. Do not brown the flour.
- Once it starts smelling like toasted nuts, add butter. Stir well. (This is now called roux)
- Cook roux till it smells like again, toasted nuts.Whisk milk 300ml at a time into the roux, till combined.
- Continue mixing in the rest of the milk, bring to the boil.
- Add oignon pique.
- Season with nutmeg and salt.
- Set aside for at least 15 minutes. Discard oignon pique before using.
- Assembling Cannelloni
- Pre-heat oven to 190°C (375°F) – or go according to instructions on box of the Cannelloni’s.
- Grease a glass dish (13 x 9-inch).
- Spread marinara sauce onto dish.
- Add spinach and ricotta mixture into a piping bag or a small bag (snip off one side of the edge) and fill the Cannelloni’s.
- Arrange filled Cannelloni’s on marinara sauce.
- Once done, pour béchamel over Cannelloni’s.
- Sprinkle some mozzarella on top (optional) and bake for 30 minutes.
- Remove and allow to rest for 10 minutes before serving.
Enjoy!
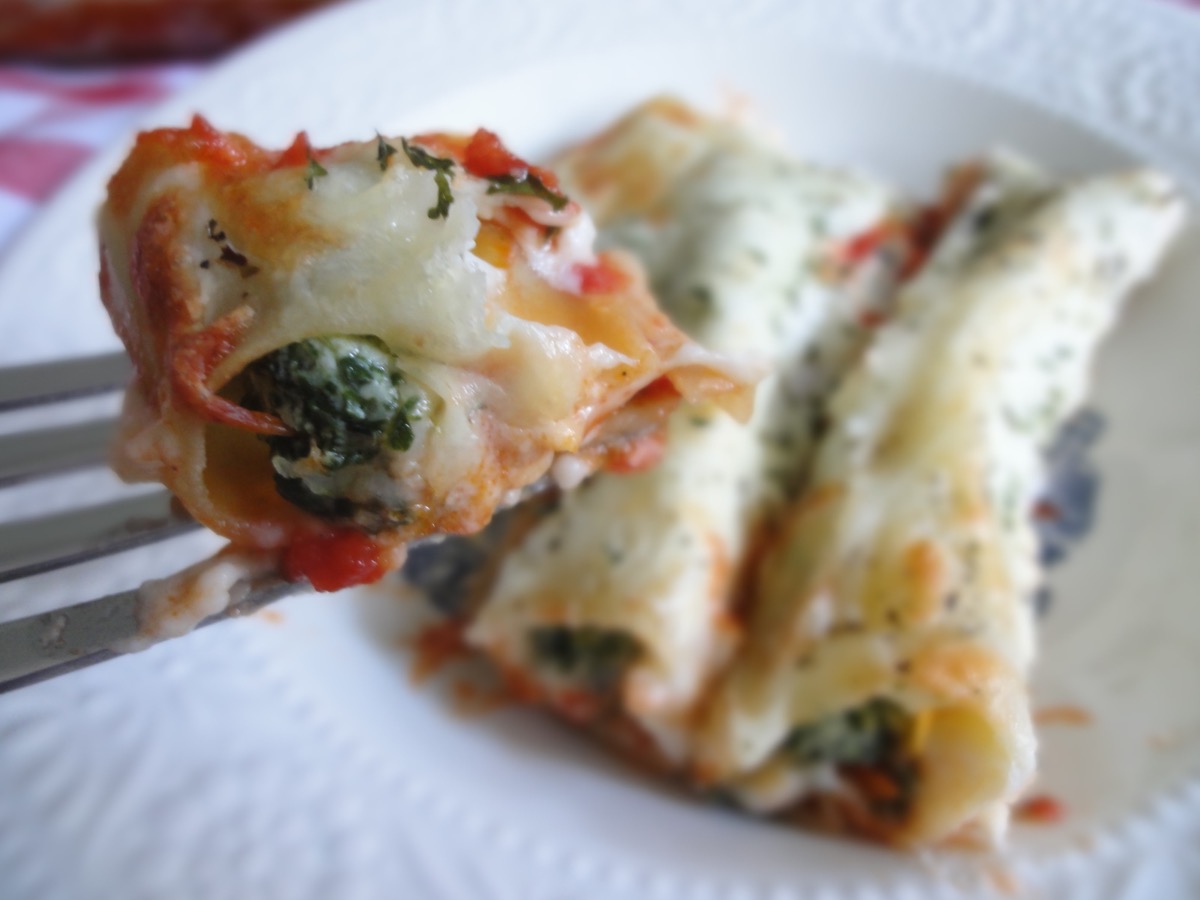
Spinach & Ricotta Cannelloni

Spinach & Ricotta Cannelloni

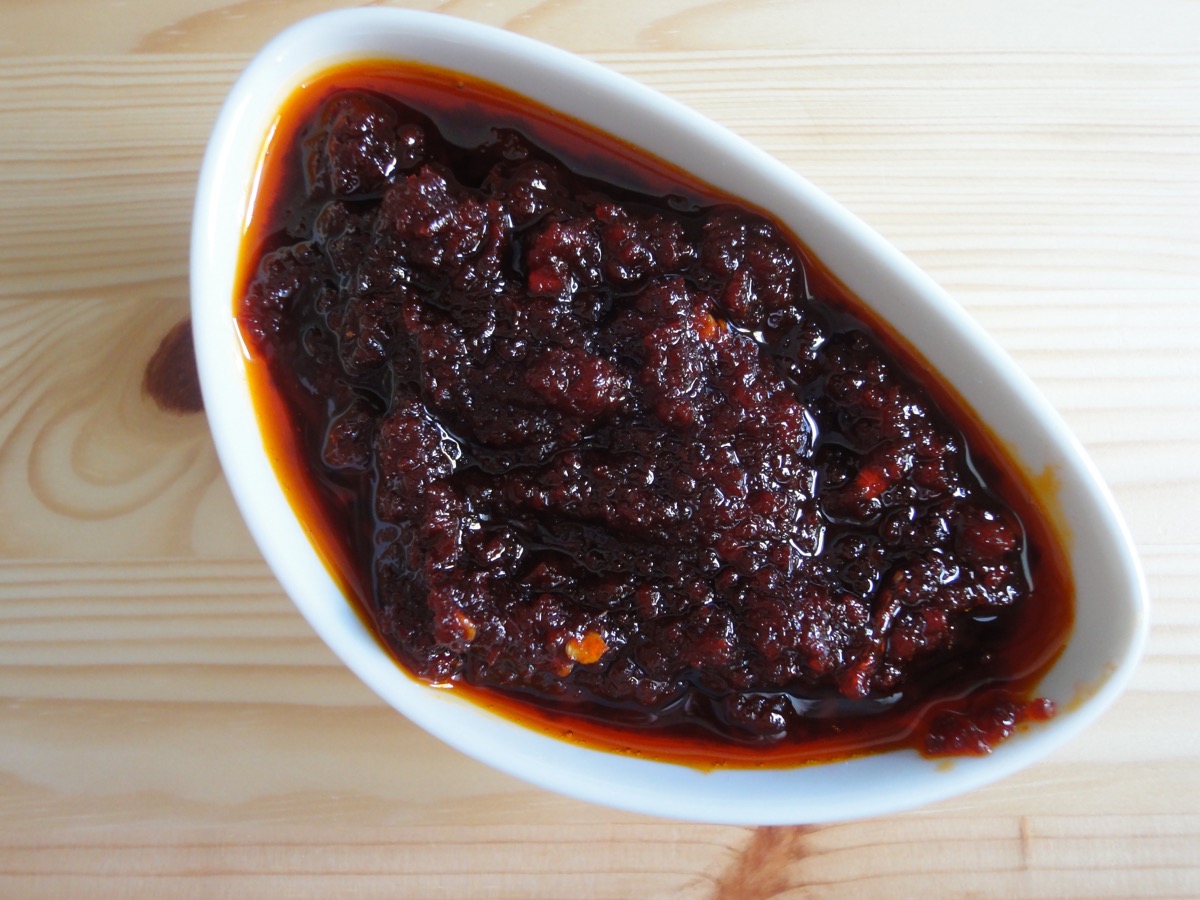
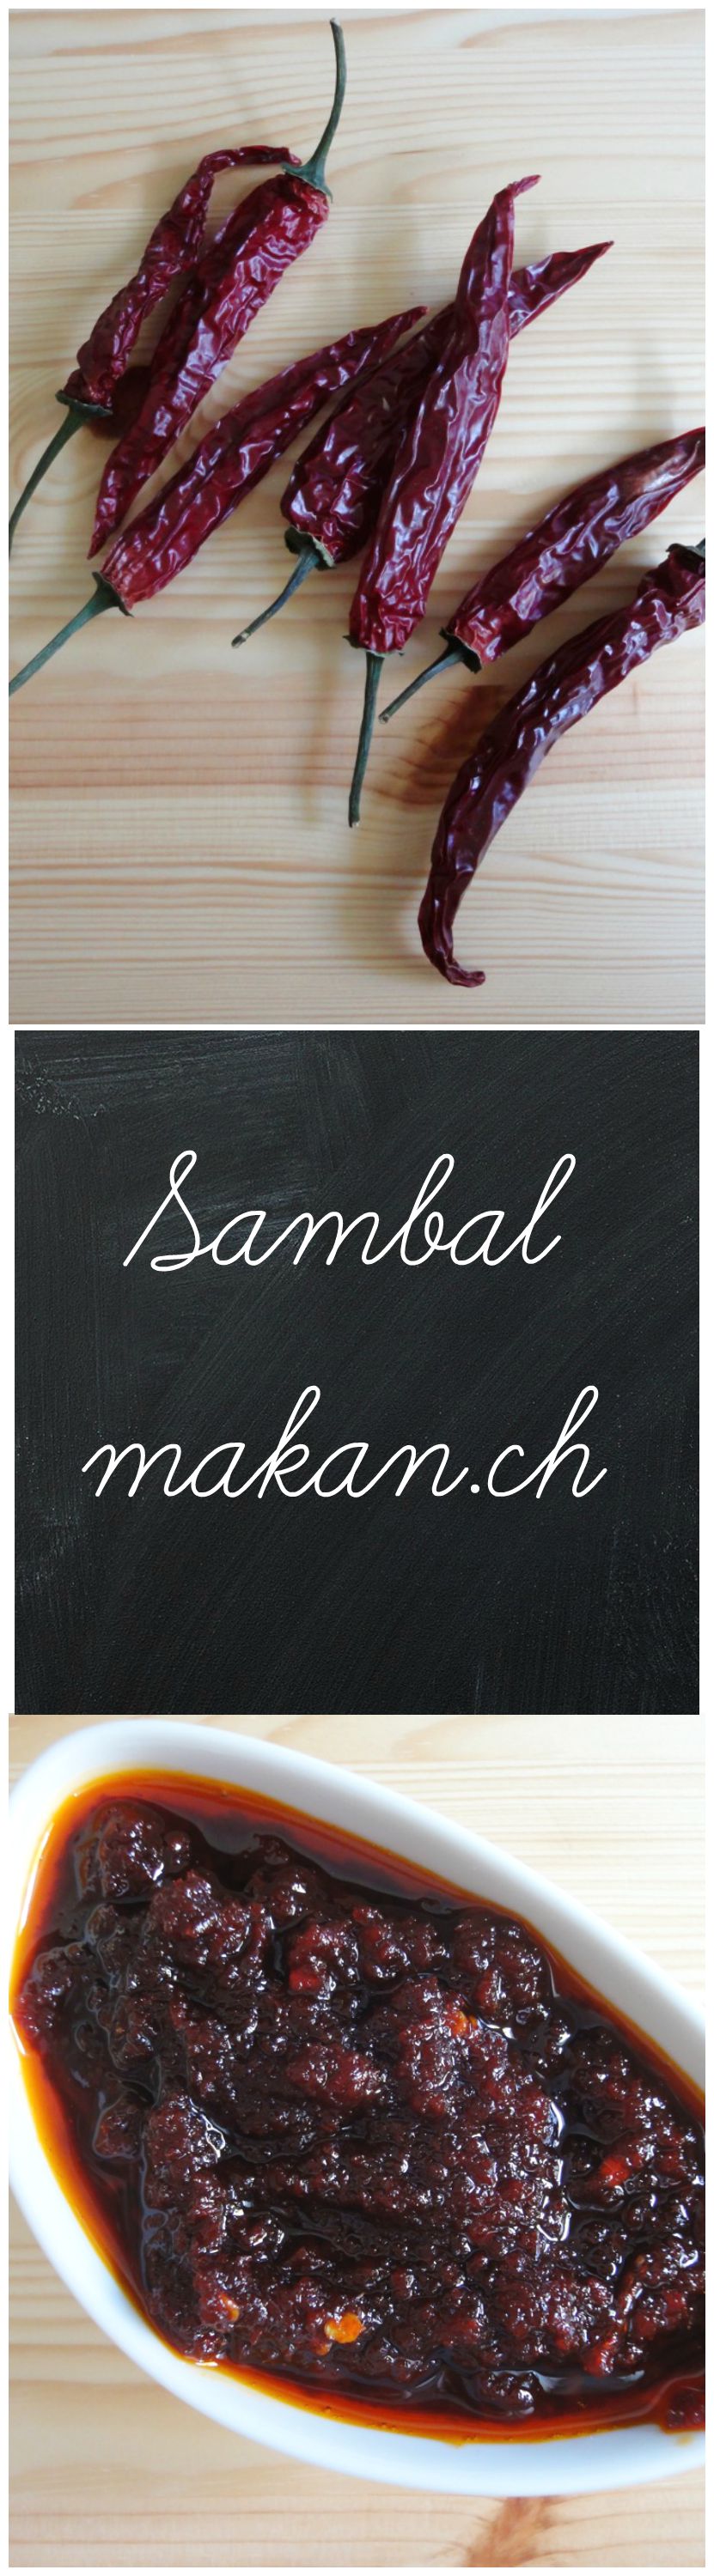
Sambal
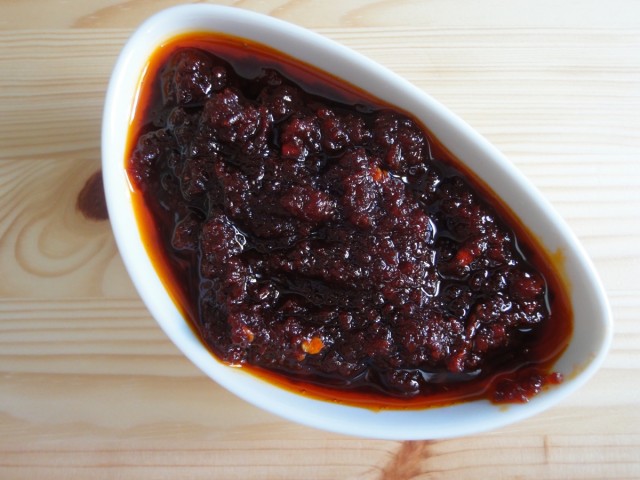
Sambal is a chilli condiment found in Malaysia, Indonesia, Singapore, Sri Lanka and Netherlands. There are many types of sambals such as sambal belacan, sambal goreng, and sambal tempoyak which are common in Malaysia. It can be served raw or cooked. Each household has their own way of preparing sambal. The traditional way of preparing sambal is by using a pestle and mortar, but nowadays using a blender is common and faster.
I use dried chillies, onions and just a teaspoon of roasted belacan (dried shrimp paste). Dried chillies are widely available, but I like making my own chilli ristras to dry my own chillies. It takes me about 2 months to get it fully dried.
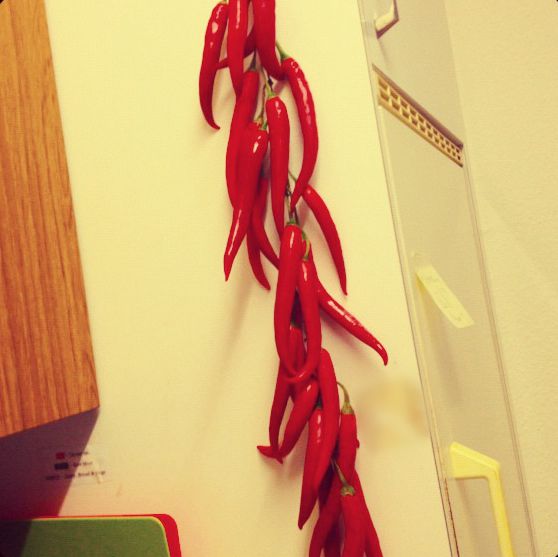
Chilli Ristra : One that I made a long long time ago back in my old apartment.
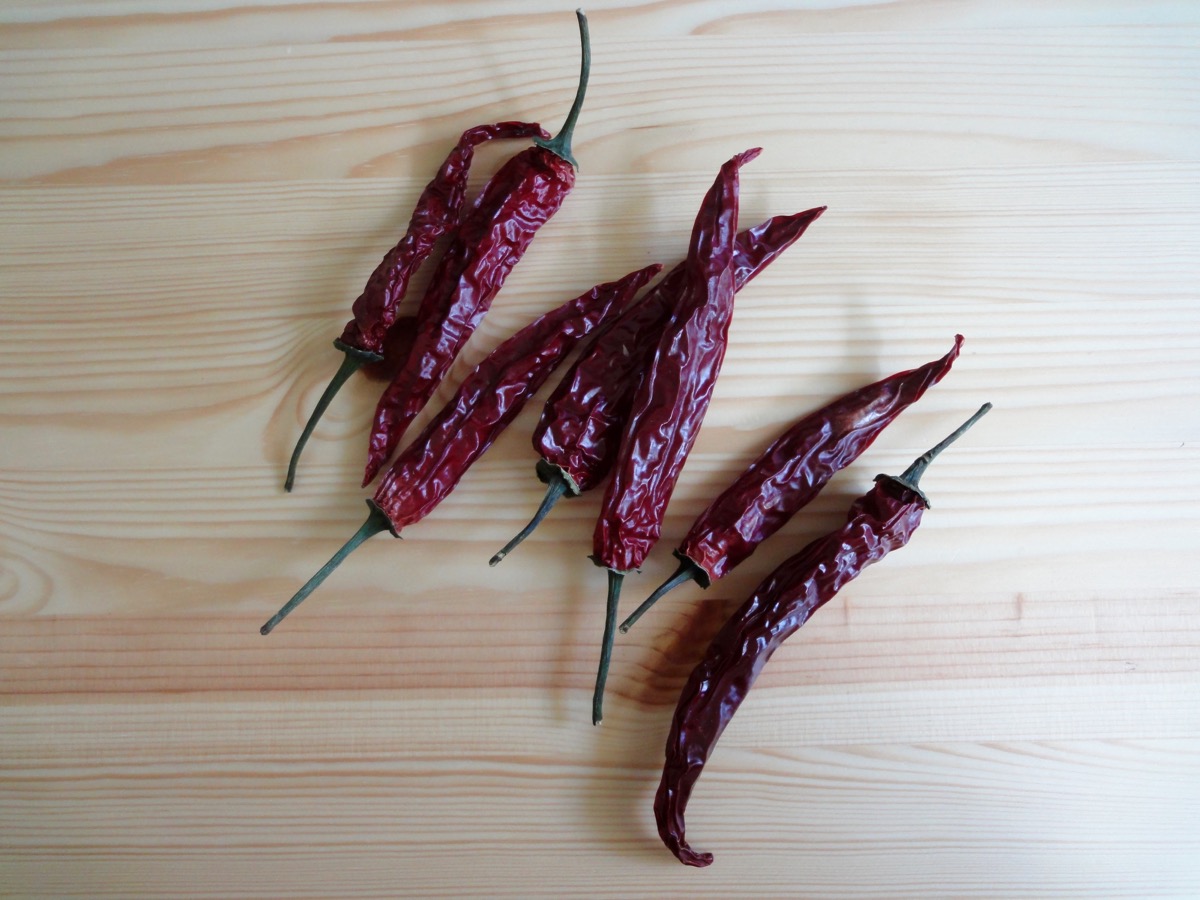
Dried Chillies
Ingredients
- 12-14 medium sized Dried Chillies
- 3 medium sized Onion
- 1 teaspoon Belacan
- To taste Salt
- To taste Sugar
- 1 cup Peanut or Vegetable Oil, for cooking
Directions:
- Bring a medium sized pot of water to boil. Once it starts boiling, remove from heat.
- Cut dried chilli into halves and add to hot water.
- Allow to soak for 10 minutes. Reserve about 3 tablespoons of the water. Strain.
- In the meantime, wrap up belacan in a piece of foil and pop it into the oven for 10 minutes at 180°C.
- Crumble up belacan.
- In a blender, blend onions, chilli, and belacan with the reserved water.
- Blend till lightly course texture.
- Add peanut oil to pan and turn on to medium heat.
- Add chilli paste and fry till the oil separates from the sambal (about 15 minutes) and is darker than what you started with.
- Season with salt and sugar if needed. Sometimes onions are sweet enough, so sugar is not needed.
- Set aside and leave to cool.
Tips:
- Well cooked sambal can be stored in the fridge for about a month (in my experience)
- Always use a clean spoon to scoop out sambal
- Belacan is known as terasi (Indonesian) and kapi (Thai)
Enjoy!!
Bacon & Spinach Breakfast Mini Quiche

Another way to use bacon? I’m sold!
In the recent years, I have grown to like spinach. Why I say this is because, when I was a child…I really hated it! Every time my mother cooked spinach I would dread eating it. So I thought I could beat the system and pretend to chew my spinach. But I would then spit it out into my hand (yuck) and stick it below the wooden table. I thought I was good at it and that would be the perfect hiding place for my uneaten spinach…then one day…my mum decided to turn the table over to draw on it? (this was to prevent ants from crawling up) and I tried to coax her to not turn it over. It got too suspicious I guess and she did it…and there it was…my spinach art (double yuck). Instead of getting the usual scolding plus whacking, she laughed. PHEW! Well, the shame was enough to make me not do it again.
So, I had this bag of frozen spinach in my freezer and decided to use it for this mini quiche together with bacon and gruyere. I actually made this for Brinner (Breakfast for dinner) and the hubby loved it. There ware two versions of this, one baked with toast cups and one without. I made both; 6 with toast cups and 4 – without.
Recipe adapted from Recipe Tin Eats’ Quiche Toast Cups.
Toast Cups
- 6 slices or more Sandwich Bread, fresh
- To spread on sandwich bread Butter, softened
Bacon and Spinach Filling
- ¾ cup bacon Bacon, diced
- ½ cup Spinach, thawed
- 1 medium sized Red Onion, chopped
- 2 Eggs
- 2/3 cup Milk
- ⅓ cup Gruyere, grated
- To taste Salt
- To taste Black Pepper, grounded
Directions:
- Toast Cups
- Pre-heat oven to 180°C (350°F). Prepare a muffin/cupcake pan, brush with butter or spray with cooking spray.
- Melt butter.
- Take slices of fresh sandwich bread and cut it with a round cookie cutter (about 4 1/2 inch diameter).
- Flatten the bread with a rolling pin.
- Brush flattened bread with butter.
- Press the bread into the muffin/cupcake pan.
- Bake for 5-7 minutes.
- Bacon and Spinach Filling
- Fry bacon in pan, add onions once the bacon fat has rendered.
- Sauté till the onions are soft. Set aside.
- Thaw spinach and squeeze or strain any access liquid.
- In a medium sized bowl, whisk eggs, milk, cheese, salt and pepper. Add bacon, onions and spinach.
- Once toast cups are baked, pour the mixture into each toast cup – about 3/4 full.
- Fill balance of mixture into the rest of the muffin/cupcake pan.
- Bake for 20 minutes until the filling is set and golden brown. (I took mine out a tad too early, because we were hungry!)
Tips:
Enjoy!

Bacon & Spinach Breakfast Mini Quiche with Toast Cups

Bacon & Spinach Breakfast Mini Quiche