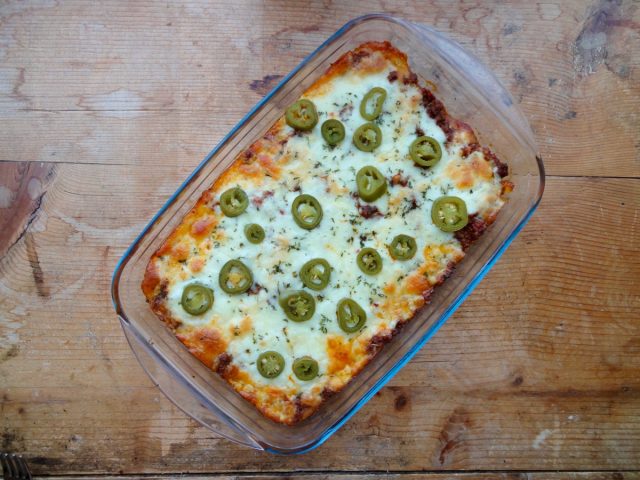
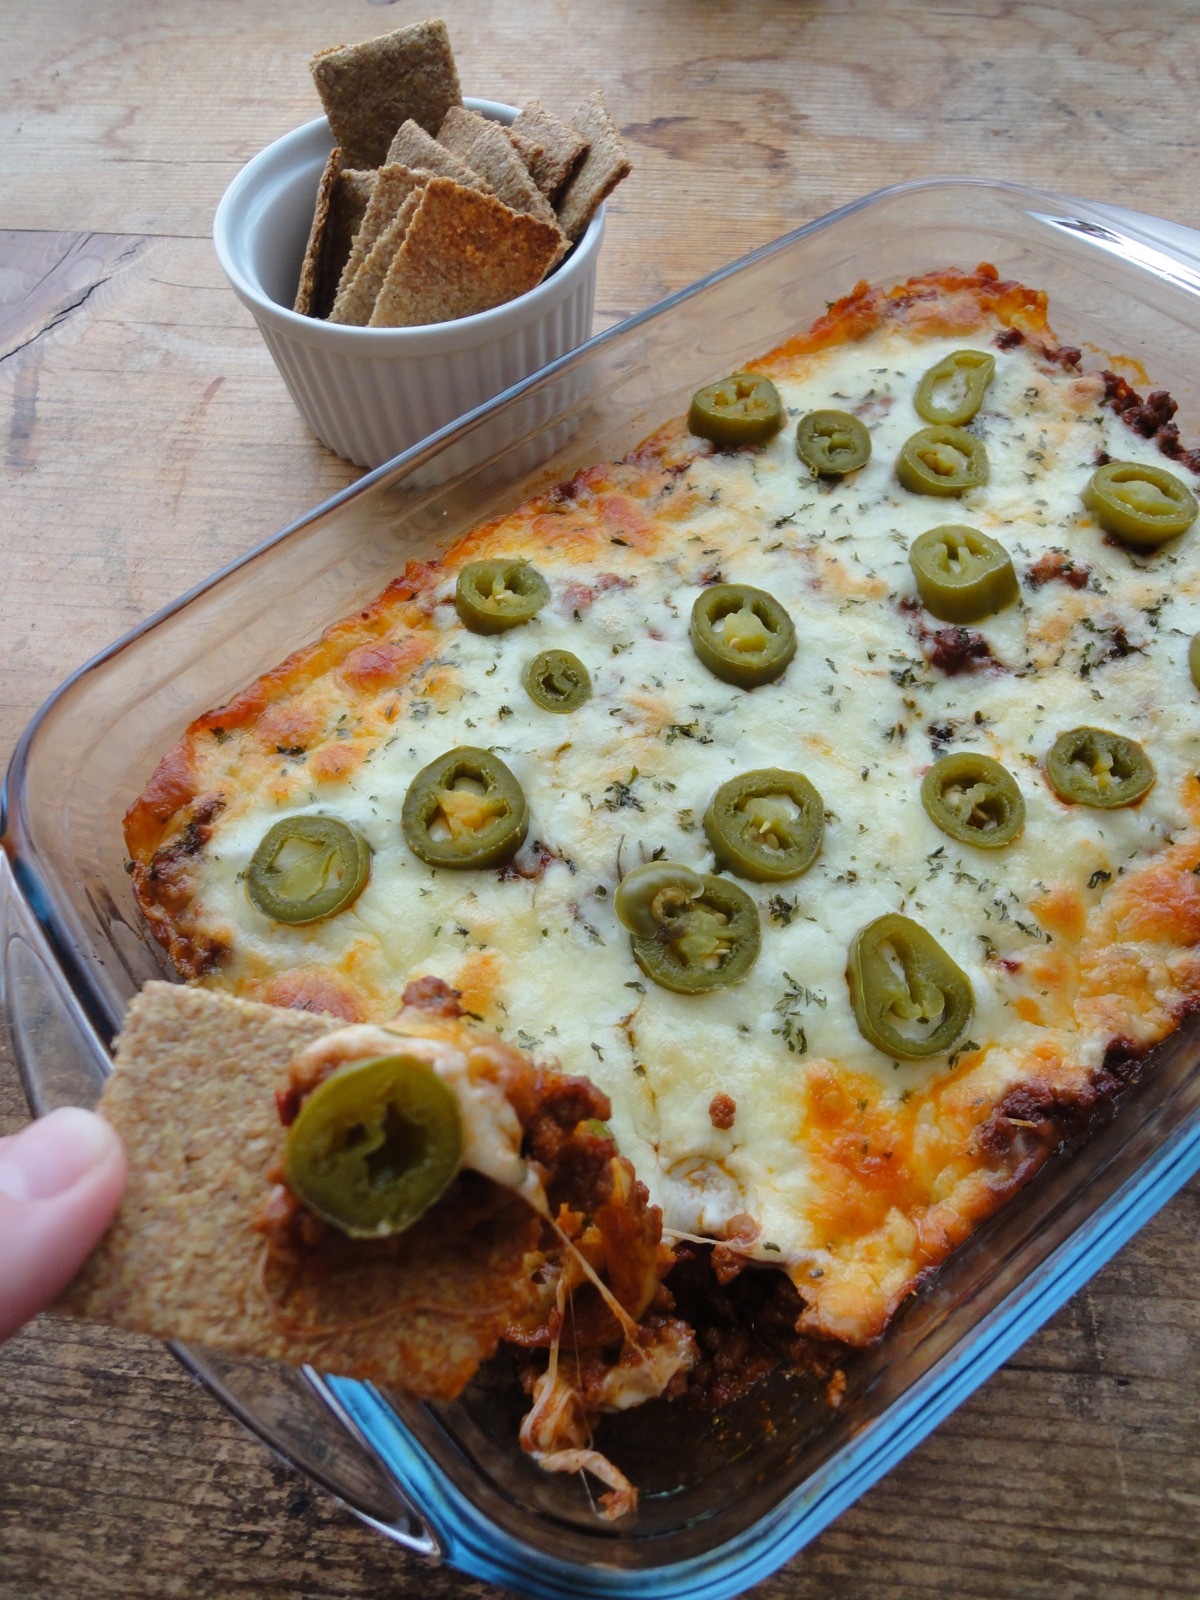
Spicy Cheeseburger Casserole (Keto-Friendly)
I’ve been slacking on my blog because I have been repeating my meals. Since I started Keto, I’ve actually had lots of ideas but often enough I repeat it and since it’s simple grilled meat with some veggies on the side, I didn’t think it would be worth a post for it.
The past month, I’ve been eating lots of naked burger’s. Why naked? Because it’s a regular burger sans the burger bun. Instead I use some lettuce or when I’m feeling a little ambitious, I would make some Oopsie Rolls to go with it. But after some time, I was actually getting sick of burgers. However, I still had lots of frozen burger patties left. I bought lots of it because hey! We love burgers! And since I just got a new freezer with lots of space and the burger patties were selling half price at my local grocery store so, why not! So I gladly stocked up on burger patties. Double score!
Since I started getting sick of it, I just minced it up, mixed together some spices, topped it with cheese and jalapeños, baked it and Voilà.! A new dish from burger patties. But when I ran out of burger patties, I started using minced meat for this dish. I can get minced meat relatively cheap here because I buy it for half the price when it’s on sale (about once a month) and I buy at least 3 kg’s of it and freeze it or make it into homemade burgers, meatballs, salisbury steak or bolognese.
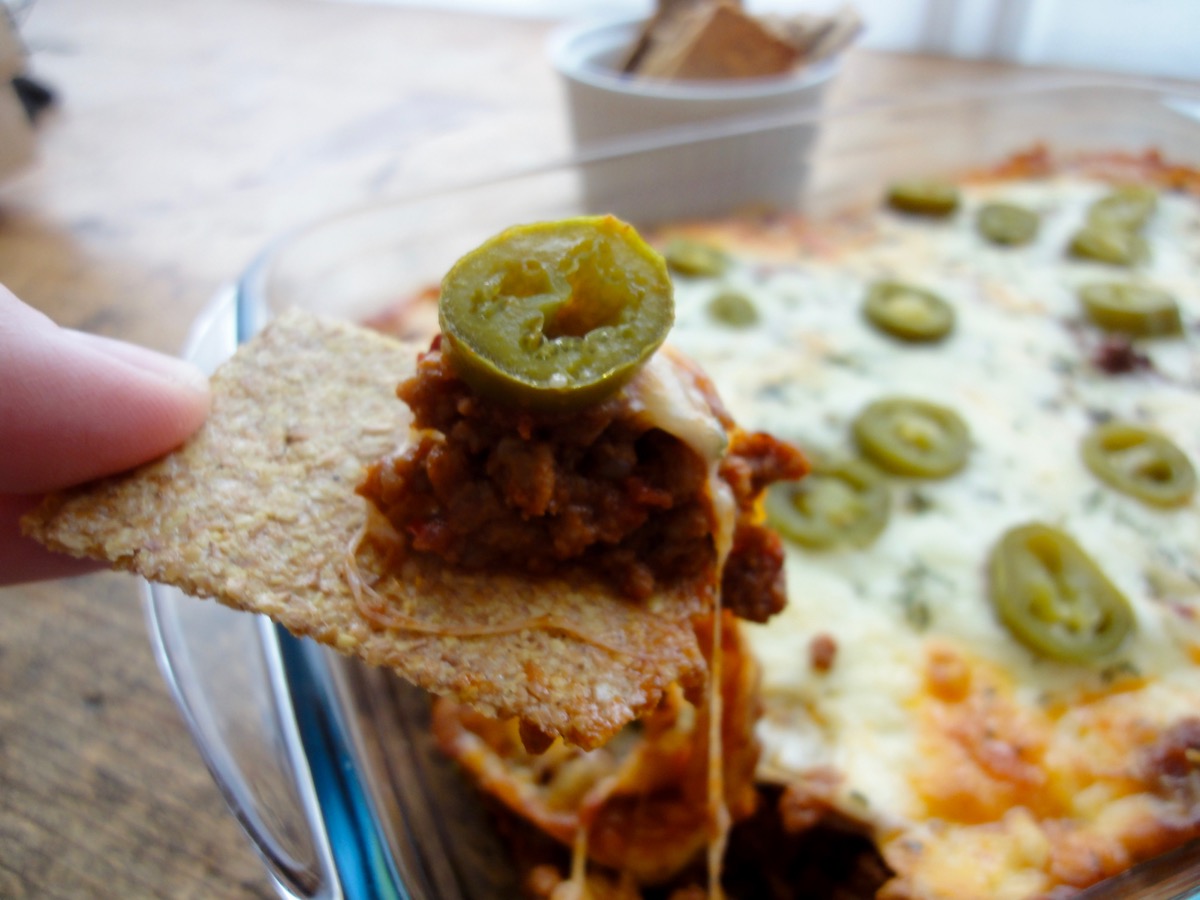
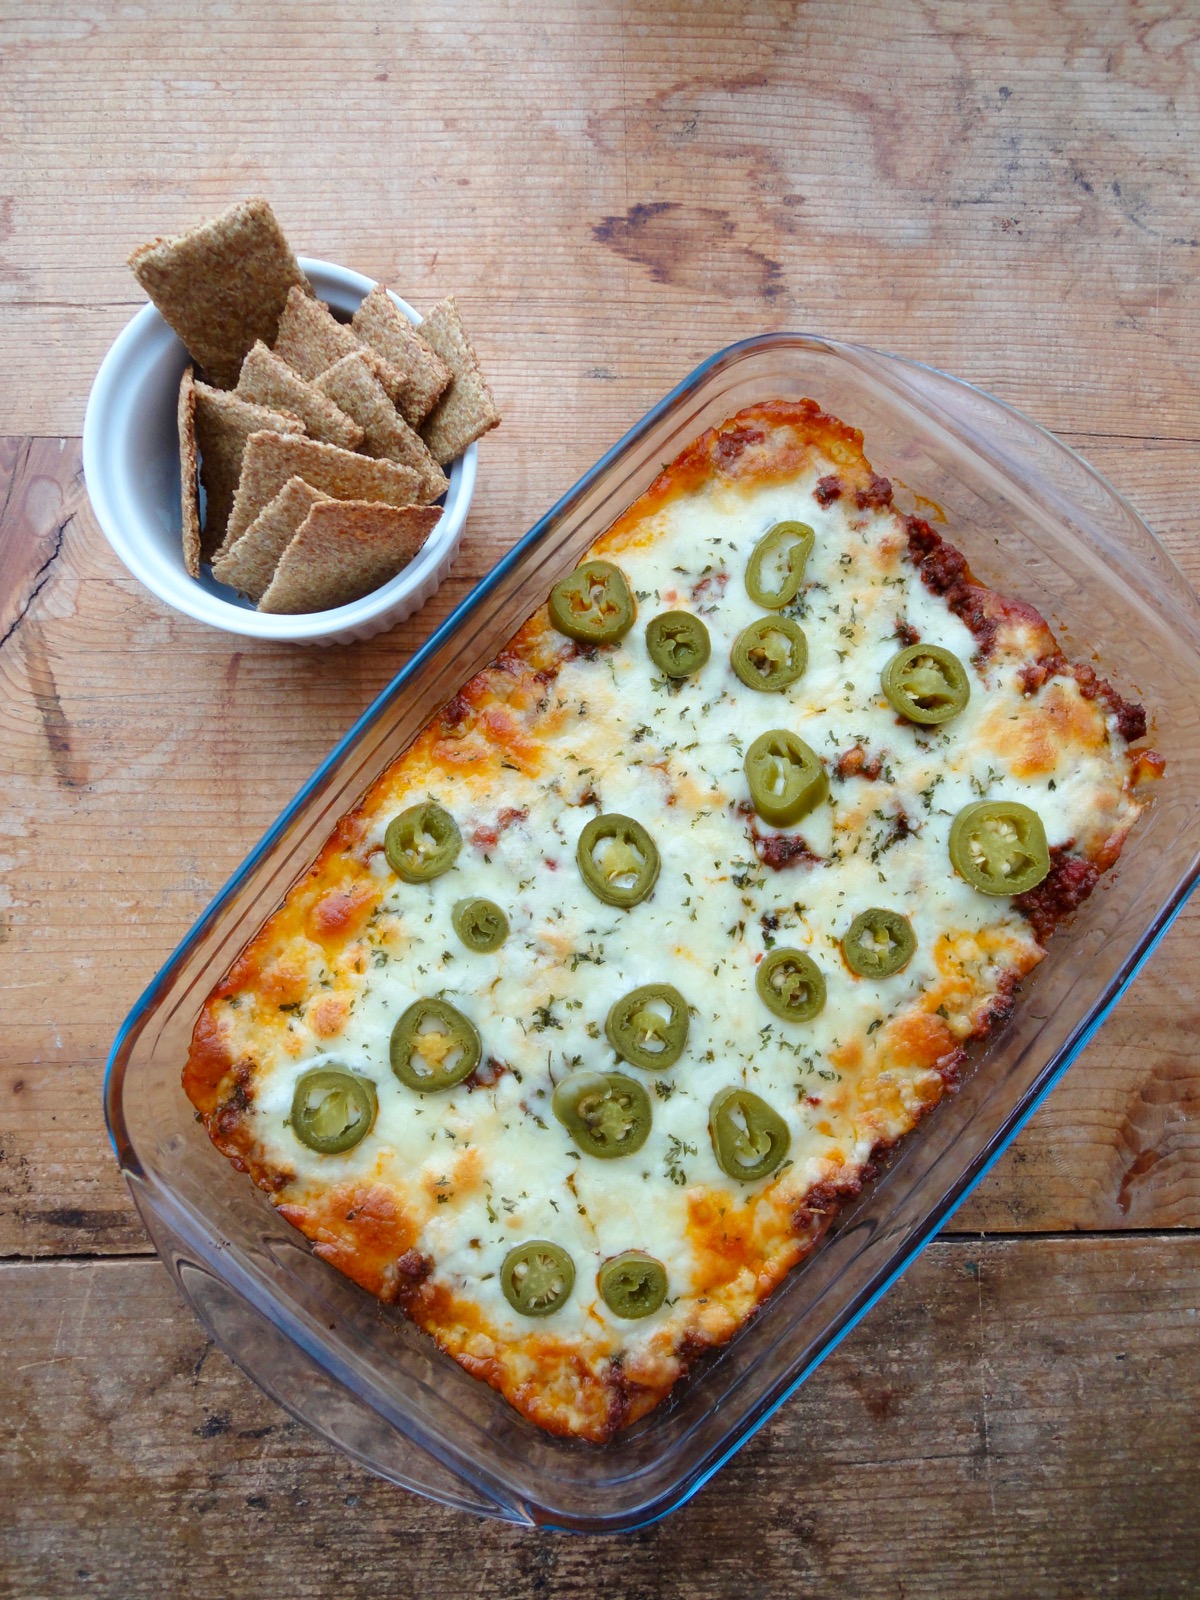
This has got to be one of my favourites! Fast, simple and easy to put together dinner. Plus, I get to make some Keto Flaxseed Chips to go with it. I like to eat it like a dip.
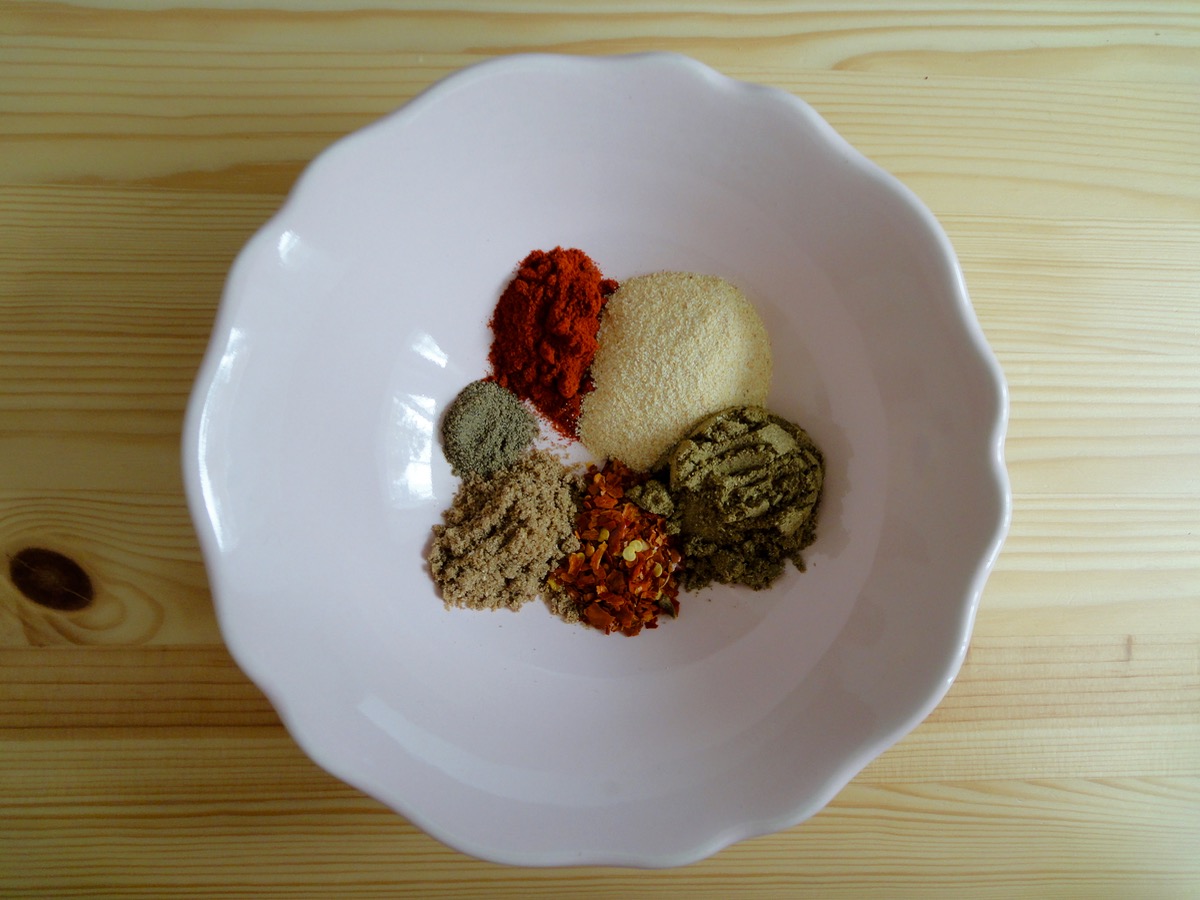
Seasoning Mix – Paprika Powder, Garlic Powder, Cumin Powder, Dried Chilli Flakes, Coriander Powder & Black Pepper Powder.
Seasoning Mix
- 2 teaspoons Cumin Powder
- 2 teaspoons Paprika Powder
- 1 teaspoon Dried Chilli Flakes
- 2 teaspoons Garlic Powder
- 1 teaspoon Coriander Powder
- ¼ teaspoon Black Pepper
- 1-2 teaspoons Himalayan Pink Salt
Cheeseburger Casserole
- 500 grams / 1 pound Minced Meat
- 200 grams / ½ can Chopped Tomatoes (sugar free/reduced sugar)
- 2 Tablespoons Tomato Paste (sugar free/reduced sugar)
- 2 cups Mozzarella Cheese, shredded
- For Garnish Jalapeño Slices
Directions:
- Seasoning Mix
- Mix ingredients together and set aside.
- Cheeseburger Casserole
- In a medium non-stick pan, heat up coconut fat and brown minced meat.
- Add tomato paste, chopped tomatoes and seasoning mix.
- Stir and cook through.
- Transfer cooked meat into a greased dish.
- Top with mozzarella and jalapeños.
- Bake for 20 minutes at 180’C or till cheese has melted and turned golden brown.
- Serve with a side of sour cream, salad and keto flaxseed chips.
Tips:
- Conversion Chart
- You can adjust seasoning according to what you like. I like mine a little spicy so I add a chili powder mix of cayenne, chili, cumin, and paprika.
- If you are using MyFitnessPal app to count calories, first copy the recipe URL then go to MyFitnessPal app to Recipes, select Create a New Recipe, then Add from the Web. Paste the URL, match ingredients and that’s it!
- Always match ingredients to the ones you use. Ingredient nutritional facts differ depending on brand.
- Nutrition Facts (based on my ingredients) : Per serving (1/4) 443 kcal, Total Fat – 28 g, Total Carbs – 9 g, Fiber – 2 g = NET Carbs – 7 g, Protein – 39 g.
- If you find that there’s too much meat in the dish, simply load up on the cheese or fat and increase serving size or simply reduce amount of meat.
Enjoy!


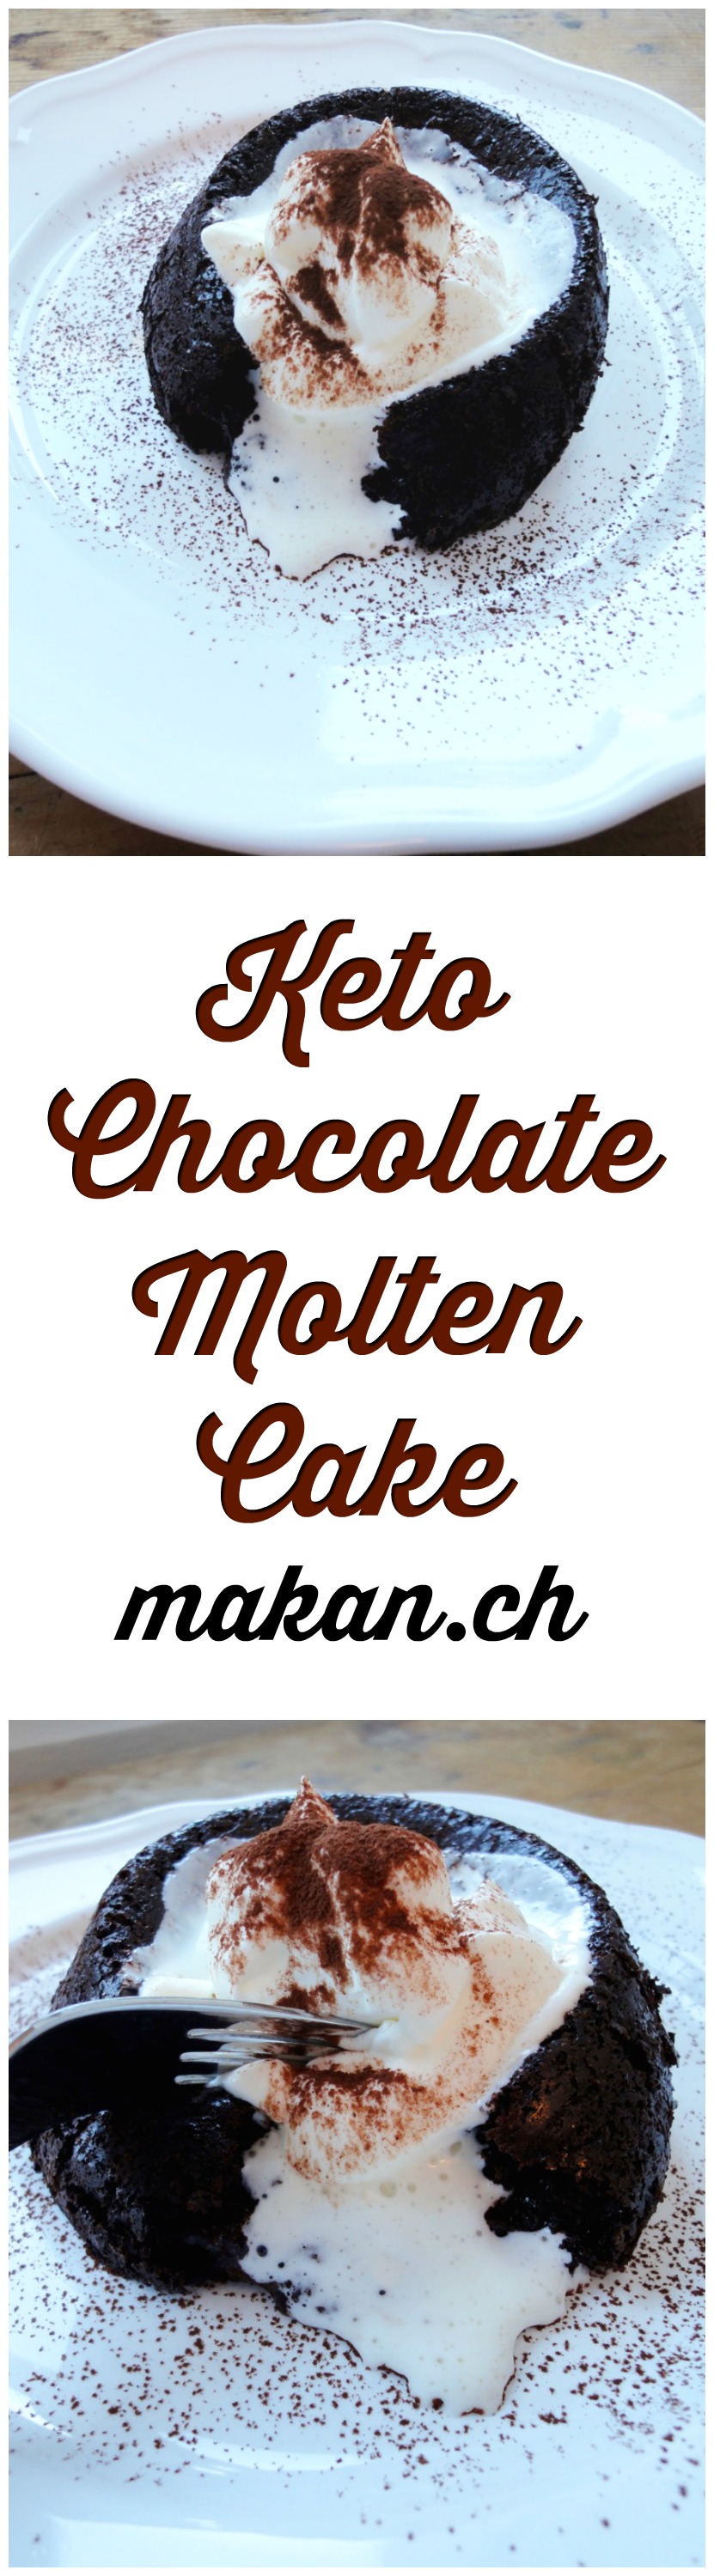
Keto Chocolate Molten Cake
“Only Cherry can find a diet that still lets her eat desserts” – The Husband (2016)
A few posts back I claimed that I won’t be baking anymore sweet treats. I didn’t lie! I just found a loophole. With a whole lot of substituting, researching, shopping, and money, I am still able to bake sweet stuff! Woohoo! However, if you really have sugar addiction and are on a strict no-sugar diet, I do not recommend you do this ‘cheat’. Yes, you do not use real sugar but the sweet taste will take you back to all your delicious sweet treats and the tendency of to submit those cravings are high. If you have good willpower, you may treat yourself.
1st loophole : I found that sukrin (erythritol) is a good substitute for sugar in baking and cooking. It taste’s like sugar, looks like sugar and works like sugar but it is 100% natural, has ZERO calories, doesn’t damage teeth, and it does not cause blood sugar to spike. Please do your own research before purchasing or using a product.

Sukrin: the calorie-free alternative to sugar. Taste and looks with sugar, 100% natural, Zero calories
2nd loophole : There are many recipes that use coconut flour or almond flour as substitutes to all-purpose flour. I have not tried using any of those two flours yet, but I will soon. Or just go flourless for now, like this recipe.
3rd loophole : Find or create sweet treats that have less than 5 grams of carbs per serving. With all the substituting, its very possible to have 5 grams of carbs per serving. If not, just eat a smaller portion.
However, the ingredients needed to create low carb sweet treats are rather expensive compared to if you do not substitute. For example, 1 kilo of sugar costs CHF 1 (in Switzerland) whilst a 500 gram packet of sukrin costs around CHF 14.50 and that’s without delivery. That alone is enough to discourage me from using much of it. I would use it for that biweekly or monthly treat and a little in the morning when I make my cocoa drink. I’m used to drinking Nesquik in the morning but I sadly have to give that up. :'(
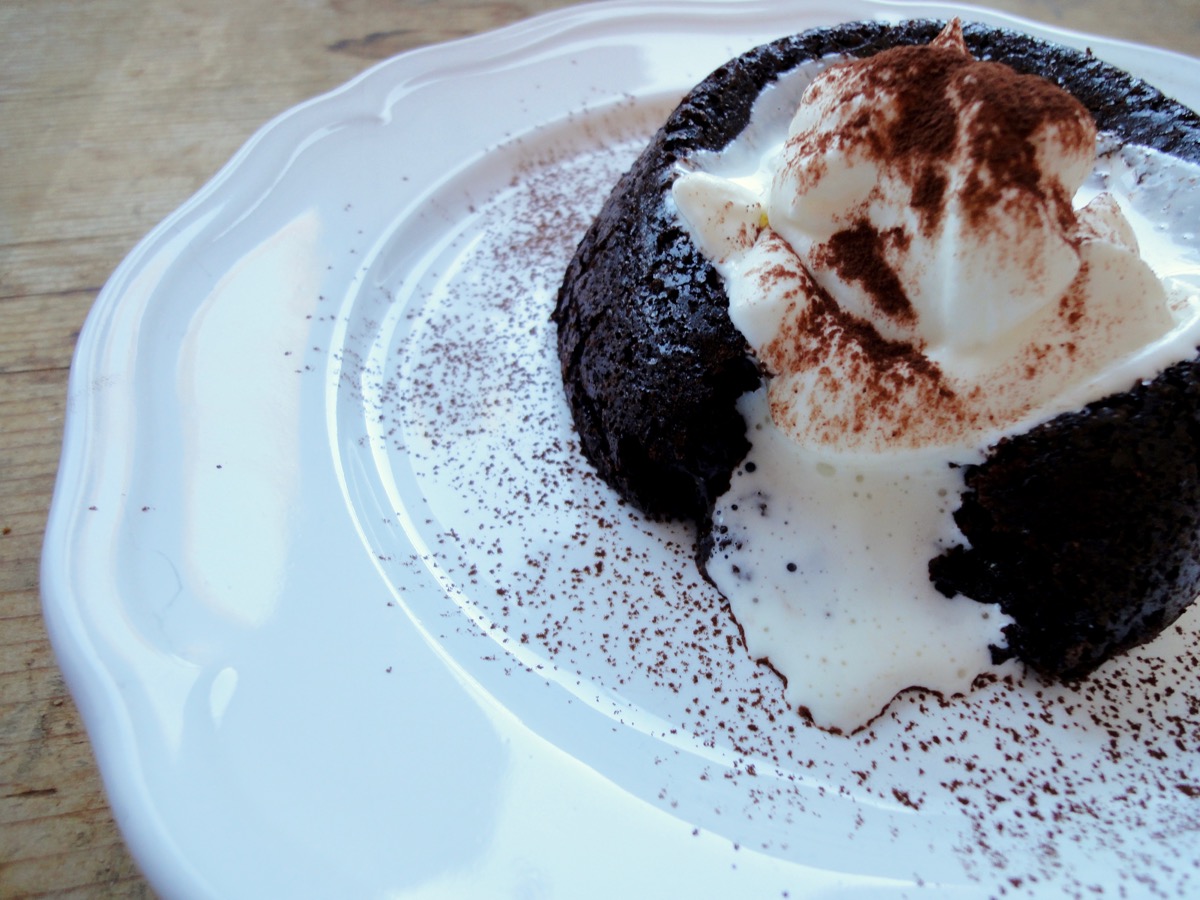
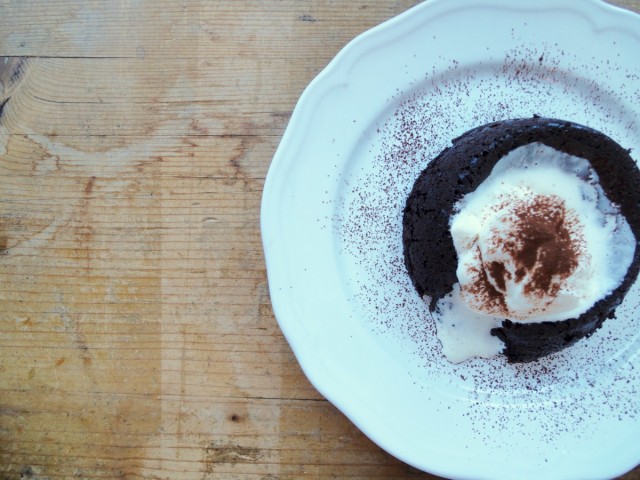
So, here’s that delicious (and a little bitter) keto chocolate molten cake. Recipe adapted from Tasteaholics.
Chocolate Molten Cake
- 4 Tablespoons Unsweetened Cocoa Powder
- 2-4 Tablespoons Erythritol (Sukrin)
- ½ teaspoon Baking Powder
- To Taste Salt
- 2 Egg, medium
- 2 Tablespoons Heavy Cream (35%)
- 1 teaspoon Vanilla Extract
Vanilla Whipped Cream
- ½ cup Heavy Cream (35%), cold
- 2 teaspoons (or according to taste) Erythritol (Sukrin)
- 1 teaspoon Vanilla Extract
Directions:
- Chocolate Molten Cake
- Preheat oven to 175°C (350°F). If using microwave, skip this obviously.
- Spray or butter up your ramekins or heat-proof bowls. Set aside.
- Mix erythritol (sukrin), unsweetened cocoa powder and baking powder. Break up any clumps and set aside.
- In another bowl, whip/beat the crap out of the eggs until it’s frothy and aerated. (the cake is flourless so beating it till frothy and aerated is going to help the cake rise.
- Add the egg, heavy cream, vanilla extract and salt to the cocoa mixture.
- Gently fold in the mixture till combined.
- Pour batter equally into prepared ramekins.
- Bake for 15 minutes or microwave it for a minute (or till it’s cooked, all microwaves are different) In the meantime, prepare whipped cream. See 2nd set of instructions below. It should still be jiggly. If cooked too long, you wouldn’t get that molten effect and you’d just land up with a cake which is also nice.
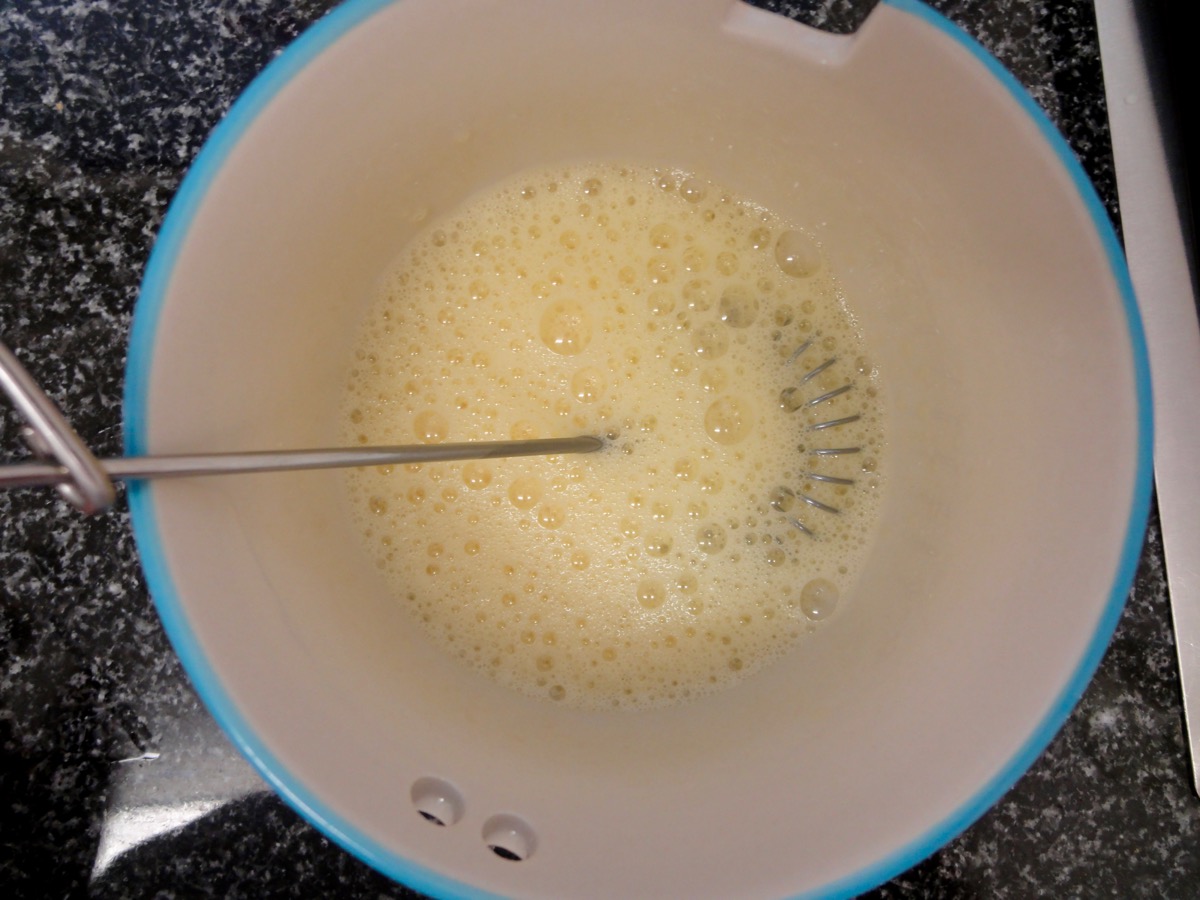
Whisk/Beat till frothy
- Whipped Cream
- Add heavy cream, erythritol (sukrin) and vanilla extract to a large bowl.
- Whip till it forms stiff peaks. You can use a hand mixer, stand mixer or if you like a challenge, whisk it manually.
- Set aside or put it in the refrigerator until needed.
- Assembly
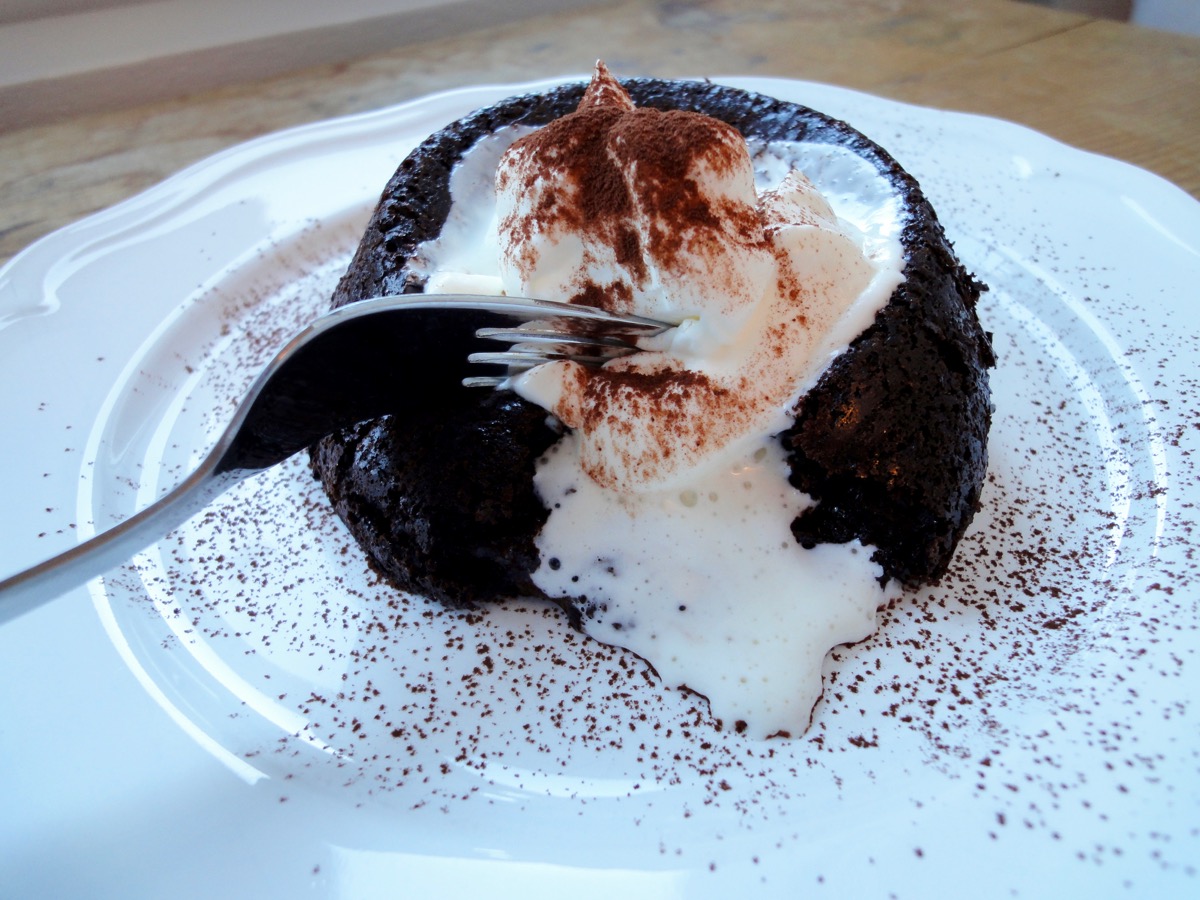
- Carefully run a knife around the edge of each cake, then turn out onto serving plates and serve with a dollop of vanilla whipped cream.
Tips:
- If cooked too long, you wouldn’t get that “lava” effect and you’d just land up with a cake which is also nice.
- Make your own Vanilla Extract!
- Conversion Table
- If you are using MyFitnessPal app to count calories, first copy the recipe URL then go to MyFitnessPal app to Recipes, select Create a New Recipe, then Add from the Web. Paste the URL, match ingredients and that’s it!
- Always match ingredients to the ones you use. Ingredient nutritional facts differ depending on brand.
- Nutrition Facts (based on my ingredients) : Per serving 302 kcal, Total Fat – 25 g, Total Carb – 4 g, Protein – 11 g.
Enjoy and just eat one portion! Don’t be greedy.
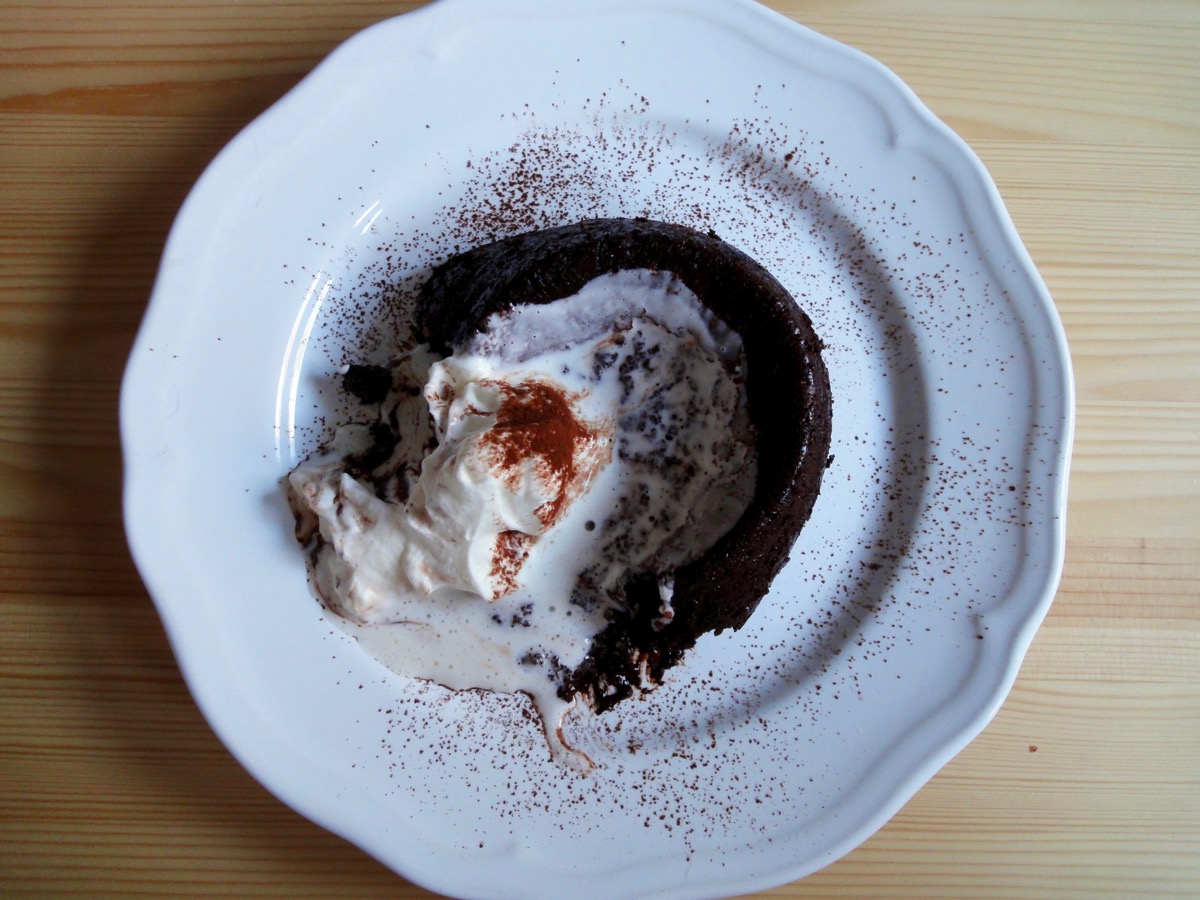
By the time I was done taking photo’s I was left with this mess.
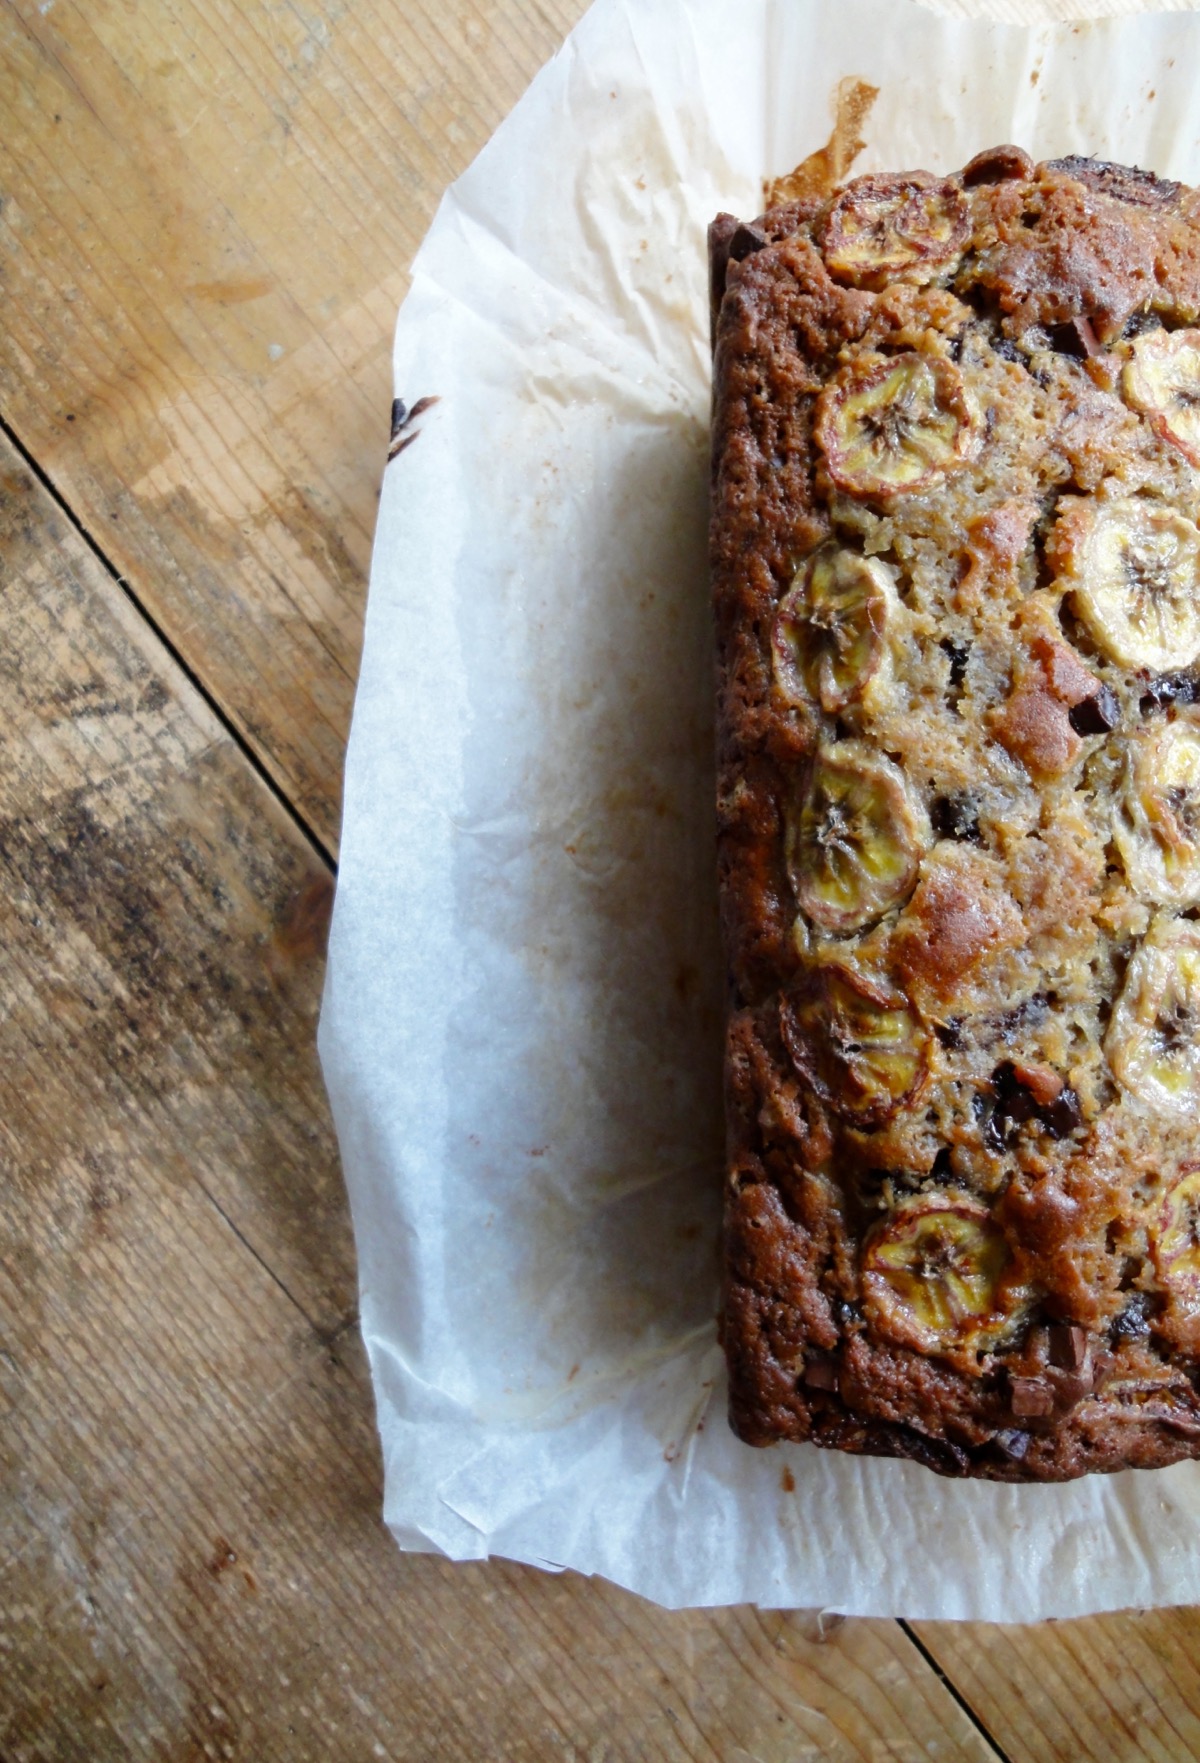
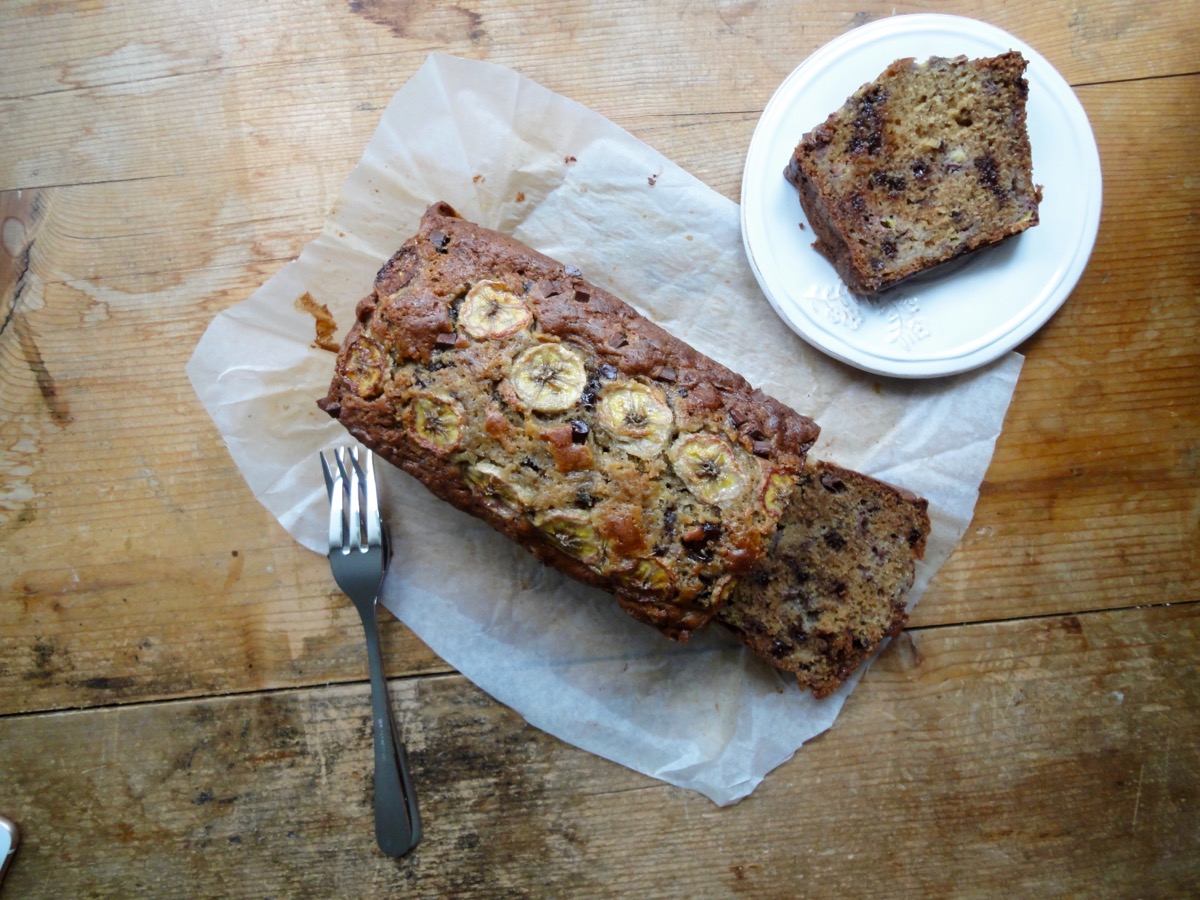
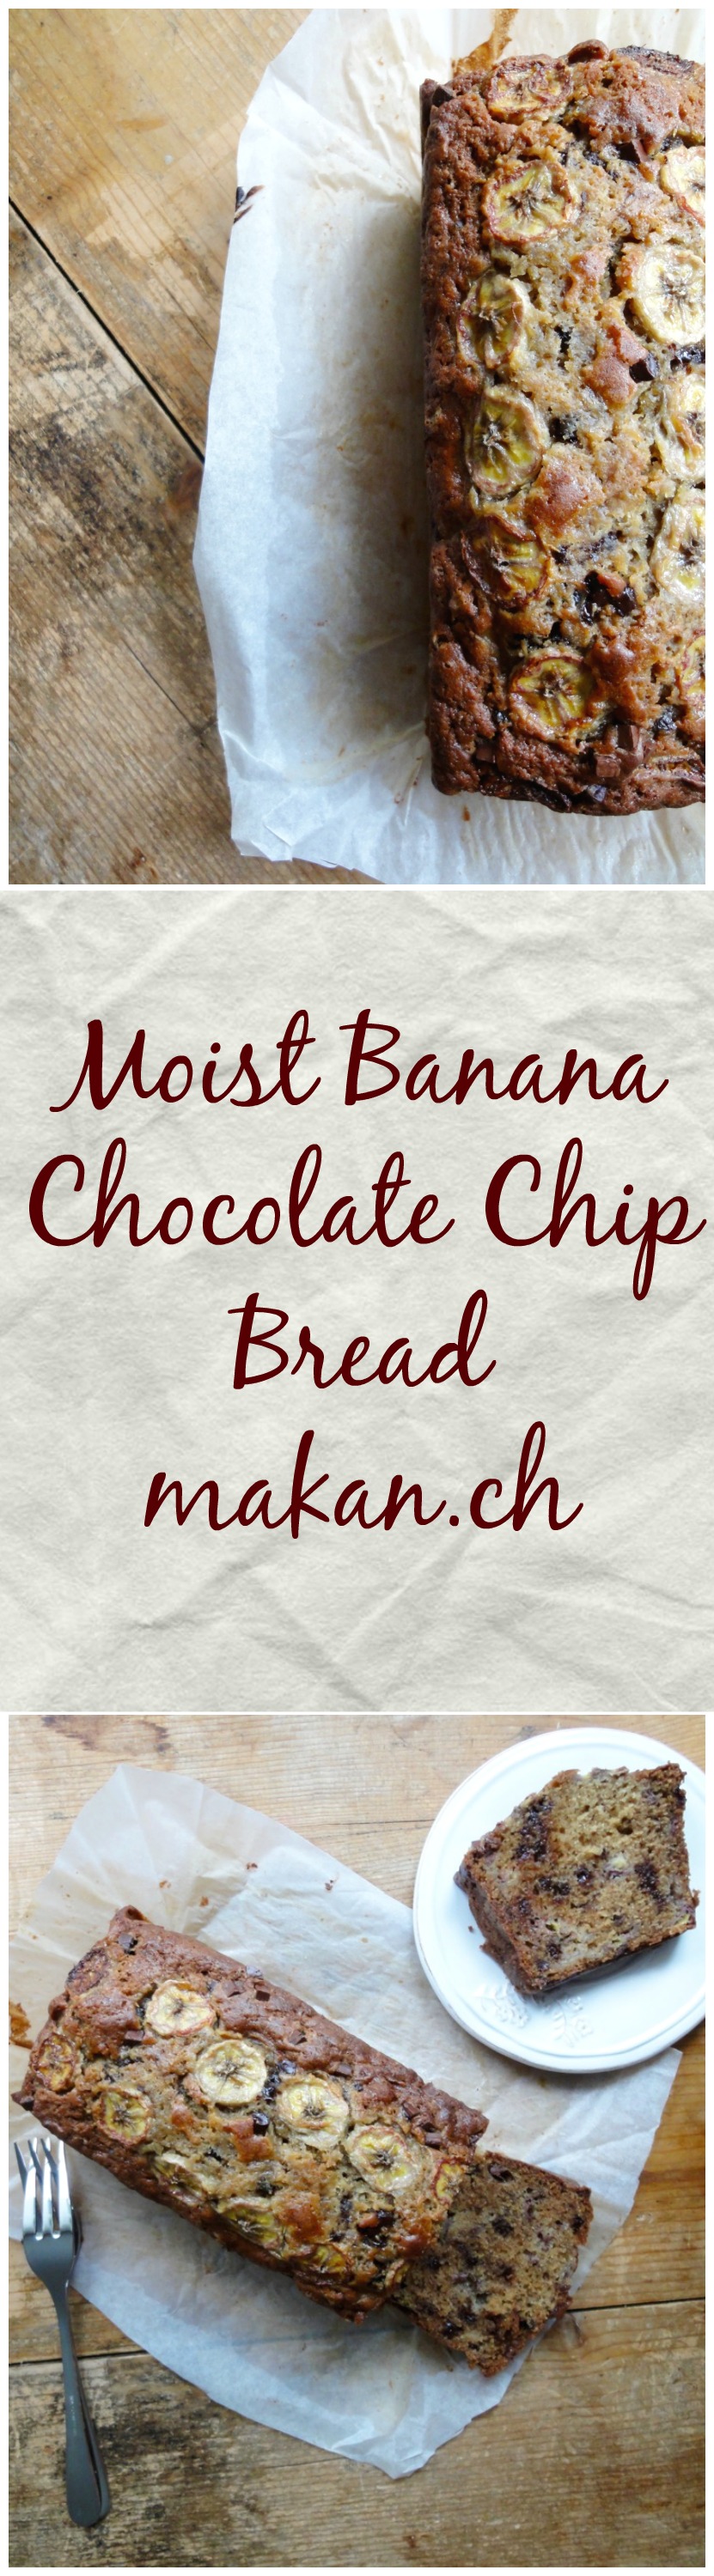
Moist Banana Chocolate Chip Bread


Mmmmmm banana 🙂 The only fruit that appears in our home at least 3 times a month. Coming from a tropical country, I was spoilt with different types of bananas. Heck, we even had banana tree’s growing at the back of our home but had to cut it all down because it was also a good hiding spot for thieves. The one’s we get here are simply just not as nice. So, instead of eating it just like that, I wait for it to get really ripe then add it into my muesli, muffins, bread, and ice-cream. The ice-cream however is a little bit disgusting because it really gets so slimy when you start eating it.
This recipe is really really easy. So easy I whipped it up at 2 in the morning, simply because I could not sleep. I had to make it very quietly though since the hubby was sleeping in the other room. All it took was a medium sized pot, a wooden spoon, a loaf pan and patiences. I initially wanted to bake it in a muffin pan, but I had a new loaf pan which I got 50% off the original price and wanted to give it a try. Plus, there’s a certain satisfaction I get looking at cakes or bread that come in a shape of a loaf. The greek yogurt or sour cream in this recipe makes the loaf really moist, hence the name.
Ingredients
- ½ cup Butter, melted
- 1 cup Brown Sugar*
- ½ teaspoon Salt
- 2 teaspoons Vanilla Extract
- 2 nos Egg
- 1 ½ cups All-Purpose Flour
- 1 teaspoon Baking Soda
- ½ cup Greek Yogurt or Sour Cream
- 3 medium sized (reserve 1 for top) Banana
- ½ cup Chocolate Chips
- ½ cup Walnuts (optional)
Directions:
- Pre-heat oven to 175°C (350°F). Line a 9×5-inch loaf pan with parchment paper. Set aside.
- In a medium pot, add butter on medium heat until just melted. Remove from heat.
- Add sugar and salt, mix well.
- Add eggs one by one, mixing well after each egg. Add vanilla extract.
- Add flour, baking soda, greek yogurt and mashed banana’s. (Just mash 2 banana’s with your hand) Mix till just combined.
- Mix in chocolate chips and walnuts (if using).
- Pour batter into prepared loaf pan.
- Sprinkle some chocolate chips on top. Then. slice up 1 banana and arrange it on the top of the batter.
- Bake for 1 hour. If the bread is still not cooked but has browned on top, place an aluminium sheet on top of the loaf and bake for another 15 – 30 minutes. Use a cake skewer to check if the bread is fully baked. See tips below.
- Once baked, remove from oven and allow to cool for 15 minutes before removing it from the pan.
- Leave to cool completely on a wire rack.
Tips:
- *If the banana’s you use are sweet, feel free to reduce the amount of sugar.
- My bread took 1 hour 30 minutes to bake. After the 1 hour mark, I placed an aluminium sheet on top of the loaf and baked for 15 minutes and removed it to bake for another 10-15 minutes.
- When checking cake doneness, be sure to poke cake skewer in several places of the bread. Sometimes, it’s the banana’s that stick to the skewer fooling you into baking the bread longer.
- Conversion Table
Enjoy and happy baking!
Cream Puffs (Profiteroles)

Cream puffs are also known as profiteroles. The pastry shell or bun is known as choux pastry or pâte à choux (pata shoe). These little pastries drove me crazy back in May. I was obsessed trying to get the perfect choux pastry. One day I even made five different choux pastries from three different recipes using various methods and baking temperatures. It all tasted good, but I could not achieve a puffy pastry that didn’t taste bland, held it’s shape and didn’t go all soft the next day.
All in all, I’ve tried at least 10 times before I found the perfect combination. It might not work for all, but it has certainly worked for me…though not all the time. The eggs in this recipe are very very important. Not all eggs weigh the same, unless you use boxed eggs (as I call it). I’ve not tried using boxed eggs because it’s not available in grocery stores here. The only time I used it was when I worked in a restaurant. I normally use two medium sized eggs that weigh approximately 53g. But what I do is, I whisk the two eggs into a measuring cup and use as I need. Most of the time I use the whole mixture, but when the eggs are slightly bigger then I do not use all of it. The paste can’t have too much liquid, otherwise the shape would not hold. That, for me is the best way to go about with this.
The temperature is also very very important, as you want nice and puffy choux pastries and not ones that are flat, undercooked or overcooked. I learnt from Baker Bettie’s classic cream puff recipe where she preheated the oven to 220°C (425°F) but increased it to 230°C (450°F) when she put the pastries in the oven and baked it for 10 minutes then reduced the heat to 170°C (350°F) for 15 minutes. This worked perfectly for me and the results were perfect. The only thing I did a little different was, after the pastries were baked, I poked a hole at the bottom of it to release the steam in it. Then I returned it to the oven 100°C (210°F) for another 15 minutes to ‘dry’ it out. This step is totally optional as I just wanted my pastries a little drier.
Getting the recipe together was another thing. In some recipes, like this one…I use both imperial and metric system.
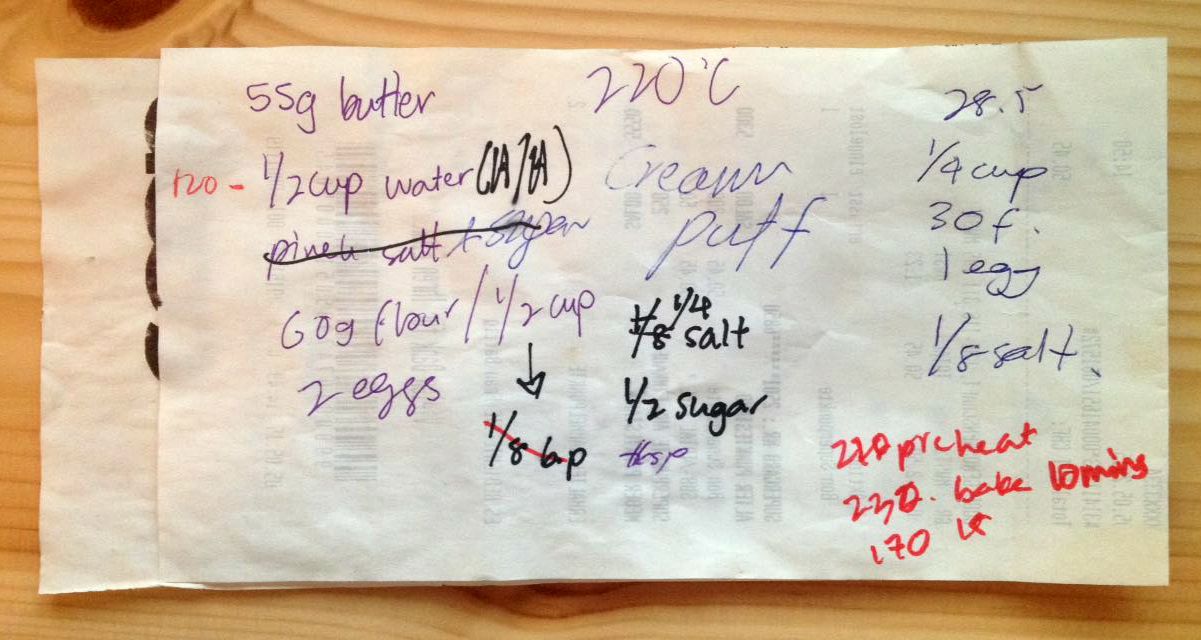
My horrible writing on a grocery receipt. This was my recipe that I have been using for 3 months.
Most recipes either call for water or milk. I find that using water keeps the pastry hard while milk makes it soft after a few hours, but water makes the pastry taste super bland while milk give it a very nice taste. So, I use both! Half milk, half water. The milk I use is pasteurised full fat (3.5 %) milk. Sometimes I do use pasteurised skimmed milk (2.5 %) and got the same results.
The pastry cream or crème pâtissière is adapted from Martha Steward. Sometimes when I’m lazy I just use Bird’s custard and add some vanilla beans to it.
Choux Pastry
- ½ cup (55g) Butter
- ¼ cup (60ml) Water
- ¼ cup (60ml) Milk
- ½ cup (60g) All Purpose Flour
- 1 teaspoon Sugar
- ¼ teaspoon Salt
- 2 nos Eggs
Crème Pâtissière
- 1 cup Milk
- 3 nos Egg Yolks
- 3 tablespoons Sugar
- 3 tablespoons All Purpose Flour
- 1 pod Vanilla Pod
Directions:
- Choux Pastry
- Pre-heat oven to 220°C (425°F). Prepare a baking try and line with parchment paper.
- In a medium sized pot, add butter, milk, water, sugar and salt and boil over medium high until butter has melted.
- Reduce heat to medium and quickly stir in the flour. Keep on stirring and cook off the moisture in the dough until it starts to pull away from sides and forms into a ball. Should take around a minute or two.
- Take the dough off heat and let it cool down for 5 minutes.
- Whisk eggs.
- Once dough has cooled off, slowly pour in the eggs into the pot and stir continuously. The batter should look smooth, glossy and thick. (You can also use a hand mixer to stir in the eggs, it does take a little longer and requires more energy if you mix it by hand.)
- Place batter into a piping bag with star tip or round nozzle and pipe onto prepared baking tray. Around 1.5-inch diameter. Starting in the middle, going once around, then up 3/4 around.
- Wet finger to flatten the tip of the pipped batter. This is to prevent the tip from burning.
- Place the tray into oven (middle rack) and increase the heat to 230°C (450°F) and bake for 10 minutes.
- After 10 minutes, reduce the heat to 170°C (350°F) and bake for another 15 minutes.
- Take the pastries out and let it cool for a minute or two. Then using a small pairing knife, make a hole at the bottom of the pastry.
- In the meantime, reduce the heat to 100°C (210°F).
- Put the pastries back into the oven on the wire rack. Bake for another 15 minutes to dry it out.
- Take out dried pastries and let it cool on a wire rack.
- Pipe cooled pastries with crème pâtissière or chantilly cream.
- Dust with icing sugar or coat with melted chocolate.
- Crème Pâtissière
- Split vanilla pod into half and scrape out the seeds.
- In a saucepan, bring the milk to a boil over medium heat.
- In a small bowl, whisk egg yolks, vanilla seeds and sugar.
- Add flour and mix until smooth and free of lumps.
- Take 1/4 cup of the warm milk and pour slowly while mixing into the egg mixture.
- When the remaining milk begins to boil, add it slowly into the egg mixture. Mix well.
- Pour egg and milk mixture back into the saucepan and cook over high heat and whisk continuously until pastry cream thickens and boils, about 1 minute.
- Reduce heat to medium and cook while whisking continuously until cream becomes shiny and easier to stir, about 4 minutes.
- Once done, remove from heat and pour into a bowl. Wrap with plastic wrap and leave to cool.
- Once cooled, refrigerate until it has set (3 hours or overnight).
Tips:
- You can make the crème pâtissière a night before intended use.
- Do not use aluminium foil in place of parchment paper. This will cause the choux pastry to burn at the bottom.
- For humid countries, the choux pastry maybe a little “runnier” resulting in difficulty of holding shape while being pipped. What might help is if you chill the choux pastry for 10 minutes before piping.
- It’s best to fill the pastries before being served, otherwise the pastry will get soggy. I once filled it 5 hours prior to serving and it was not too soggy.
- Store pastry in an uncovered or loosely covered container.
- Read the text above for more tips
- Cups to Grams conversions
All the best and enjoy baking!


Creamy Lemon Chicken (Keto Friendly)

I’ve known about the ketogenic diet for about 4 years now. I can’t remember if I’ve shared this before, but I only came to know about it after I was diagnosed with PCOS. Thanks to many ladies with PCOS who have shared their journey, I decided to try eating the ketogenic way. It was difficult! As a carb loving person, taking away carbs from my meals willingly required a lot of will power. But I had two goals in mind, one was to lose weight, as I’ve been overweight since I hit puberty. The second was to increase my chances of getting pregnant as I read that the keto diet helps PCOS-ers.

Luck was on my side, and I achieved both! I had a keto baby, and as soon as I stopped expressing breastmilk, the weight started to pile on. I was not eating well at all. I had lots and lots of carbs, as it was the easiest to shove into my mouth while looking after a baby at home. But now, I’ve come back to it since baby has turned into a threenager, it has become way much more manageable to plan meals and give up carbs. Plus, one of my best friends is getting married in March and I’m part of the wedding party…and I told them to get me 2 sizes down of my bridesmaid dress!
So without realising, I’ve always cooked my Creamy Lemon Chicken this way – without any added carbs and I thought I’d share my version with you. There’s also a video below to show how it’s cooked. If you like what you see, please give it a thumbs up and subscribe to my channel. I promise to make more crappy videos and voice-overs for you 🙂
The dish is perfectly customisable to suit your own needs. I’m going to list a few things which you can substitute:
Chicken breast: Chicken thigh, chicken meatballs, or even fish!
Butter: olive oil, coconut oil, avocado oil, lard, clarified butter, etc.
Heavy cream: coconut cream – do expect a coconut-y taste
Thickening agent: you can use parmesan cheese, egg yolks, or xanthan gum.
Ingredients
- 2 pieces, cut into half Chicken Breast
- 1-2 Tablespoons Butter (or any oil for pan frying)
- 250ml / 1 cup Cream
- 1 Tbsp Lemon Juice
- 120ml / ½ cup Chicken Stock
- ¼ tsp Italian Herbs
- To taste Freshly ground black pepper
- To taste Salt
- 3 Tbsp Grated Parmigiano-Reggiano
Directions:
- Add some butter to a frying pan. Add chicken pieces and some garlic, fry till golden brown both sides of the chicken.
- Pour in heavy cream, cook till slightly thickened. Add in lemon juice.
- Sprinkle herbs and freshly ground black pepper. Then add chicken stock. Cook till slightly reduced.
- Add parmesan and mix thoroughly. Add more parmesan or any thickening agent to make the sauce thicker. If you do not wish to add any thickening agent, you can also continue cooking the sauce till it reduces even further. I like to finish it off in the oven at 180°C /360°F for about 10 minutes to free up space on my stove for other dishes.
- Serve with a side of vegetables.
Notes:
- Conversion Chart
- If you are using MyFitnessPal app to track your macros, first copy the recipe link/URL, then go to the MyFitnessPal app to Recipes, select Create a New Recipe, then Add from the Web. Paste the URL, match ingredients and that’s it!
- Always match ingredients to the ones you use. Ingredient nutritional facts differ depending on brand.
- Nutrition Facts (based on my ingredients) : Servings: 2
Amount per serving
519 kcal | Total Fat – 41 g | Protein – 33 g | Total Carbs – 5 g | Fiber – 2 g = NET Carbs – 3 g
Enjoy!

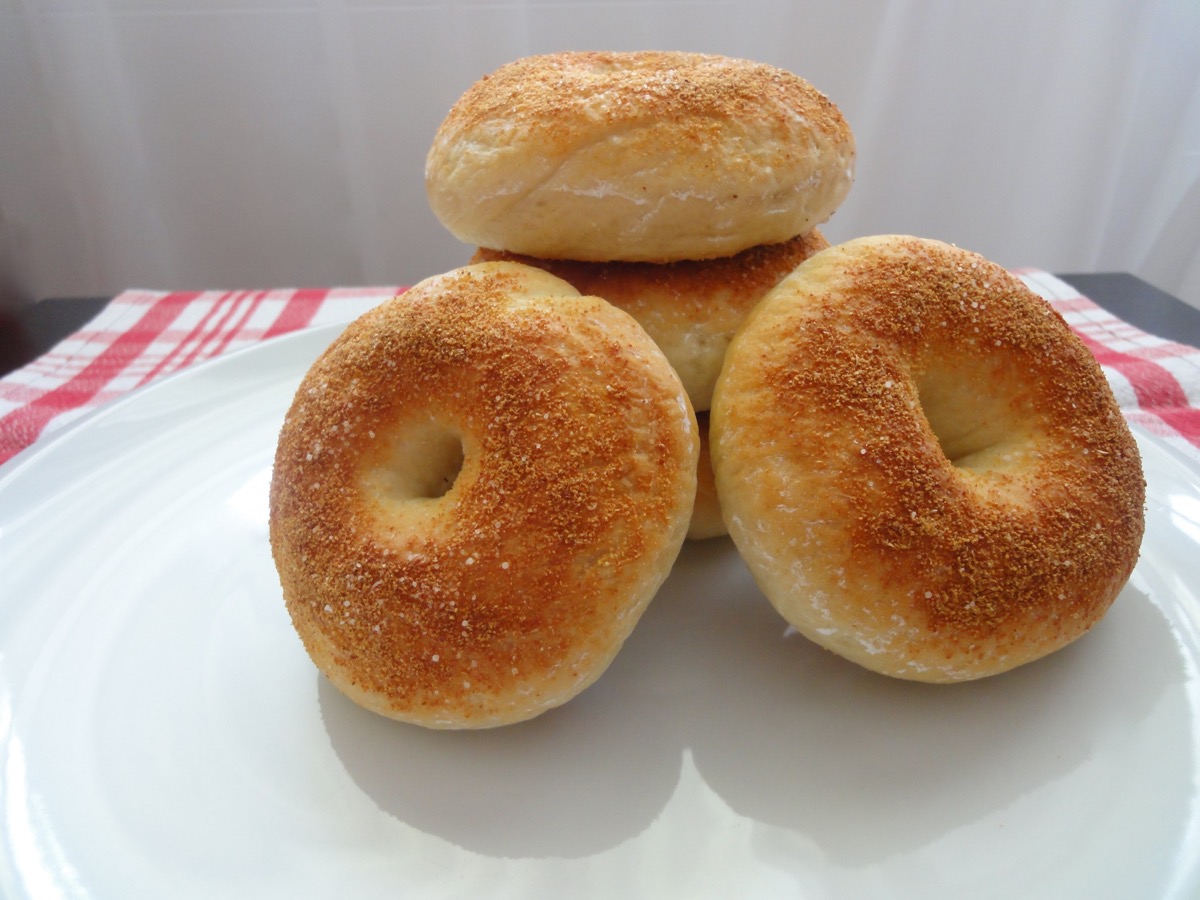
Bagels

If you watch the series Community, you would know who Britta Perry is. In Season 1 Episode 17: Physical Education, Britta gets mocked by her friends for mispronouncing bagel as bag-el. Though this episode was released in 2009, it was only in 2013 when I watched it again…and hearing the word bagel got me thinking more of it. At the same time, I was working in a Café/Bakery that sold bagels. I never ate the bagels sold at that Café, because their hygiene was horrible, and they used expired ingredients. On top of it, the owner was in debt and on the verge of bankruptcy that she did not have the money to even pay me. I stayed for a month, barely eating anything there during my break time. Thankfully, the Café has been shut down (due to bankruptcy) and I got my salary after waiting for nearly half a year which was only possible because of strict labor rules here.
So when I was jobless again, I started to make my own bagels at home. I found out that making bagels was easier than expected and certainly delicious. My favourite toppings are poppy seeds and garlic granules with sea salt. Of course, you are free to be creative with your toppings. I also like my bagels to have a bit of a chewy bite so I do boil mine slightly longer. If you do not like much chew, boil it for a shorter time. Lastly, I add a little honey to the water to boil. It gives out a really nice light scent and taste.
Ingredients
- 3 ½ cups Flour
- 1 ½ teaspoons Salt
- 2 teaspoons Dry Yeast
- 1 ⅓ ( +/-) Warm Water (45°C)
- 1 ½ tablespoons Sugar
For Boiling
- Medium Sized Pot Water
- 4 tablespoons Honey
Topping (optional)
- 1 nos Egg + 1 tablespoon Water (egg wash)
- 1 tablespoon each Cornstarch + Water (use this if you do not want to use eggs for egg wash)
- Poppy Seeds
- Sesame Seeds
- Garlic Granules
- Sea Salt
- Sunflower Seeds
- Minced Onions
Directions:
- Take 1 cup of the warm water and add sugar and yeast. Let the mixture sit for 5 minutes or till the yeast starts frothing a little. I like to put it in the oven with just the light on which creates enough heat on a winters day.
- Mix flour and salt in a large bowl. Pour in yeast mixture and mix (by hand or you can also use a stand mixer if you have. I use my stand mixer to combine ingredients and hand knead half way).
- Add in the rest of the water. You may add more water if needed. The dough should be slightly moist but firm after mixing.
- Transfer to lightly floured countertop and knead for about 10 minutes (5 minutes if you started off with stand mixer) until it forms a stiff and firm dough.
- Use cooking spray to grease a bowl, add dough and cover the bowl with a damp towel. Let the dough rise for an hour in a warm place (I use my oven for this in winter, just slightly warm it up on the lowest setting 5 minutes prior)
- Divide dough into 8 pieces (for large ones) and shape it into round pieces.
- Coat finger in flour (prevents sticking to finger) and gently press your finger through the centre of each ball to form a ring. Stretch the ring of the bagel and place on a lined baking tray.
- Cover bagels with a damp towel and let it rest for 10 minutes.
- Preheat oven to 220°C. In the meantime, bring a pot of water to boil, add honey. Reduce heat. Use a slotted spoon to lower bagels in. Boil a few at a time, but do not overcrowd.
- Boil for a minute, and them flip them over to boil for another minute. Extend the boiling times to 2 minutes each, if you prefer a chewier bagel. Remove and put on lined baking tray.
- If you want to add toppings, do so right after you take the bagels out from the water. You will need to use egg wash or a mixture of cornstarch and flour to get the toppings to stick.
- Once all bagels have been boiled and have been topped with toppings, bake for 20 minutes.
Tips:
Enjoy!
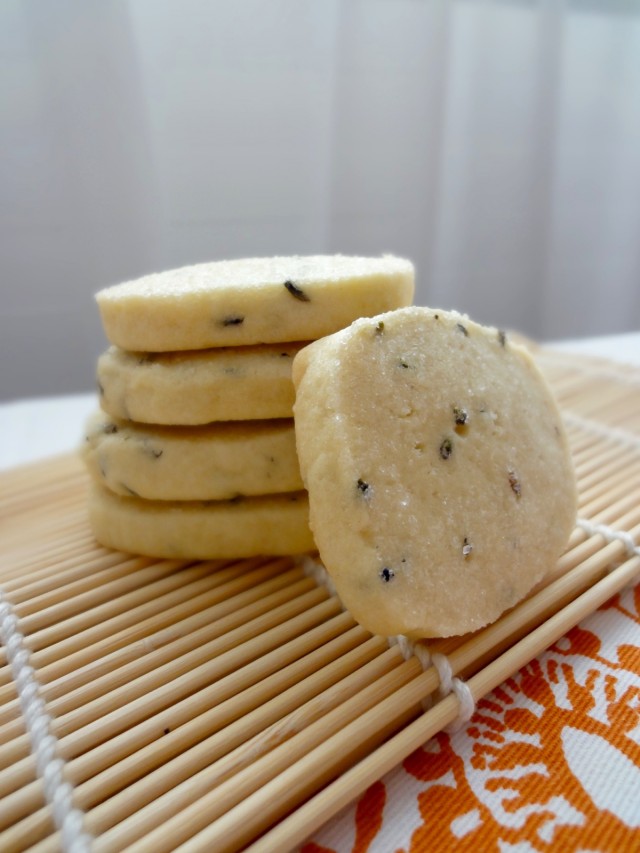
Lavender Biscuits

Never have I thought that lavender could be eaten. All the while I thought it was just for potpourri, decoration, essential oils, room deodoriser, car freshener and stuff like that. However, not all lavender can be consumed. It’s best to get ones that are guaranteed pesticide free which can be found in tea shops. In Switzerland, I get my lavender buds from a tea shop called The Queen Camellia Tea House which is in Lucerne. Though, few weeks ago I went again to find some but they did not have stock of it because of some crop problems. They import theirs from France. A lady there suggested we look at a nearby Reformhaus (a health food shop) as they would have it there.
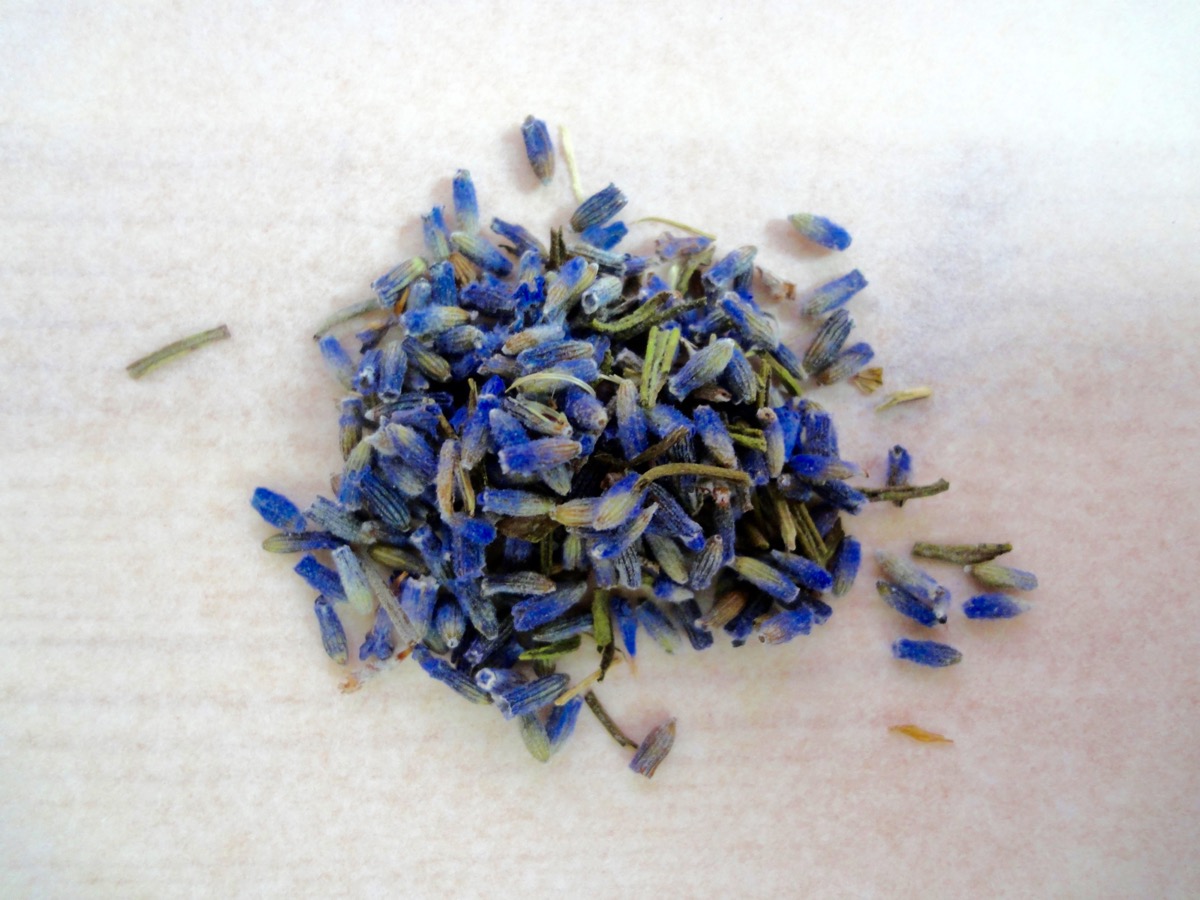
Dried Lavender
I first heard about lavender biscuits during Kate Middleton’s first pregnancy. There was a tabloid article that mentioned she was munching on lavender biscuits as it helps with morning sickness. Don’t know how true that was but I cared more about those lavender biscuits. After nearly 3 years, I finally decided to give it a go. It was really lovely. Since I did not have prior experience cooking with lavender, I thought I might expect some overly pungent lavender smelling biscuits. But no! With the right amount, it’s really really good. The smell is heavenly when baking and it taste’s very special.
Recipe adapted from Bakingdom’s Tea Time Shortbread Cookies
Ingredients
- 1 cup Butter, softened
- ¾ cup Powdered Sugar
- 1 nos Egg
- ½ teaspoon Vanilla Extract
- 2 ¼ cups All Purpose Flour
- 2 tablespoons Dried Lavender Buds
- ½ teaspoon Salt
- ¼ cup Sugar, for dipping
Directions:
- In a large bowl, cream softened butter together with sugar and salt till light and fluffy.
- Add in vanilla extract and egg. Beat till incorporated.
- Add in flour and lavender buds. Mix till combined.
- Divide dough into two and form into logs. Wrap dough in plastic wrap or parchment paper. Dough will be a little sticky and soft (like it needs more flour, but do not), once chilled it will become solid.
- Chill for an hour in the fridge.
- Pre-heat oven to 150°C (300°F). Line two baking pans with parchment paper.
- Remove chilled dough, unwrap and cut into slices about 1/2 – inch thick.
- Dip one side of the dough in sugar.
- Place biscuits (sugar side up) on prepared baking pans, about 2 inches apart.
- Bake for 20 minutes. Biscuits will look pale, so resist baking them longer otherwise it would be too hard.
- Place on wire rack to cool before serving and storing.
Tips:
- Try and stick to 1/2 – inch thickness, otherwise baking time has to be adjusted accordingly.
- If the dough gets too soft while slicing, refrigerate for 10-15 minutes.
- The biscuit itself is not that sweet, so I would not decrease the sugar.
- Store in an airtight container up to a week.
- Dough can be frozen up to 3 months.
- Cups to Grams conversion
Enjoy!


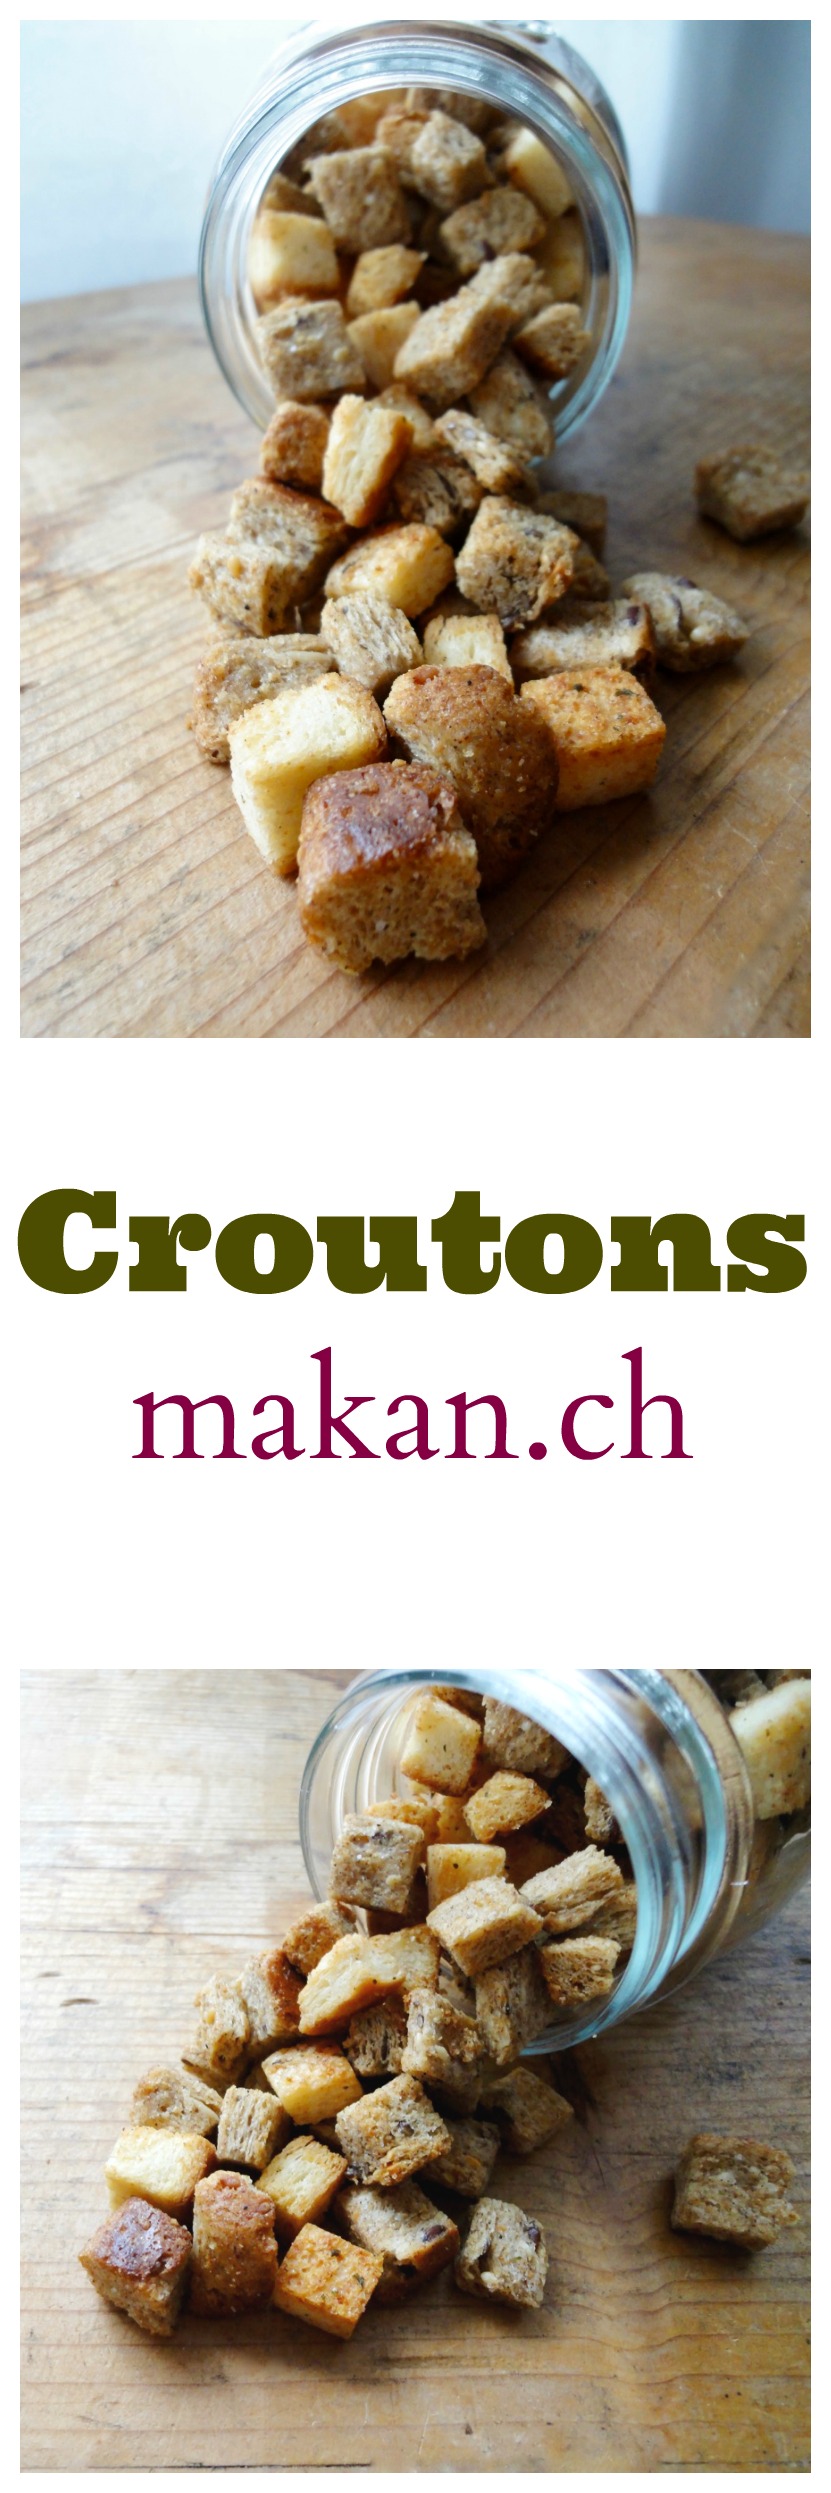
Croutons
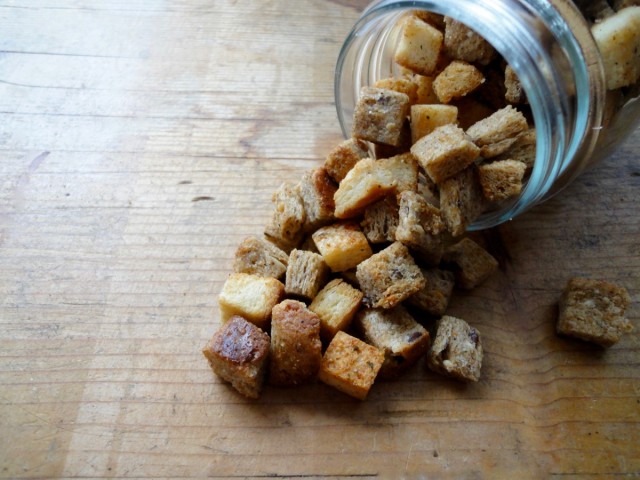
Little gems on salad! Tastes 100% better than store bought croutons.
I love croutons and I love making them. Back when I was working, I used to eat croutons with sour cream everyday. I was addicted to it. Then in my other job, I had to make croutons twice a week using lovely brioche toast which made the croutons taste even better! I could not keep my hands off those too, that’s why I had to make it twice a week!
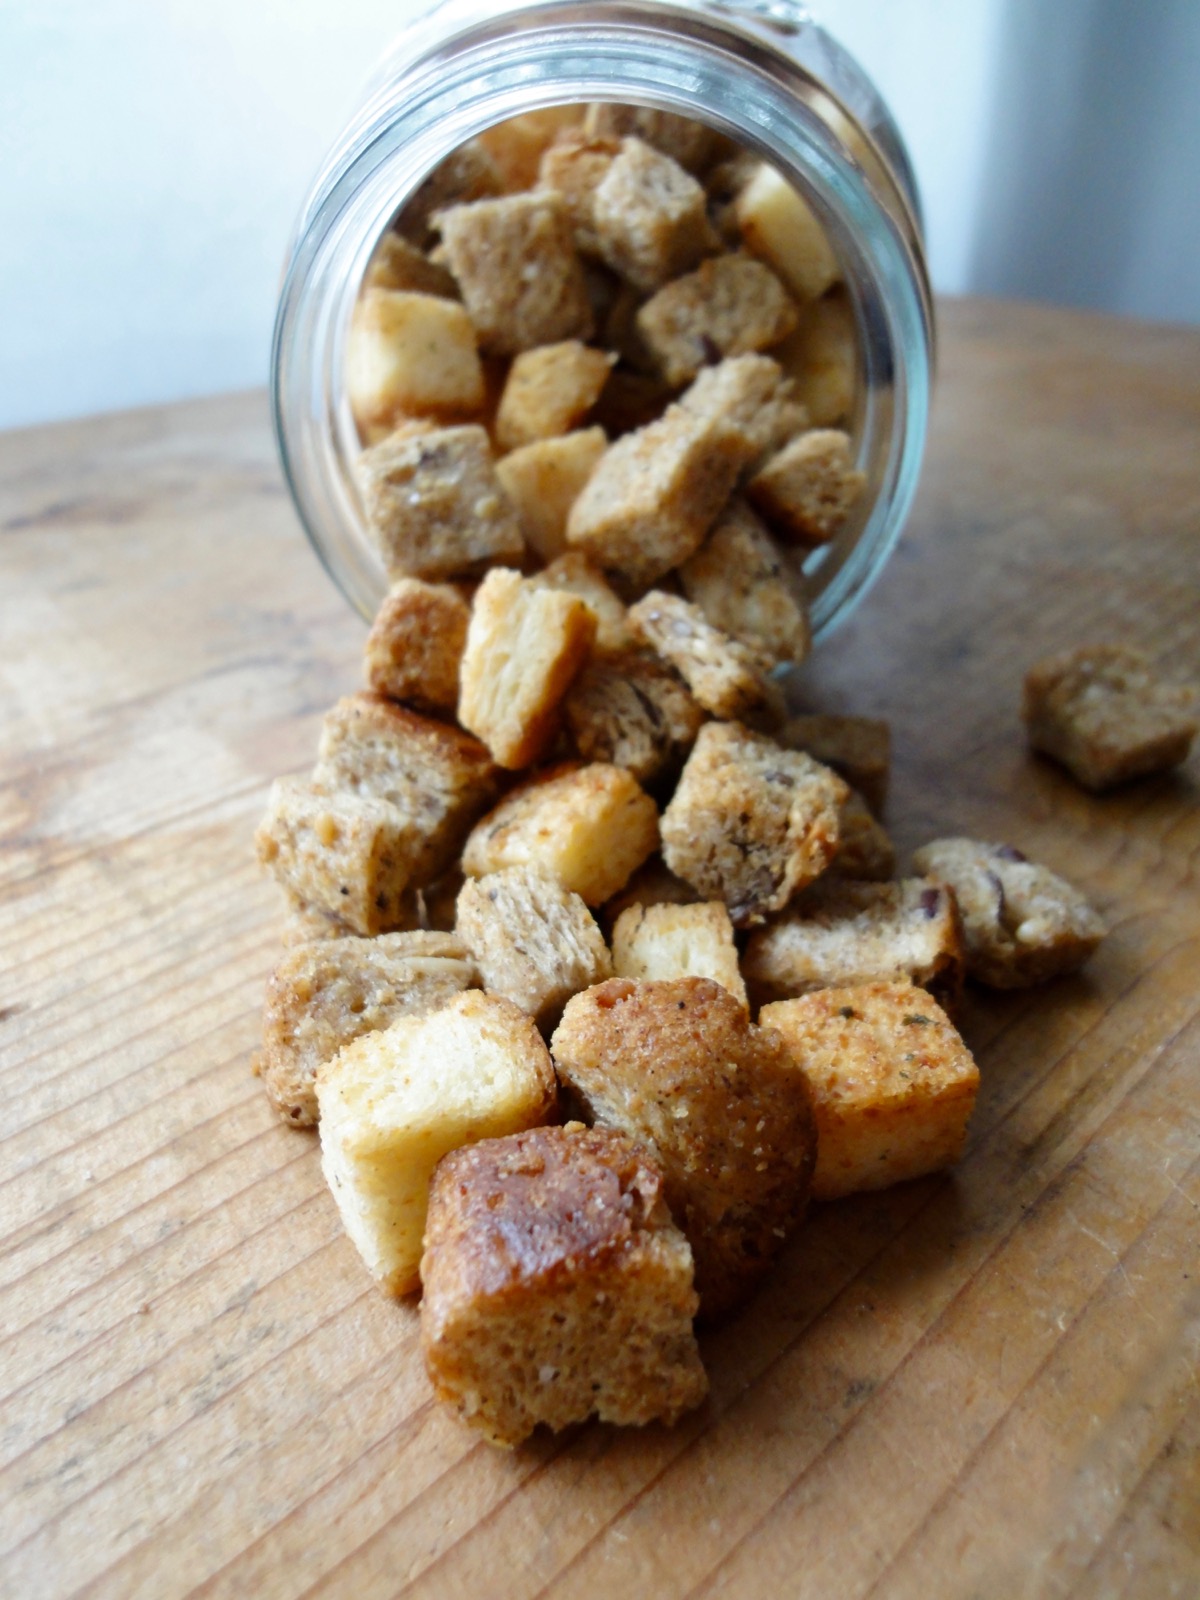
Now I’m on a very strict low carb diet. So croutons are out of the picture. I’m only on day 4 and I miss bread so much! Anyways, I made this batch here with half white bread and half wholemeal bread – just to make myself think it’s better than just going full white. I gladly sprinkled it over my salads while it lasted. So for all those who are not on a strict diet, please eat some on my behalf.
This post is dedicated to my sister. After she got married, she started to cook at home. See, she’s not that domesticated when it comes to the kitchen. She’s better in the cleaning department and keeping the place tidy. I remember one day she made salad and then posted on Facebook that she did not have croutons. So I told her just toast up some bread and you’d have croutons. Her reply was, why would I make a condiment! HAHAHA I’m sure her cooking has improved a lot over the few years plus she knows how to cook rice well. I’ve not eaten her cooking yet. Though, there was a close call when we were younger. Our mother was out and we were playing outside the kitchen. She proceeds to cut grass and brings some water to boil. She then boiled the grass and added salt and pepper. The next thing I knew was she was trying to force me to drink her grass soup!!!! Mother came back in time to save the day. So dear sister, you are a year older today and I hope you do not attempt to cook grass soup anymore. 😛 Happy Birthday and cook more!
Ingredients
- 8 slices Sandwich Bread
- 2 Tablespoons Olive Oil
- 2 teaspoons Garlic Powder
- 2 teaspoons Onion Powder
- 1 teaspoon Oregano
- To taste Salt
- To taste Black Pepper Powder
Directions:
- Pre-heat oven to 150°C (300°F) and line a baking tray with parchment paper.
- Cut sandwich bread into small cubes. Put bread cubes in a medium sized bowl.
- Drizzle oil over bread and toss or mix by hand. Make sure bread cubes are evenly coated.
- Sprinkle seasoning and herbs. Toss or mix by hand again till coated.
- Spread croutons out onto baking tray.
- Bake for 20 -30 minutes or till it’s lightly brown. Pay attention to the croutons once it starts browning as it can go south very quickly.
- Remove from oven and allow to cool completely before storing in an air-tight container.
Tips:
- Conversion Table
- Use any type of bread of choice
- Feel free to use your own choice of oil such as peanut oil, vegetable oil, canola oil, sunflower oil, rapeseed, or even butter.
- Add parmesan for extra yumminess!
- For nutritional information, please visit my Yummly page and scroll to the bottom of the recipe.
- If you are using MyFitnessPal app to count calories, first copy the recipe URL then go to MyFitnessPal app to Recipes, select Create a New Recipe, then Add from the Web. Paste the URL, match ingredients and that’s it!
- Always match ingredients to the ones you use. Ingredient nutritional facts differ depending on brand.
Enjoy!
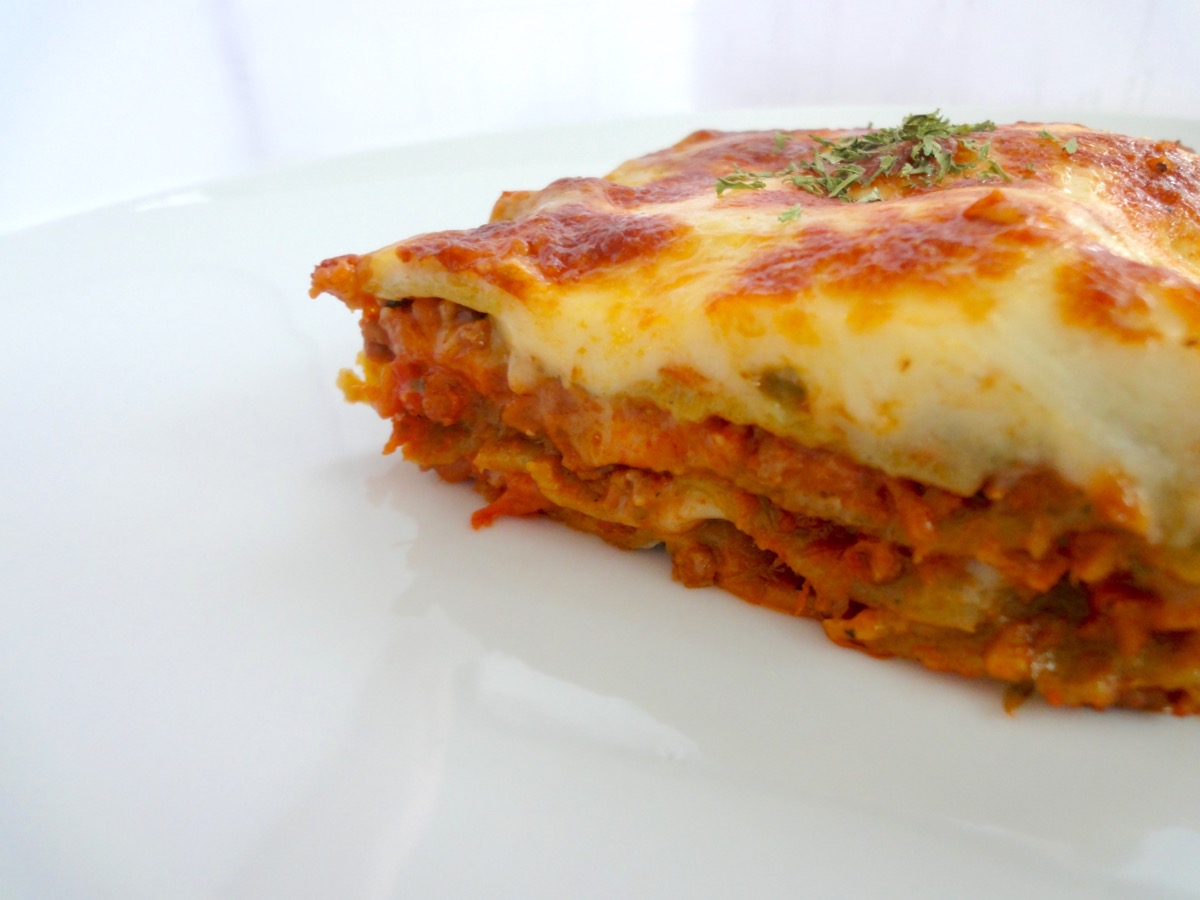
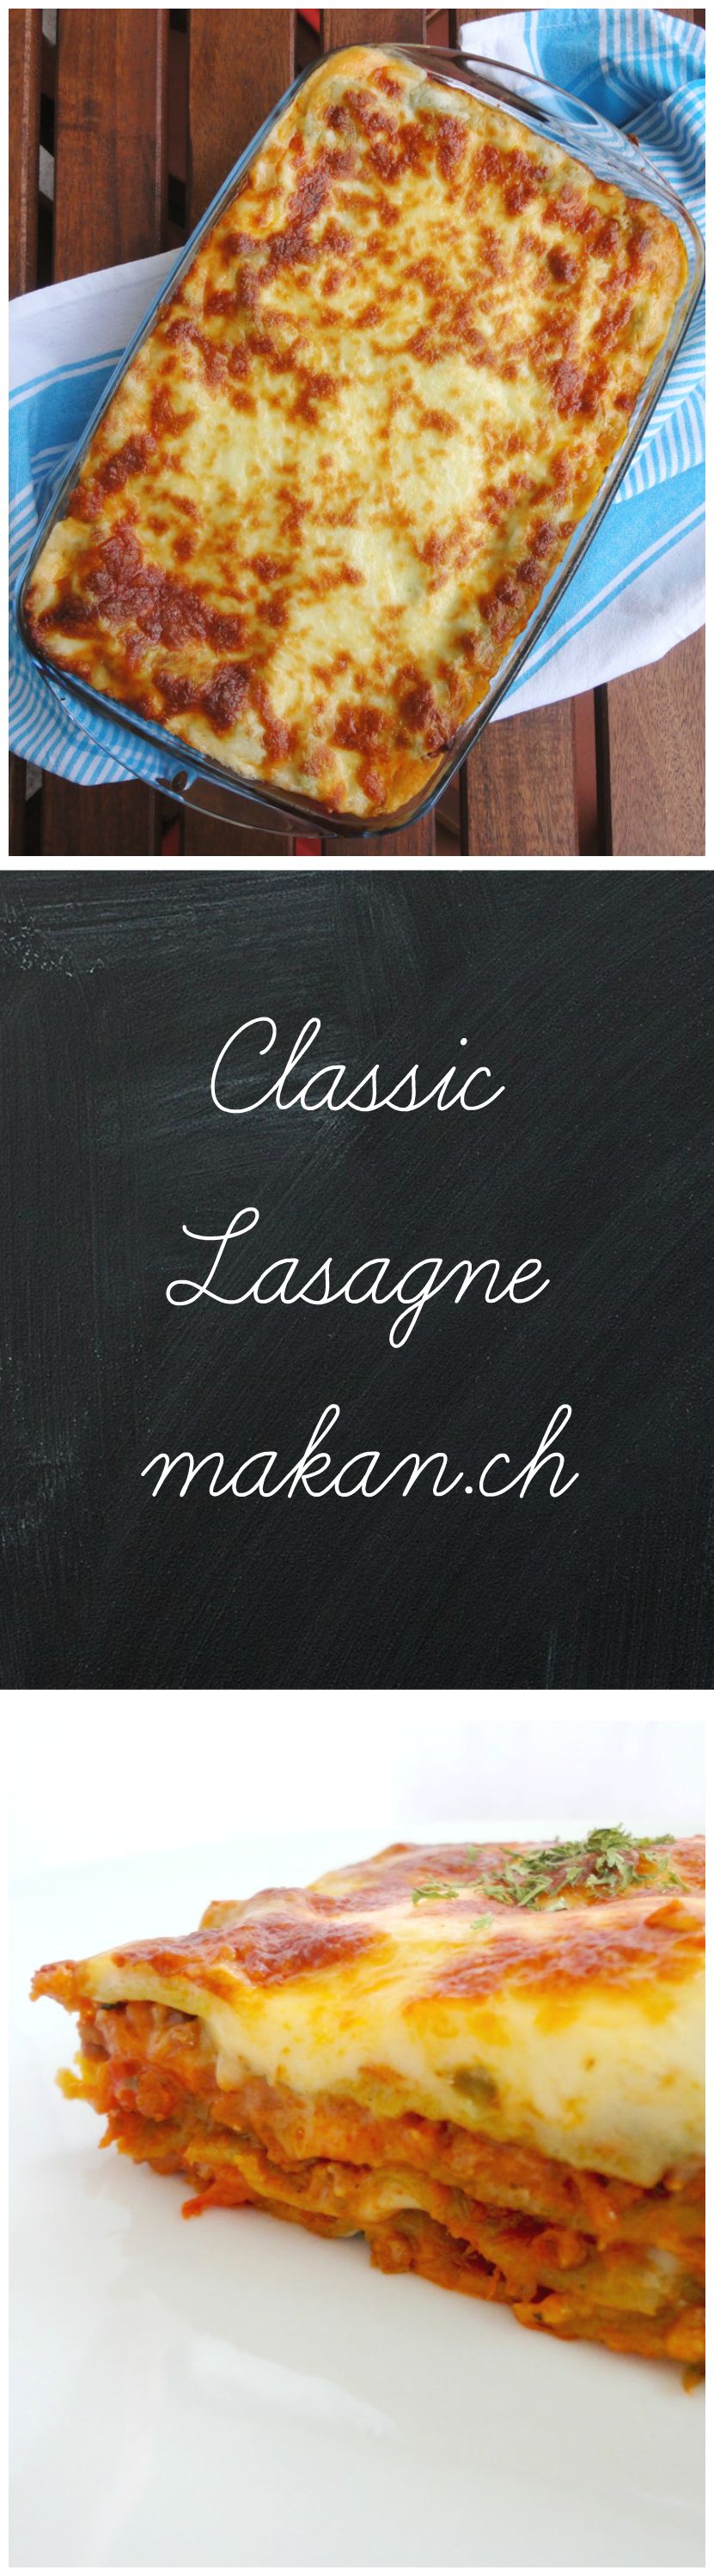
Classic Lasagne
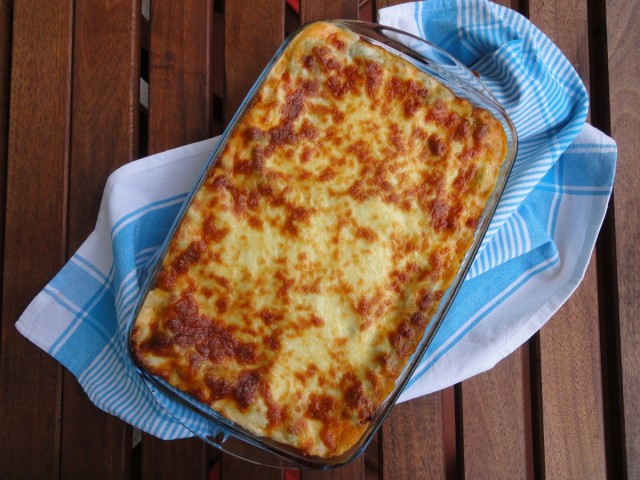
There’s no doubt that my pictures are still horrible. If someone wants to offer me a free photography crash course I will delightfully accept, or perhaps we can trade? Let’s say a dish of lasagne and some cookies? Please? But anyways, my goal here is to not make Pinterest perfect pictures, but ones that actually are realistic to make and taste fine. At least, thats what I believe.
As most know, Lasagne is made from layers of ragù alla bolognese (commonly known as bolognese), béchamel (white sauce ; made from roux and milk, and an oignon pique), pasta layers and topped with cheese.
Oignon pique is french for pricked onion – a bay leaf tacked with cloves to a peeled onion.
Lasagne was introduced to me by my mother. She took me to a place called Dave’s Deli when I was around 9 years old, she had the lasagne while I had something else…I asked her what lasagne is and I was stupidly put off by it. What was I thinking!! So, being a pesky youngest child…I got to eat nearly half of her lasagne because it was just so freaking good! Don’t know if they have kept their standards, but that left a good imprint in my life.
Though Lasagne was not a famous pasta dish back then in Malaysia, a close family friend used to make it for birthday parties. I was very excited when she started bringing it to birthday parties and after party No.3, I finally asked her how she made it. She told me to just follow the instructions on the box. That simple! Sadly, she has passed on and I never got to have her lasagne again. So dear Aunty Lorna, I hope you are watching down from heaven and hope I’m doing well with my lasagne!
During my final diploma semester in college, we had this module where the students had to take over the college cafeteria (or food court). My friend Ronnie and I were assigned to the hot kitchen and prepared lasagne in mass. It was quite a hit and we got some good compliments from the lecturers and students. Even a well known Malaysian celebrity chef’s sister bought our lasagne! I remember she once bought 6 pieces of it to take home for her family.
Now, I have this chance to share my lasagne with every one. I even managed to convince my husband, who WAS not big on lasagne…to love it. This is one of the dishes where he does not mind having for the next 2 meals. Though I managed to convince my husband, I don’t think I could ever convince my siblings and parents to have my lasagne. I made it once for them 6 years ago and it was a huge flop! Guess they must be thanking their lucky stars to have survived that huge flop. 😉
Note: For the béchamel recipe, I use the metric weighing system as I get accurate measurements.
So here it is.
Ingredients
- 9-12 Lasagne Sheets, fresh or dried
- 1½ cups Mozzarella Cheese, shredded
- 1 teaspoon Oregano
Ragù
- 500 grams Minced Beef
- 2 Tablespoons Olive Oil
- 1 medium sized Onion, chopped
- 4 pieces Bay Leaf
- 3 cloves Garlic, minced
- ¼ cup Red Wine
- 1 can (400g) Crushed Tomatoes
- ¼ cup Tomato Paste
- 2 Tablespoons Worcestershire Sauce
- 1 Tablespoon Oregano
- 1 Tablespoon (add more if sauce is very sour) Brown Sugar
- 3-4 Carrots, grated (optional)
- To Taste Salt
- To Taste Black Pepper, crushed
Béchamel
- 50 grams All Purpose Flour
- 50 grams Butter
- 600 ml (2½ cups) Milk
- A pinch Nutmeg
- Half Onion
- 2 pieces Cloves
- 1 piece Bay Leaf
- ½ cup Parmesan Cheese, grated
- To Taste Salt
Directions:
- Ragù
- Heat up a pan with olive oil. Brown minced beef.
- Add onions, garlic and bay leaf. Stir until the onions soften.
- Deglaze pan with wine.
- Mix in canned tomatoes, tomato paste, herbs, and Worcestershire sauce. Add carrots if using.
- Cook until slightly reduced, about 15 minutes. Add in brown sugar. You can add more if the sauce if too sour.
- Season with salt and pepper.
- Set aside.
- Béchamel
- Pierce the halved onion with cloves and bay leaf (oignon pique).
- Lightly toast flour in a medium sized pot. Do not brown the flour.
- Once it starts smelling like toasted nuts, add butter. Stir well. (This is now called roux)
- Cook roux till it smells like again, toasted nuts.
- Whisk milk 300ml at a time into the roux, till combined.
- Continue mixing in the rest of the milk, bring to the boil.
- Add parmesan cheese and oignon pique.
- Season with nutmeg and salt.
- Set aside for at least 15 minutes. Discard oignon pique before using.
- Lasagne assembly (go according to instructions on box, I use Barilla Lasagne sheets)
- Pre-heat oven to 220°C (430°F) and grease a deep lasagne glass dish (13 x 9-inch).
- Spread 1 cup ragù or just enough to cover the dish with a thin layer of sauce.
- Lay lasagne sheets on top – I use 3 sheets per layer.
- Spread 1 cup of béchamel over the sheets.
- Repeat till you reach the third layer*
- Finish off with a generous spread of béchamel.
- Top with mozzarella and oregano.
- Bake for 20 minutes.
- Allow to rest for 15 minutes before serving.
Tips:
- * you can add more layers as you see fit.
- use vegetable lasagne sheets ex. spinach lasagna sheets
Enjoy!
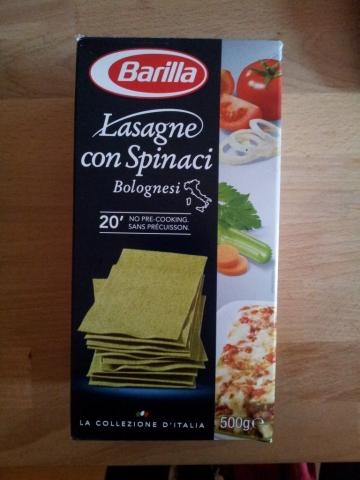
Spinach Lasagne sheets form Barilla
A very poor shot of it. I was too hungry!
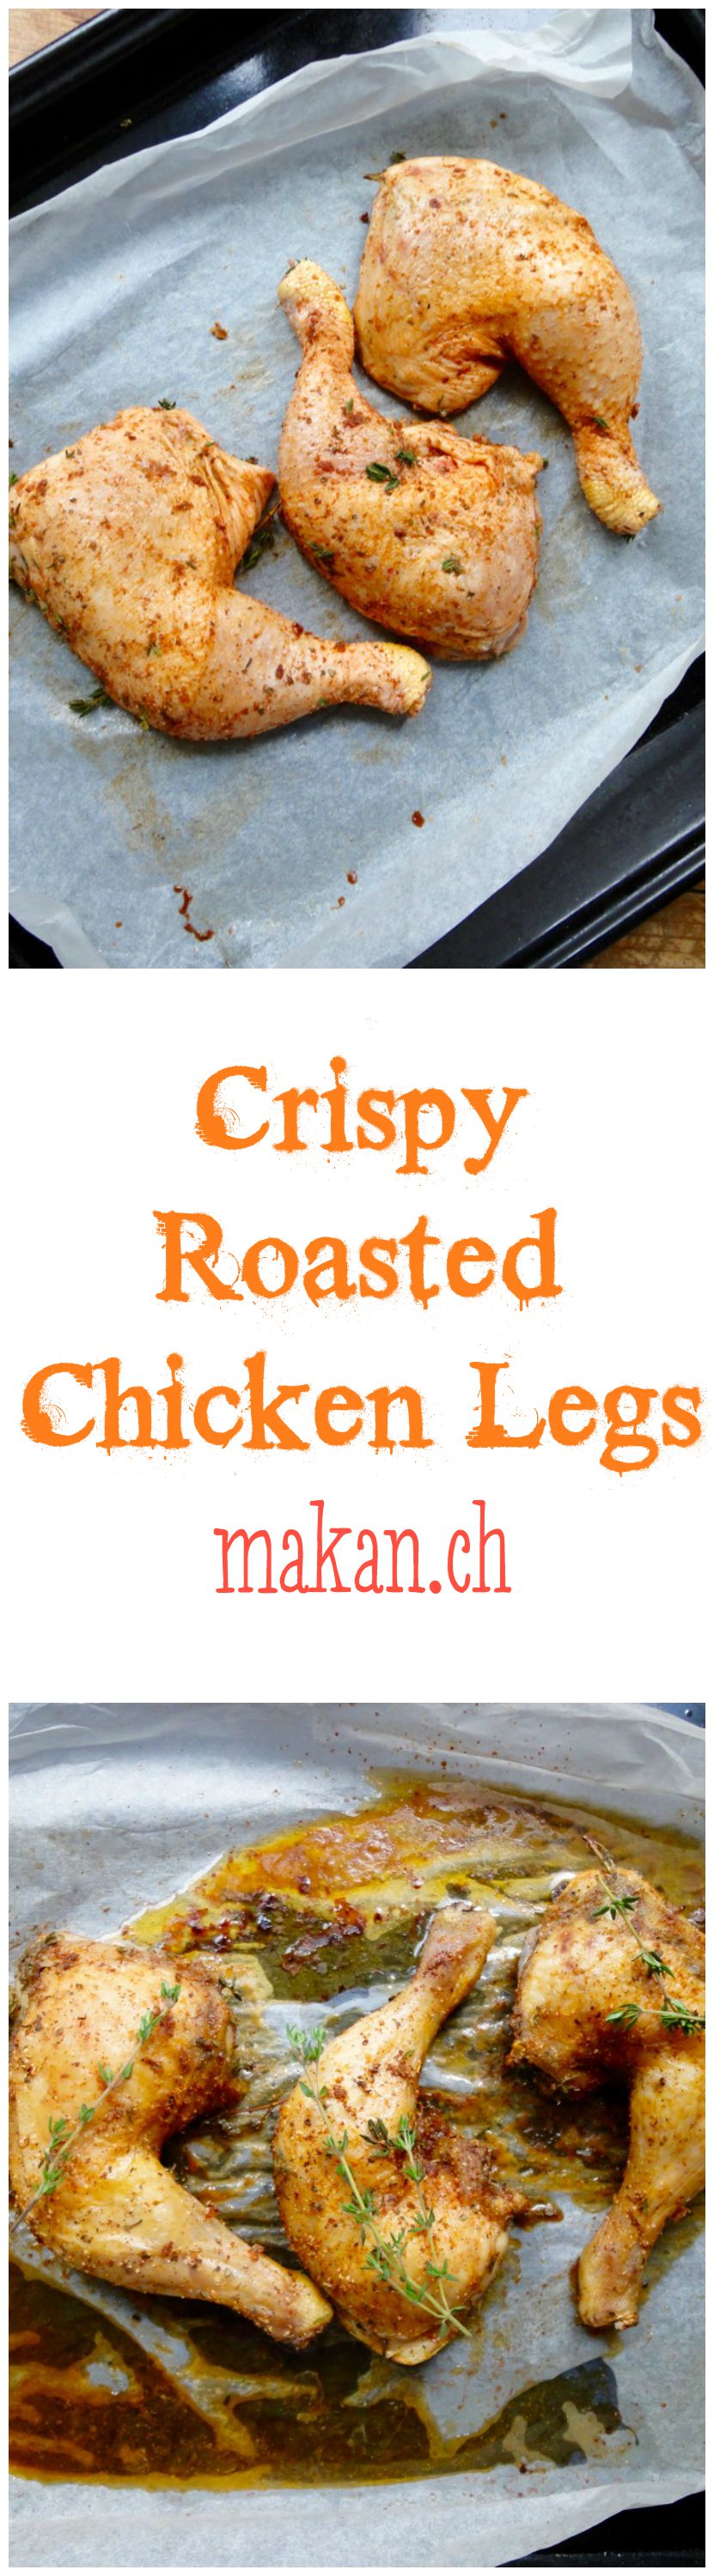
Crispy Roasted Chicken Legs


Autumn is here! It has been pretty gloomy in Switzerland the past few days, and I love it! The perfect setting to have a lazy day spent curled up on the sofa watching TV series. Unfortunately, all my series that I watch alone only start returning in a week or two. So, I started to iron the piled up laundry, fold shirts with my shirt folder, pair socks and of course to put it where it belongs. It took a whole day, because it was about a months worth of laundry! 🙁 I wanted to clear out my pantry too, but never got to it. Perhaps next week!
The hubby who has also been sick the past few days (I have recovered) requested for some roasted chicken legs, since I have not roasted chicken legs for quite some time. I normally use chicken legs for claypot chicken rice or chicken chops. So, I just thawed three chicken legs (one for me, two for hubby) marinated it and popped it into the oven while I made the side dishes : mashed potato and green beans with browned butter and almonds. Recipe to follow.
It’s really simple and yummy! Also crispy! Fast to put together and most of all, you do not need to precisely follow the recipe. The measurements I have here are just an estimation of what I put in. Feel free to add your own choice of herbs and spices.
Ingredients
- 4 Chicken Legs
Marinade
- 2 teaspoons Garlic Granules
- 2 teaspoons Smoked Paprika Powder
- 2 teaspoons Oregano, fresh or dried
- 2 teaspoons Thyme, fresh or dried
- 1 teaspoon Black Pepper, freshly ground
- 1 ½ teaspoons Salt
Directions:
- Clean chicken legs and dry with paper towels.
- Place chicken legs in a sealable bag or container, add marinade and evenly cover the chicken legs with it.
- Seal bag or container and allow chicken legs to marinate for at least an hour.
- After chicken has marinated, pre-heat oven to 180°C (350°F) and prepare a baking tray with parchment paper. Scrunch up the ends of the parchment paper to avoid fat from chicken legs spilling onto baking tray.
- Roast for an hour. Check chicken legs by inserting a knife to the thickest part of the leg. Make sure the juices run clear and there is no sight of pinkness in the chicken. If still uncooked, continue roasting at 180°C (350°F) for another 15 minutes.
- Remove from oven and serve.
Tips:
- Conversion table here
- Rosemary goes very well with chicken, add if you want.
- If you have any balance chicken legs, shred it up and toss it in the fat that’s left on the baking tray, refrigerate and use it for chicken sandwich or salad the next day.
- For nutritional information, please visit my Yummly page and scroll to the bottom of the recipe.
- If you are using MyFitnessPal app to count calories, first copy the recipe URL then go to MyFitnessPal app to Recipes, select Create a New Recipe, then Add from the Web. Paste the URL, match ingredients and that’s it!
- Always match ingredients to the ones you use. Ingredient nutritional facts differ depending on brand.
Enjoy!
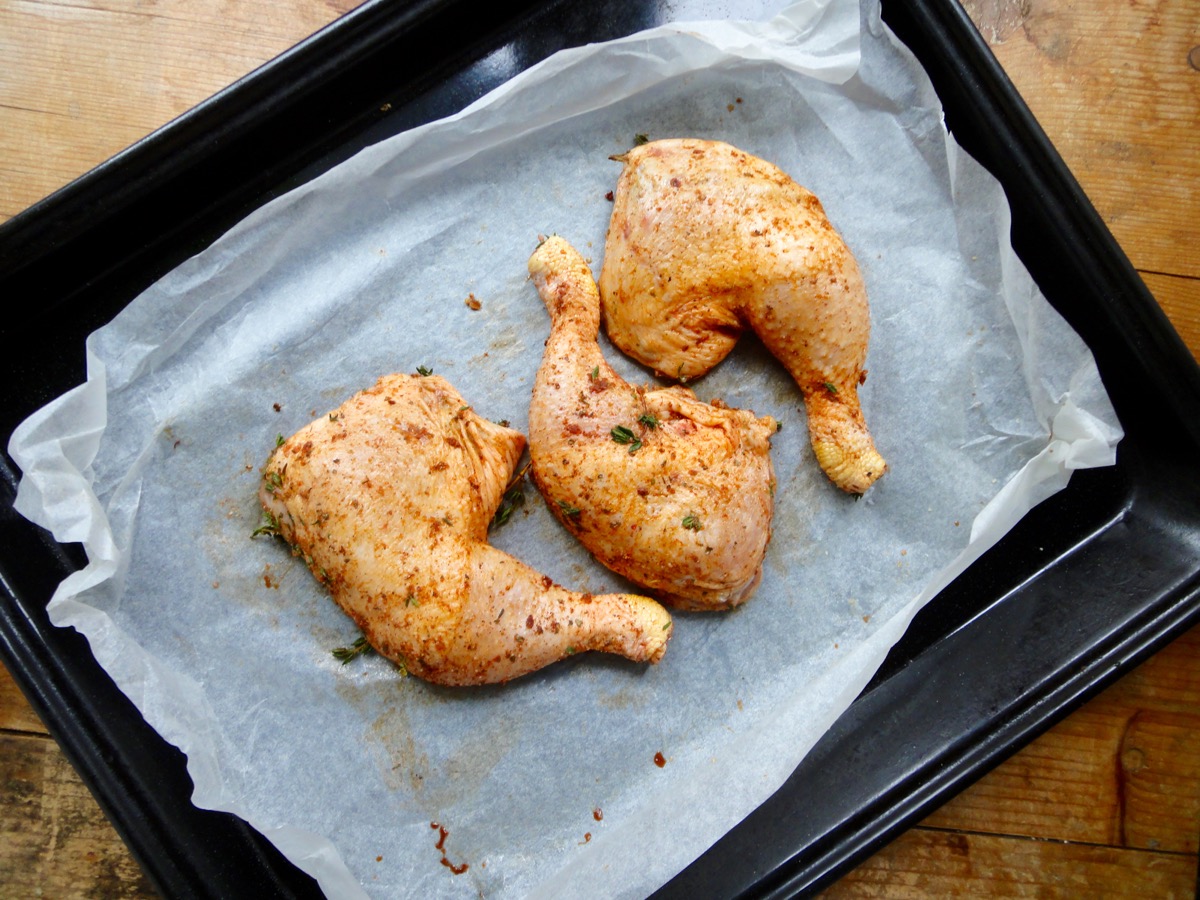
Before roasting
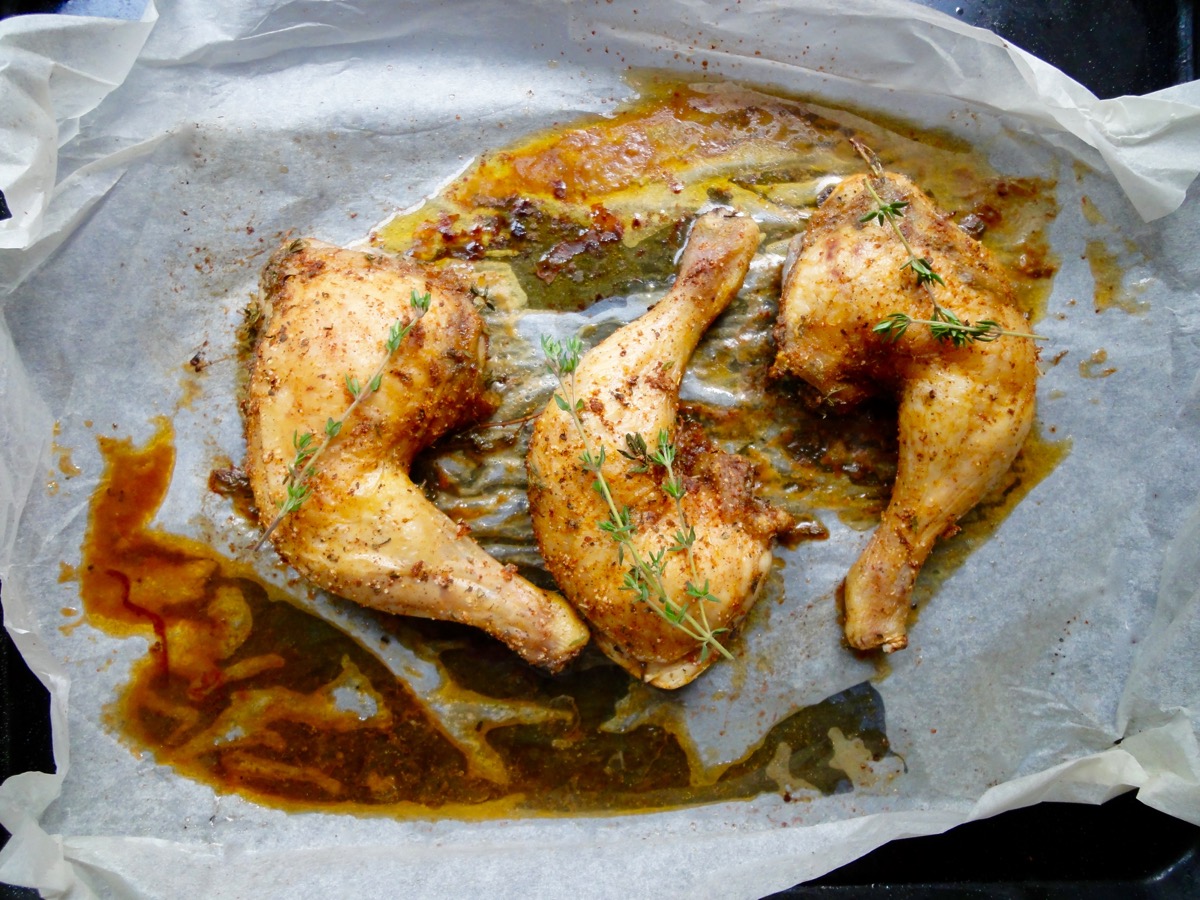
After roasting