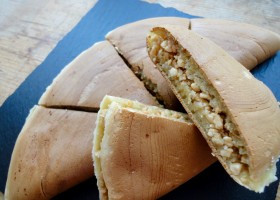
Appetiser / Hors d'oeuvre, Breakfast, Homemade Ingredient, Kuih-Muih, Side Dish, Snack, Tea Time Karipap Daging Keto/Atkins 45 min 20 ingredients
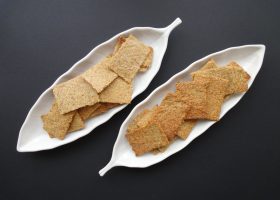
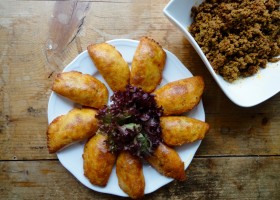
Appetiser / Hors d'oeuvre, Breakfast, Kuih-Muih, Snack, Tea Time Keto Malaysian Curry Puffs / Karipap 45 min 20 ingredients
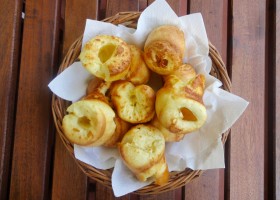
Appetiser / Hors d'oeuvre, Breakfast, Dinner, Lunch, Side Dish, Snack Bacon & Spinach Breakfast Mini Quiche 32 min 10 ingredients
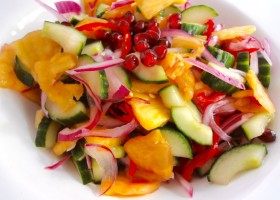
Appetiser / Hors d'oeuvre, Salad, Side Dish Spicy Cucumber & Pineapple Salad (Kerabu) 10 min 8 ingredients